For 1990-2009 cars only
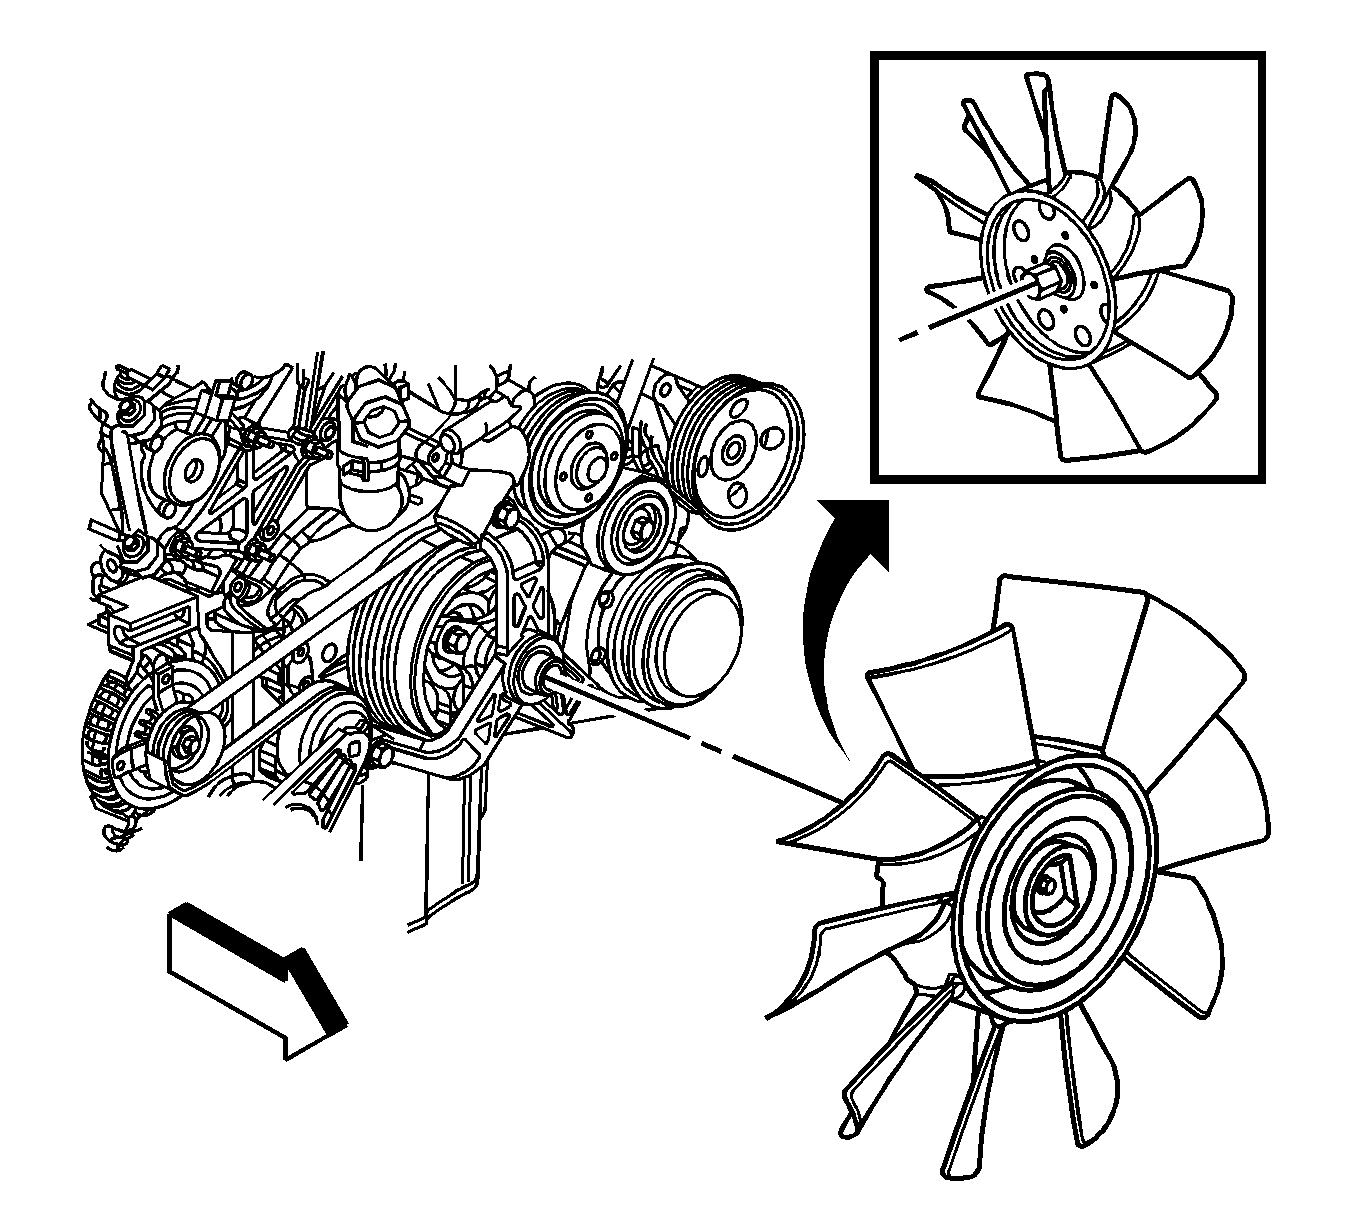
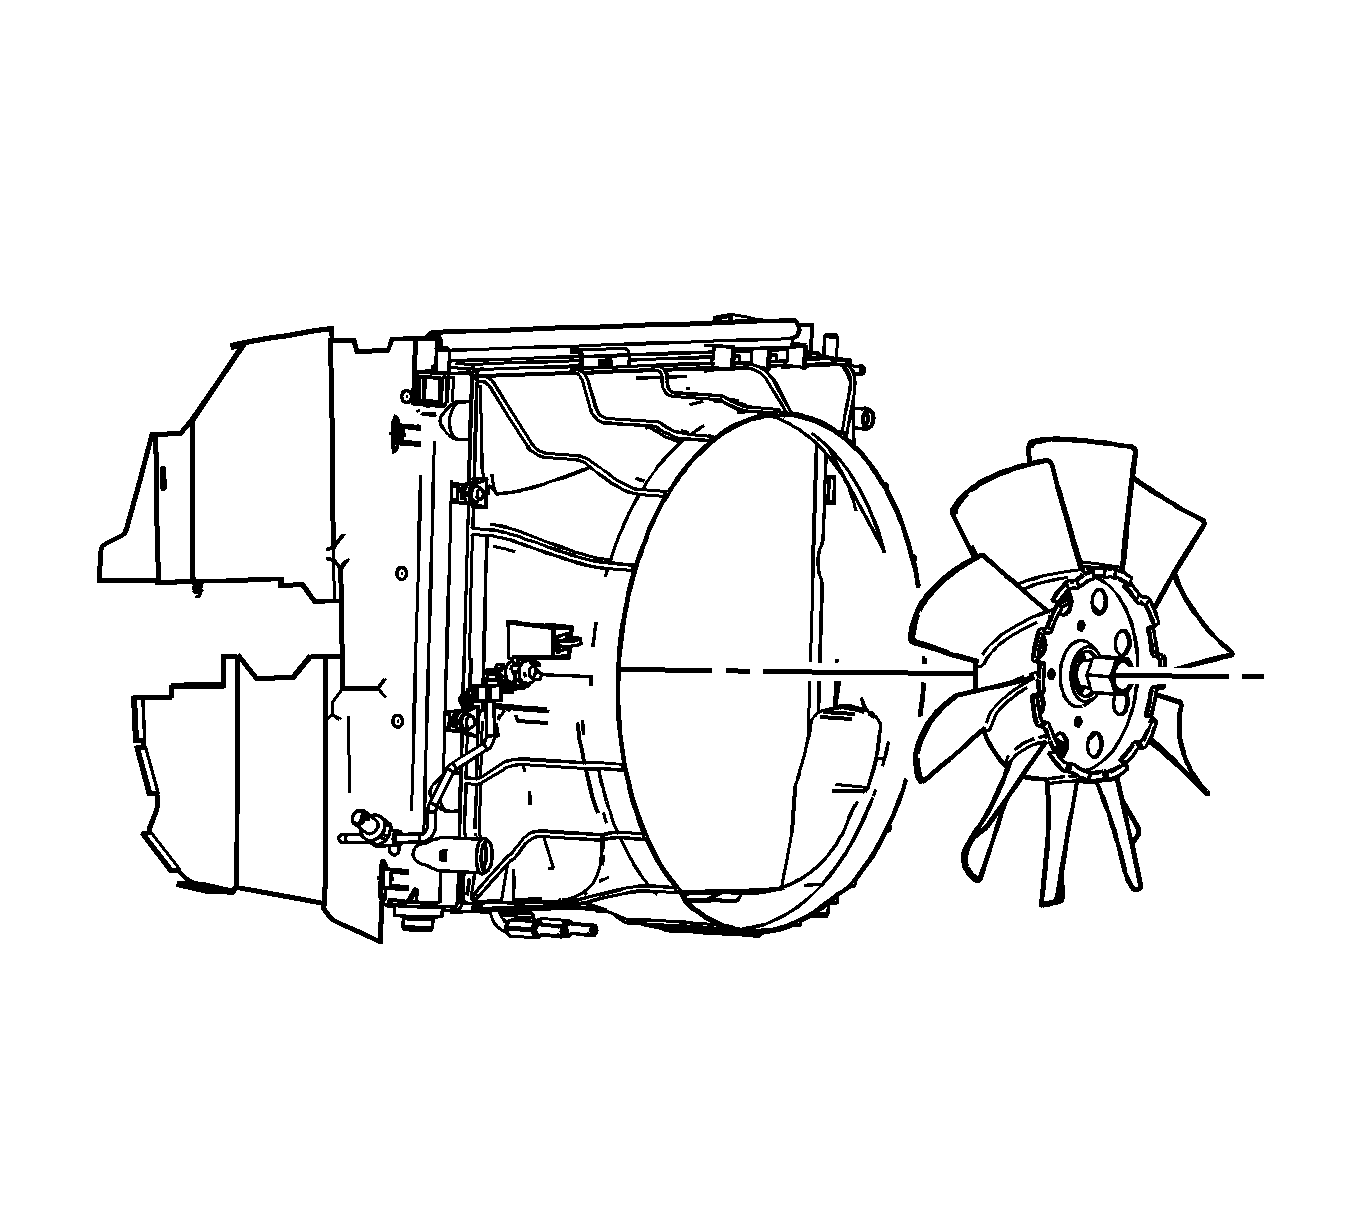
Fan Replacement LH2
Tools Required
J 41240 Fan Clutch Remove and Installer
Removal Procedure
- Remove the air cleaner intake duct. Refer to Air Cleaner Outlet Duct Replacement .
- Loosen the fan nut from the crank adapter shaft using J 41240 .
- Remove the fan shroud. Refer to Engine Coolant Fan Shroud Replacement .
- Continue to loosen the fan nut and disconnect the fan from the crank adapter shaft.
- Remove the fan from the vehicle.

Important:
• The fan nut has left hand (reverse) threads. • Do not completely remove the fan from the crank adapter shaft.
Installation Procedure
- Install the fan to the vehicle.
- Connect the fan to the crank adapter shaft.
- Install the fan shroud. Refer to Engine Coolant Fan Shroud Replacement .
- Tighten the fan nut to the crank adapter shaft using J 41240 .
- Install the air cleaner intake duct. Refer to Air Cleaner Outlet Duct Replacement .

Important: The fan nut has left hand (reverse) threads.
Notice: Refer to Fastener Notice in the Preface section.
Tighten
Tighten the nut to 100 N·m (74 lb ft).
Fan Replacement LY7
Tools Required
J 41240 Fan Clutch Wrench
Removal Procedure
- Remove the air cleaner intake duct. Refer to Air Cleaner Inlet Duct Replacement .
- Loosen the fan nut from the crank adapter shaft using J 41240 .
- Remove the fan from the vehicle.

Installation Procedure
- Install the fan to the vehicle.
- Tighten the fan nut to the crank adapter shaft using J 41240 .
- Install the air cleaner intake duct. Refer to Air Cleaner Inlet Duct Replacement .

Notice: Refer to Fastener Notice in the Preface section.
Tighten
Tighten the nut to 100 N·m (74 lb ft).
