For 1990-2009 cars only
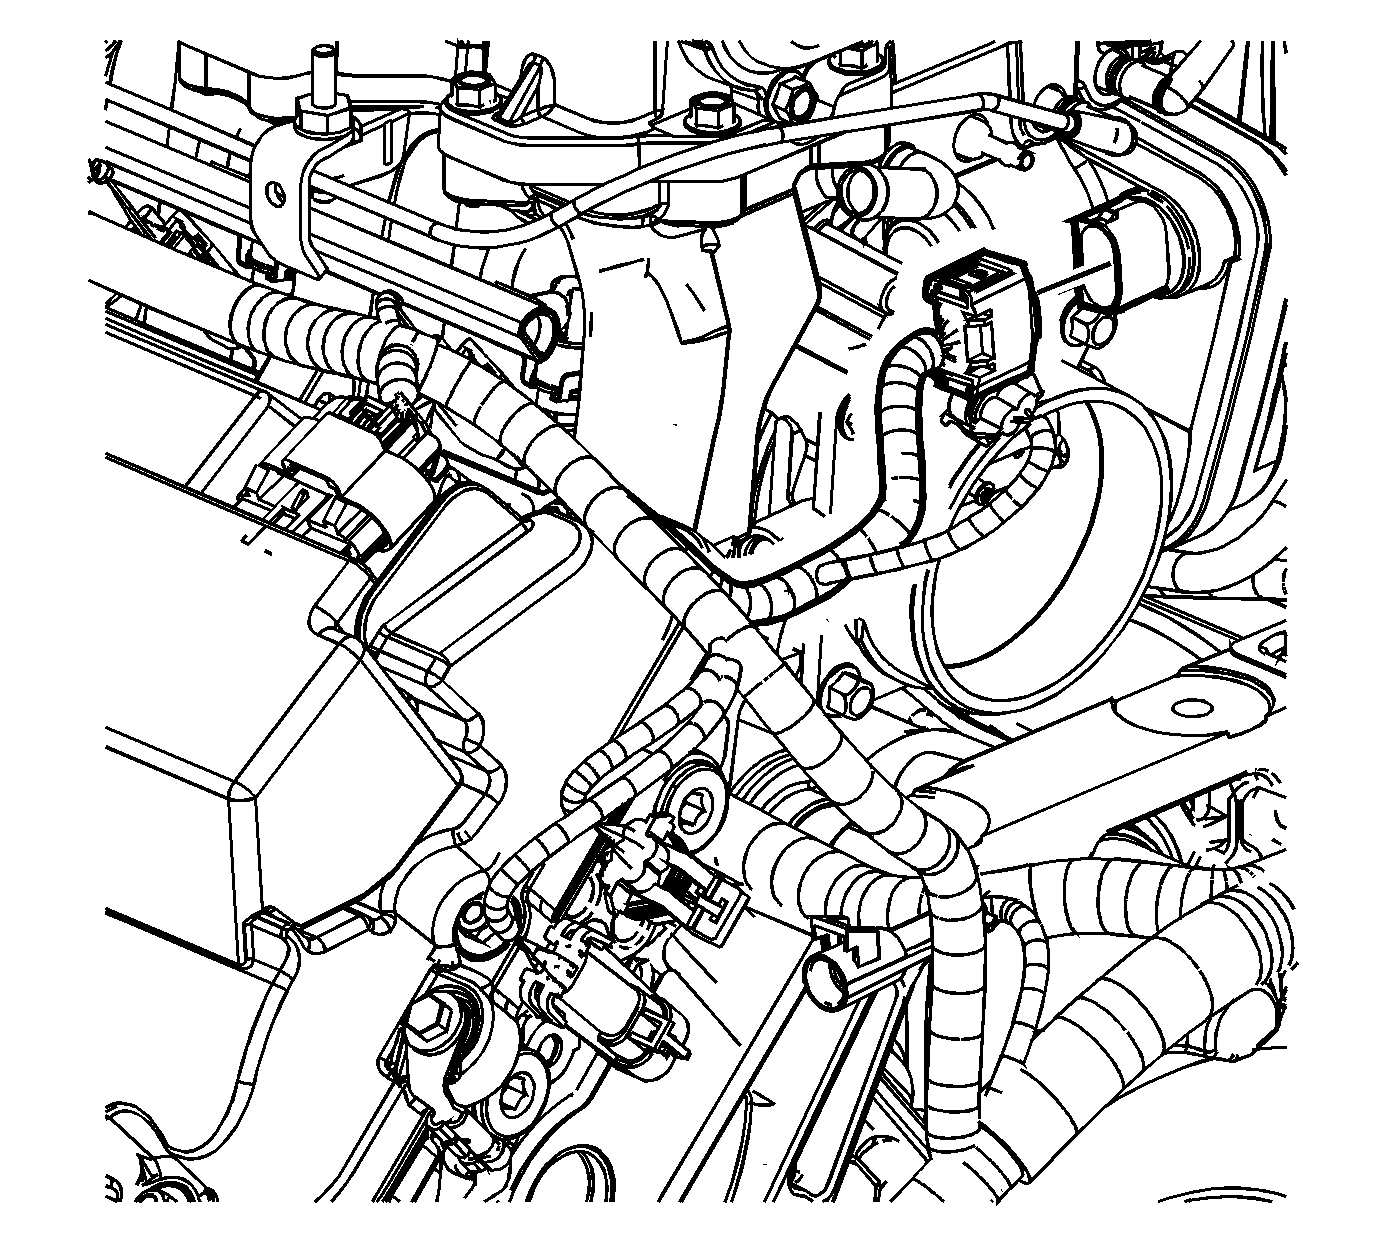
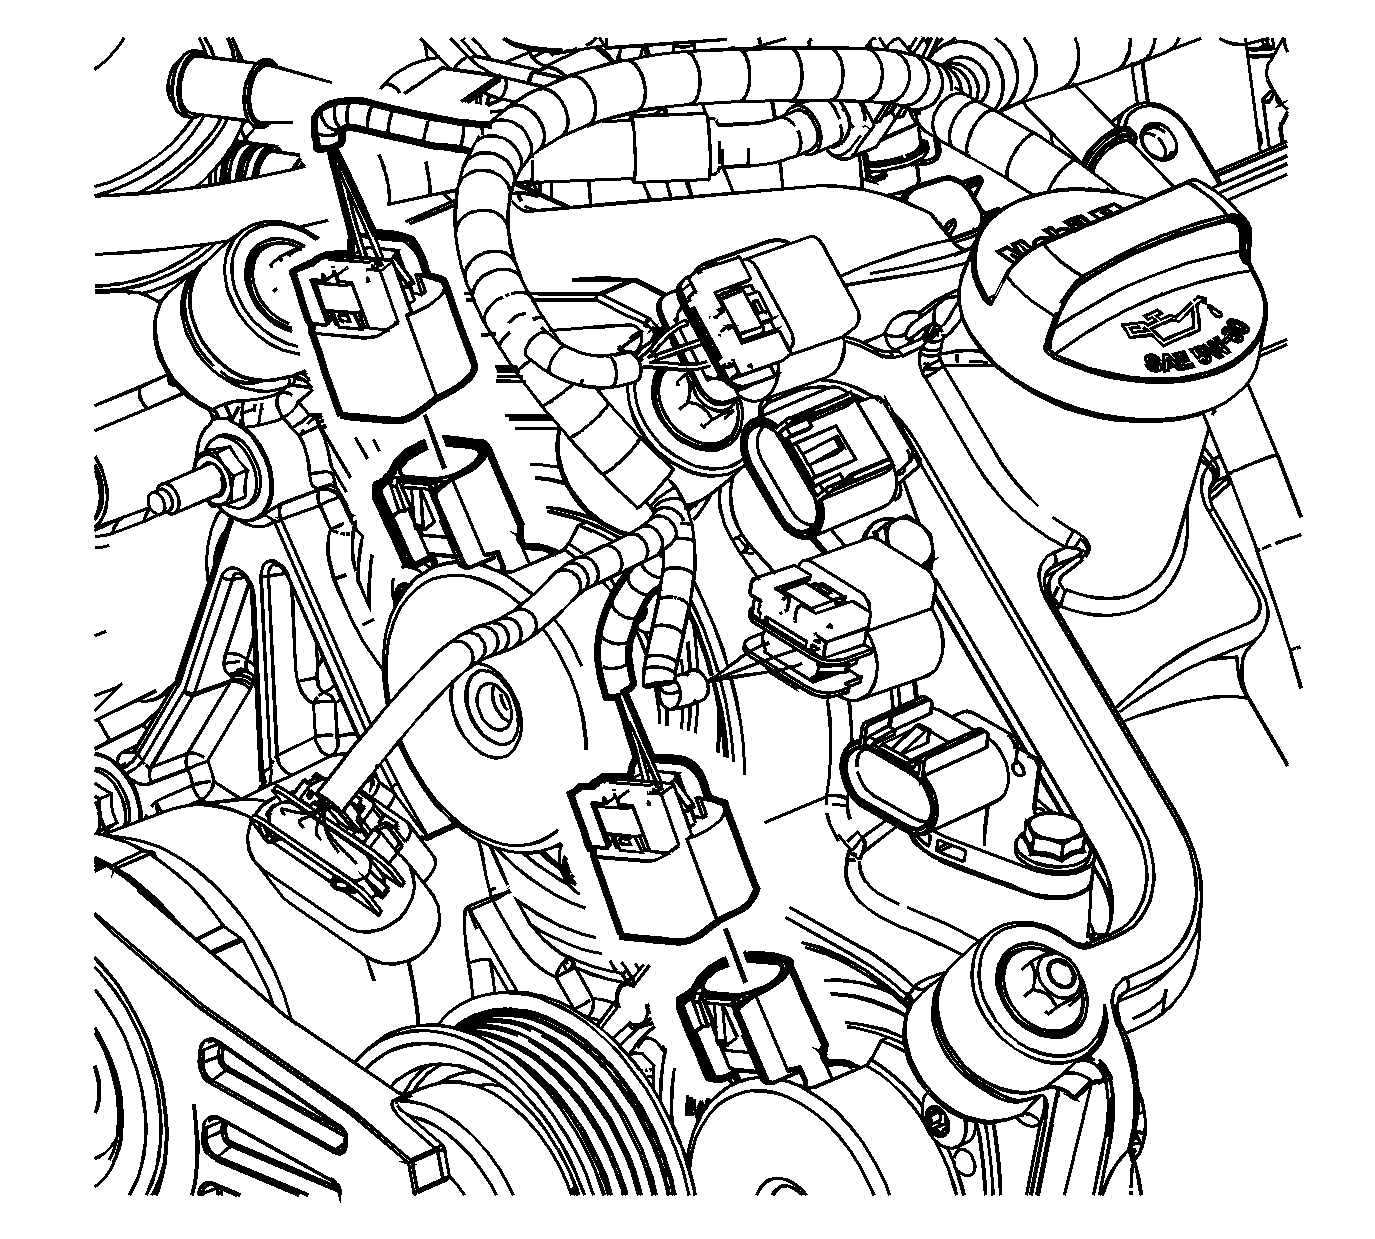
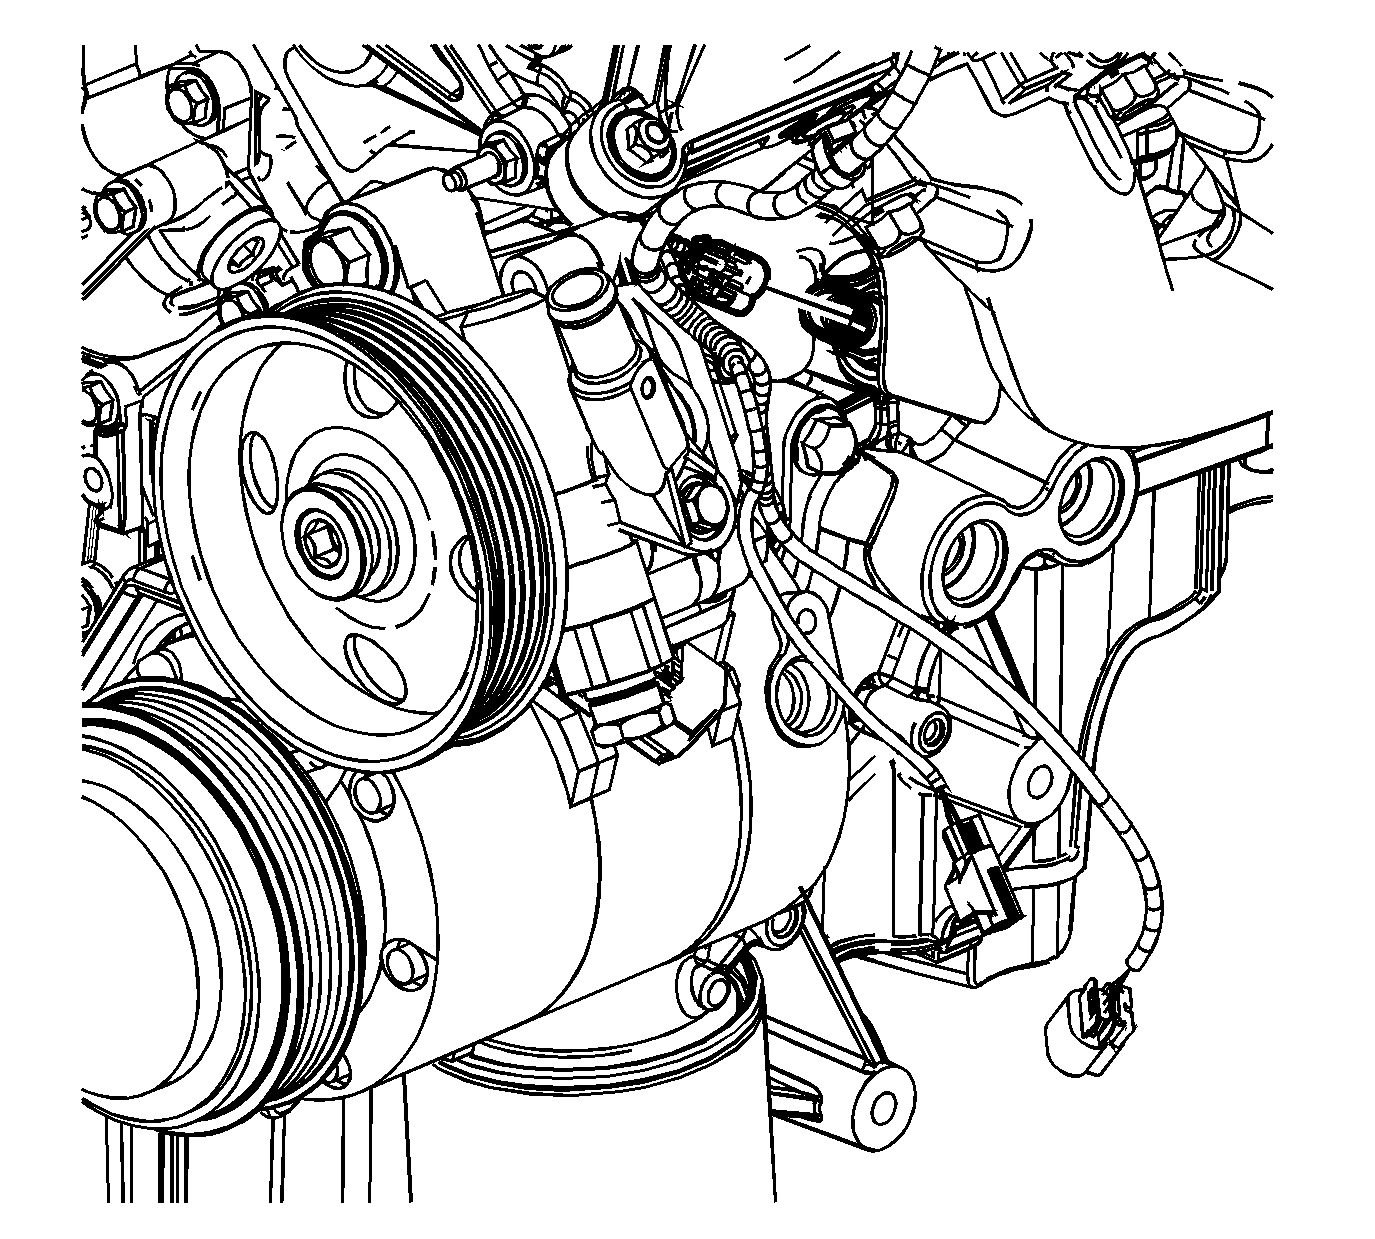
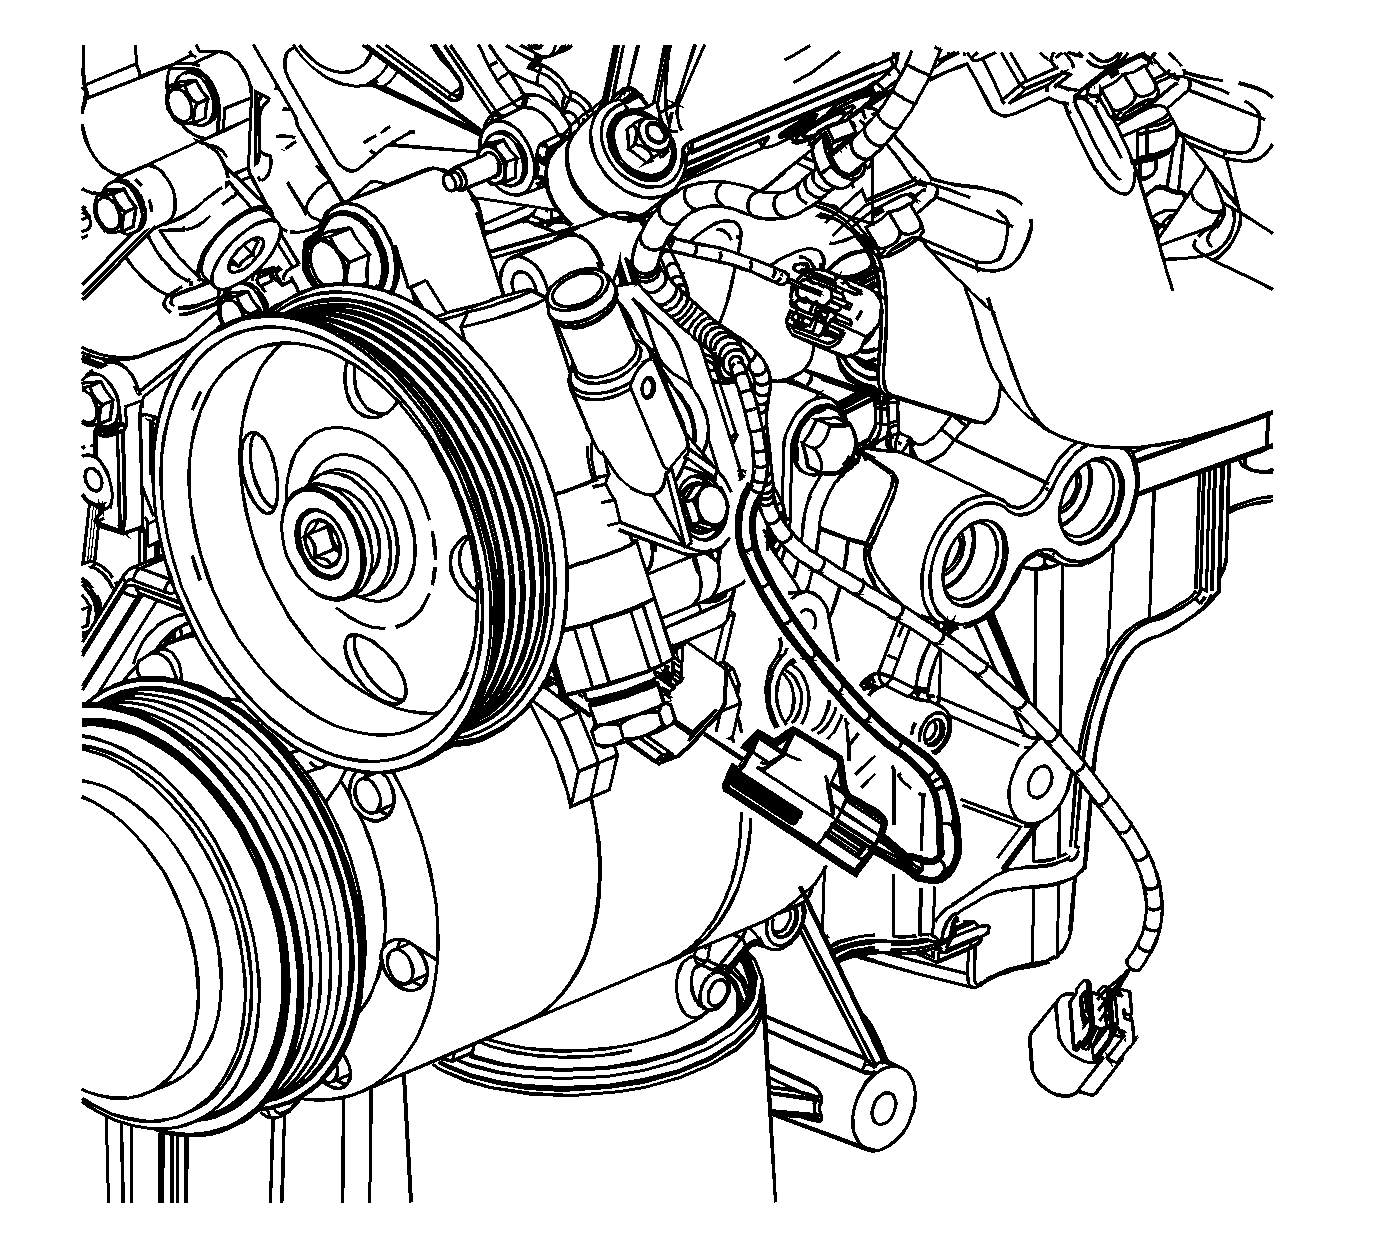
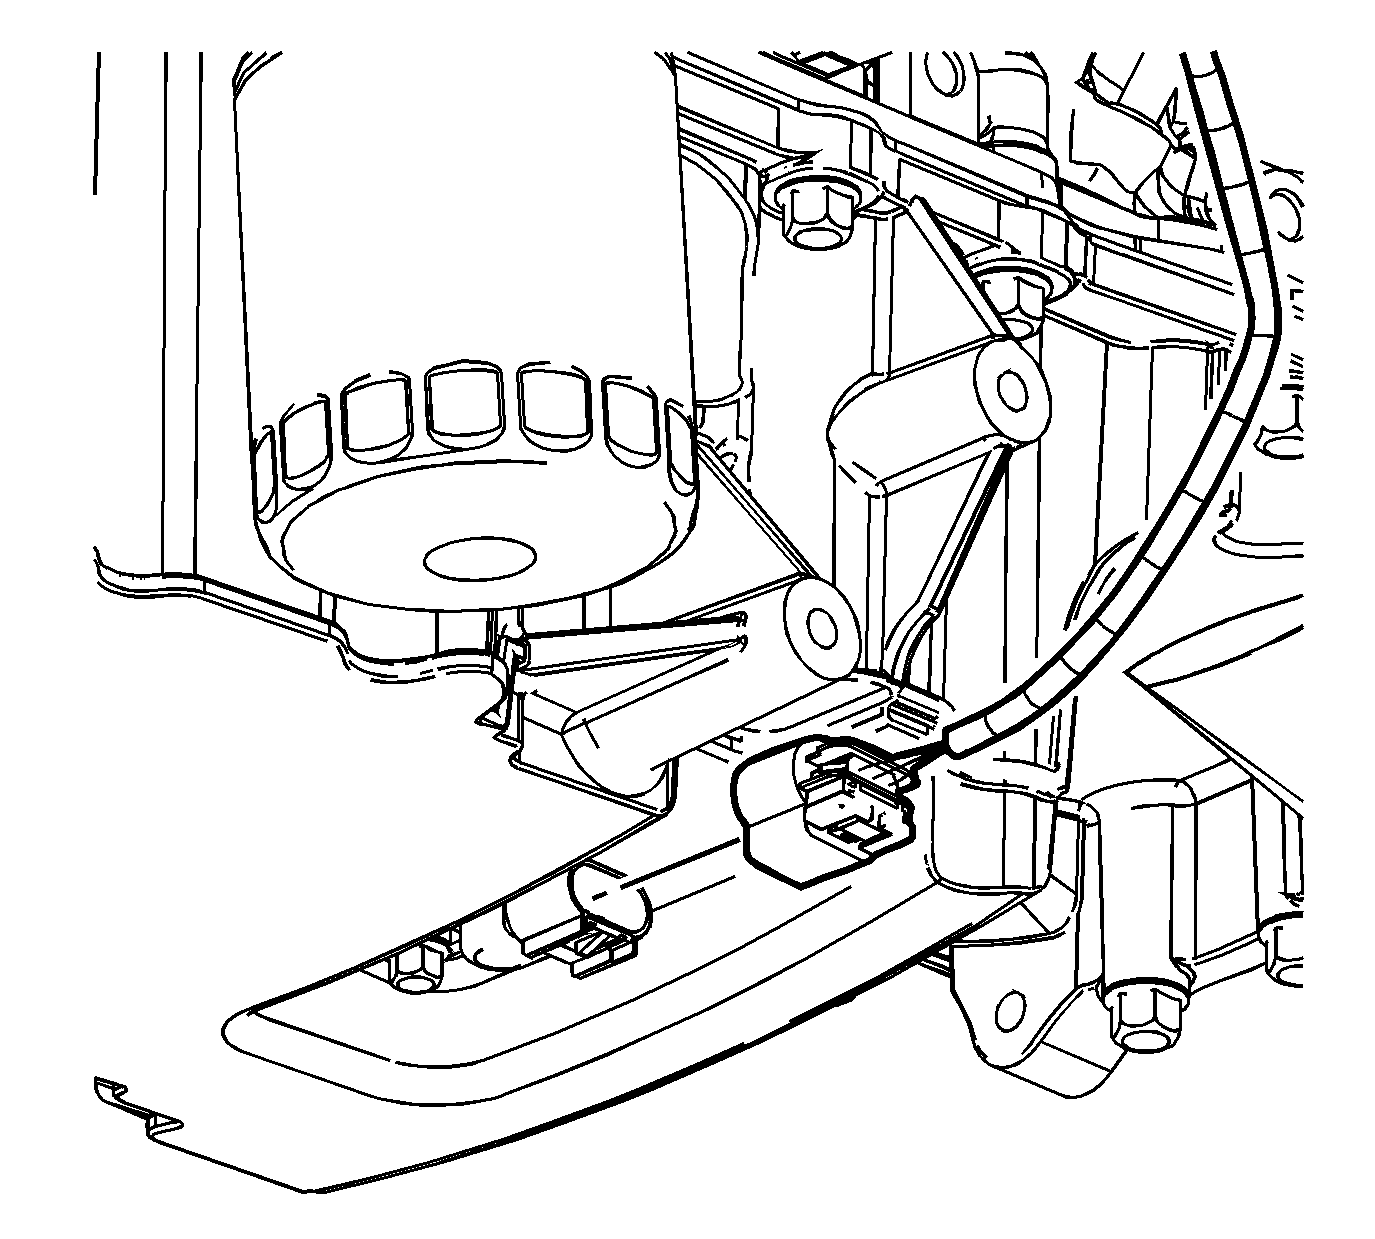
Left Side Harness Connections
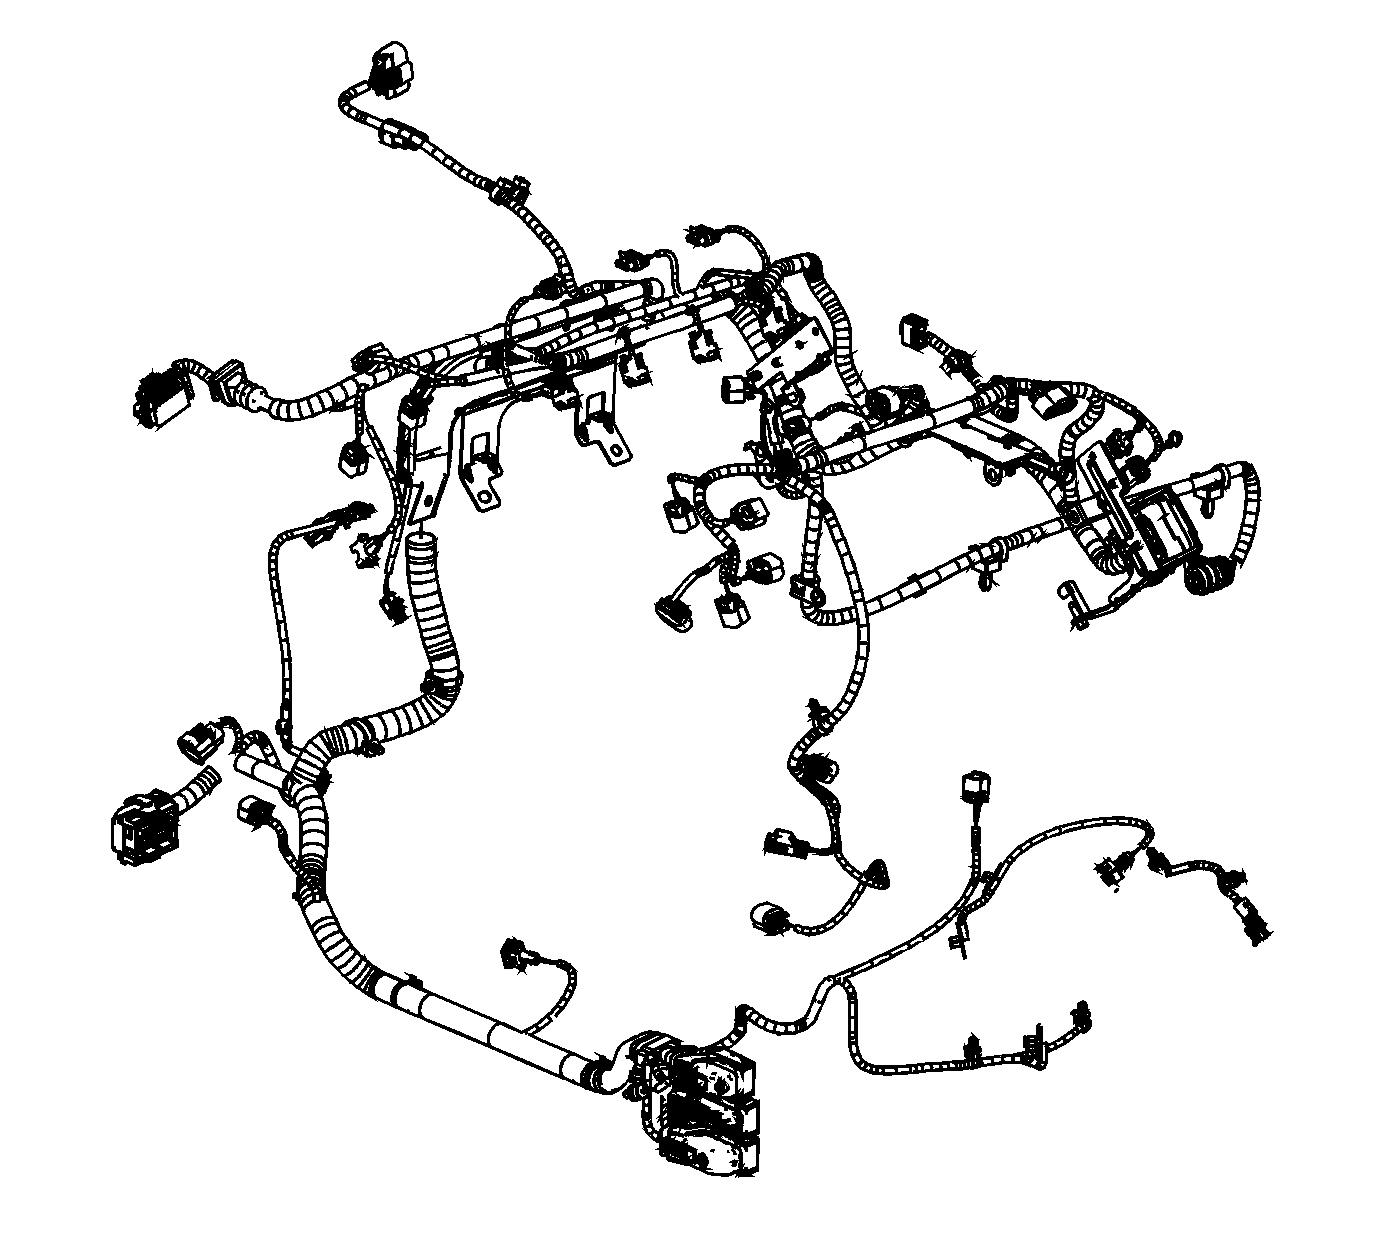
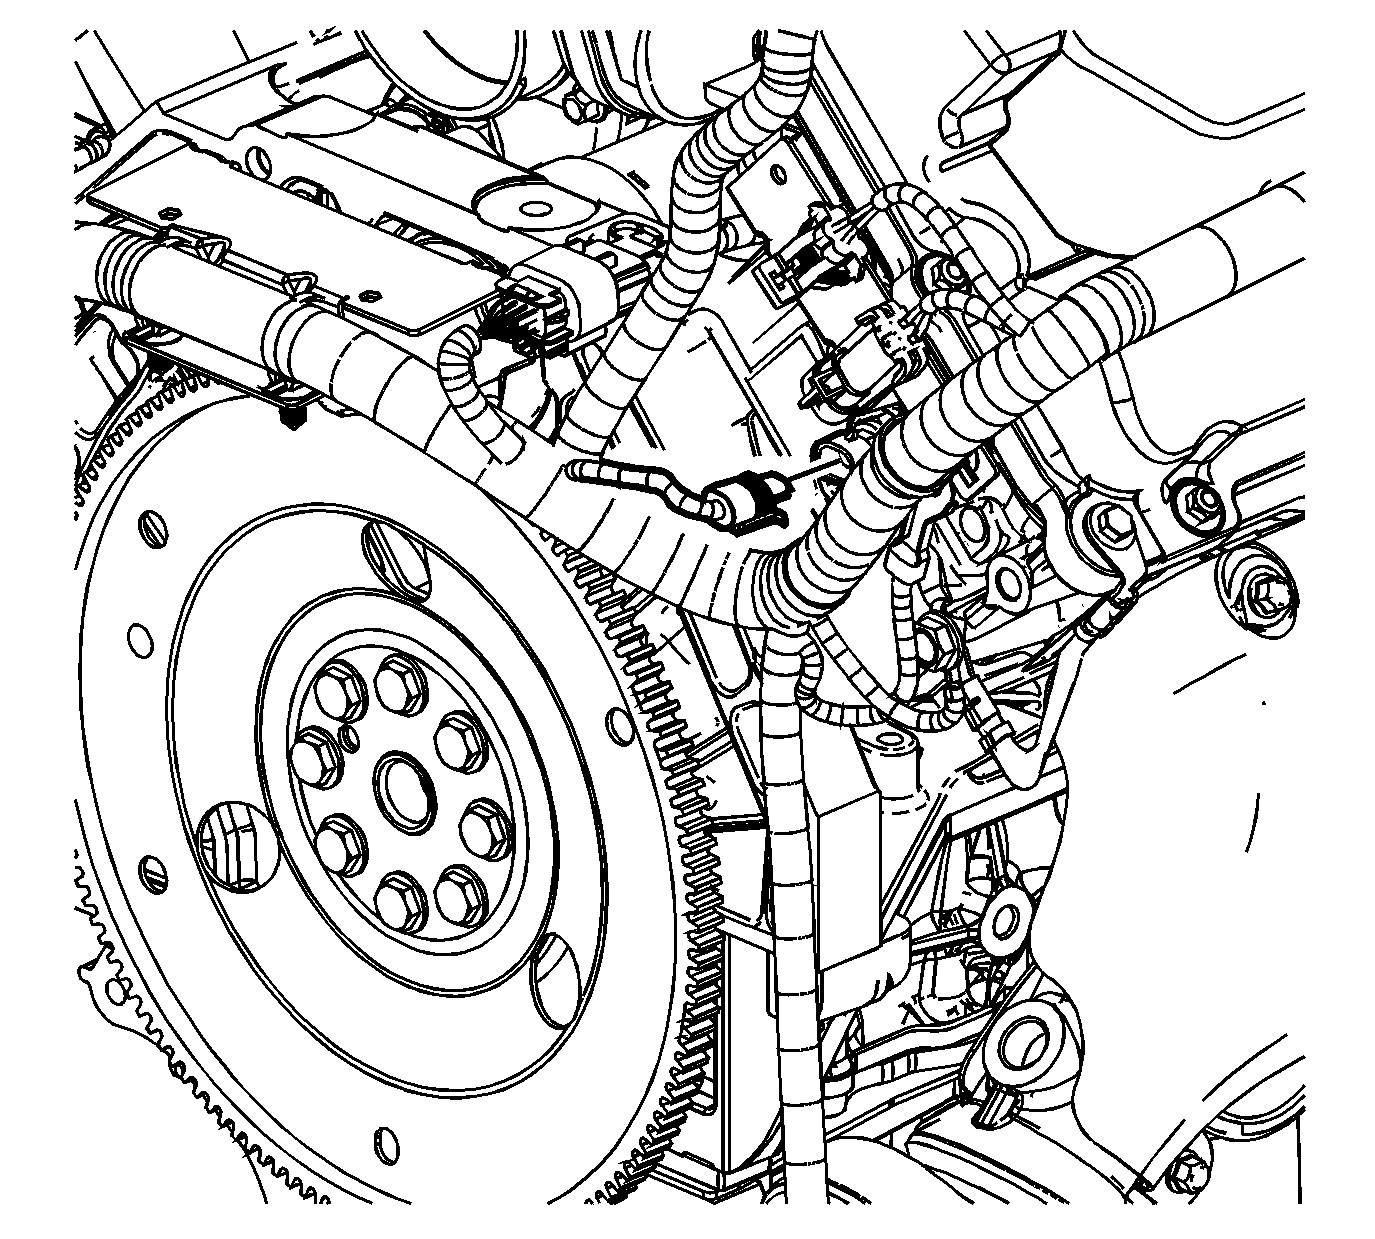
- Install the engine wiring harness to the engine block.
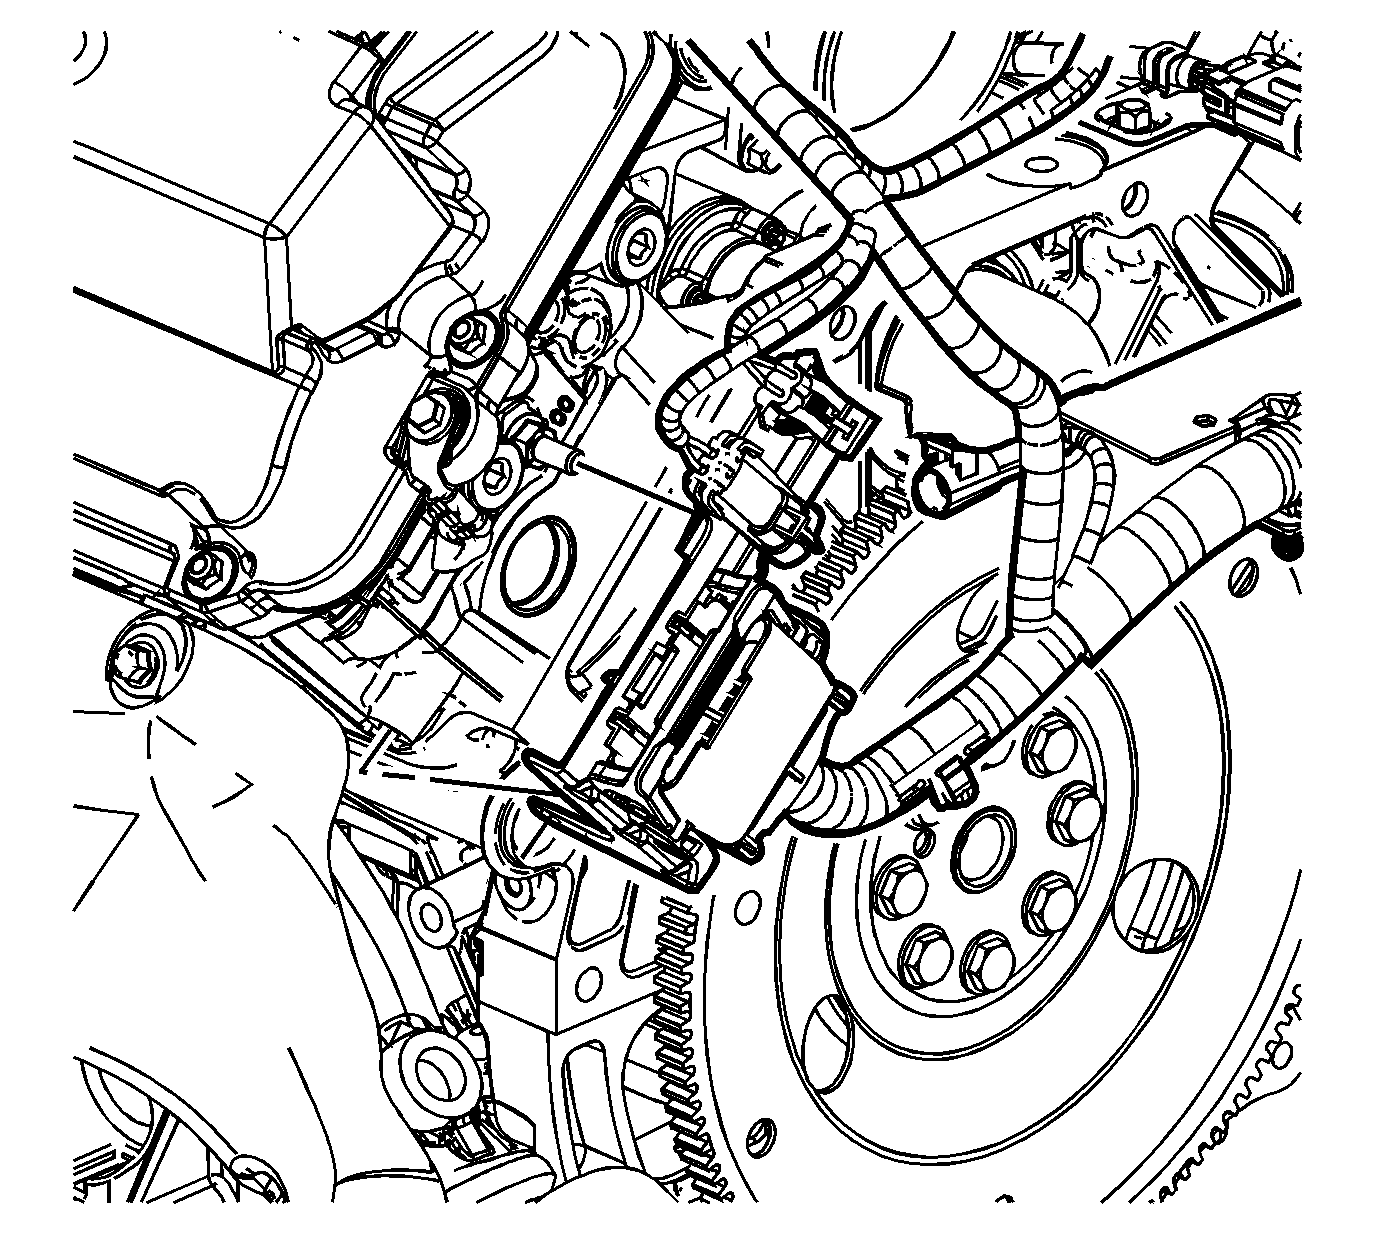
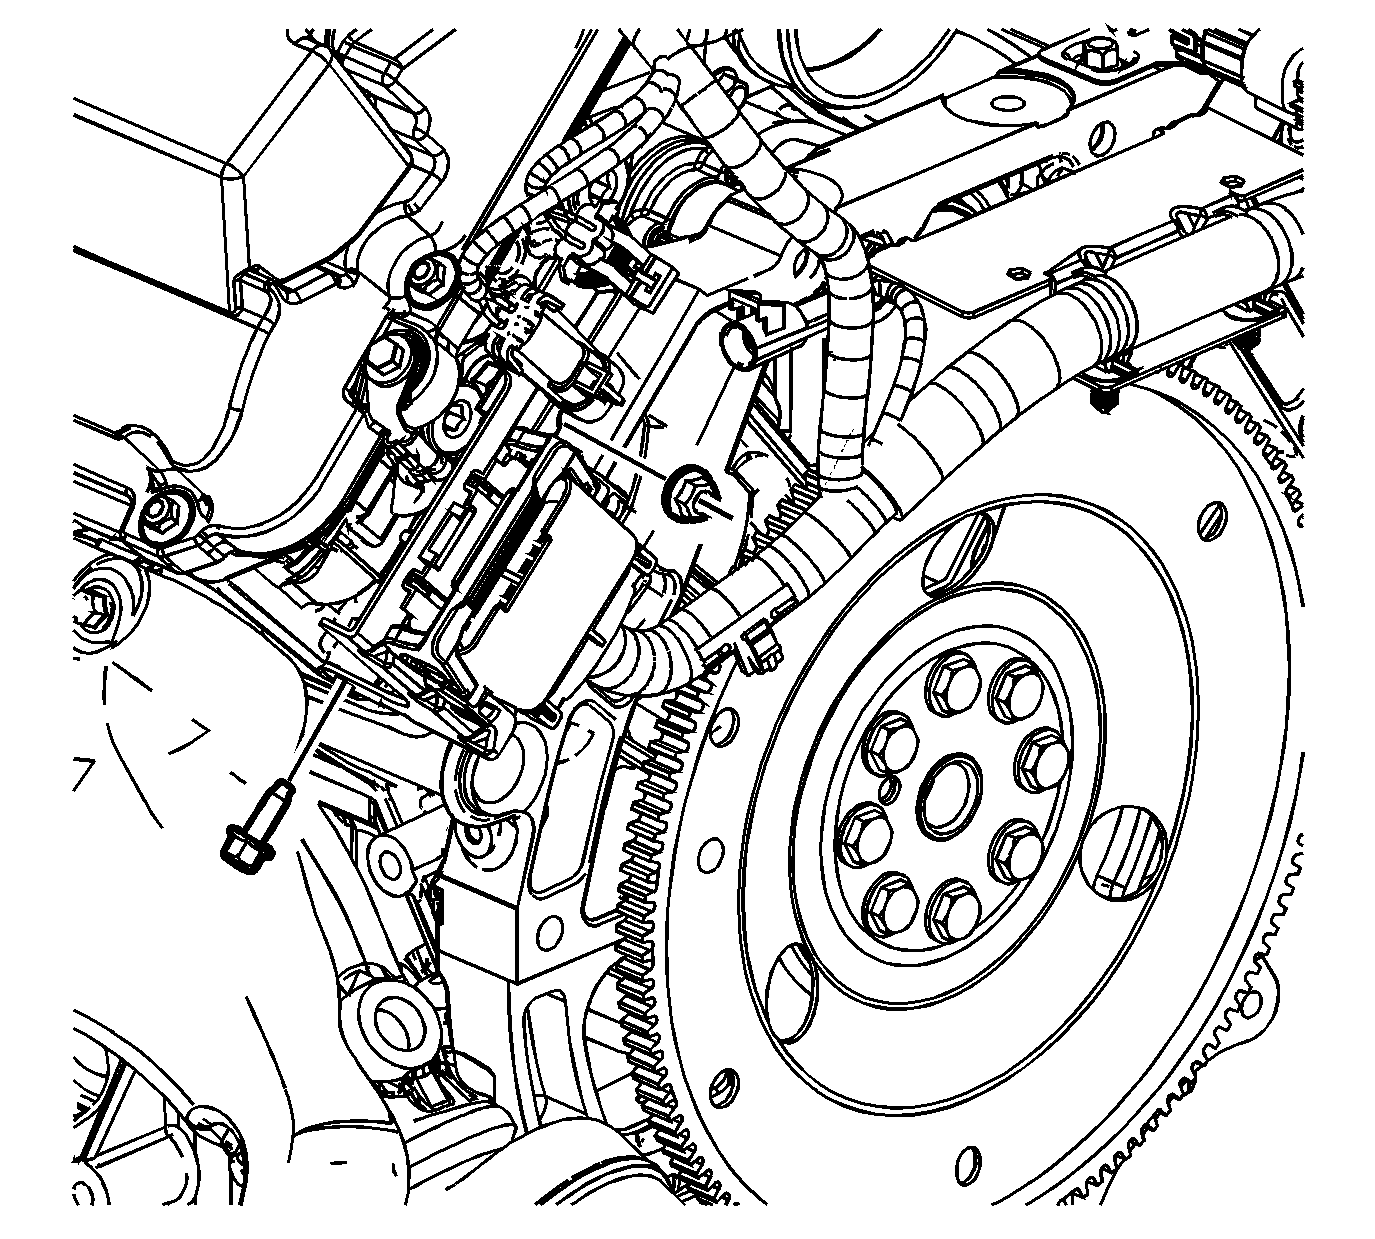
- Install the left rear engine harness bracket.
- Install the left rear engine harness bracket bolt and nut.
- Tighten the left rear engine harness bracket bolt to 10 N·m (89 lb in).
- Tighten the left rear engine harness bracket nut to 25 N·m (18 lb ft).
- Connect the engine wiring harness starter connector to the starter wiring harness.
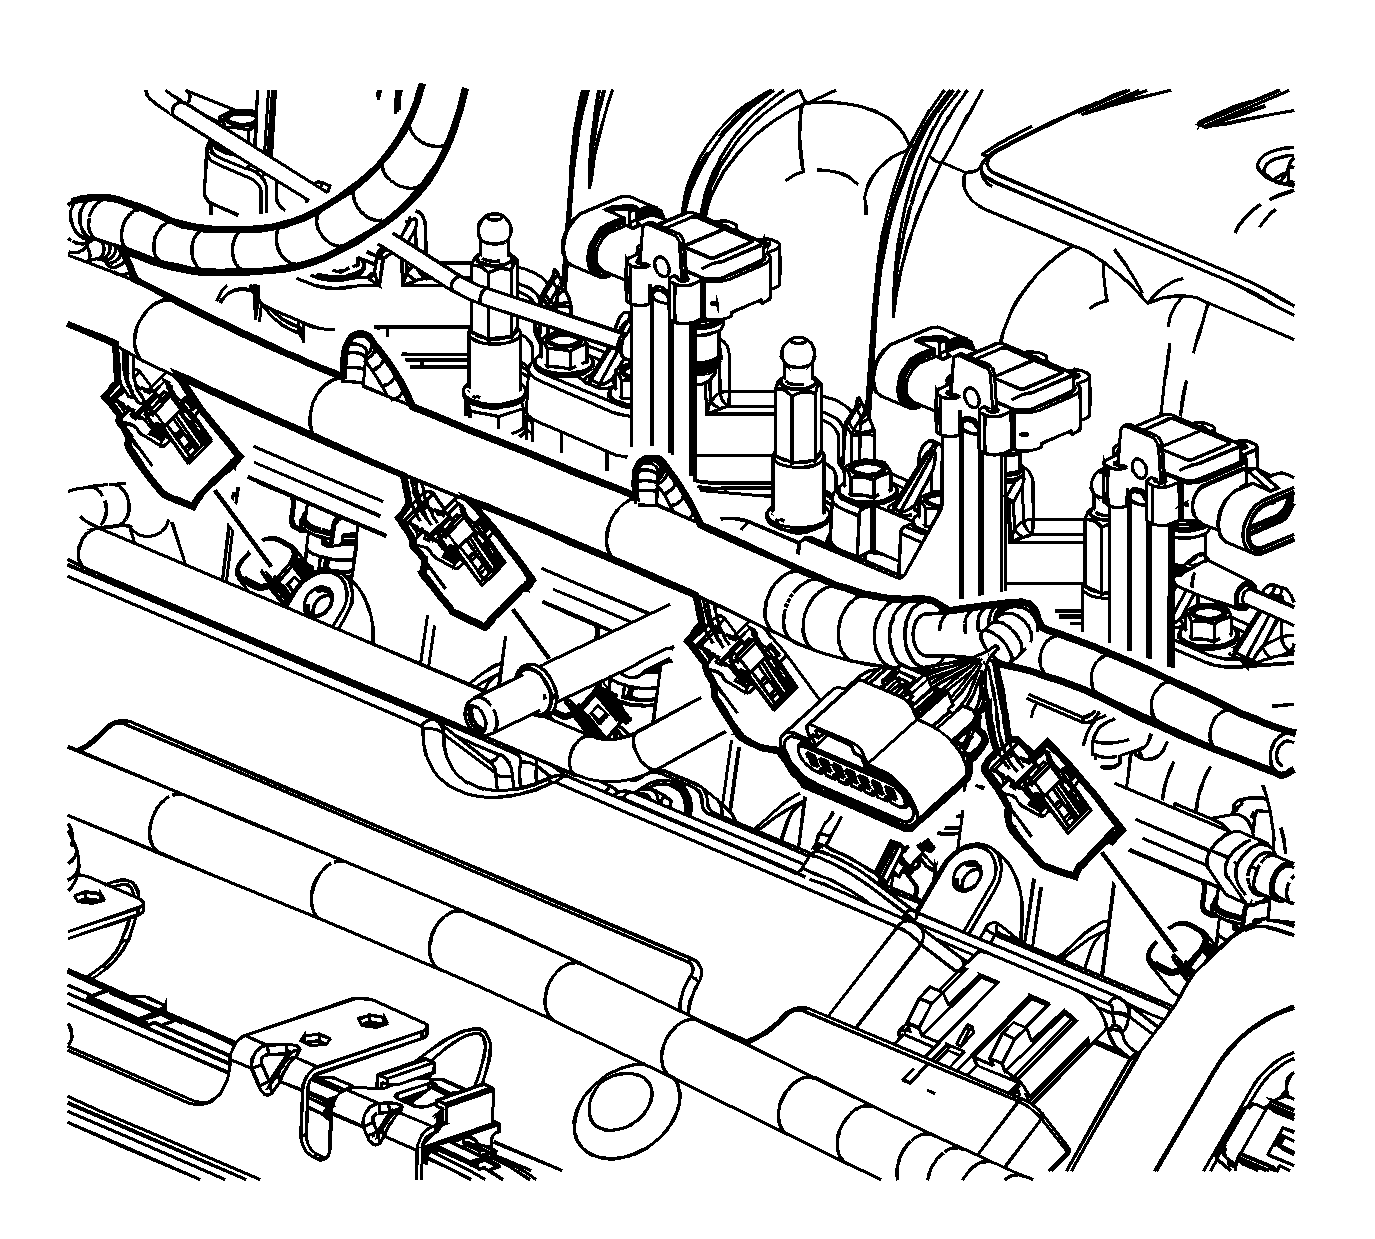
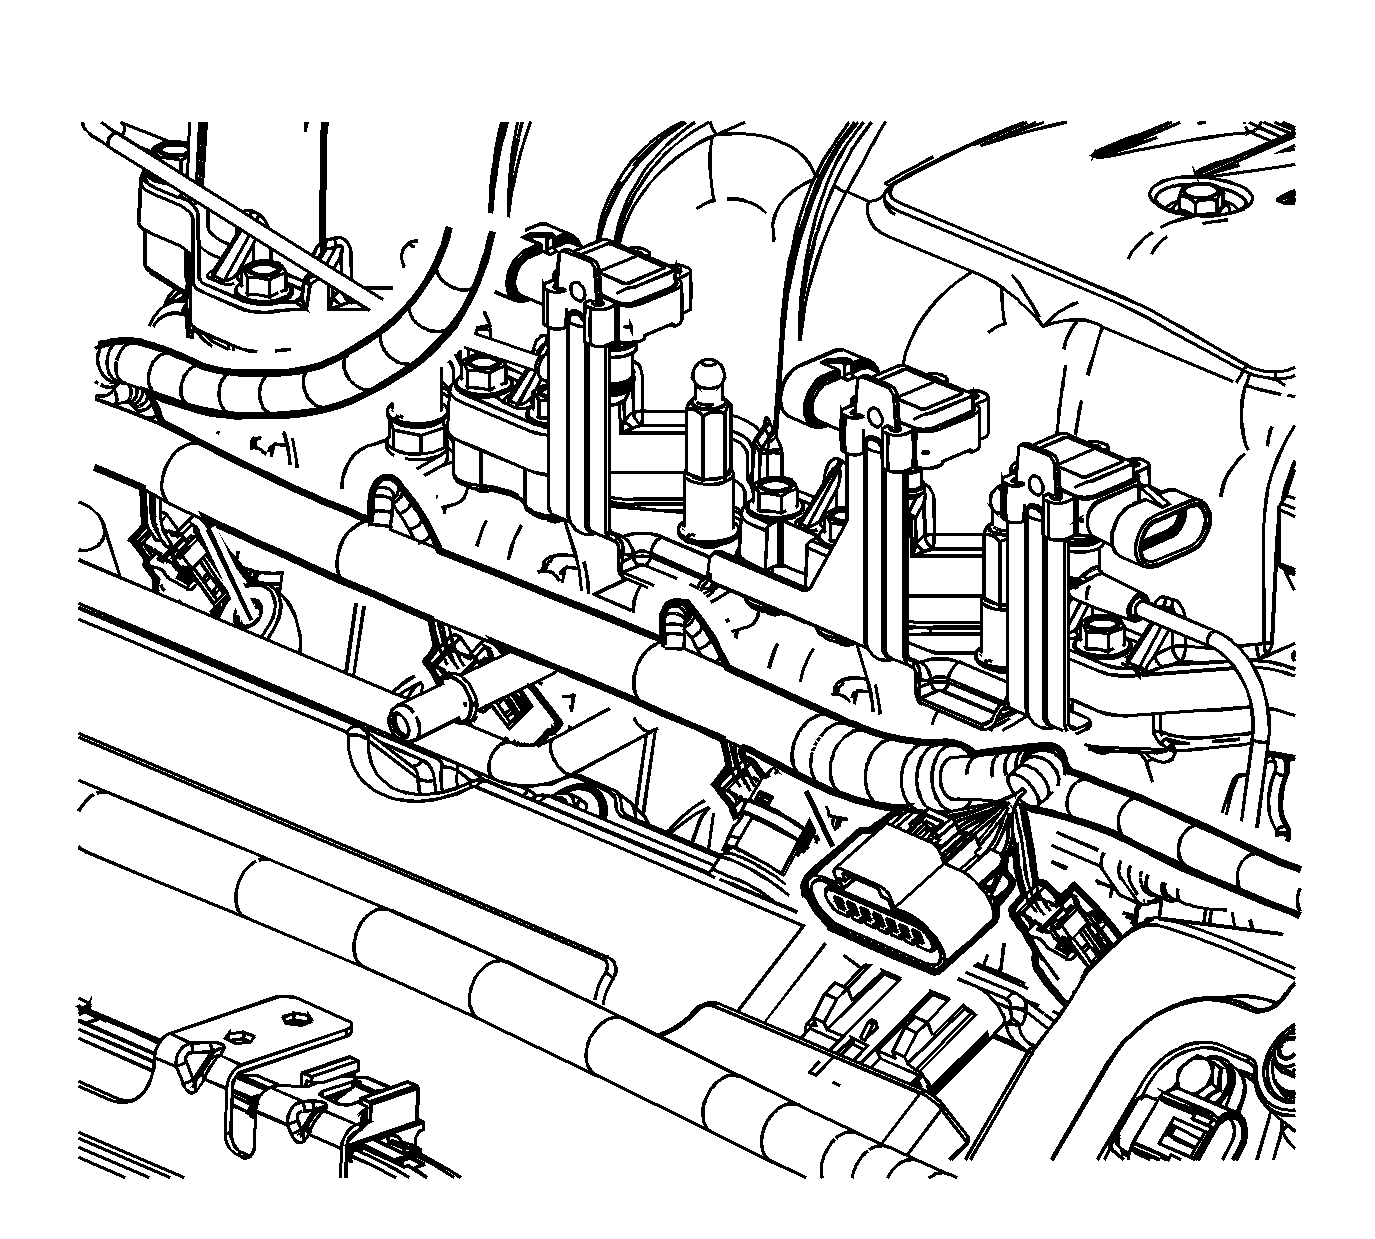
- Connect the engine wiring harness to the left side fuel injectors.
- Connect the engine wiring harness to the left camshaft cover.
- Connect the engine wiring harness to the left coil assembly harness.
- Connect the engine wiring harness to the evaporative emissions (EVAP) canister purge solenoid.
- Connect the engine wiring harness to the throttle body.
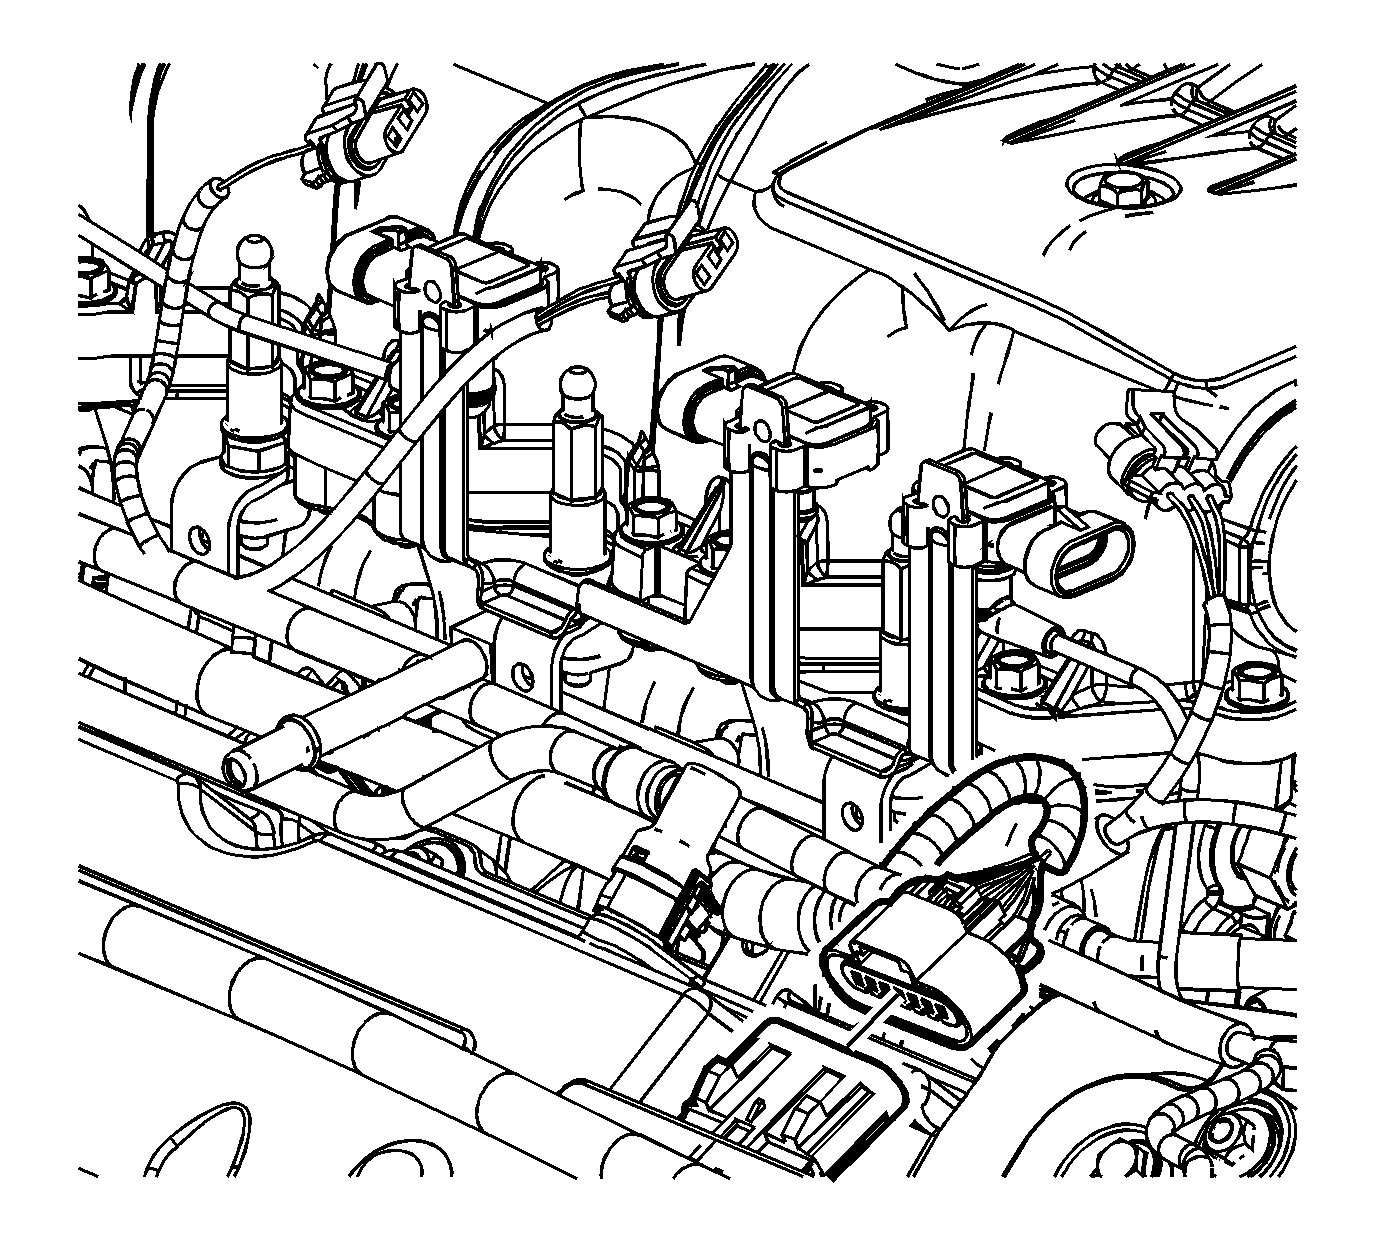
- Connect the engine wiring harness to the left camshaft position actuators.
- Connect the engine wiring harness to the left camshaft position sensors.
- Connect the engine wiring harness to the supercharger charge air bypass regulator solenoid valve.
- Connect the engine wiring harness to the oil pressure sensor.
- Connect the engine wiring harness to the air conditioner compressor.
- Connect the engine wiring harness to the engine oil level switch/temperature sensor.
Notice: Refer to Fastener Notice in the Preface section.
Tighten
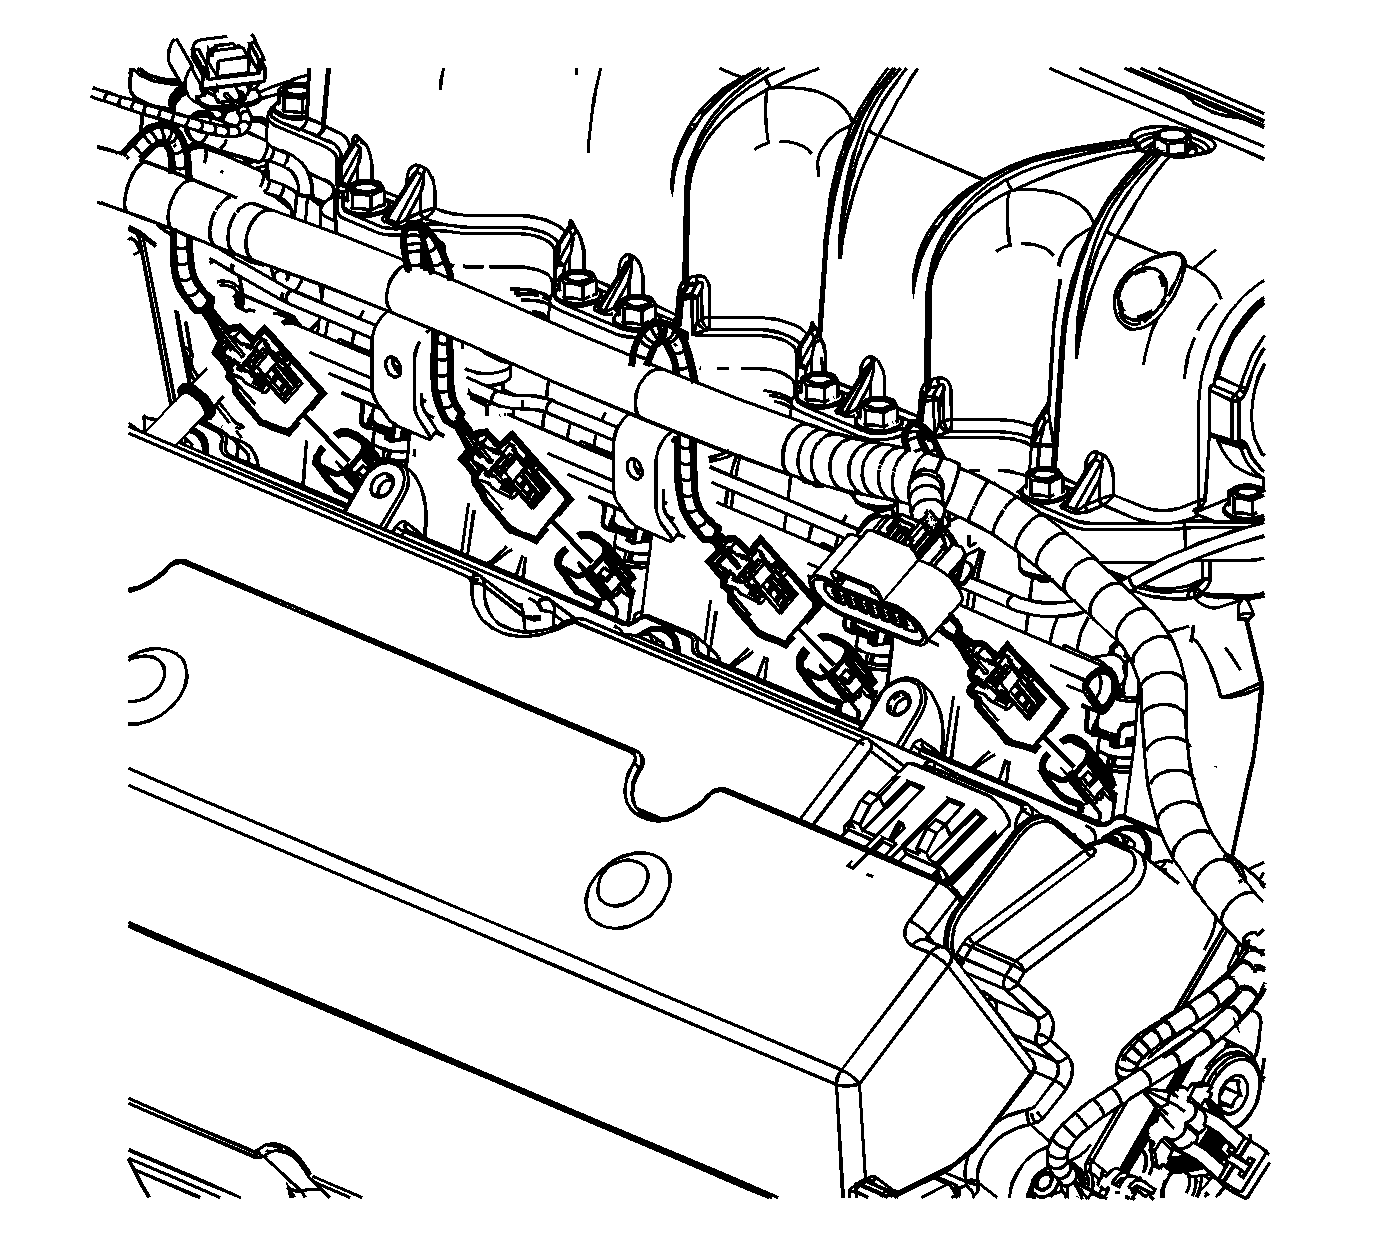
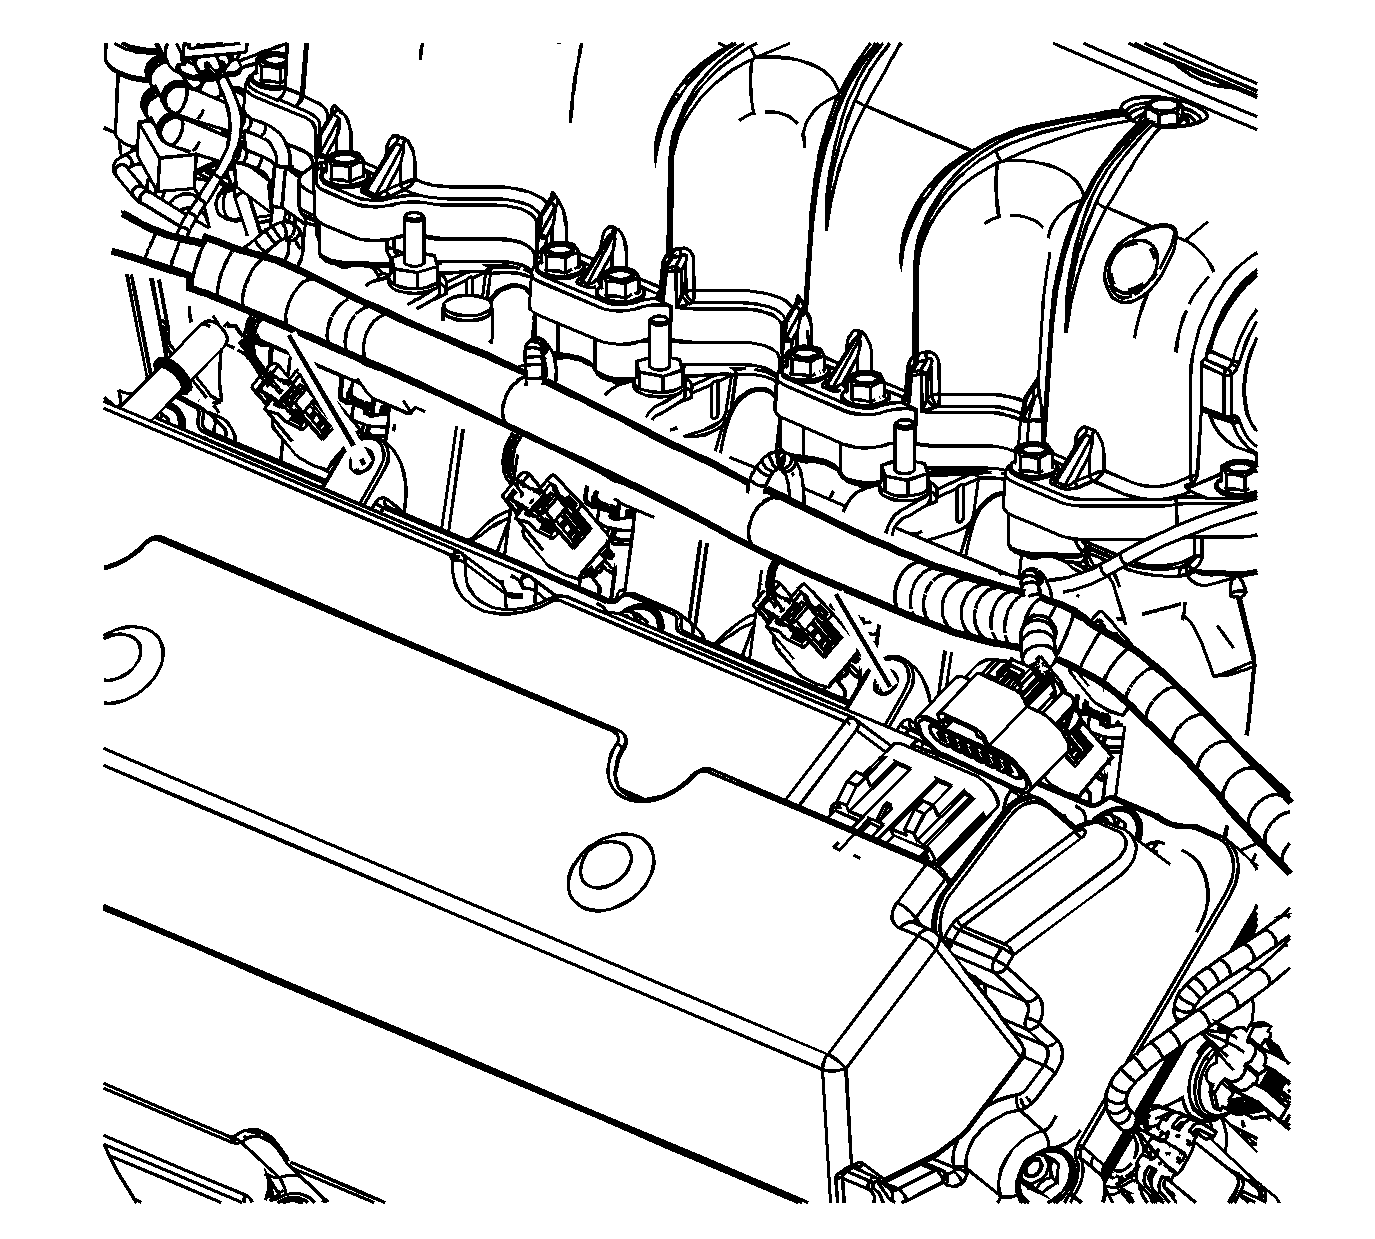
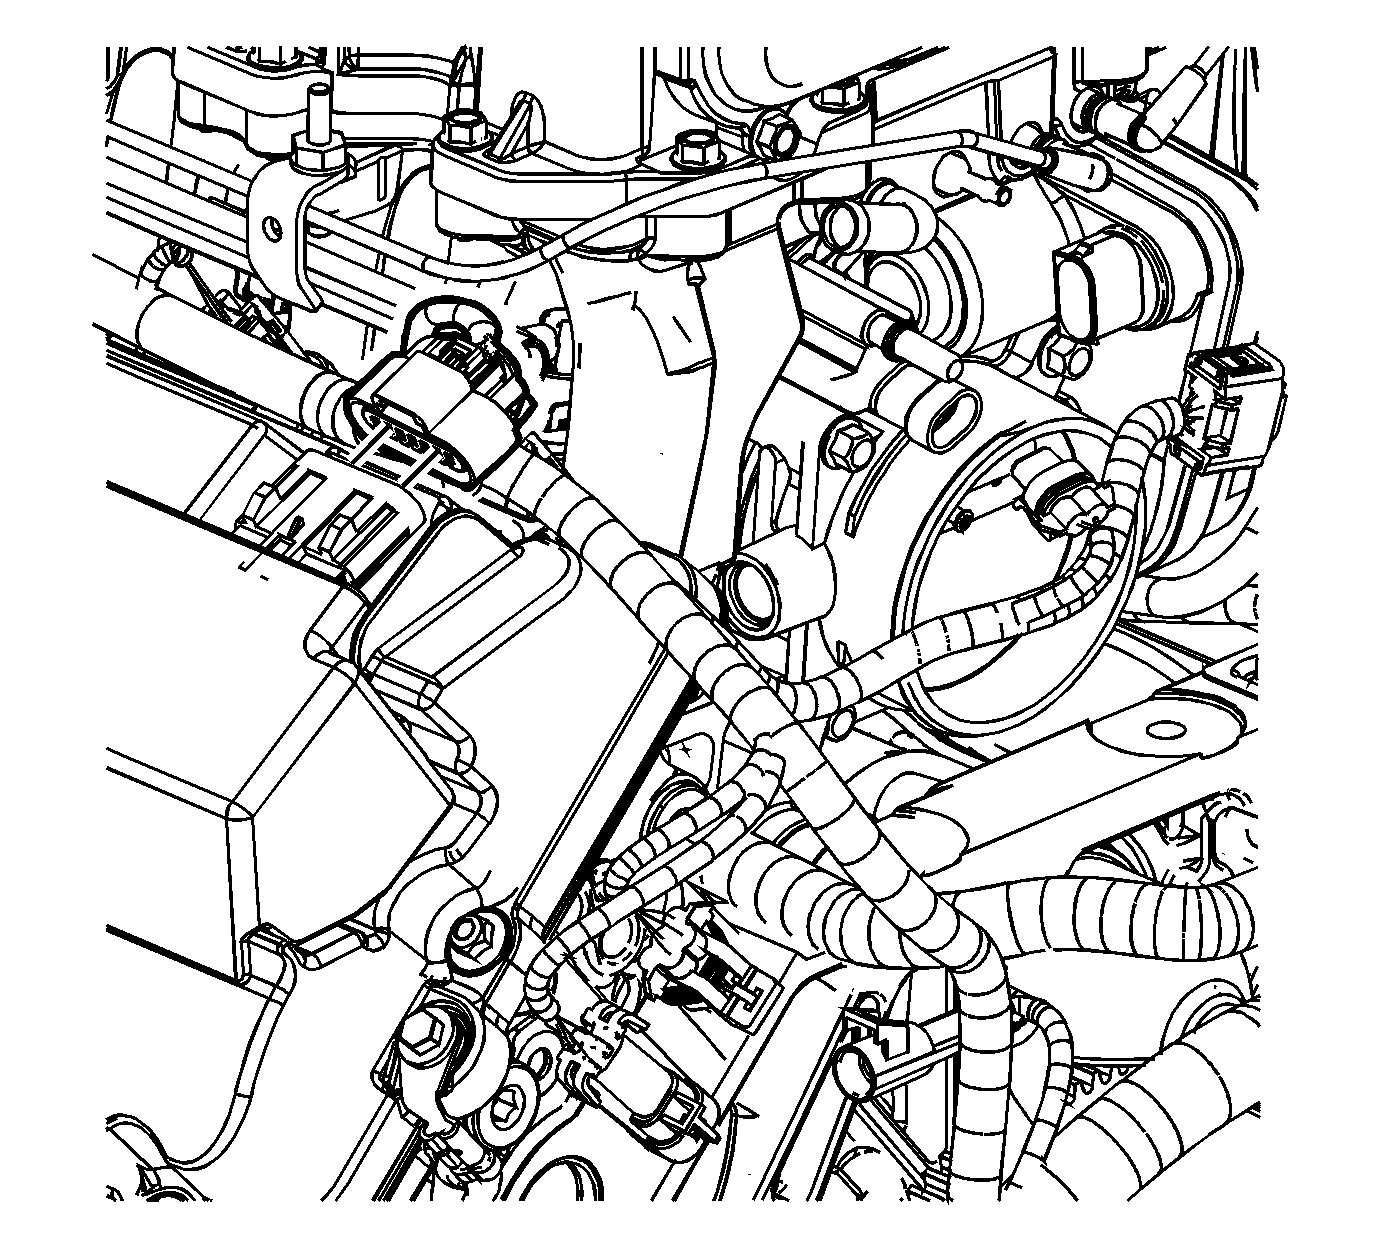
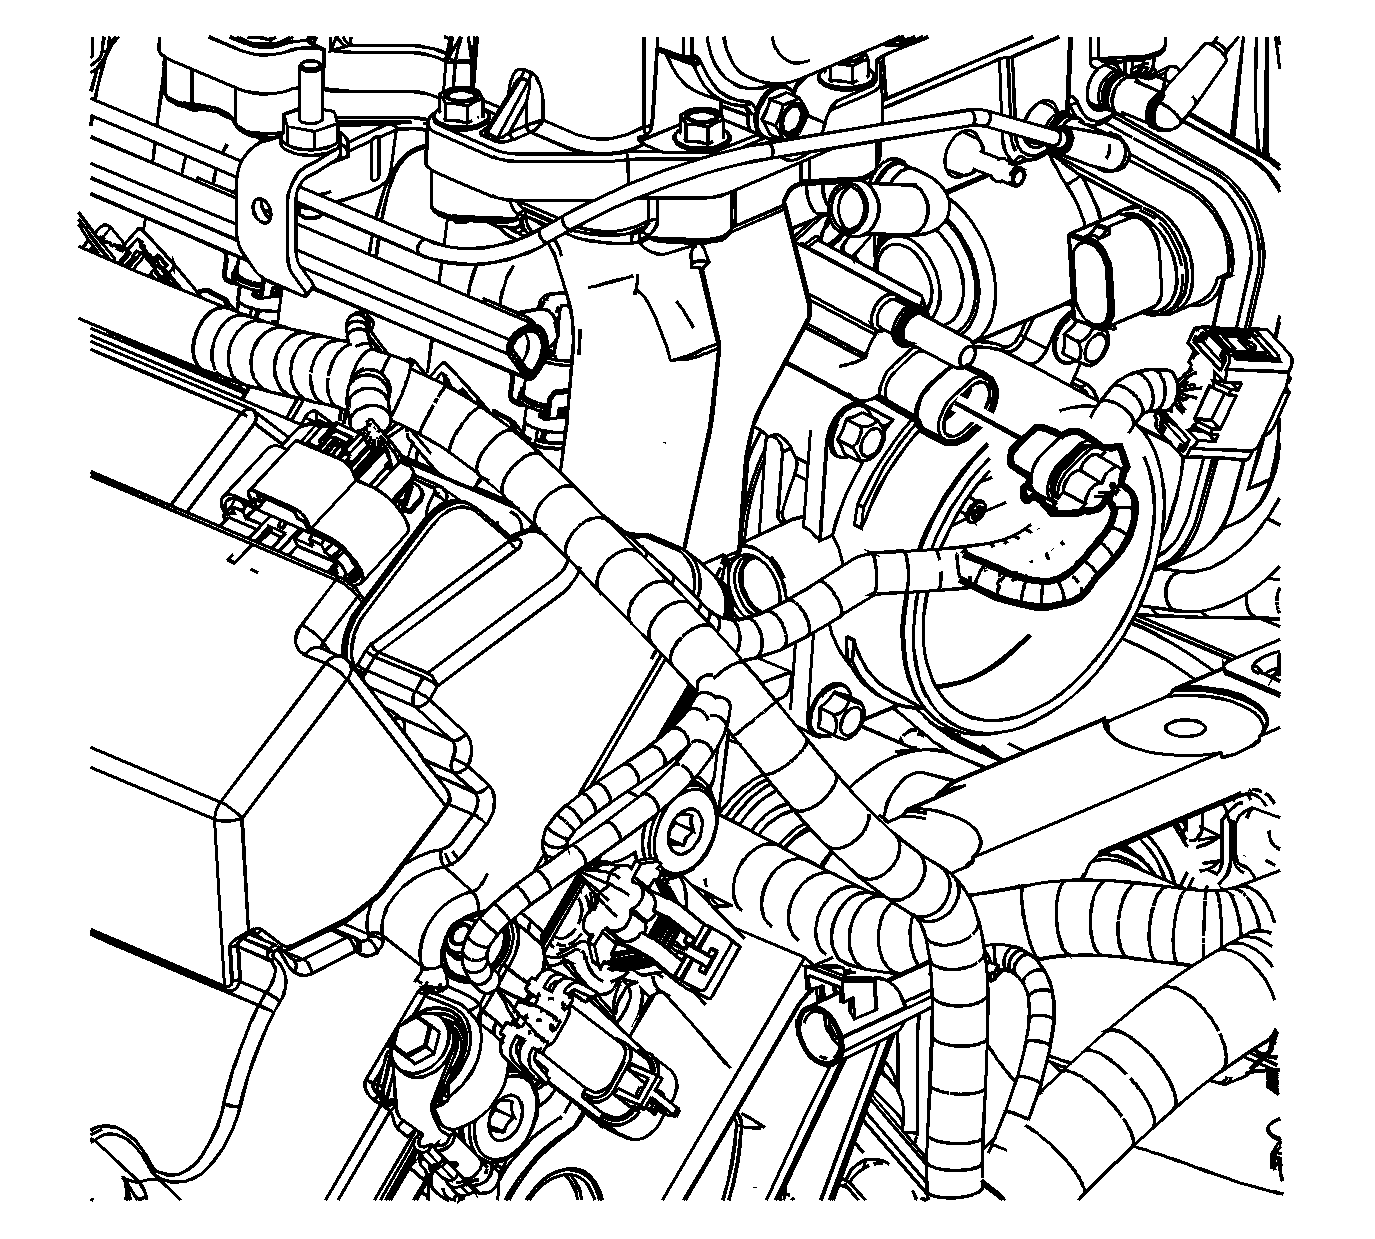
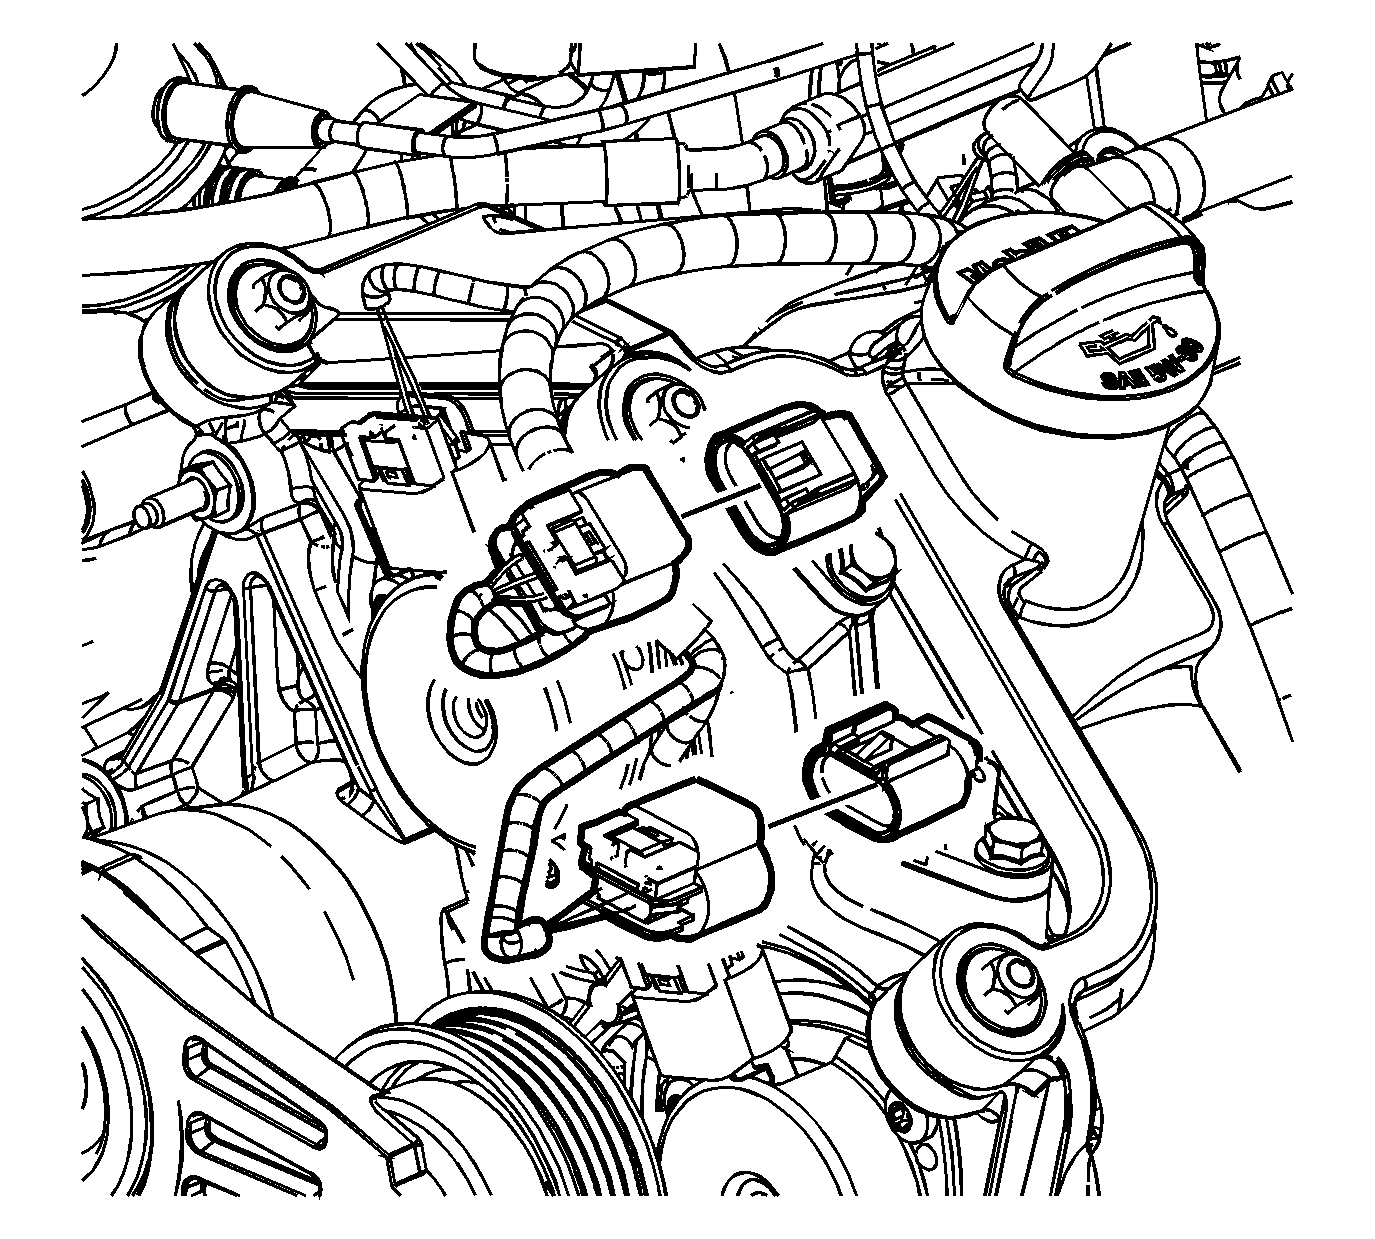
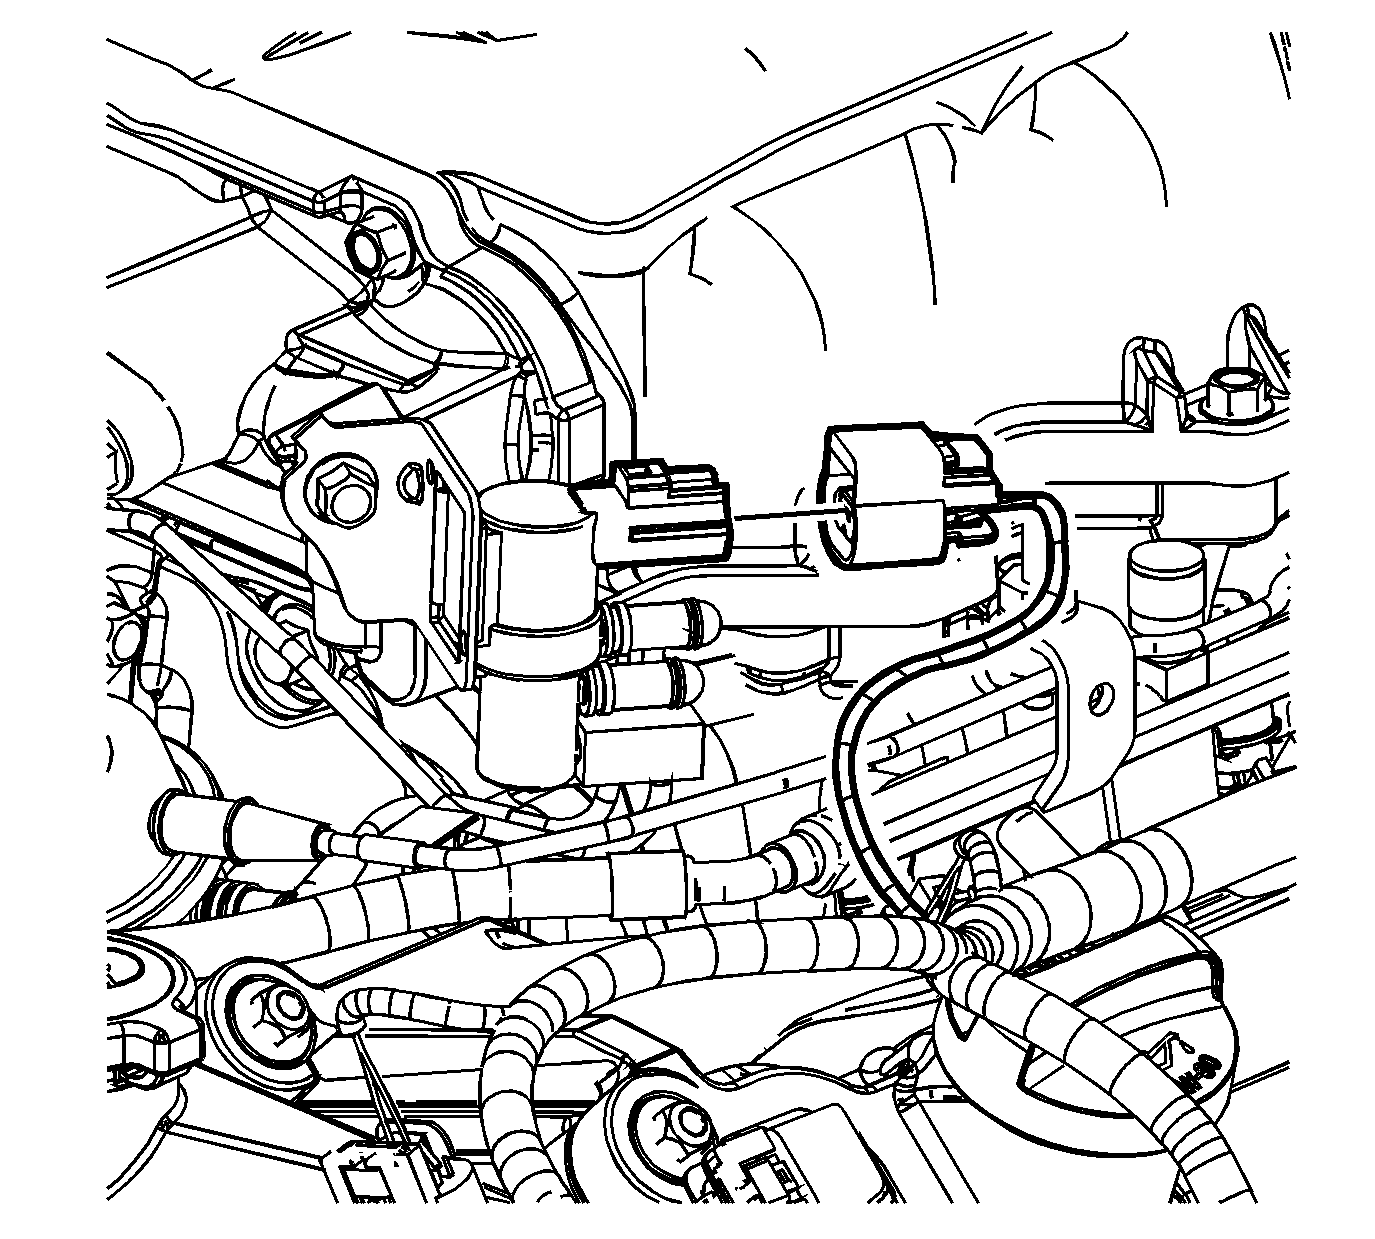
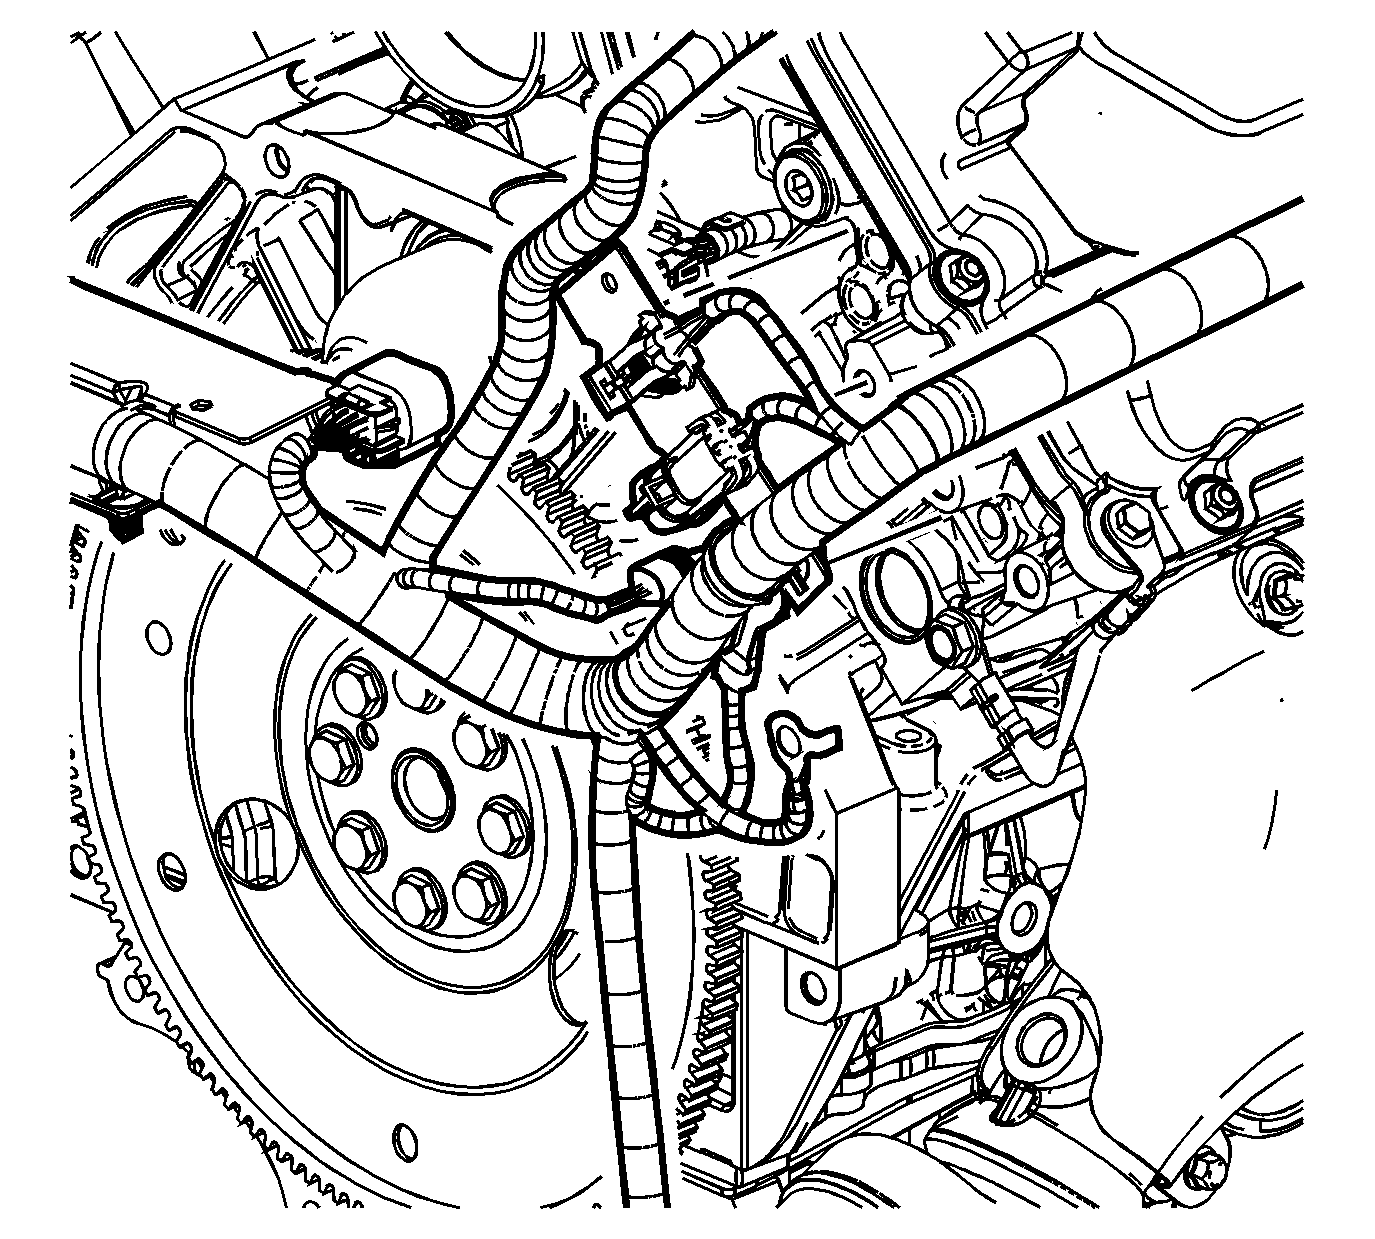
Right Side Harness Connections
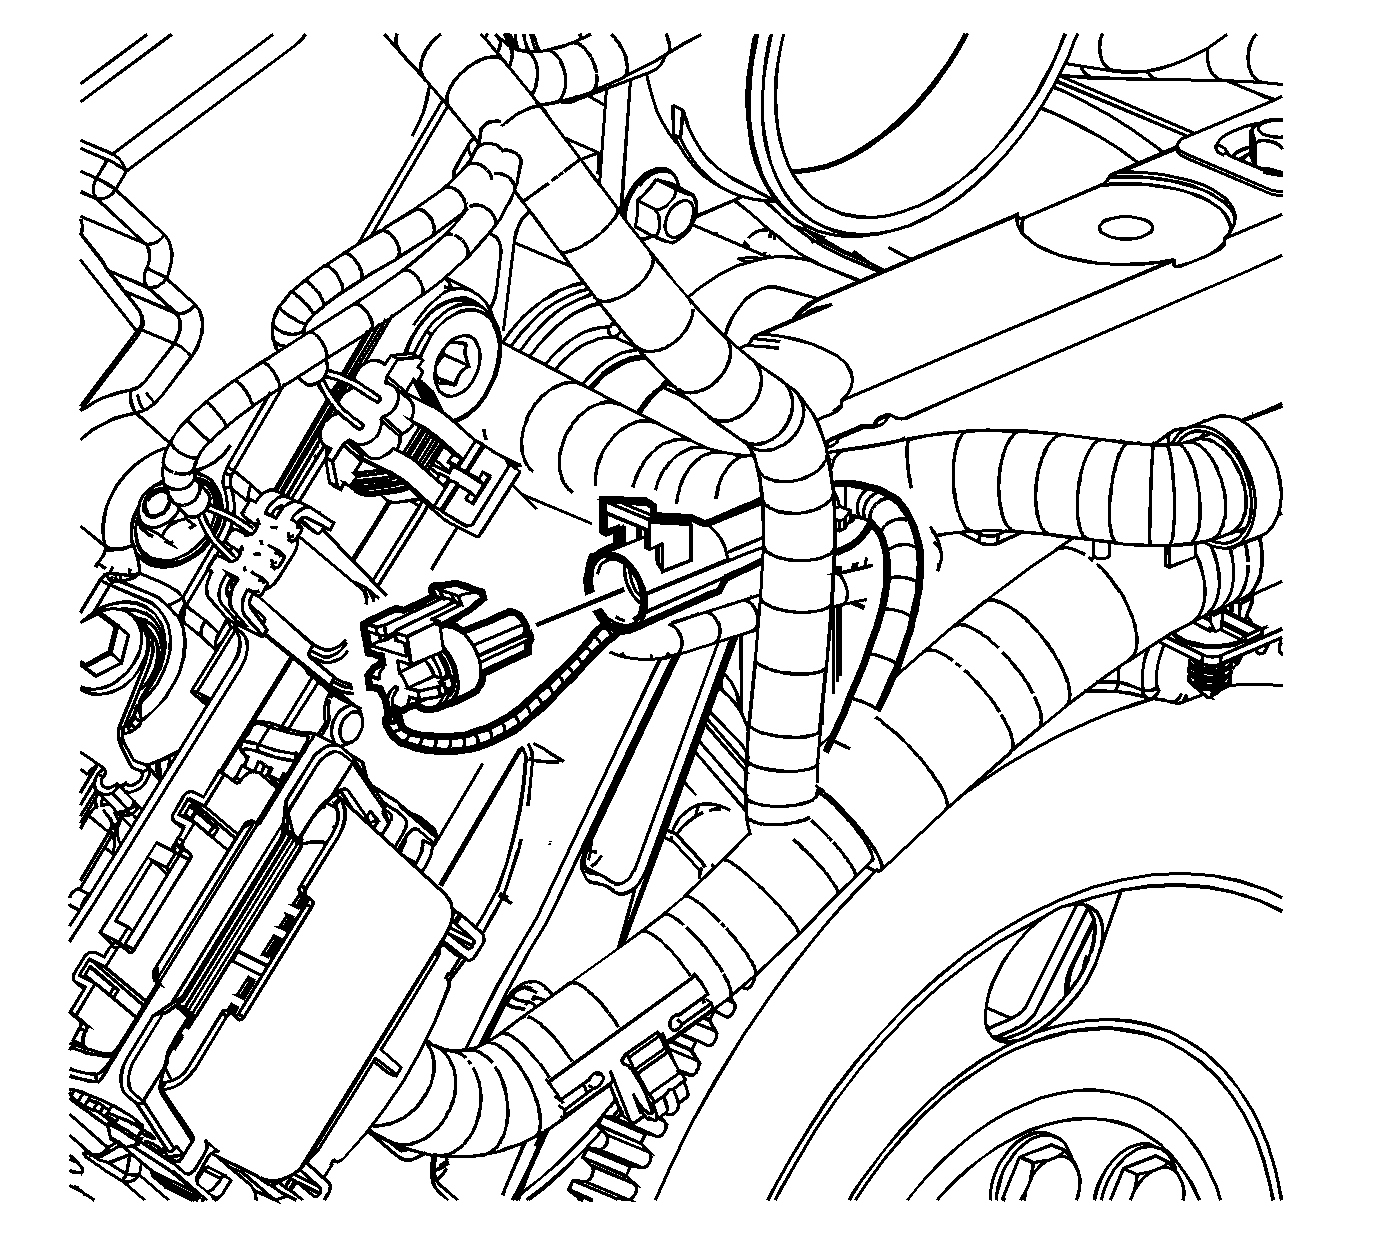
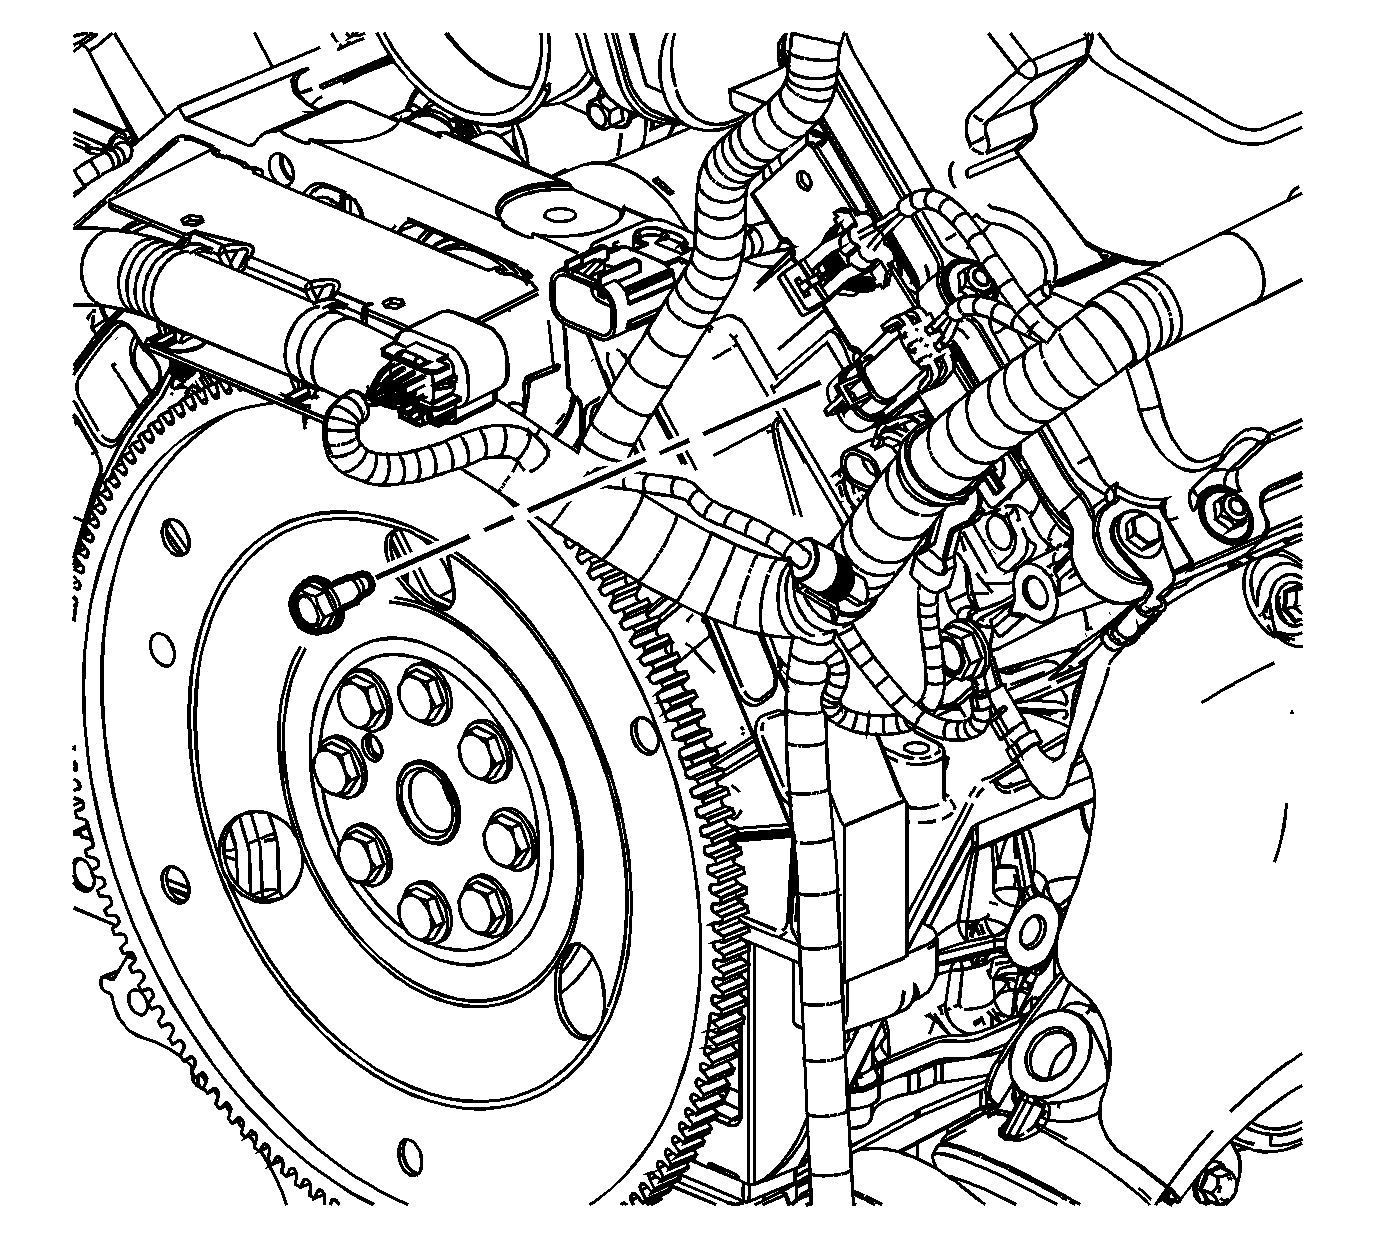
- Install the right rear engine harness bracket.
- Install the right rear engine harness bracket bolt.
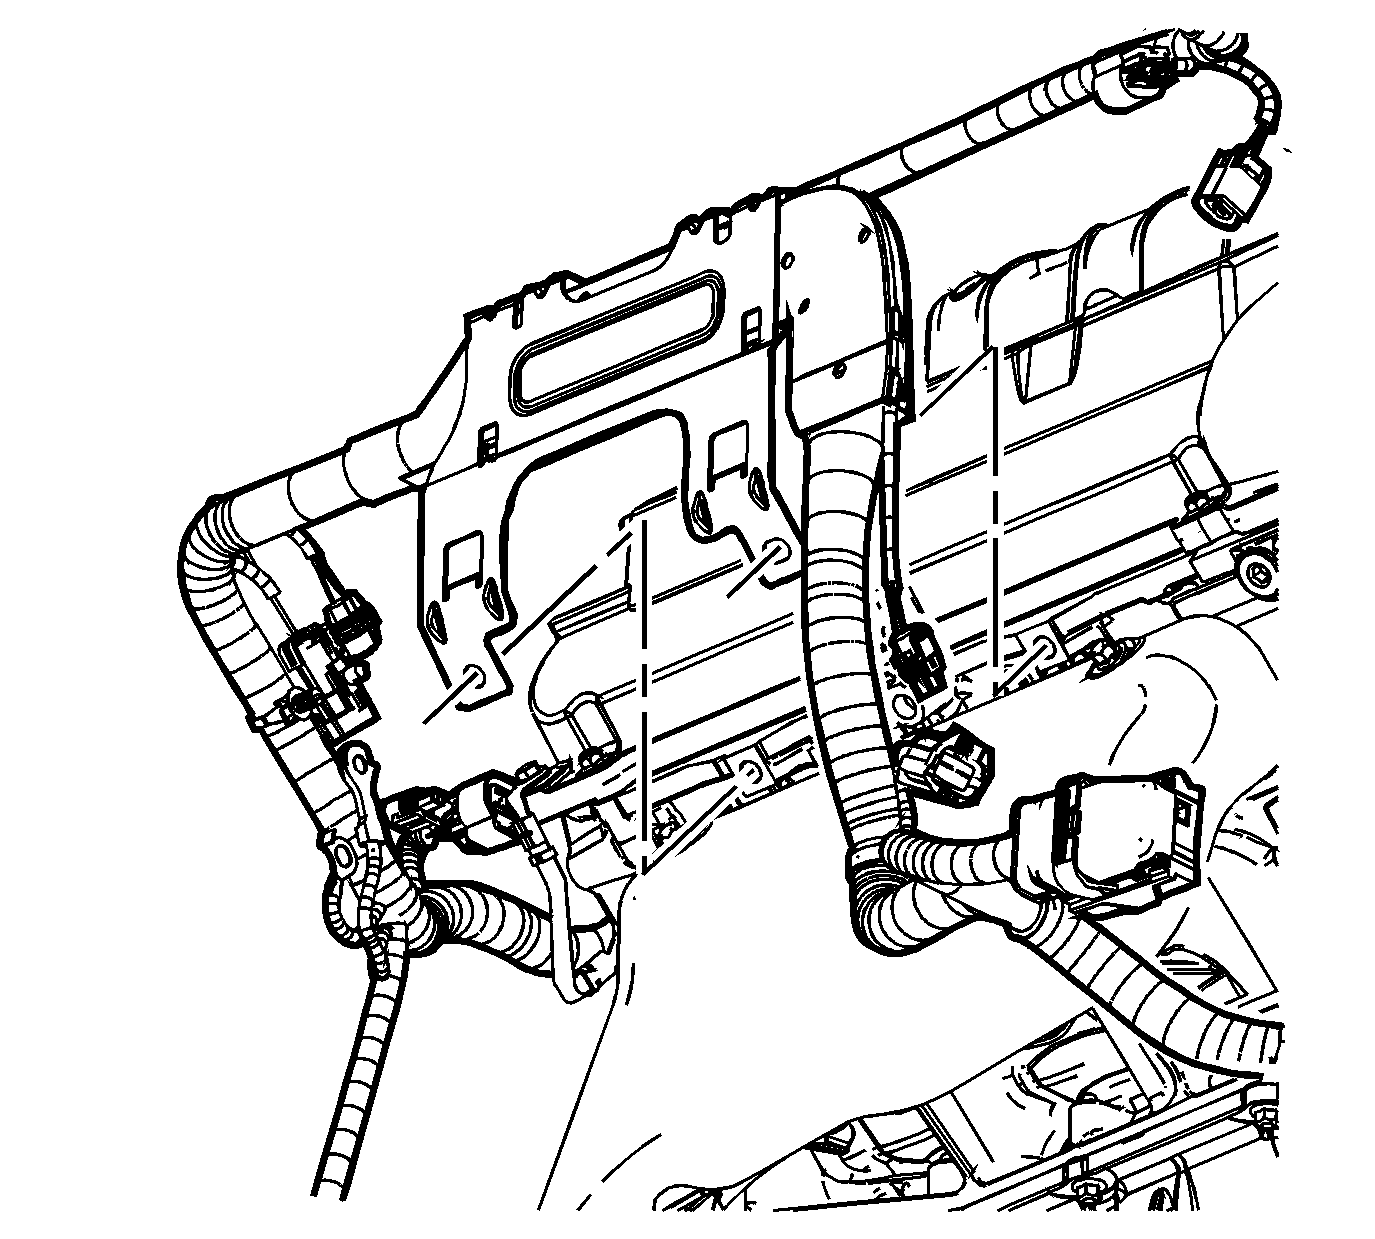
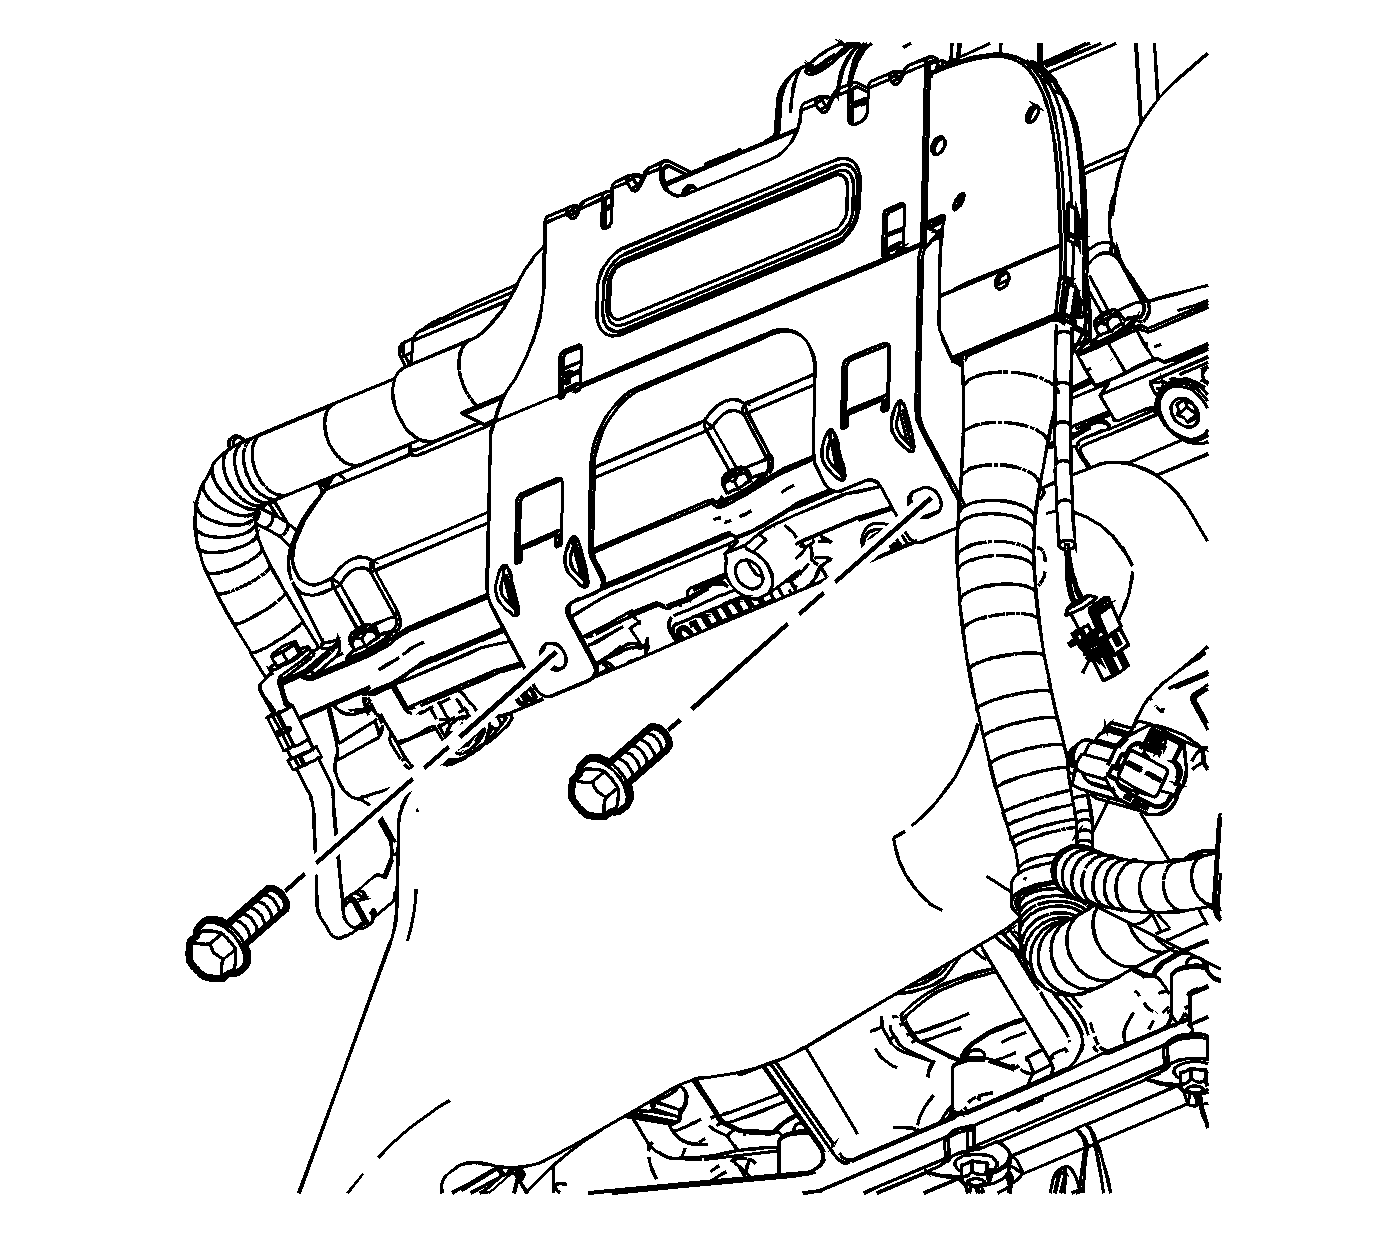
- Install the right side rear engine harness bracket.
- Install the right side engine harness bracket bolts.
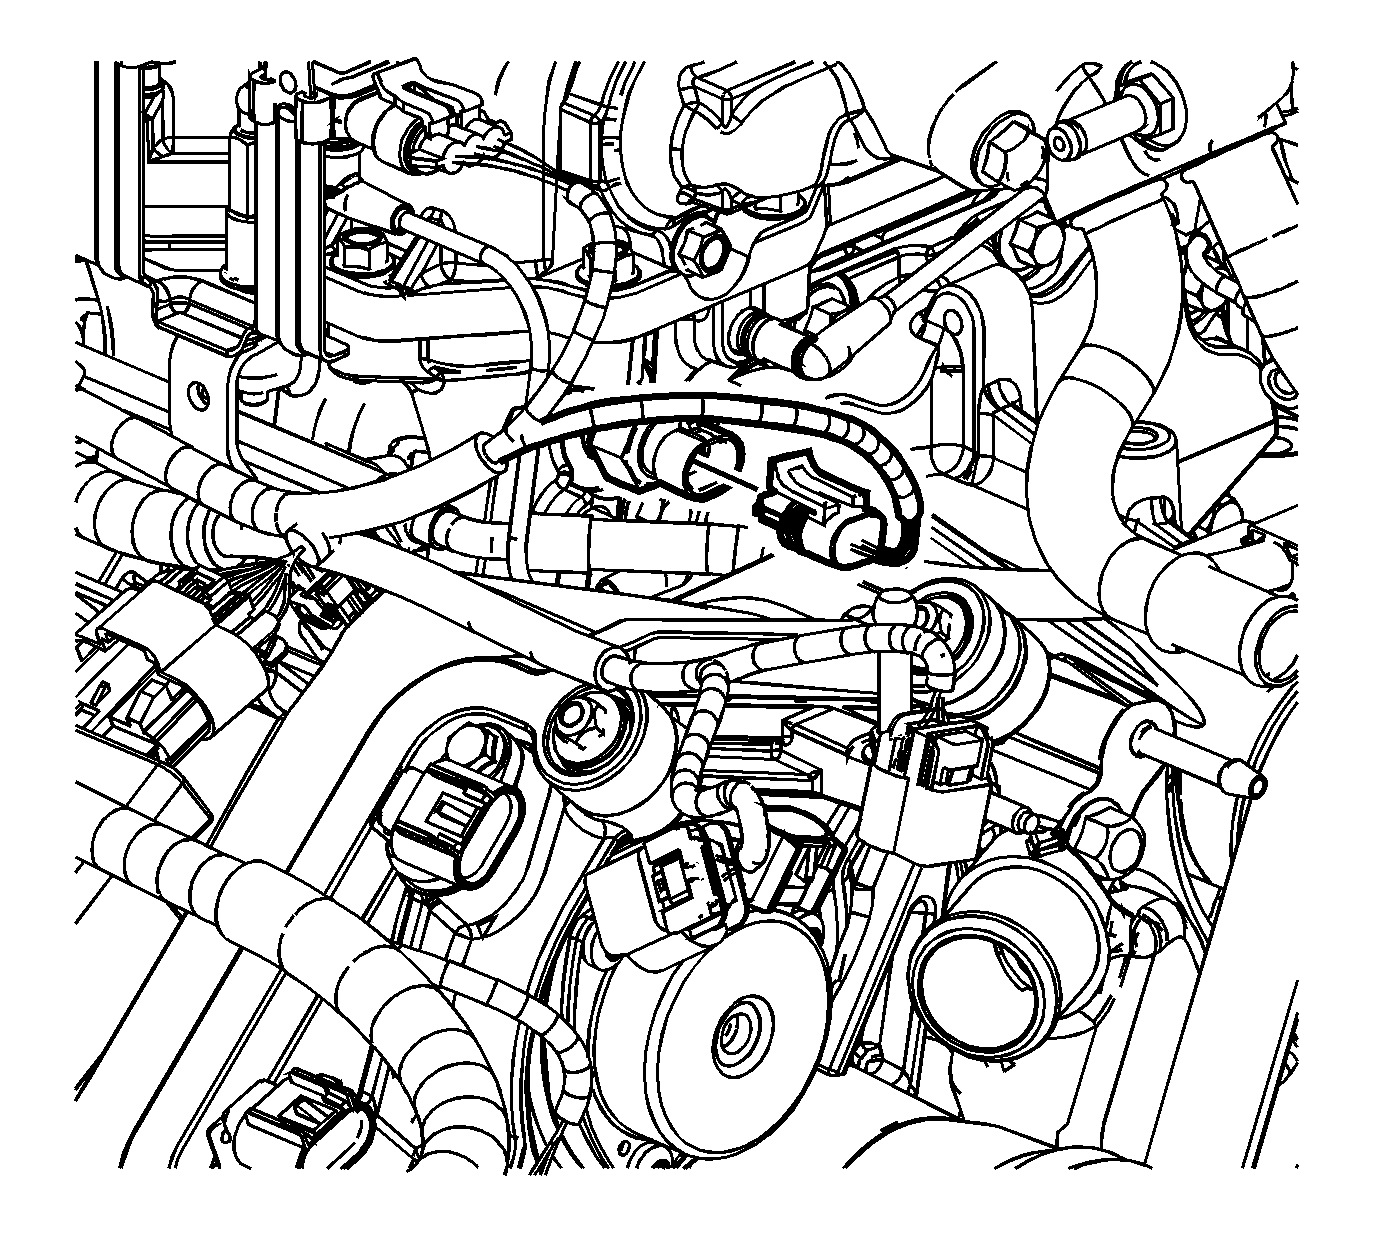
- Connect the engine wiring harness to the knock and crankshaft position sensor wiring harness.
- Connect the engine wiring harness to the engine coolant temperature (ECT) sensor at the rear of the right cylinder head.
- Connect the engine wiring harness to the right side fuel injectors.
- Connect the engine wiring harness to the right camshaft cover.
- Connect the engine wiring harness to right coil assembly harness.
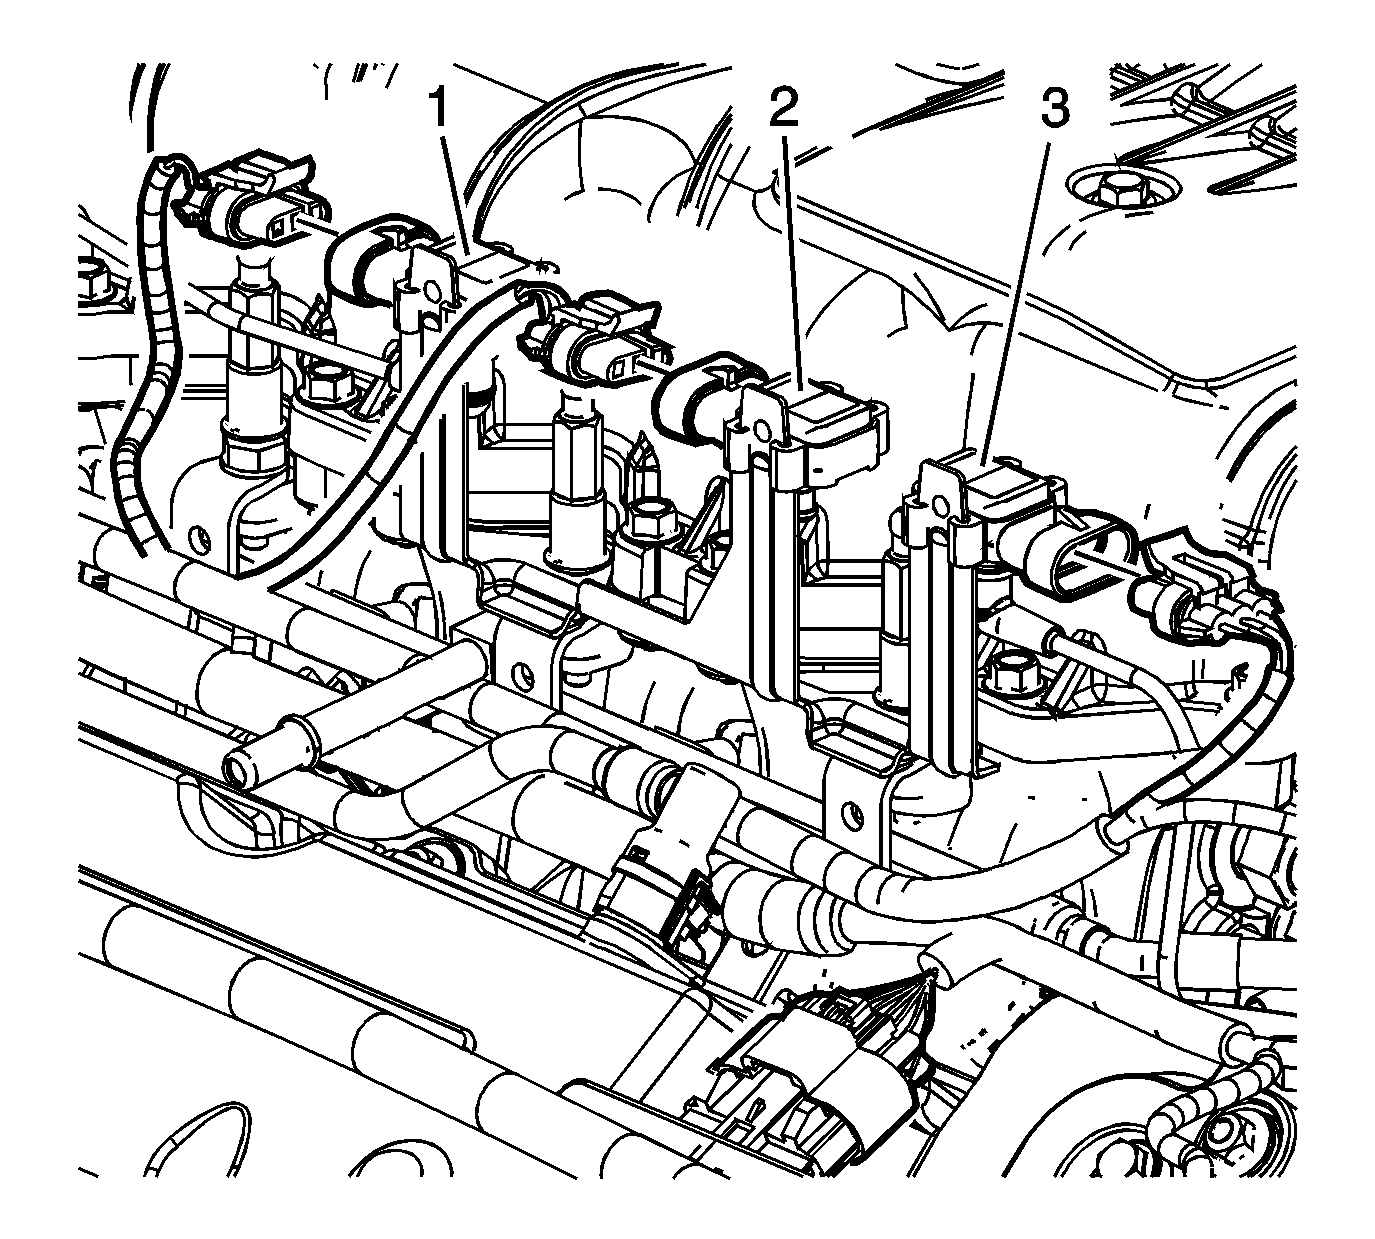
- Connect the engine wiring harness to the (1) supercharger inlet absolute pressure sensor, (2) barometric pressure (BARO) sensor, and (3) manifold absolute pressure (MAP) sensor.
- Connect the engine wiring harness to the intake air temperature (IAT) sensor 2.
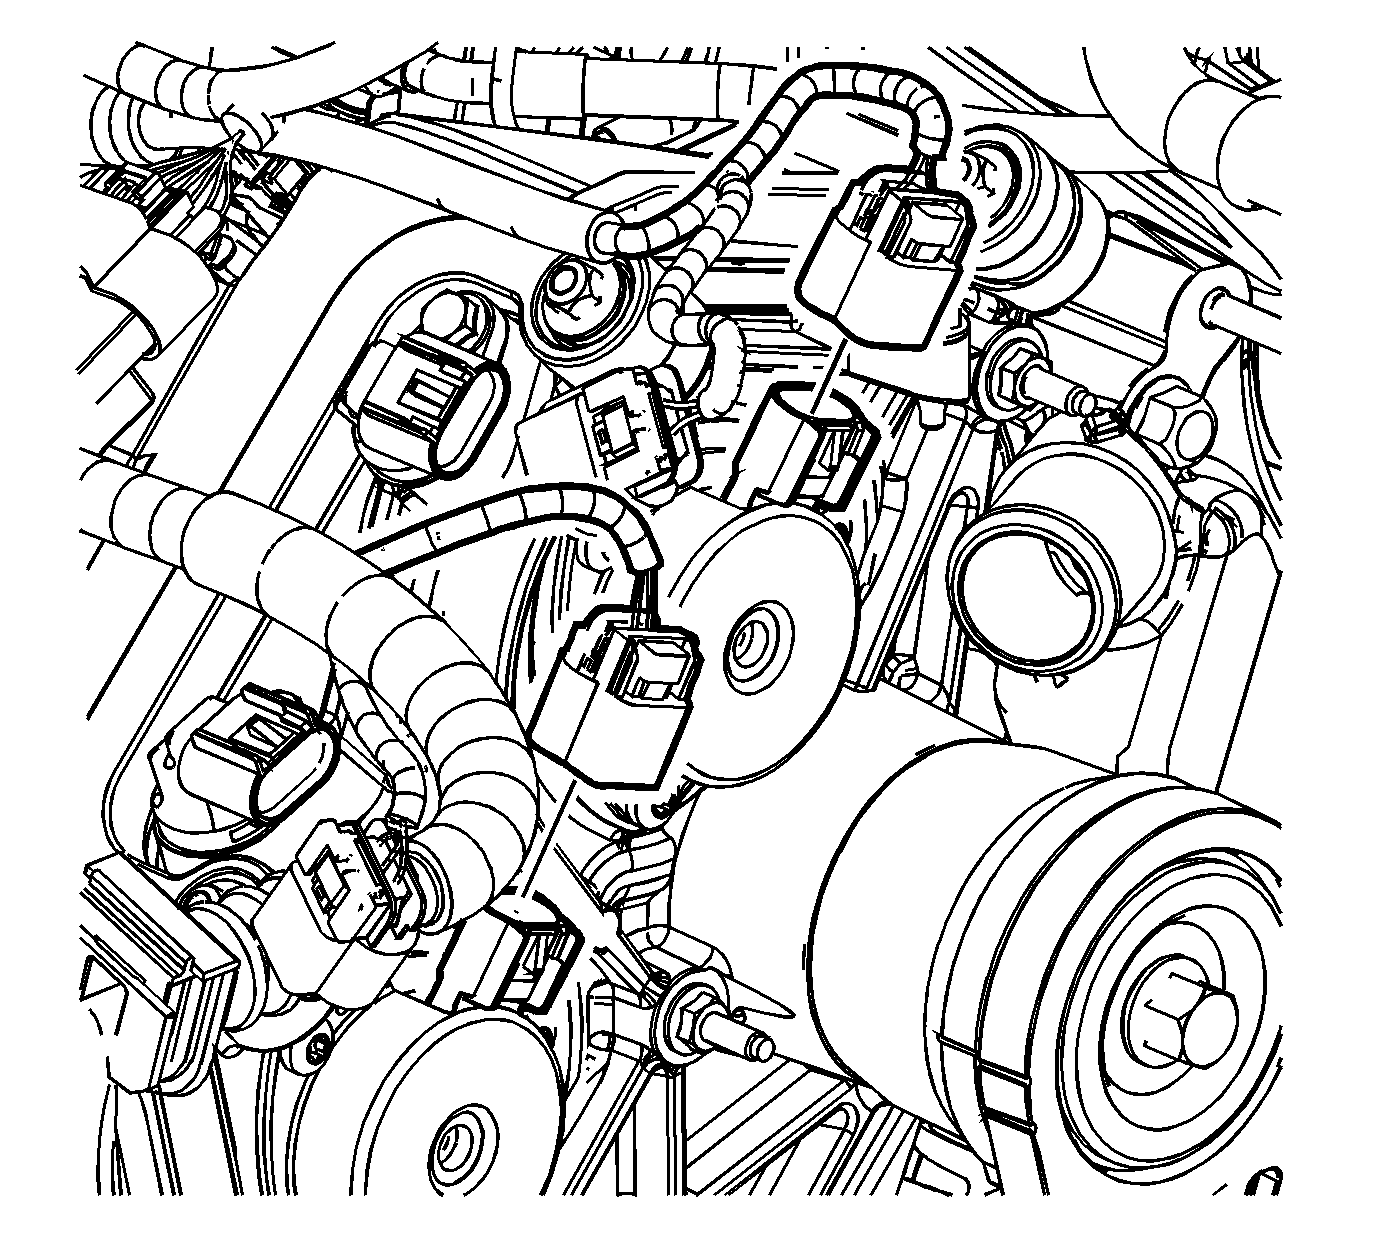
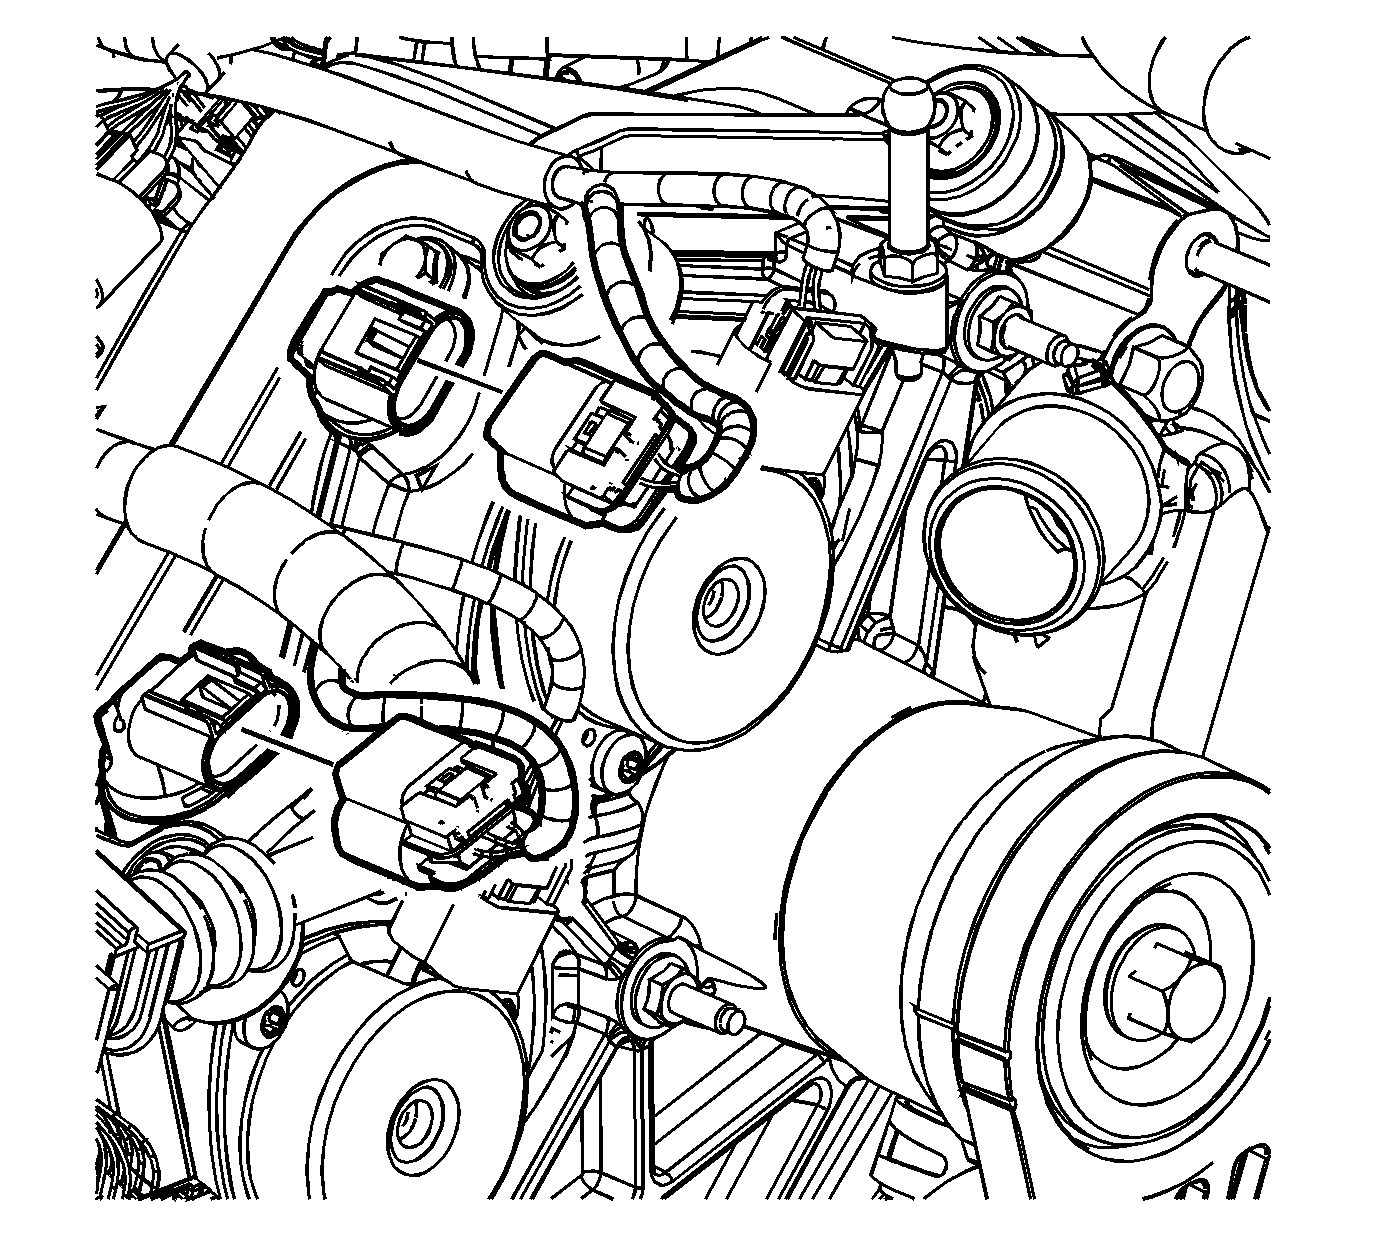
- Connect the engine wiring harness to the right camshaft position actuators.
- Connect the engine wiring harness to right camshaft position sensors.
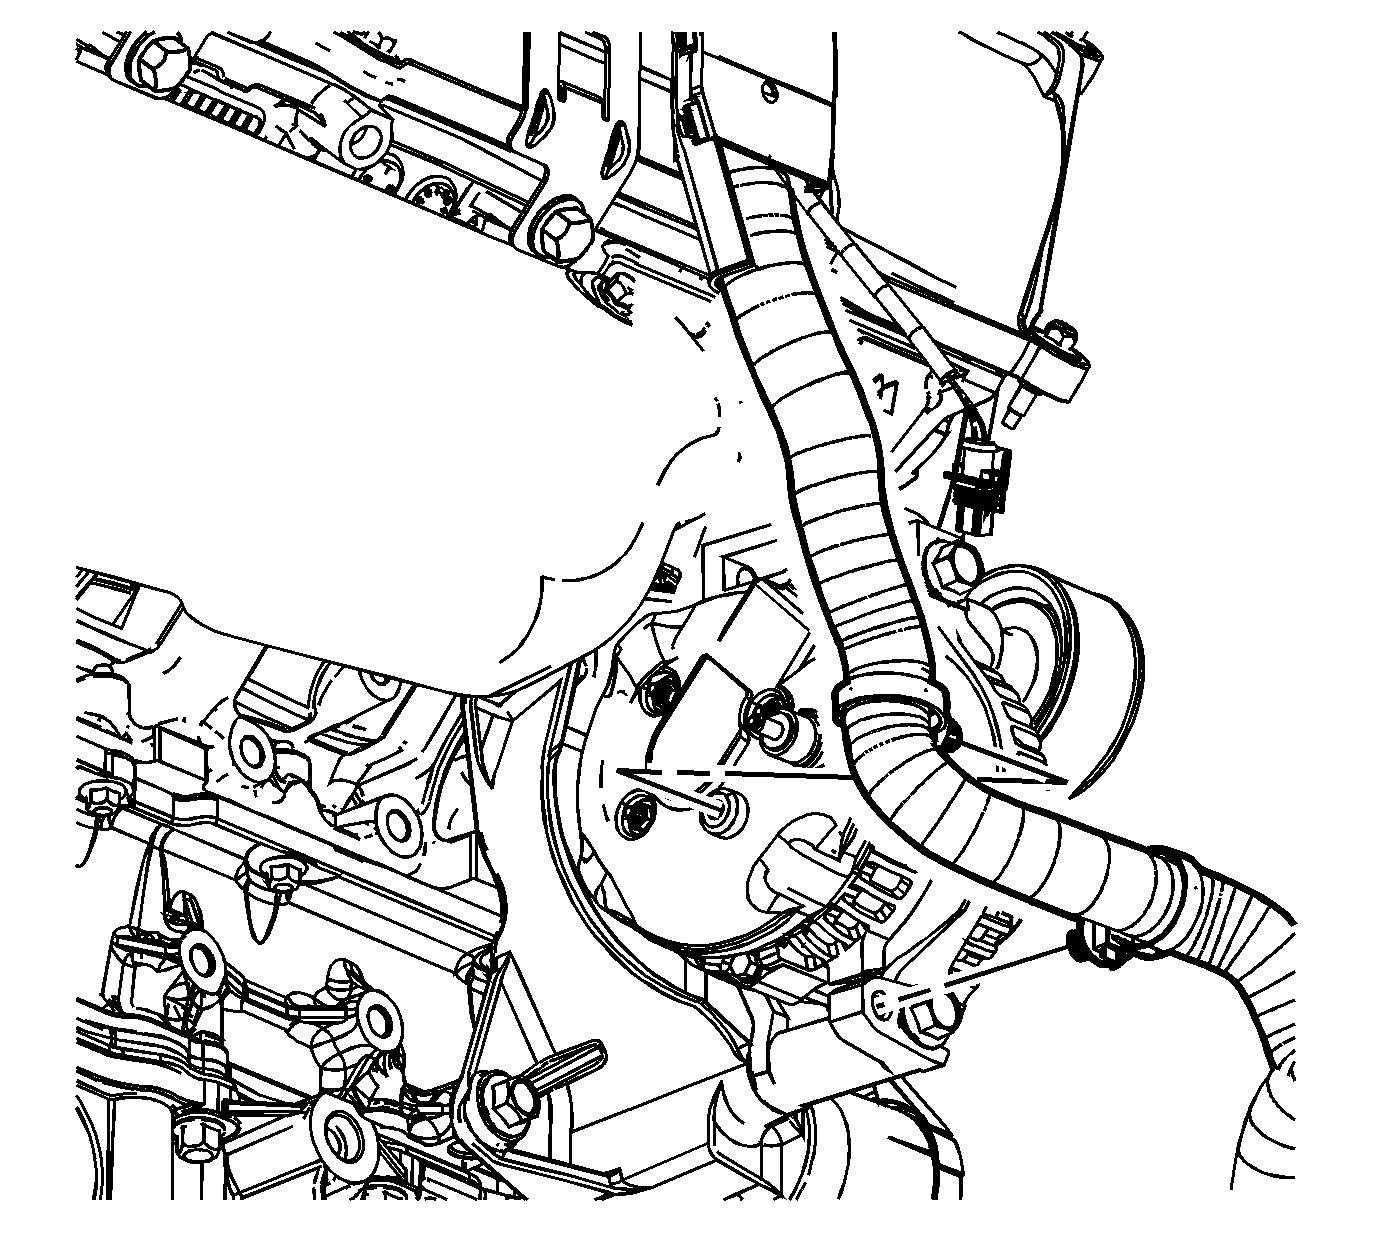
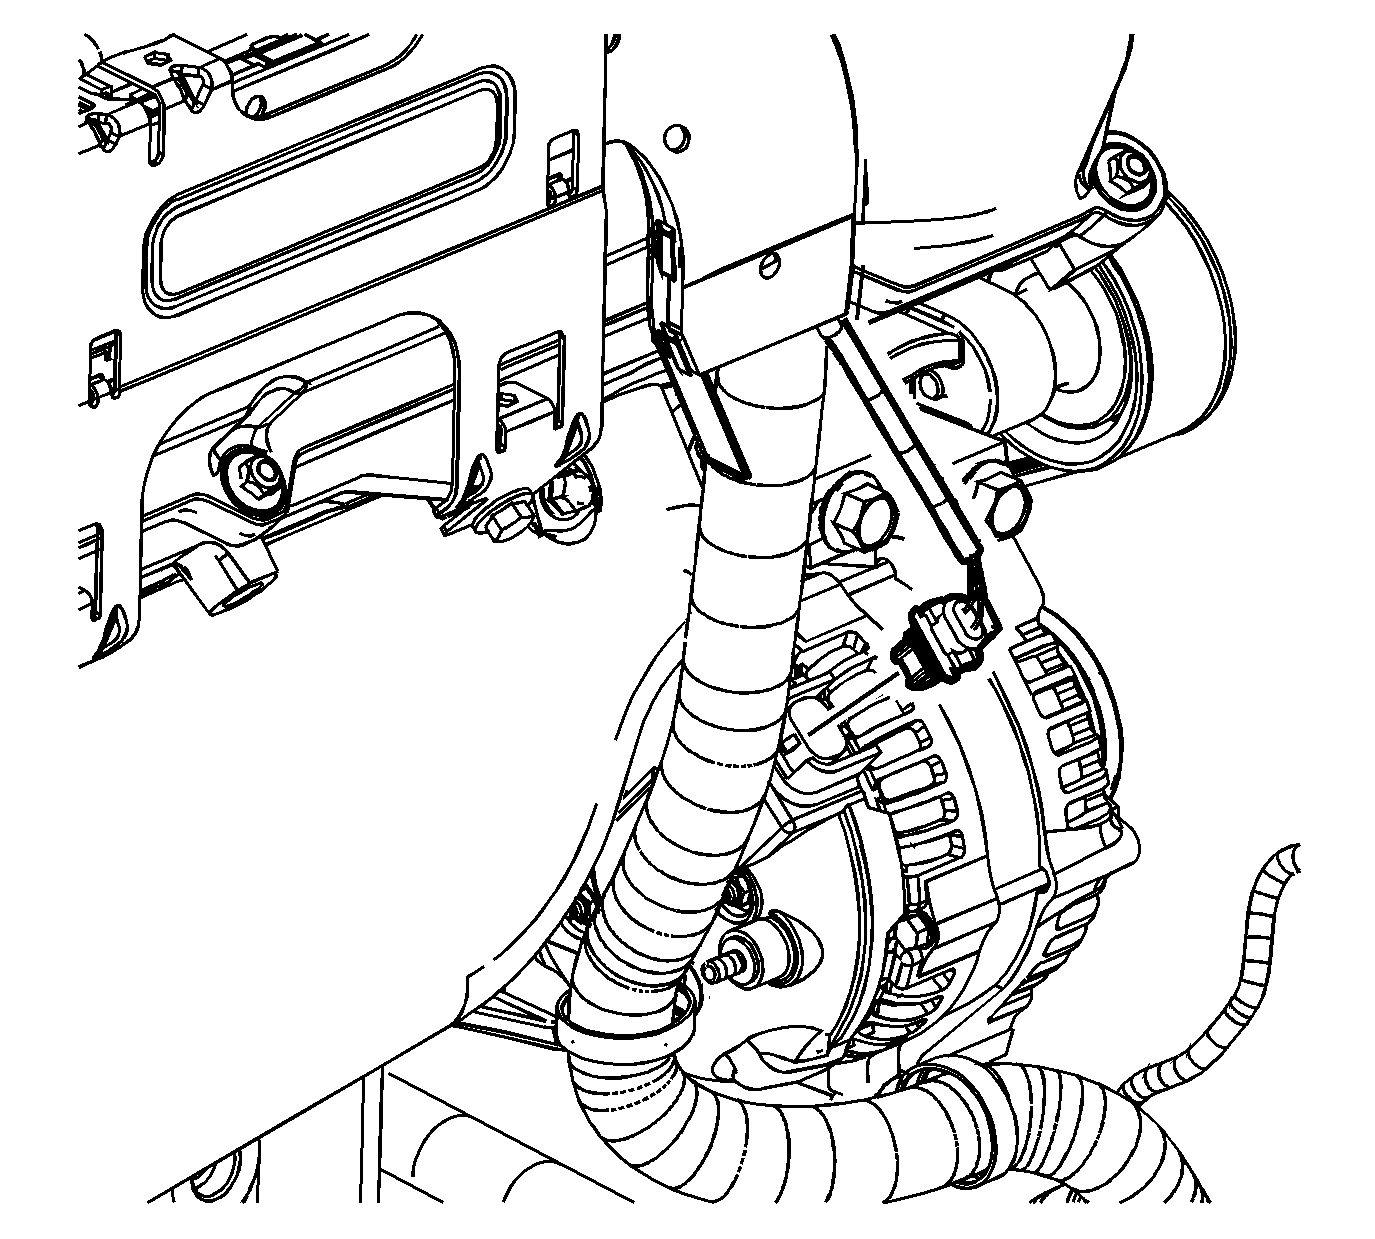
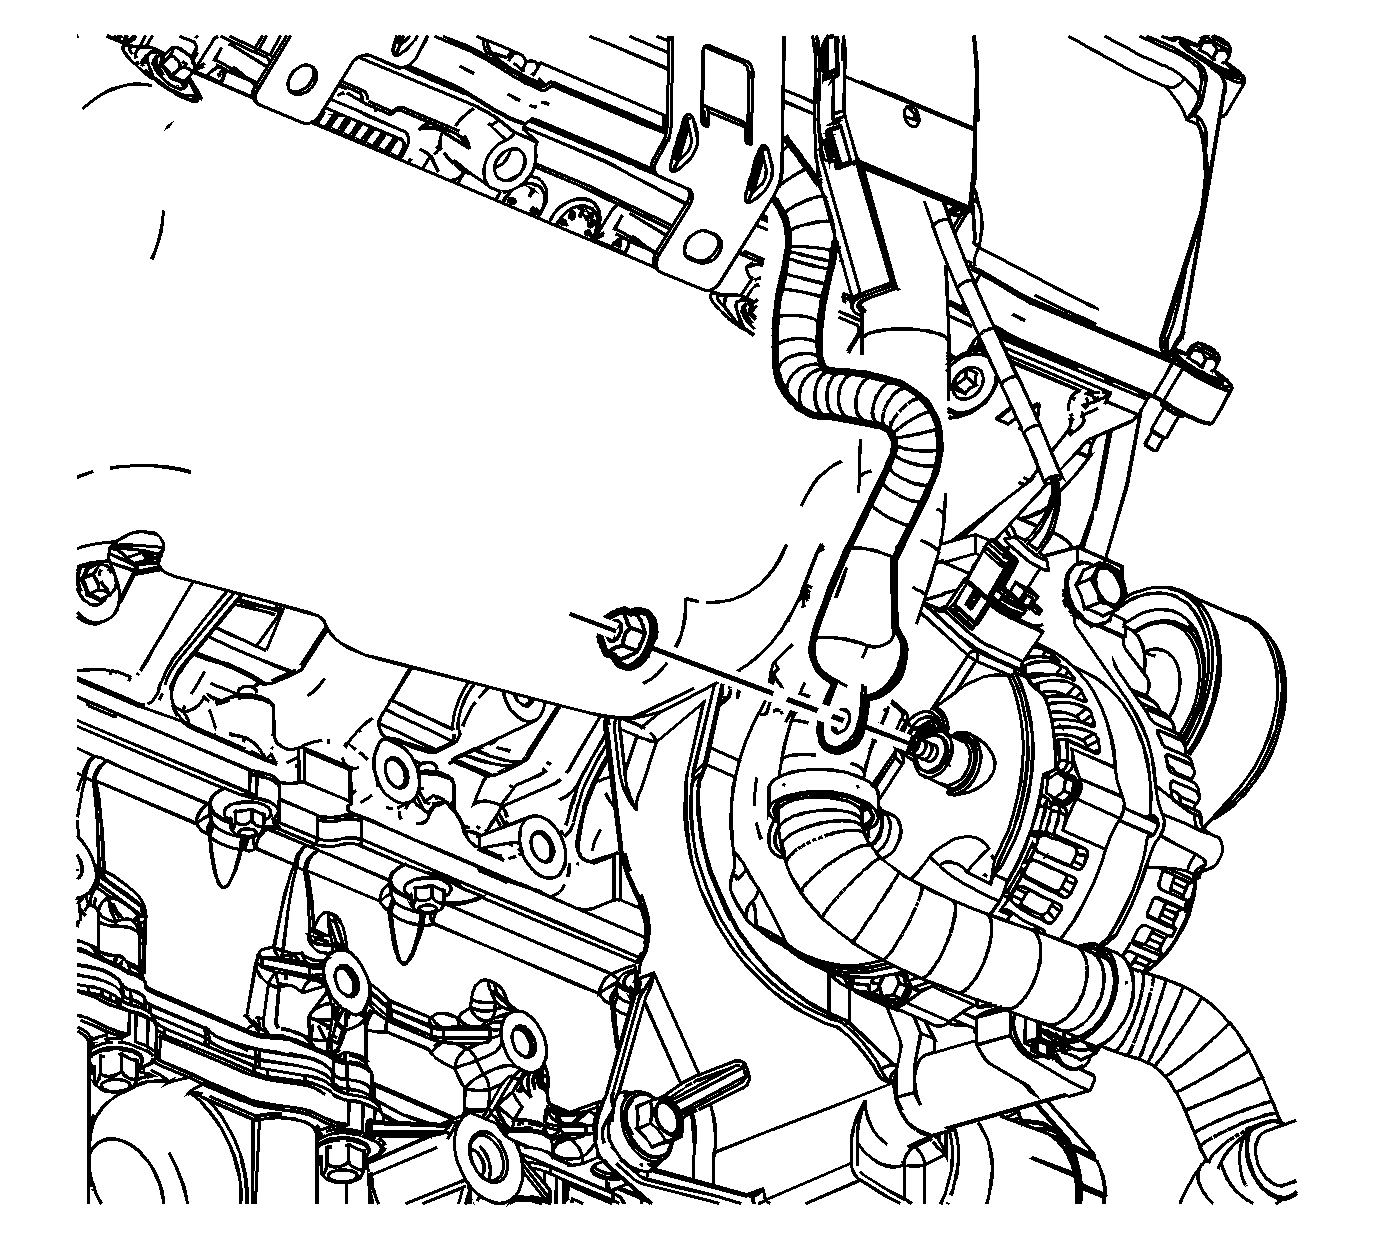
- Connect the engine wiring harness clips to the generator.
- Connect the engine wiring harness to the generator.
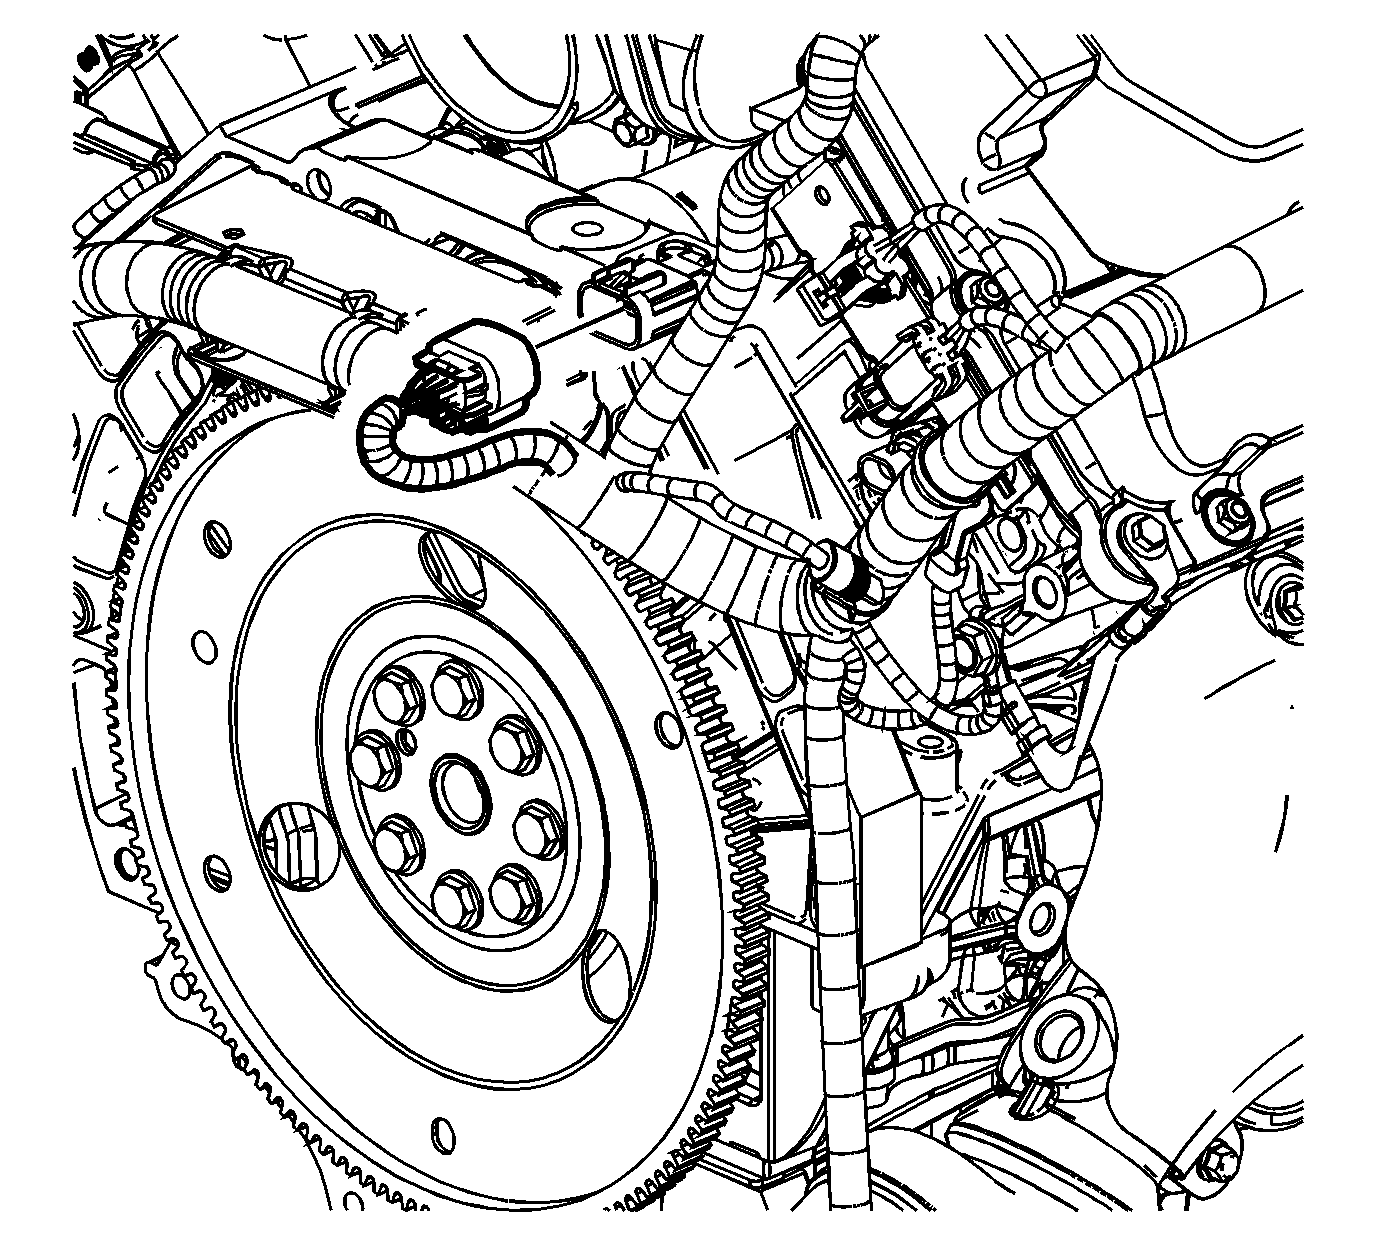
- Install the generator positive battery cable.
- Install the generator positive battery cable nut.
Tighten
Tighten the right rear engine harness bracket bolt to 25 N·m (18 lb ft).
Tighten
Tighten the right side engine harness bracket bolts to 45 N·m (33 lb ft).
Tighten
Tighten the generator positive battery cable nut to 10 N·m (89 lb in).
