For 1990-2009 cars only
Power Brake Booster Vacuum Check Valve and Hose Replacement LC3
Removal Procedure
- Apply the brake pedal several times until the pedal becomes firm to deplete the vacuum reserve in the brake booster.
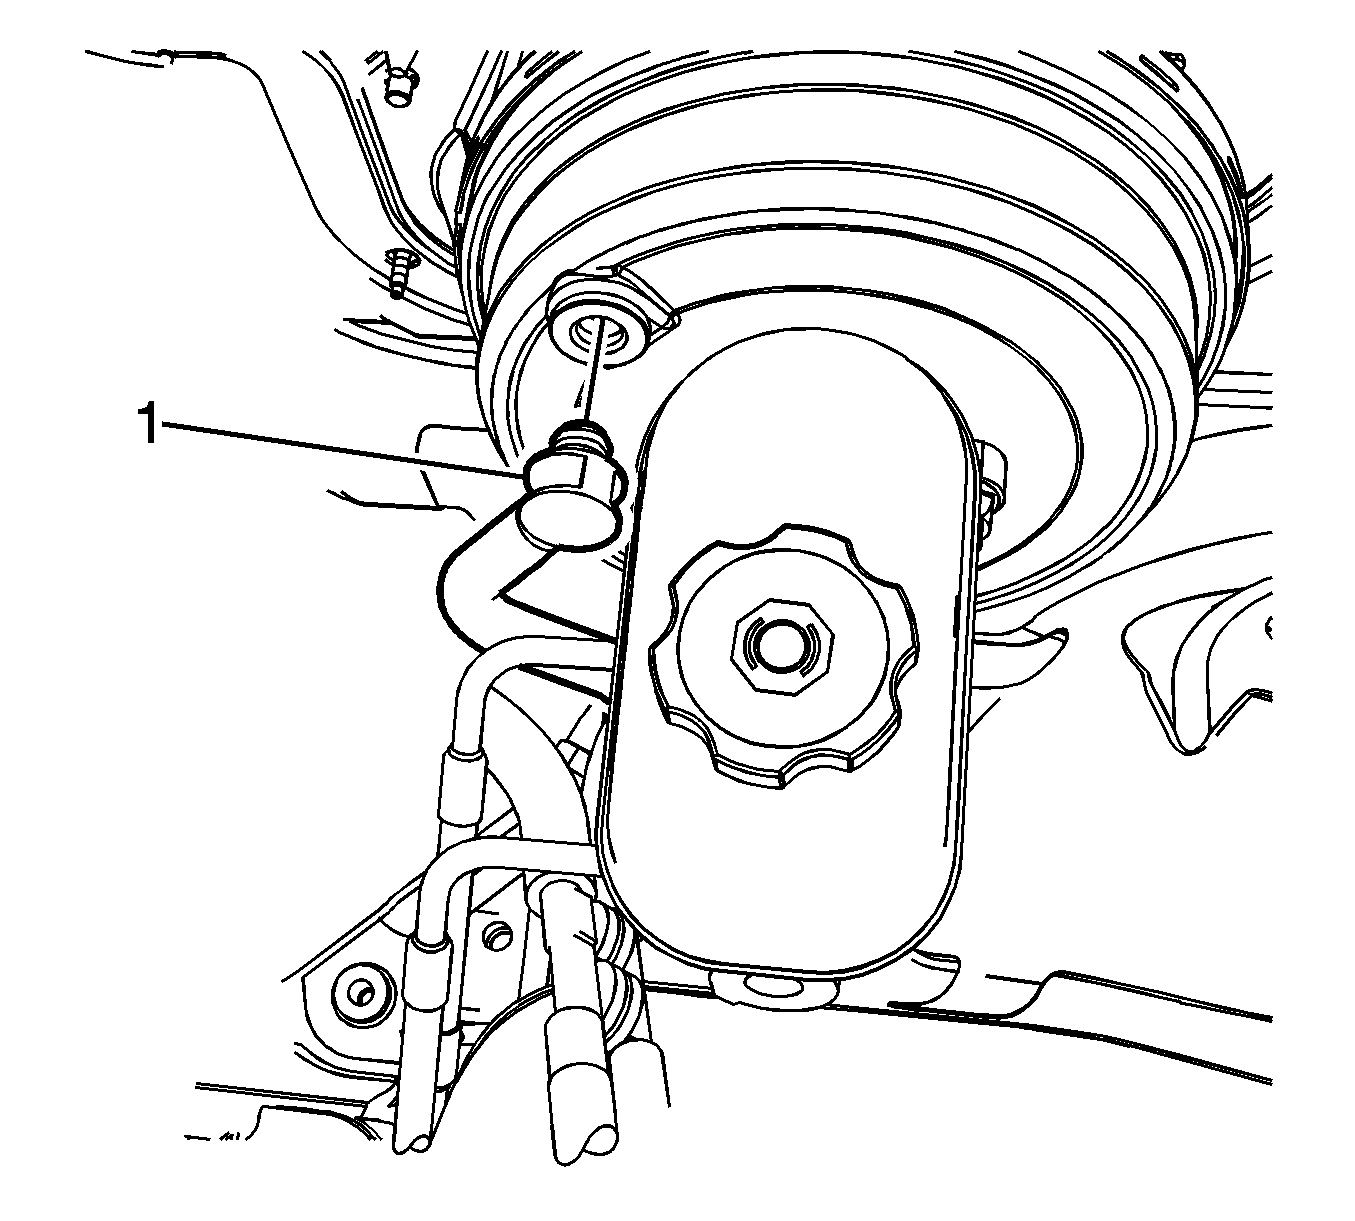
- Remove the check valve (1) from the vacuum brake booster.
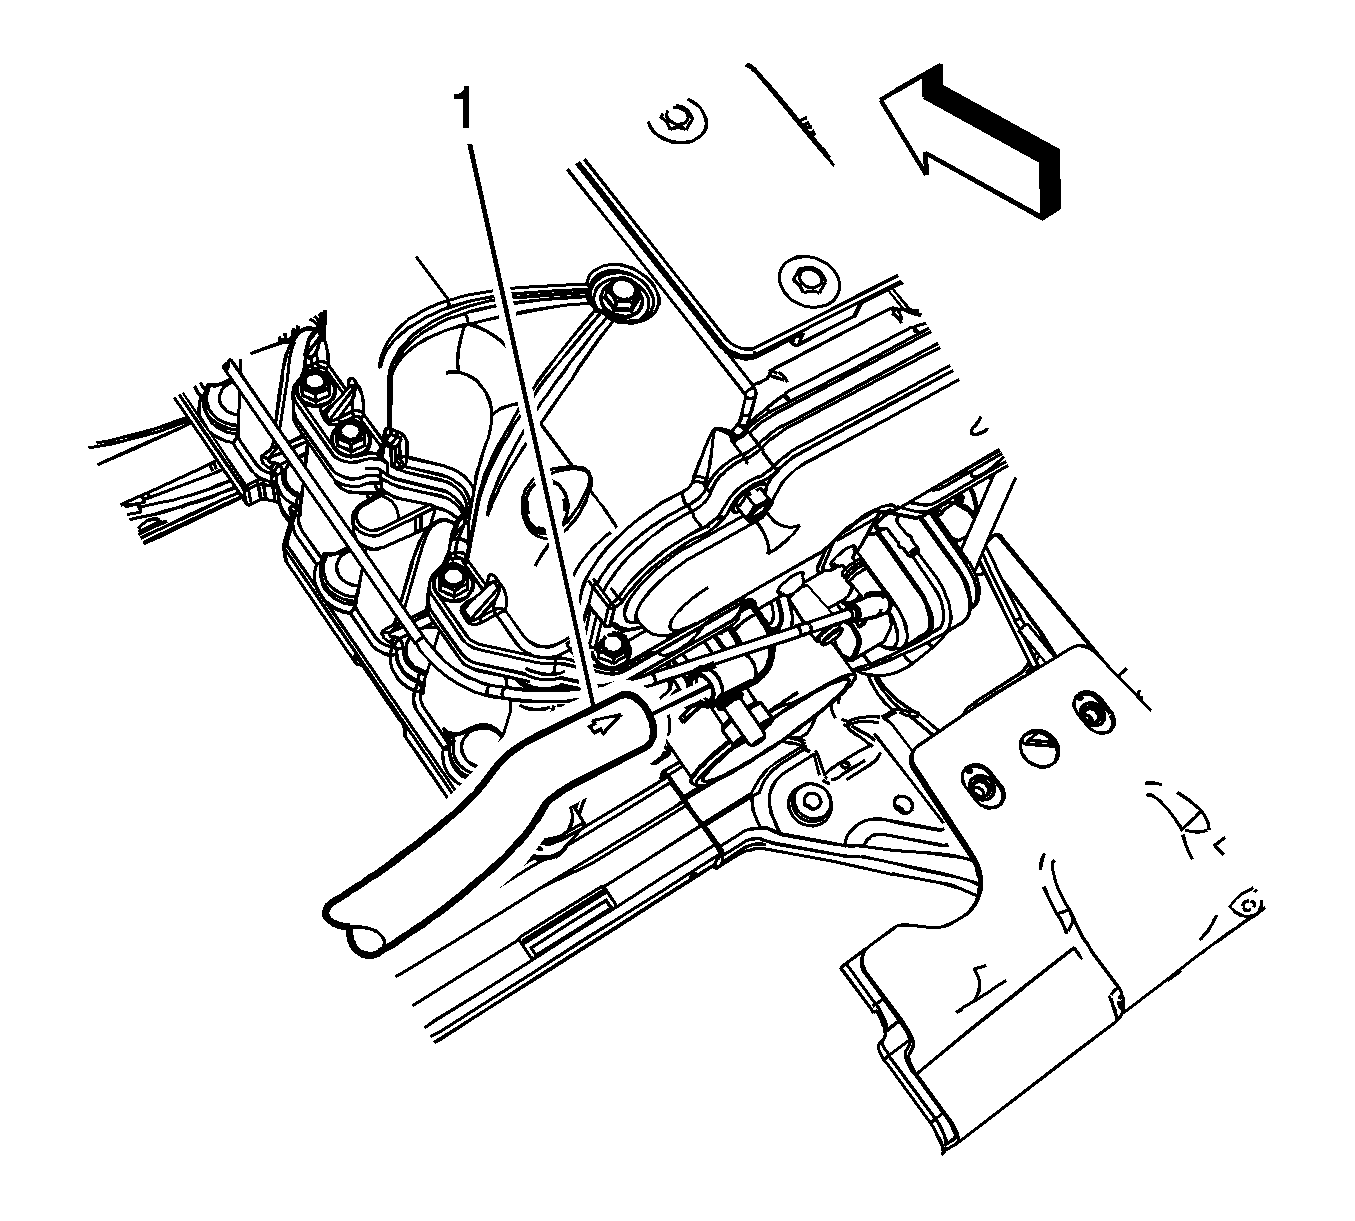
- Remove the vacuum hose (1) from the vacuum port at the rear of the intake manifold.
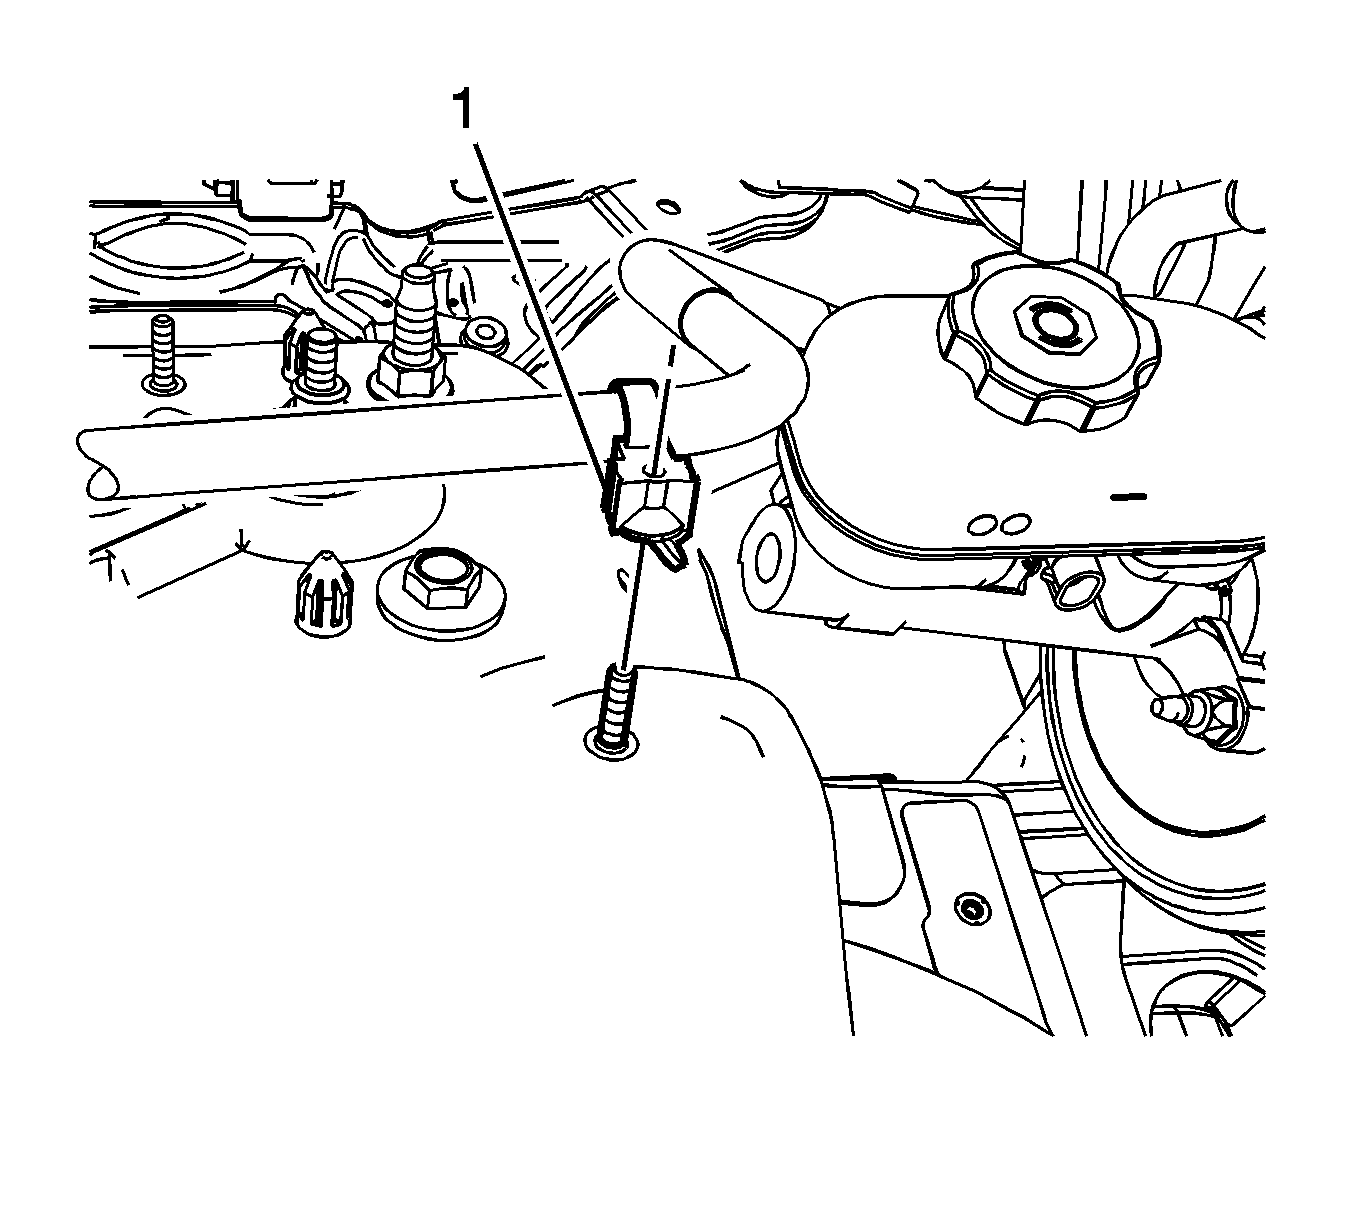
- Release the routing clip (1) from the stud on the LF suspension tower.
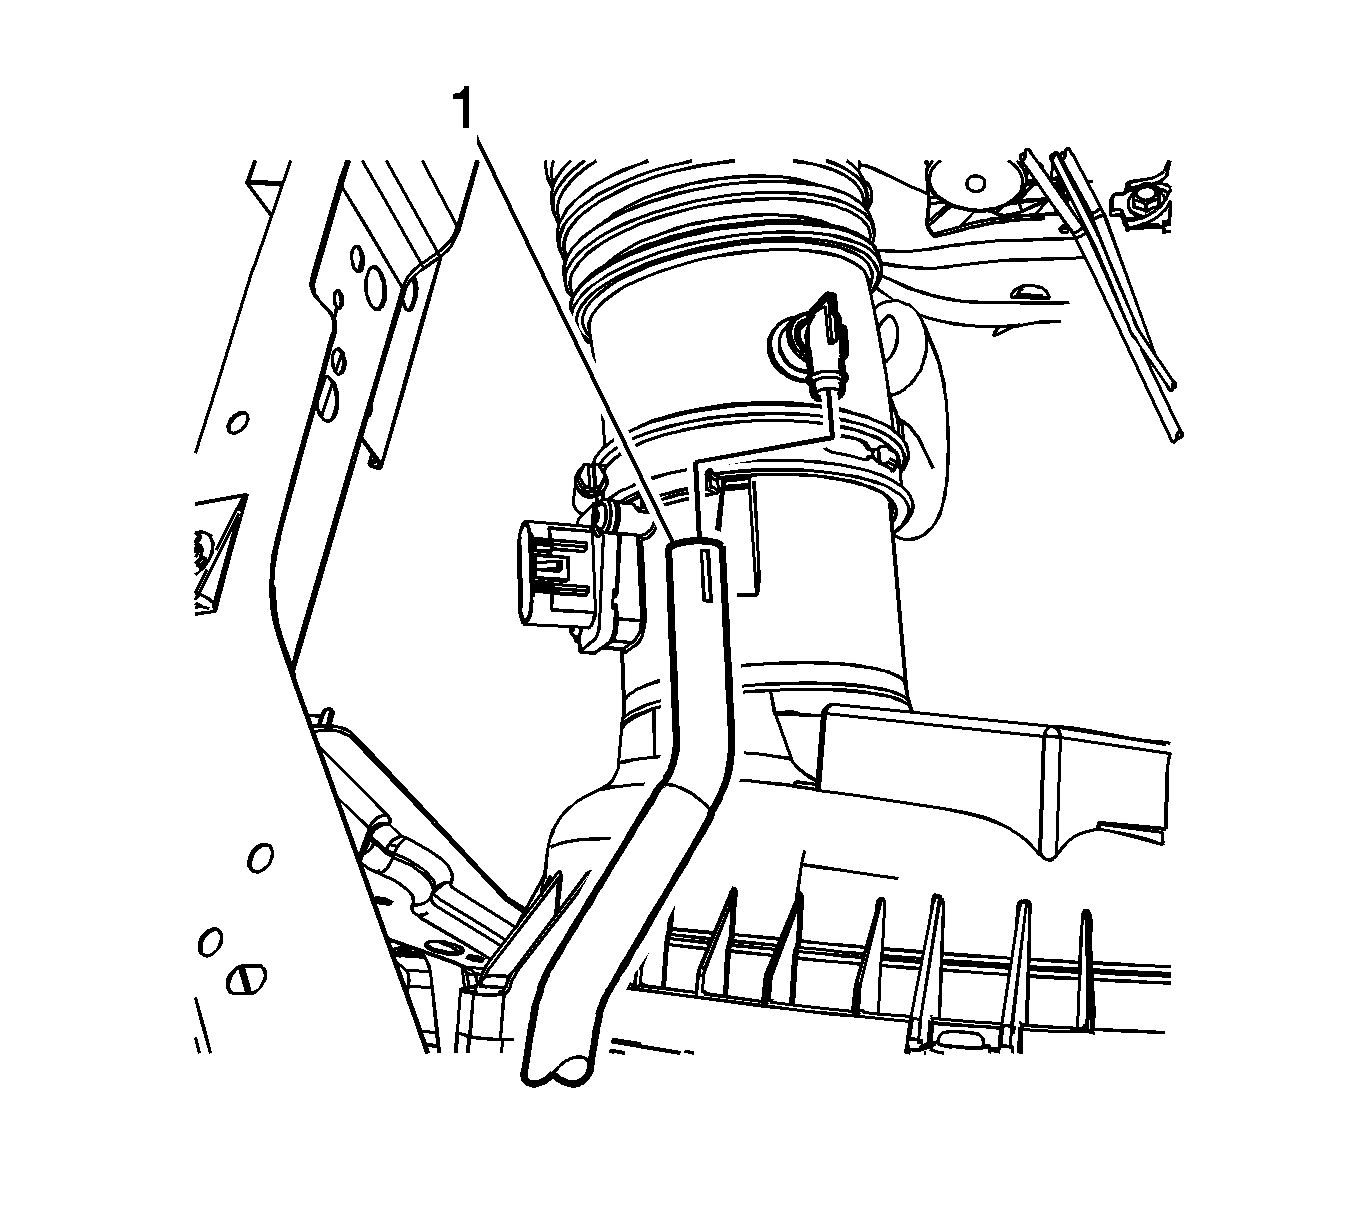
- Remove the vacuum brake booster hose (1) from the air cleaner outlet pipe.
- Remove the check valve from the vacuum brake booster hose, if necessary.
Installation Procedure
- Install the vacuum brake booster hose (1) to the air cleaner outlet pipe.
- Install the routing clip (1) to the stud on the LF suspension tower.
- Install the vacuum hose (1) to the vacuum port at the rear of the intake manifold.
- Install the check valve to the vacuum brake booster hose, if removed.
- Install the check valve (1) to the vacuum brake booster.


If necessary, a small amount of denatured alcohol may be used as a lubricant for assembly. Do not use soap.

If necessary, a small amount of denatured alcohol may be used as a lubricant for assembly. Do not use soap.
Power Brake Booster Vacuum Check Valve and Hose Replacement LH2
Removal Procedure
- Apply the brake pedal several times until the pedal becomes firm to deplete the vacuum reserve in the brake booster.
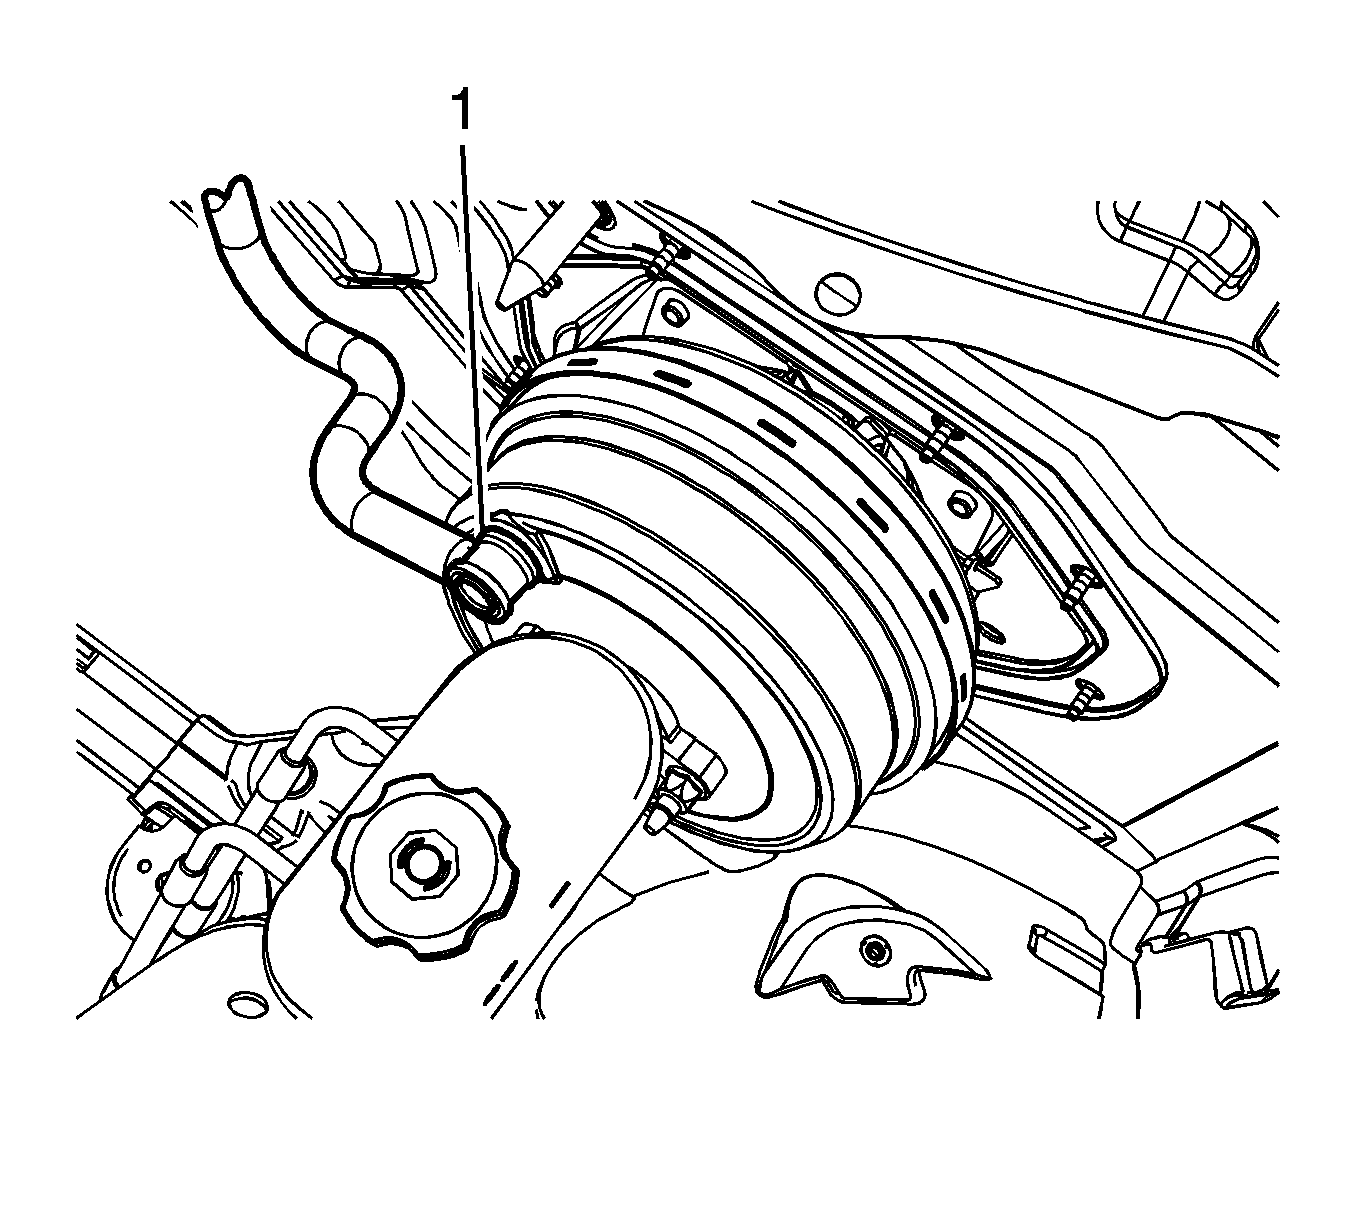
- Remove the check valve (1) from the vacuum brake booster.
- Remove the windshield wiper transmission. Refer to Windshield Wiper Transmission Replacement.
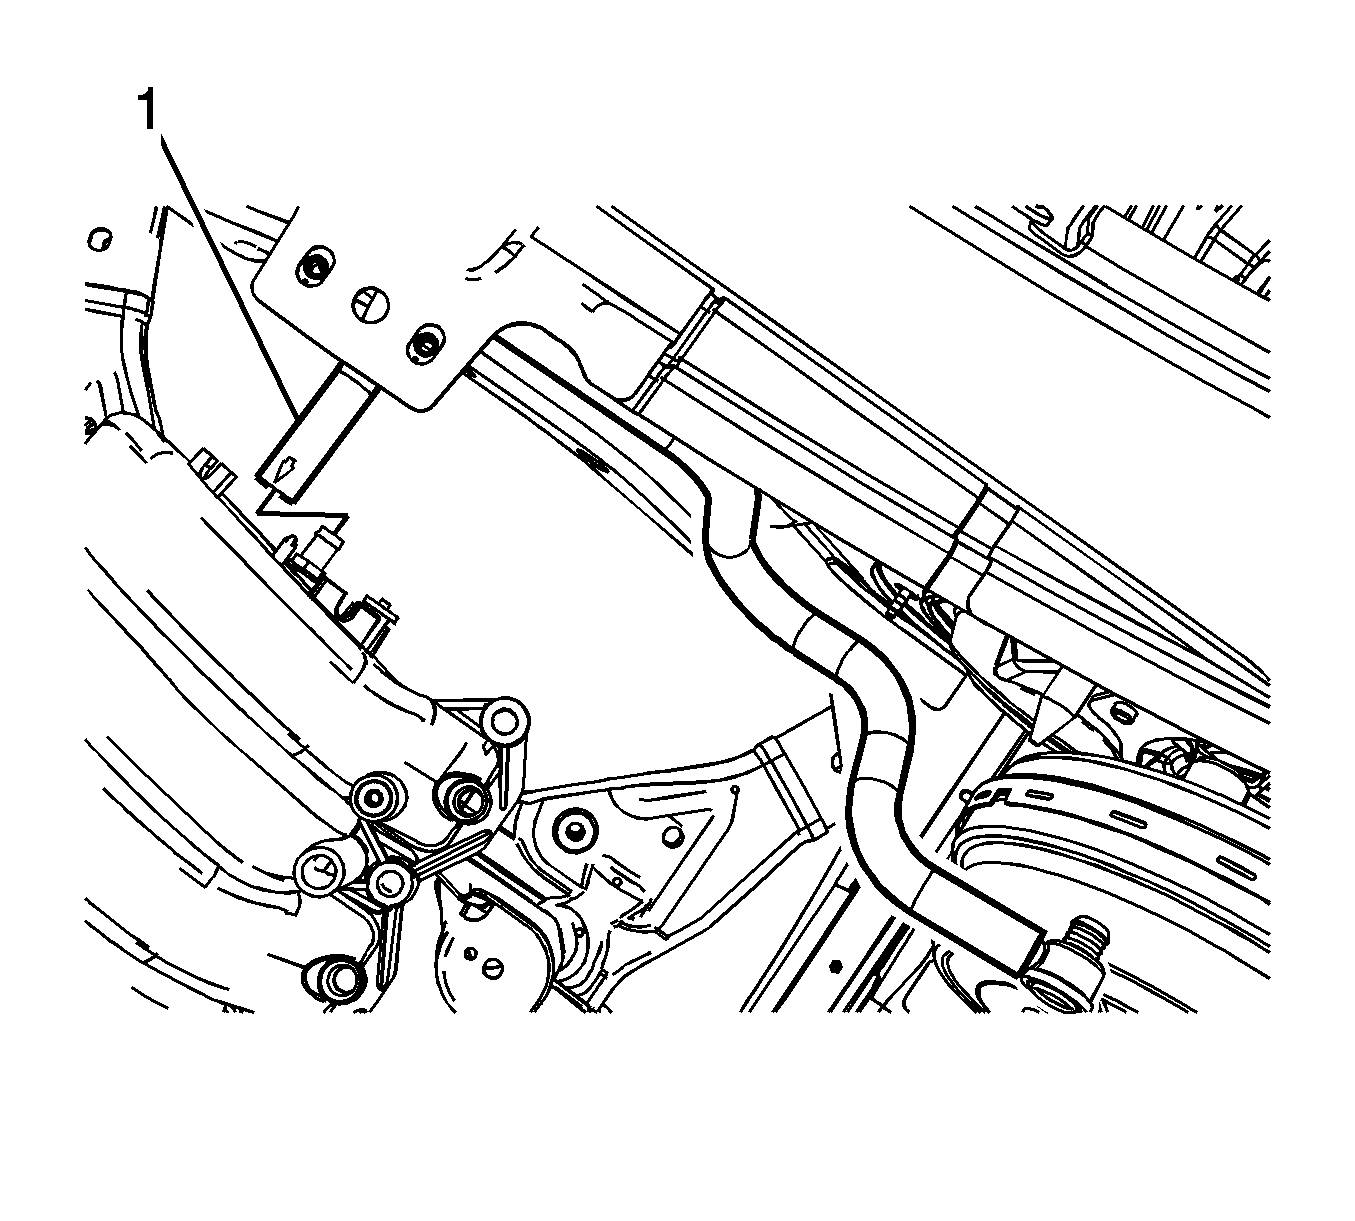
- Remove the vacuum hose (1) from the vacuum port at the rear of the intake manifold.
- Remove the check valve from the vacuum brake booster hose, if necessary.
Installation Procedure
- Install the vacuum hose (1) to the vacuum port at the rear of the intake manifold.
- Install the windshield wiper transmission. Refer to Windshield Wiper Transmission Replacement.
- Install the check valve to the vacuum brake booster hose, if removed.
- Install the check valve (1) to the vacuum brake booster.


If necessary, a small amount of denatured alcohol may be use as a lubricant for assembly. Do not use soap.
Power Brake Booster Vacuum Check Valve and Hose Replacement LLT
Removal Procedure
- Apply the brake pedal several times until the pedal becomes firm to deplete the vacuum reserve in the brake booster.
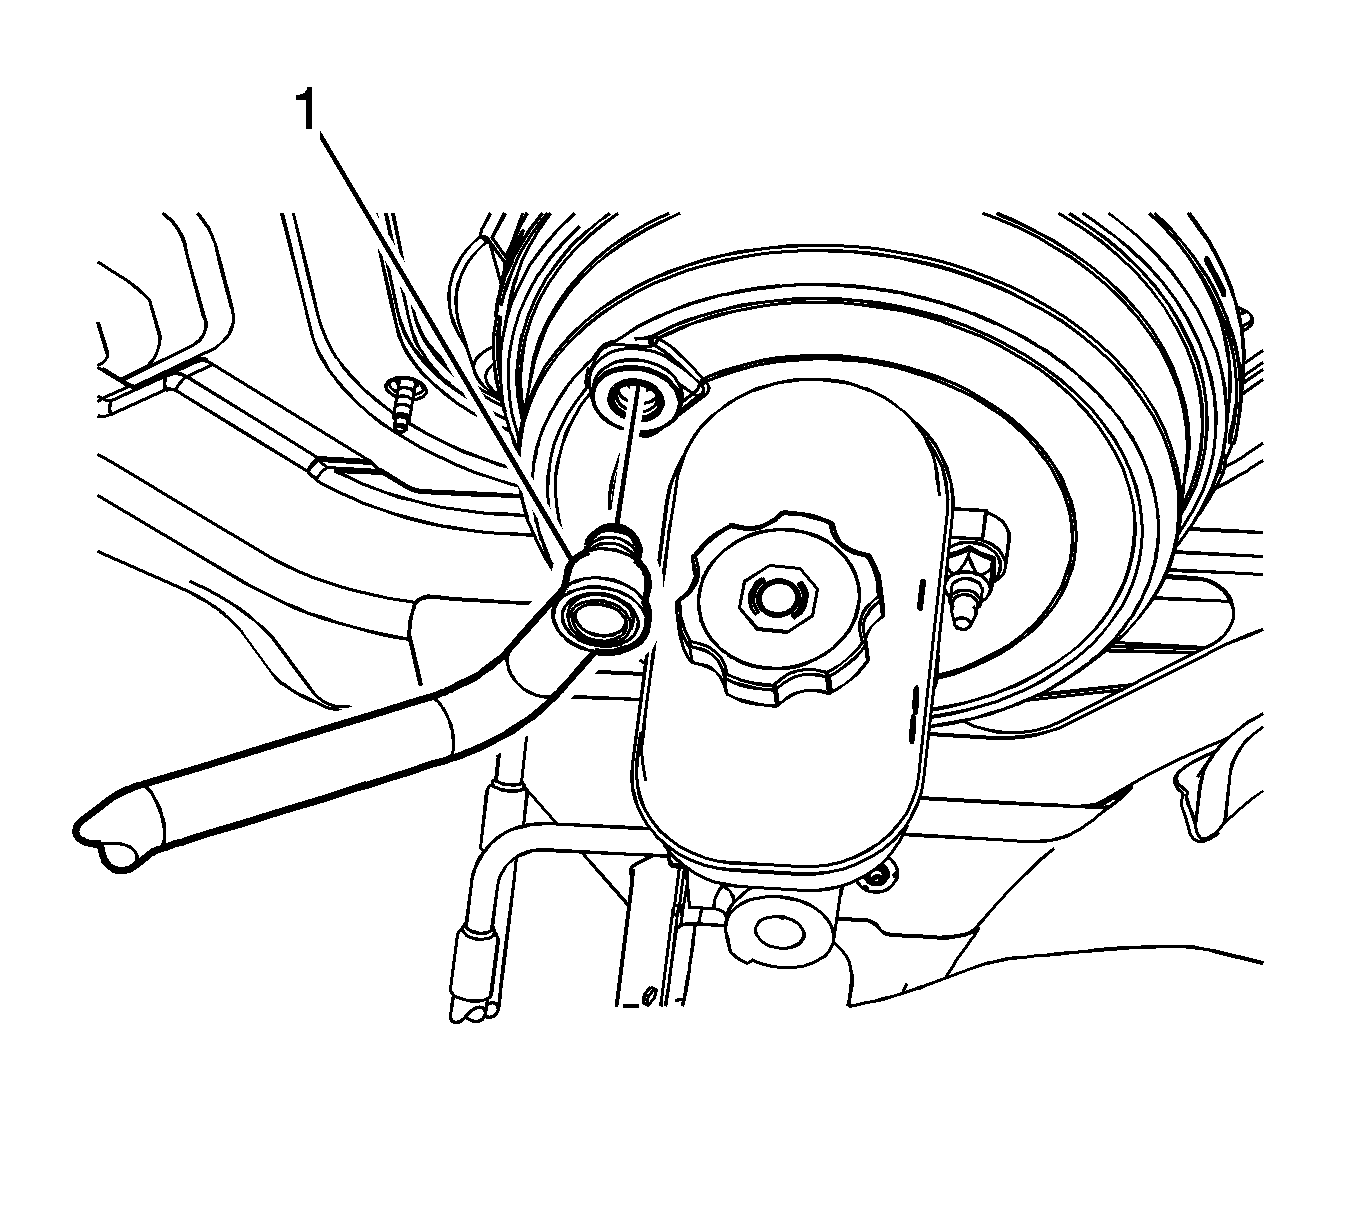
- Remove the check valve (1) from the vacuum brake booster.
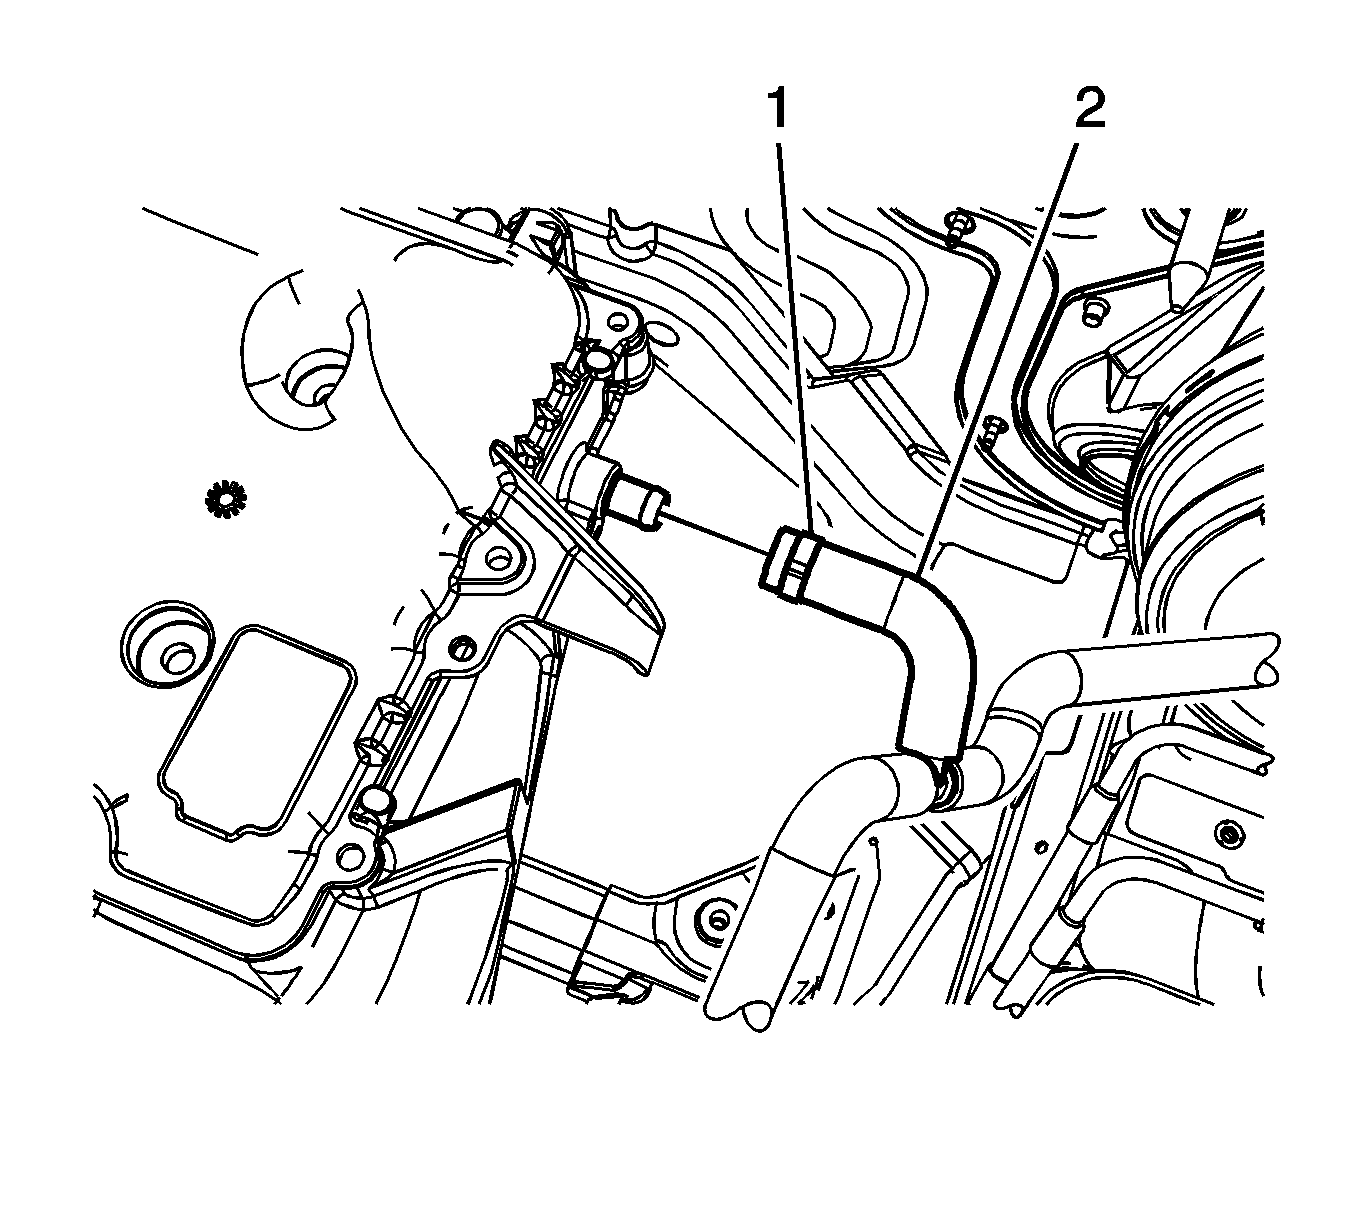
- Remove and discard the vacuum hose clamp (1).
- Remove the vacuum hose (2) from the vacuum port on the LH side of the intake manifold.
- Release the vacuum brake booster hose quick connect (1) from the power brake booster auxiliary pump.
- Remove the check valve from the vacuum brake booster hose, if necessary.
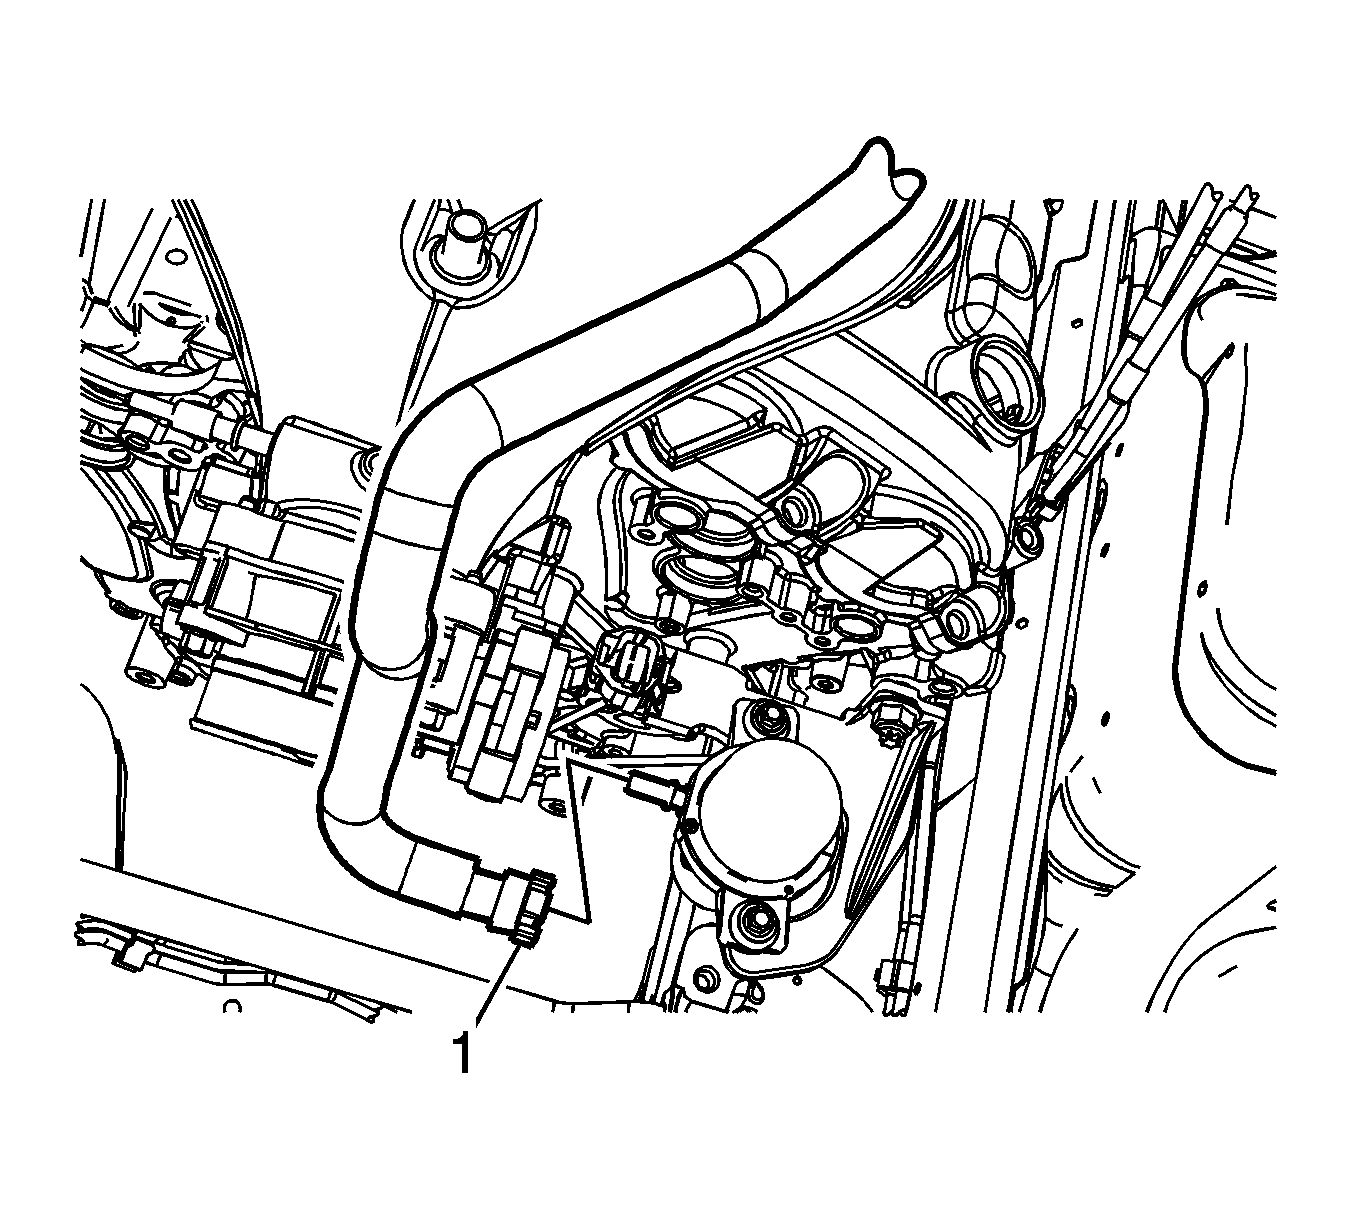
Installation Procedure
- Install the vacuum brake booster hose quick connect (1) to the power brake booster auxiliary pump.
- Position a new hose clamp (1) to the vacuum brake booster hose.
- Install the vacuum hose (2) to the vacuum port on the LH side of the intake manifold.
- Using a suitable tool, compress the clamp to secure the vacuum brake booster hose to the vacuum port fitting.
- Install the check valve to the vacuum brake booster hose, if removed.
- Install the check valve (1) to the vacuum brake booster.


If necessary, a small amount of denatured alcohol may be used as a lubricant for assembly. Do not use soap.
