For 1990-2009 cars only
Special Tools
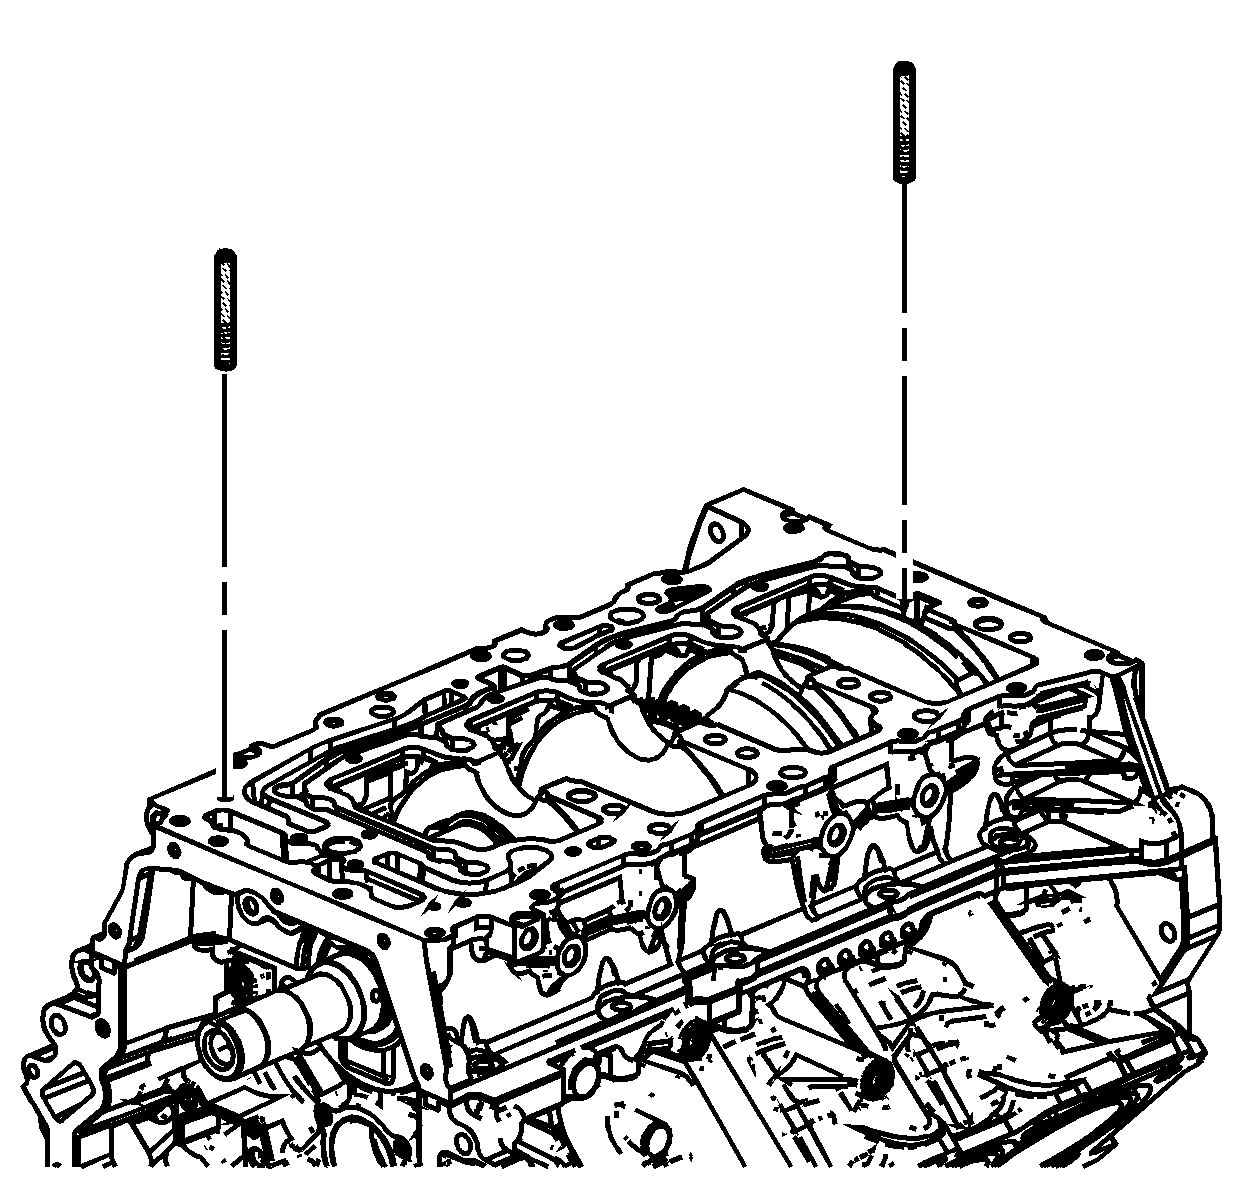
| • | EN 46109 Guide Pins |
| • | J 39946 Crankshaft Socket - 4.0L and 4.6L |
| • | J 45059 Angle Meter |
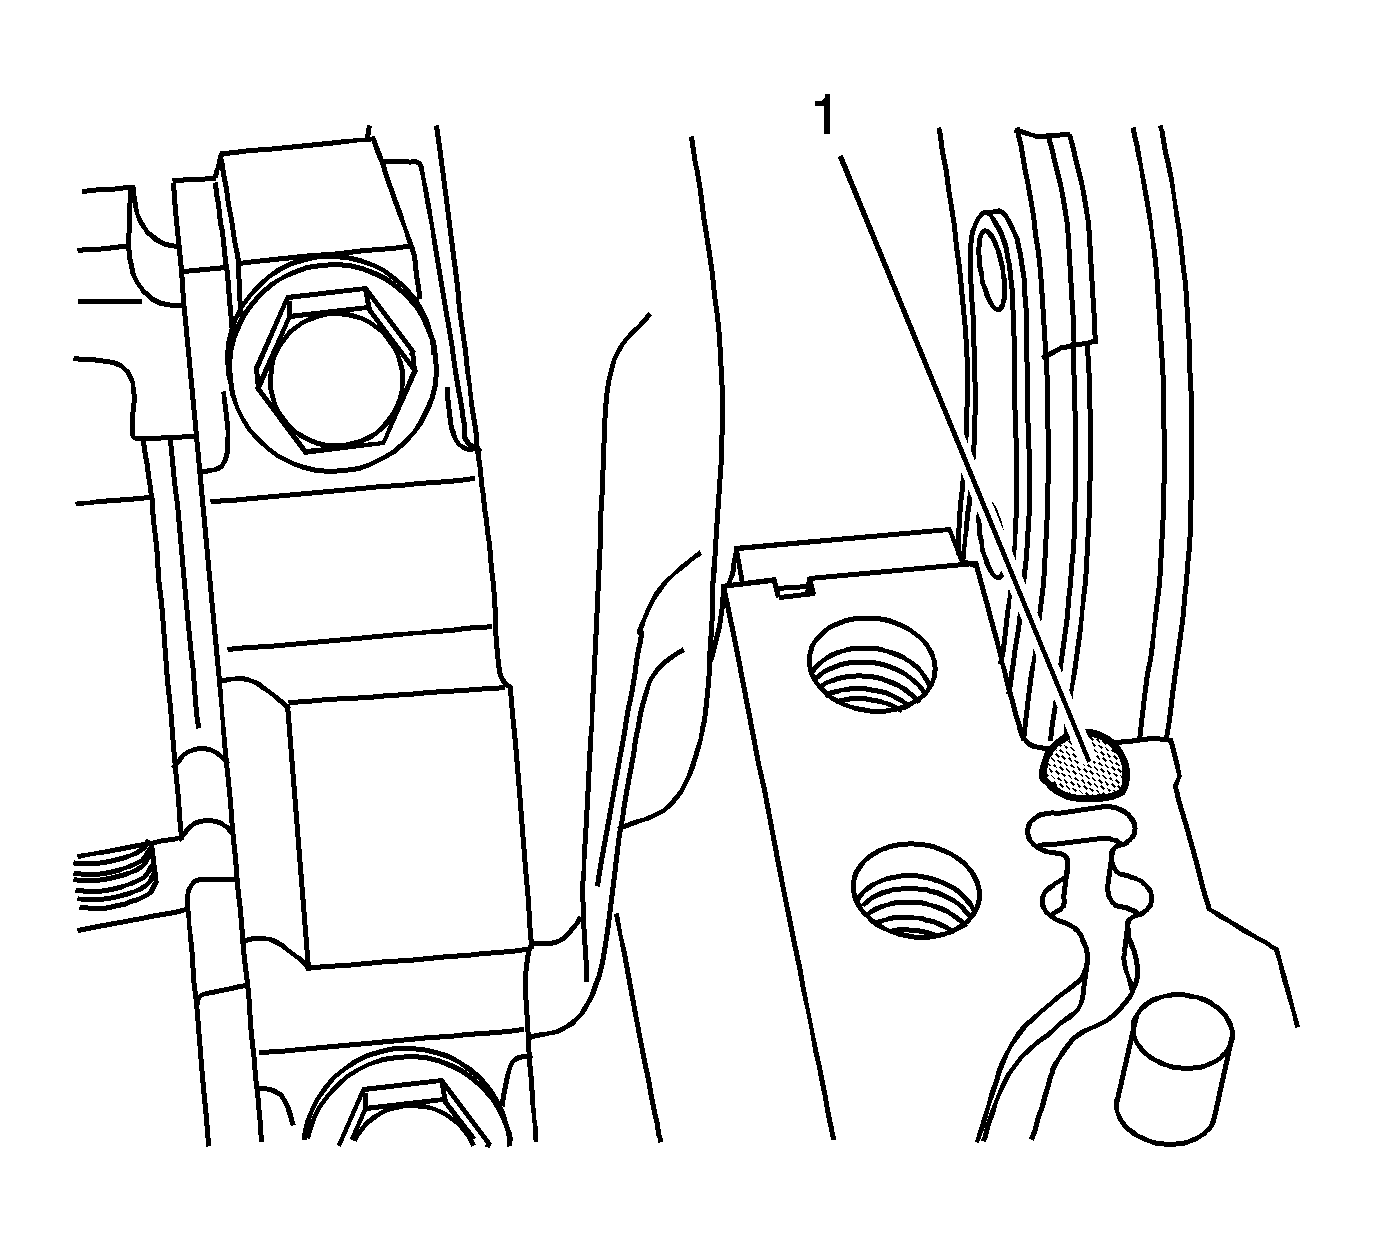
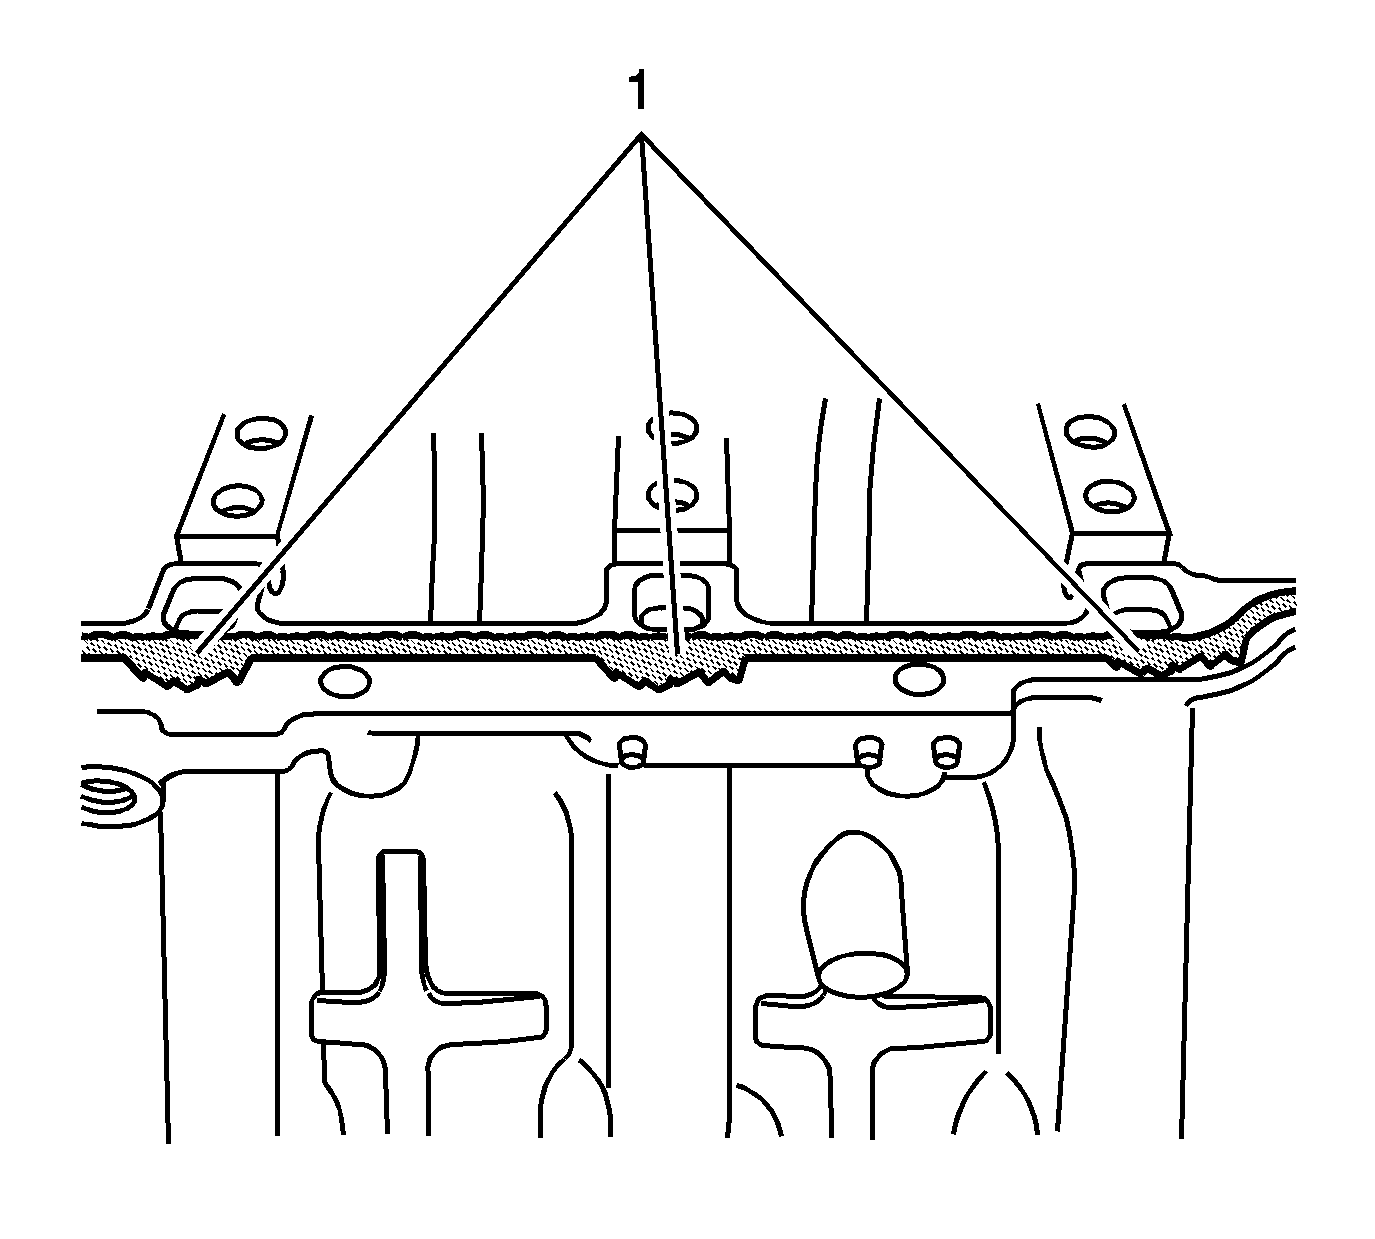
- Place a 5 mm (0.197 in) spot of RTV sealant GM P/N 12378521 or equivalent (1) at the two points where the crankshaft rear oil seal meets the split line of the engine block.
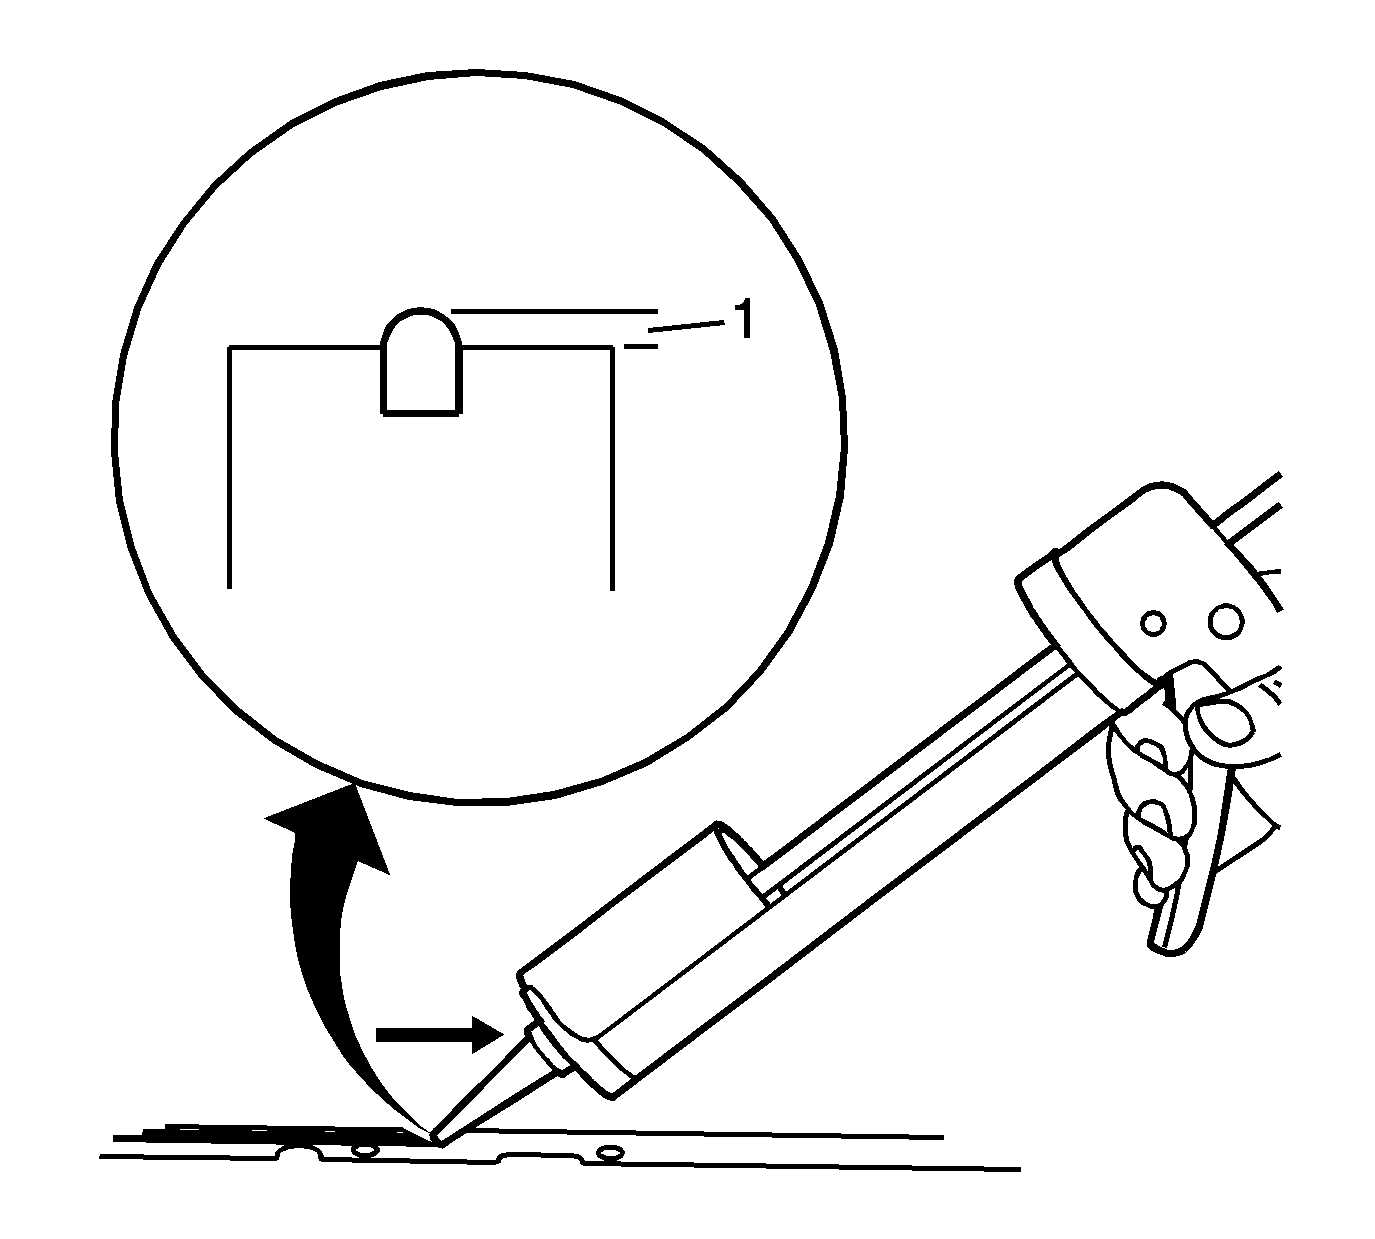
- Completely fill and slightly overfill the engine block seal groove with a continuous bead of RTV sealant GM P/N 12378521 or equivalent.
- Ensure the RTV sealant GM P/N 12378521 or equivalent bead is higher then the rail surface (1) by 1.0-1.5 mm (0.0394-0.0591 in).
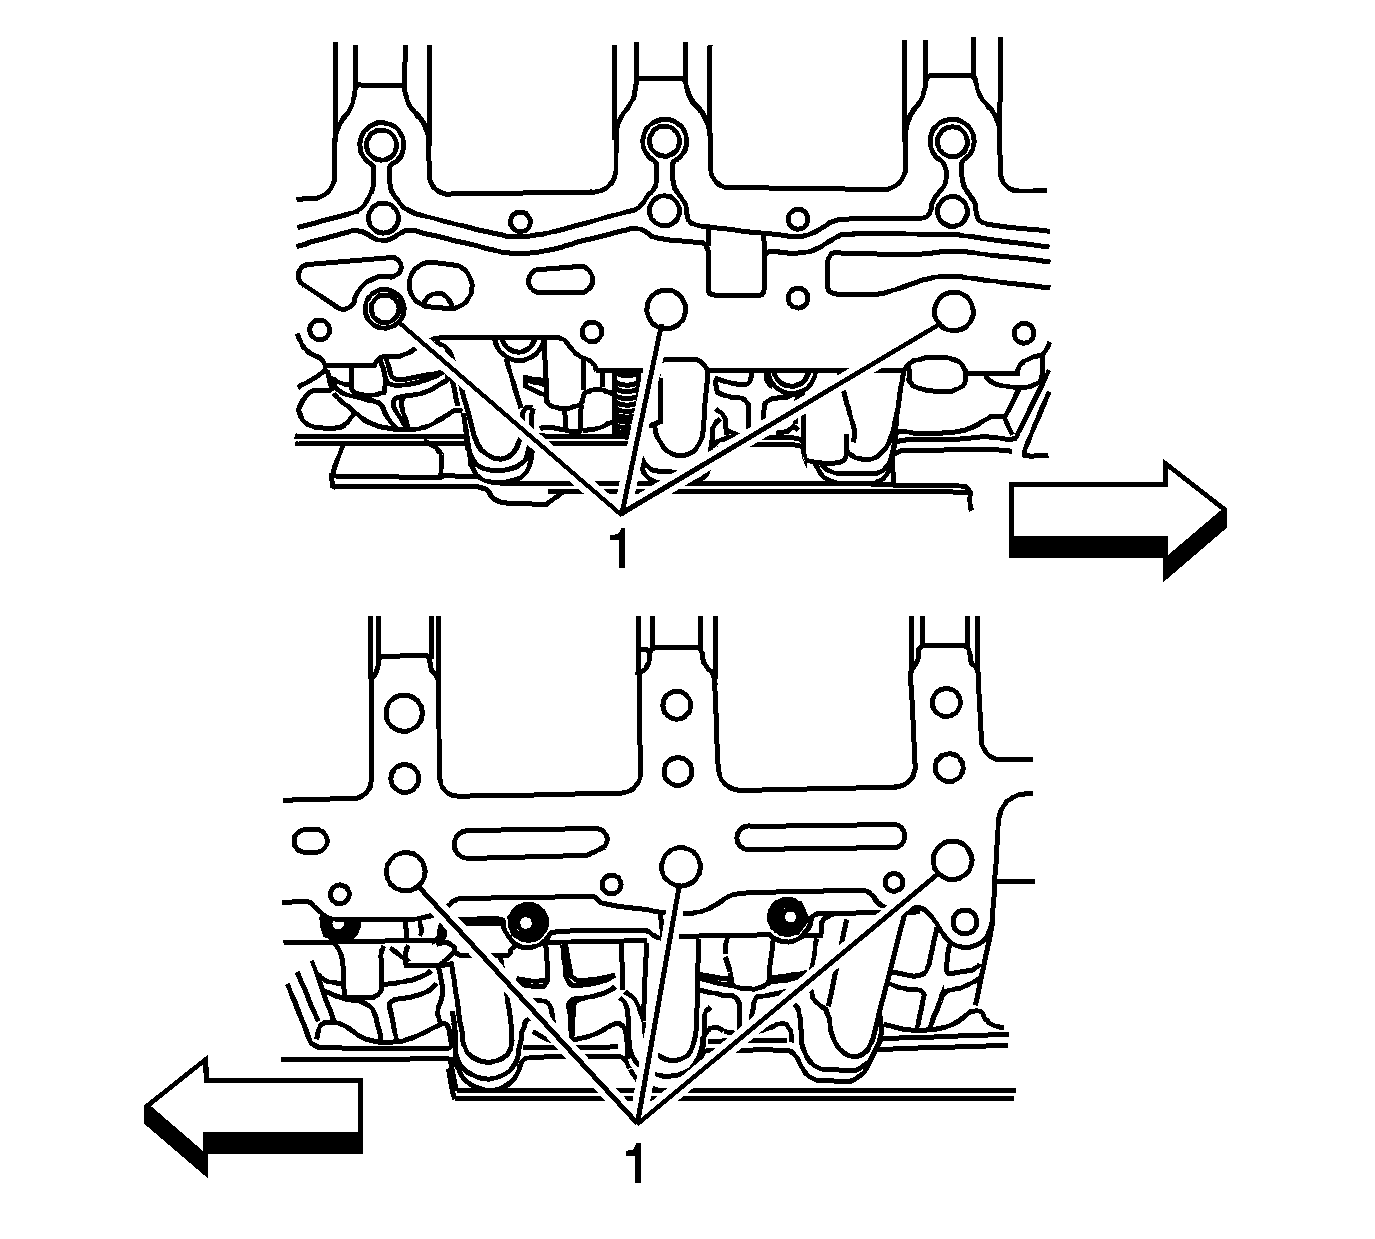
- Using a suitable tool spread the sealant in the area near the oil drain back passages (1) away from the oil drain back passages toward the outboard edge of the rail surface.
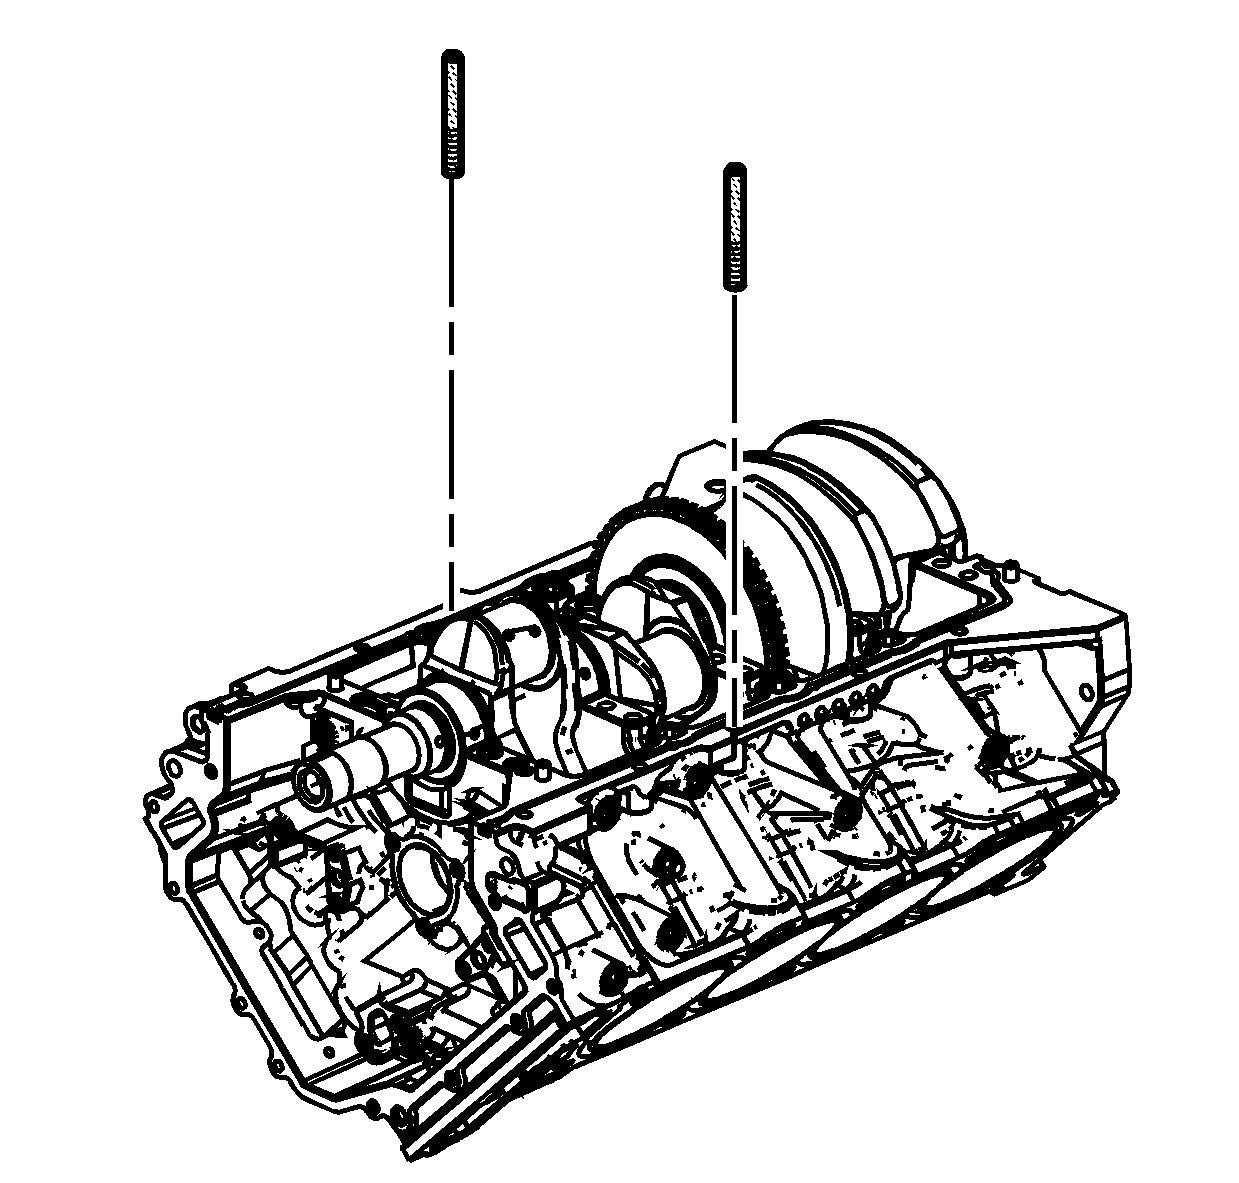
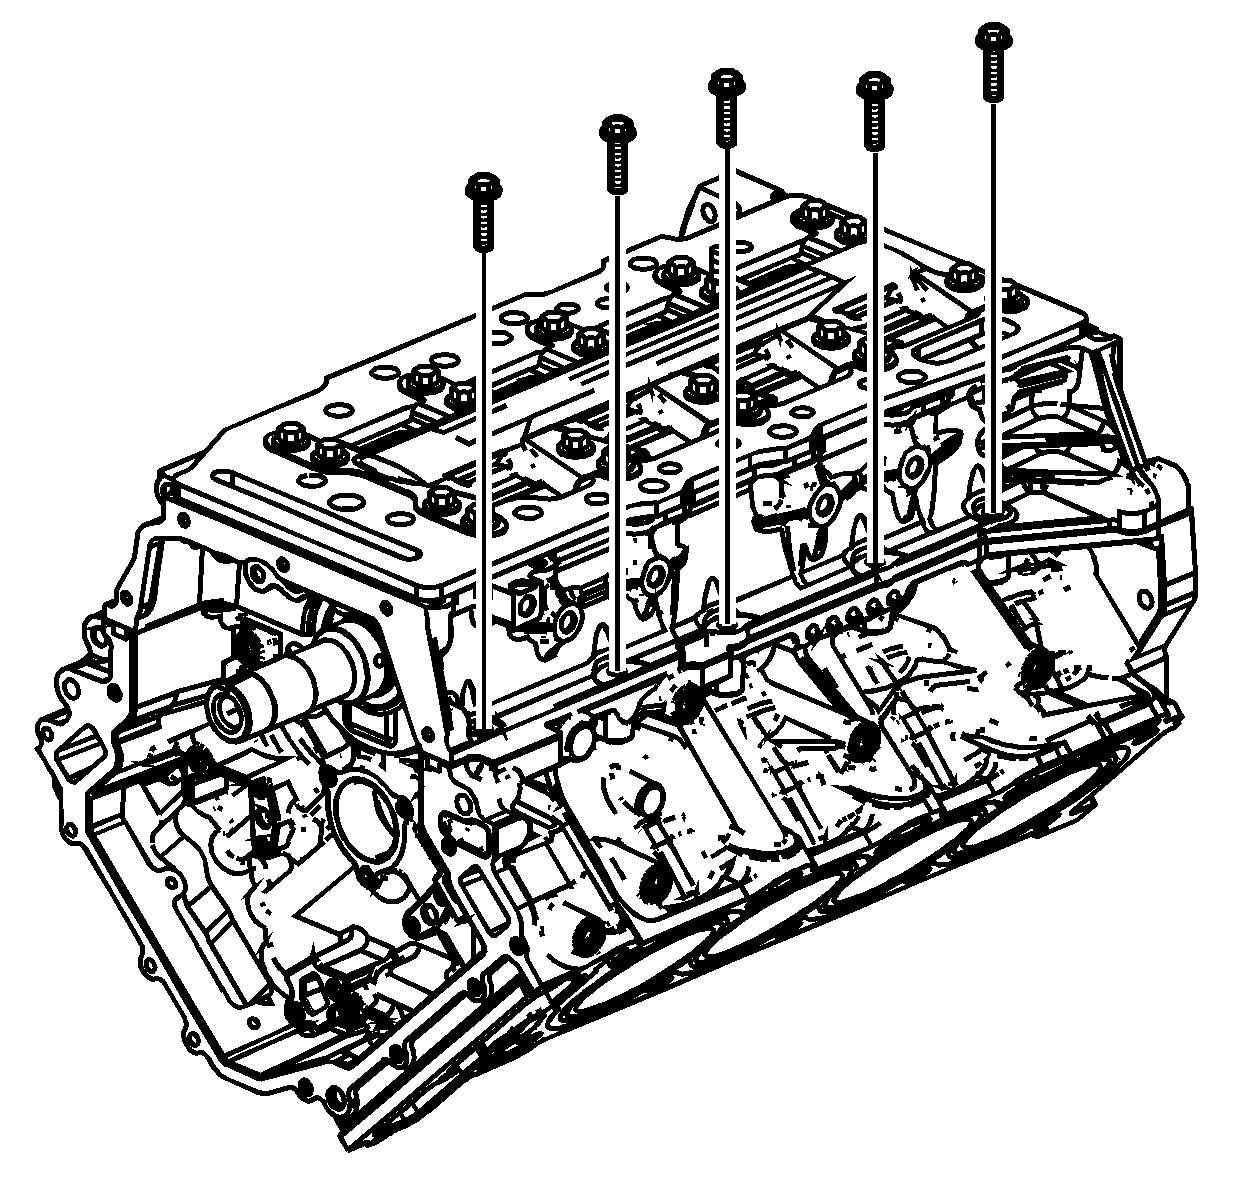
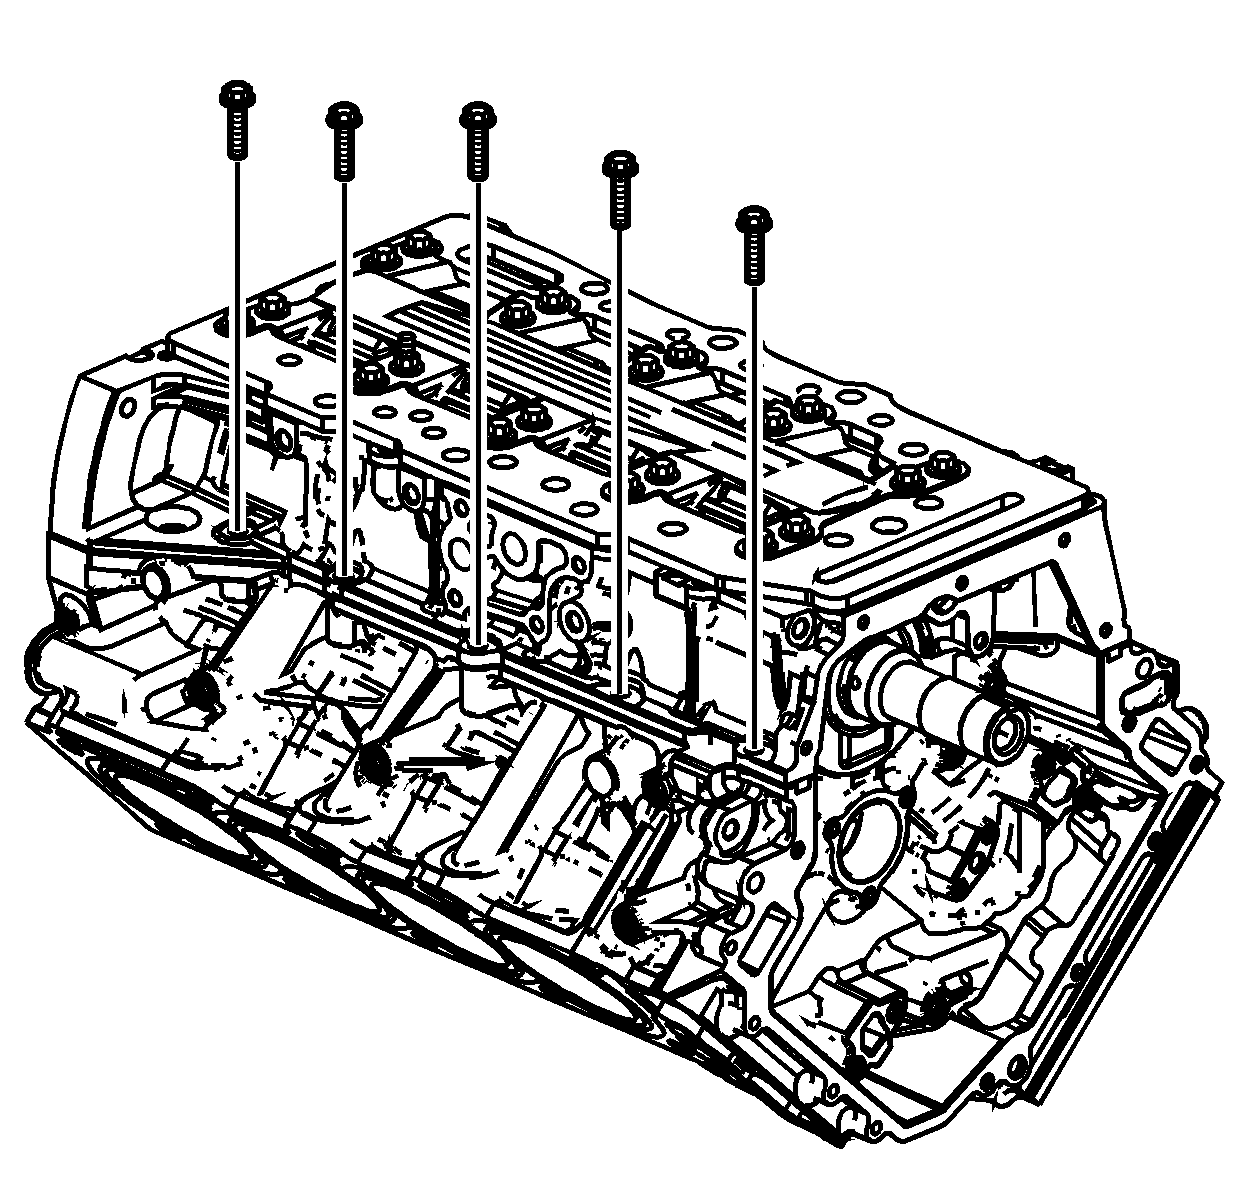
- To prevent shifting of the lower crankcase install one of the EN 46109 pins into a bolt hole in each rail.
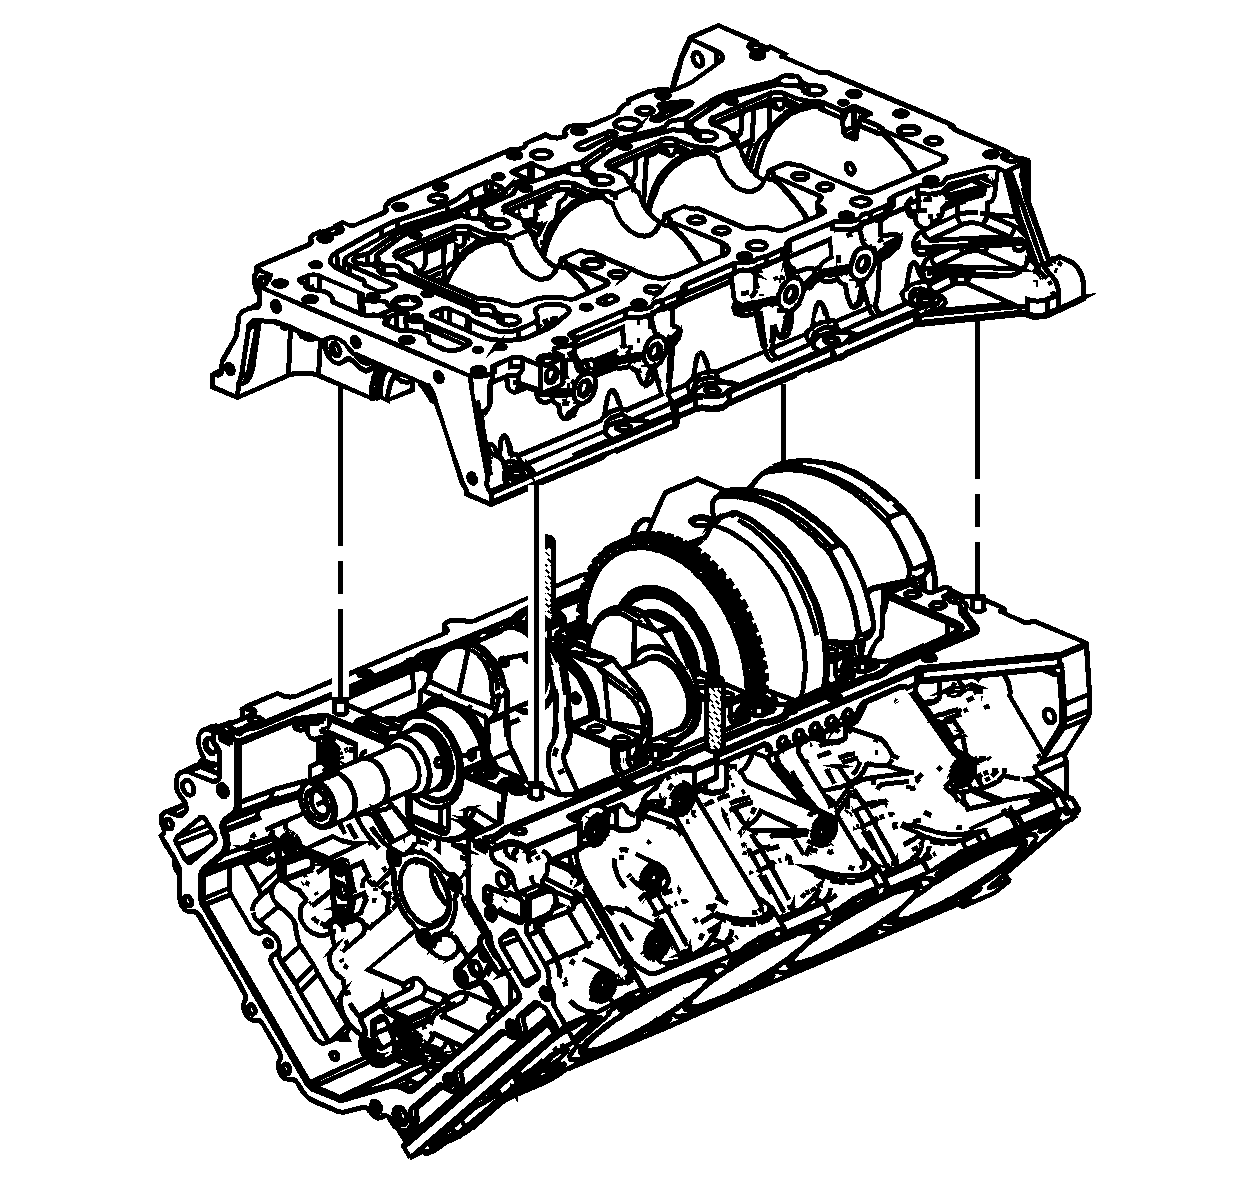
- Install the cleaned lower crankcase onto the engine.
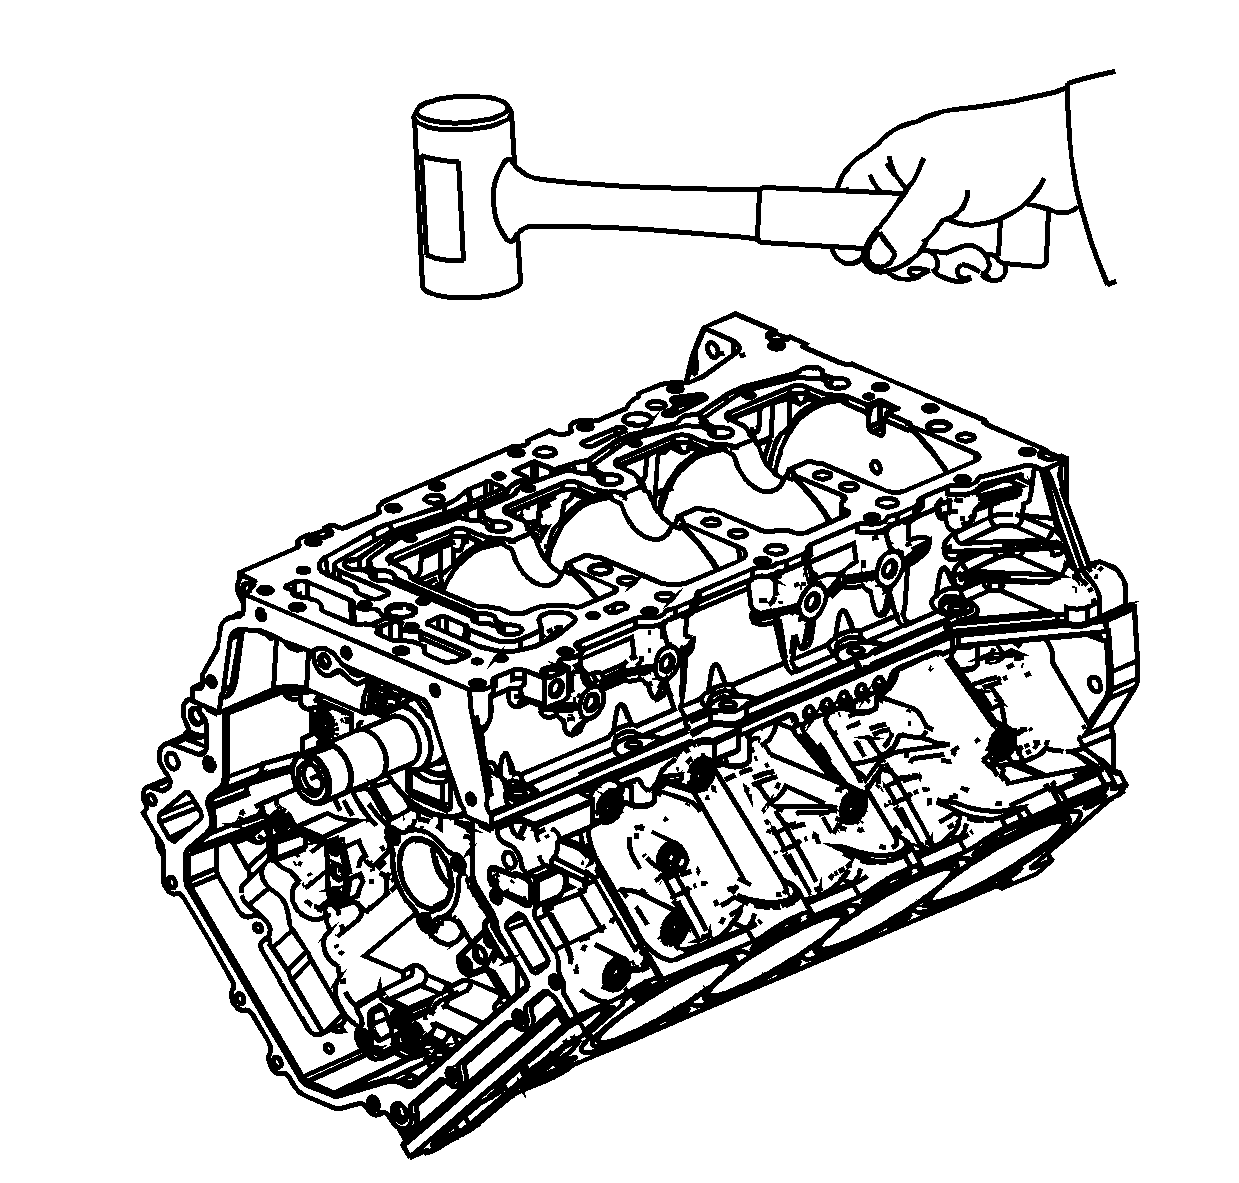
- Using a rubber mallet gently tap the lower crankcase into position.
- Remove both of the EN 46109 pins .
- Loosely install the crankcase perimeter bolts on the right side.
- Loosely install the crankcase perimeter bolts on the left side.
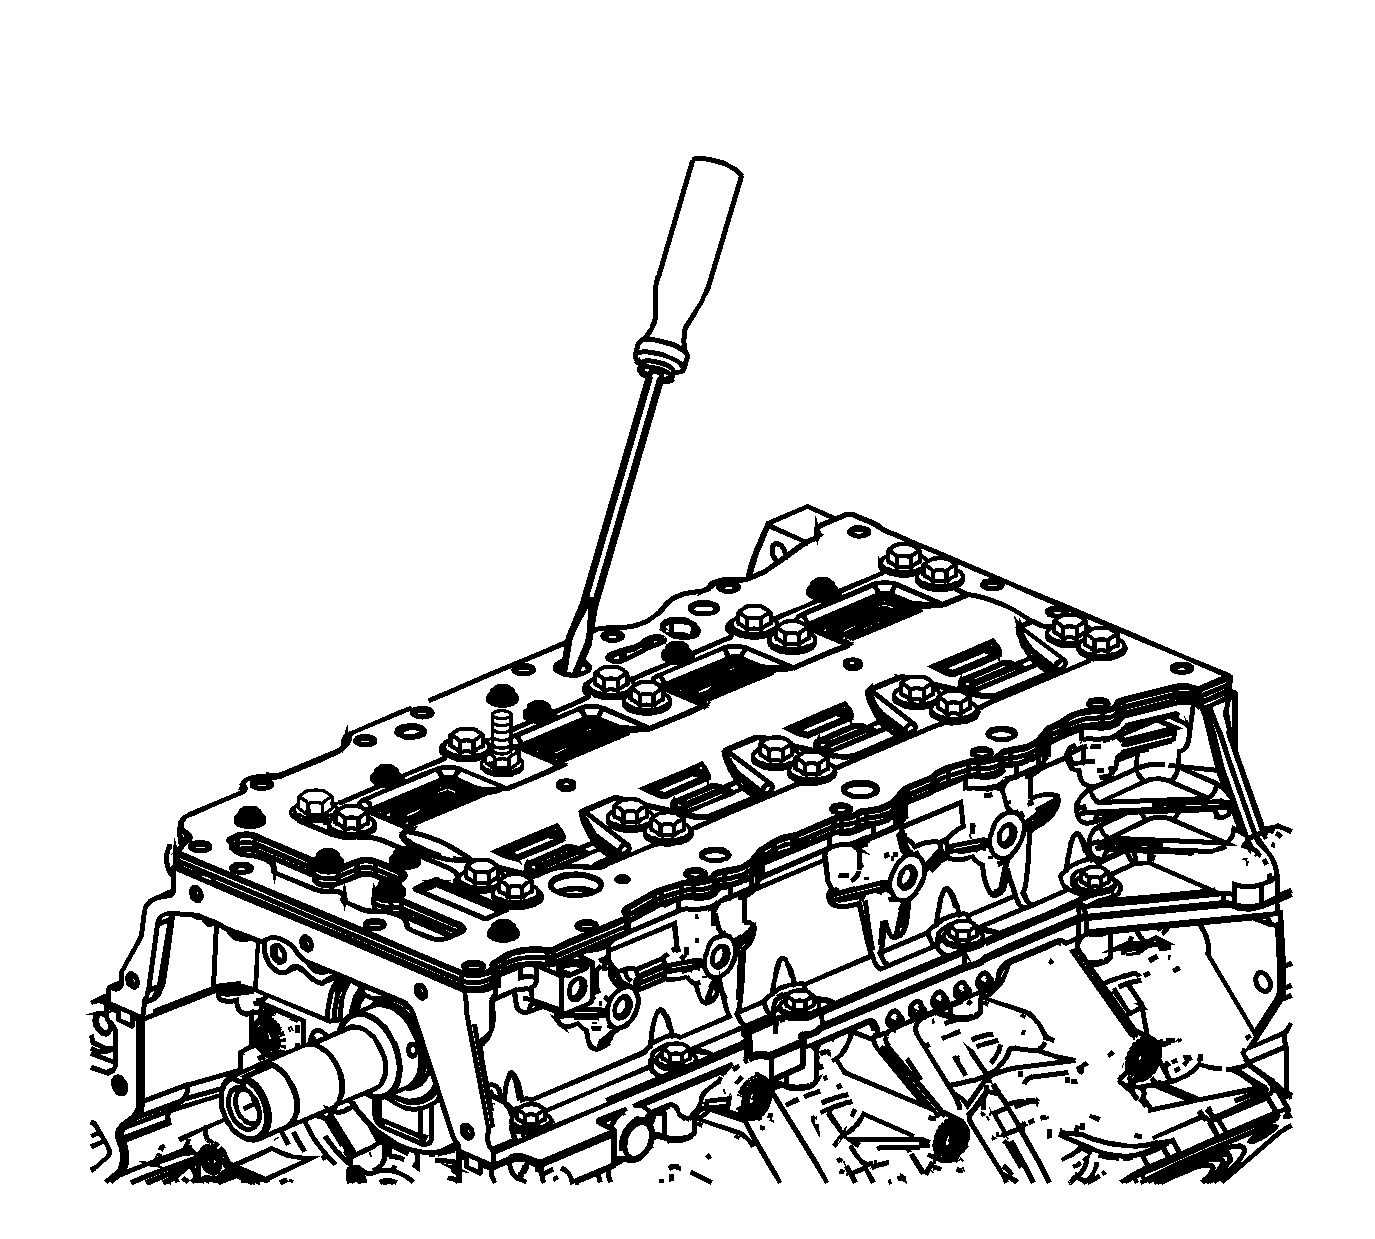
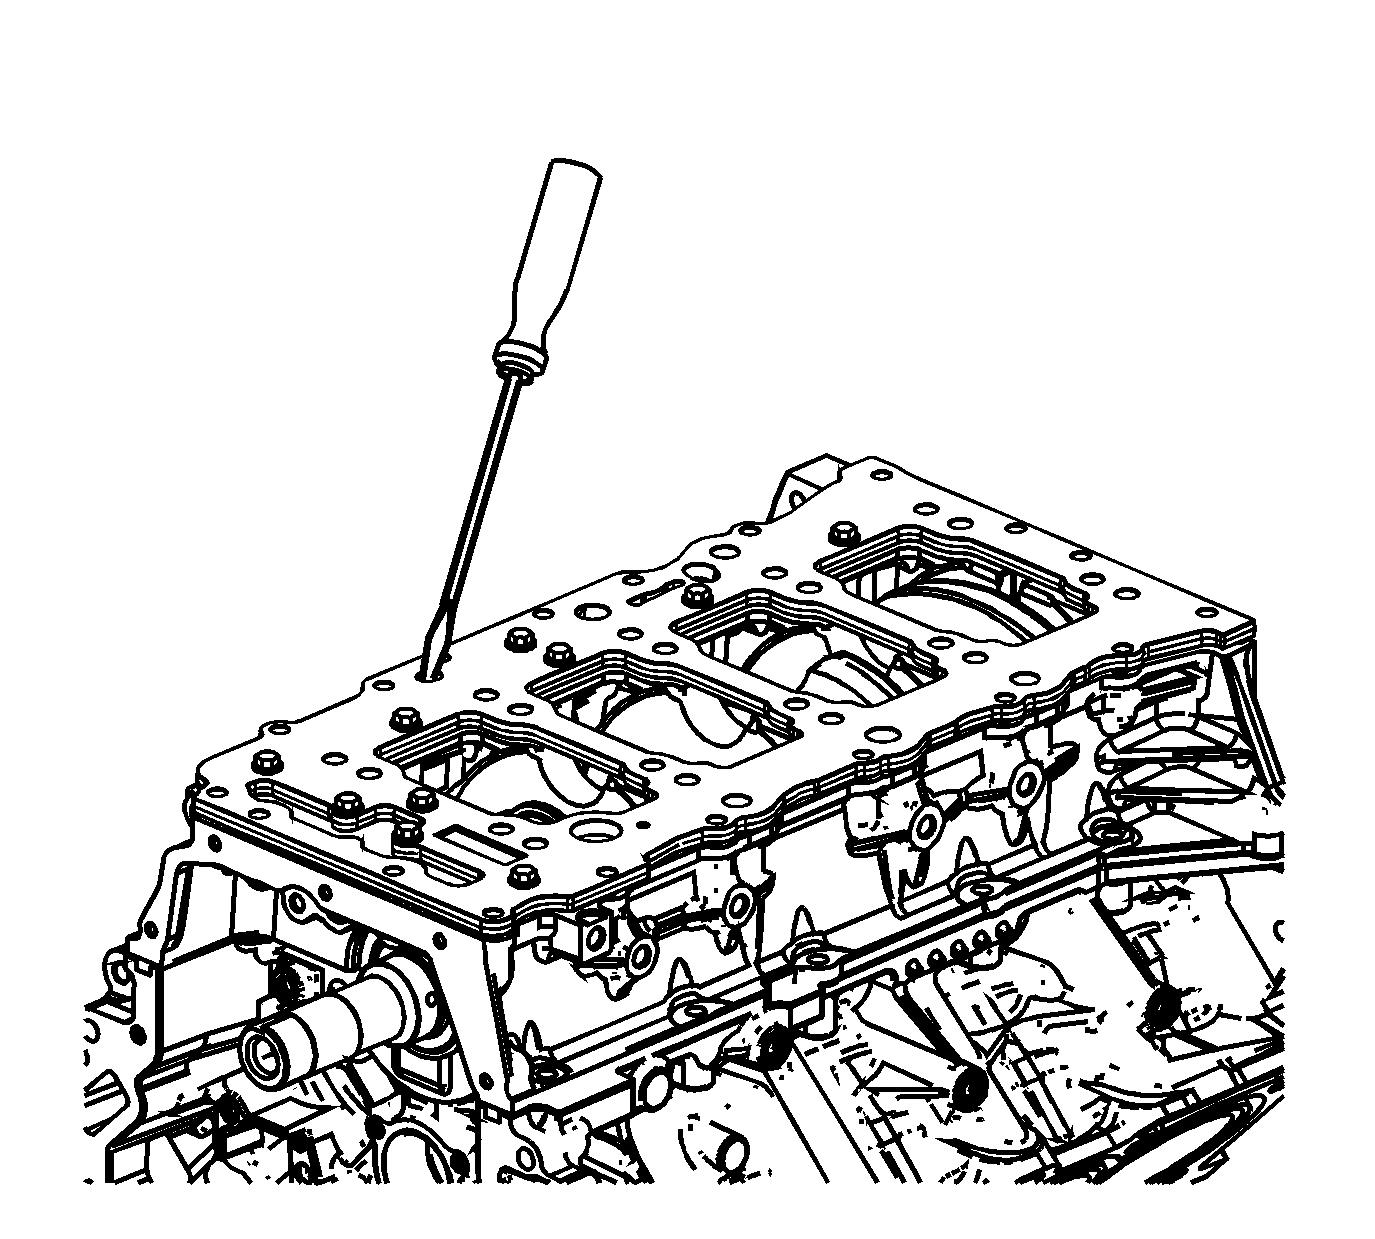
- Using a small long blade screwdriver clean out any sealant in the oil drain back passages (1).
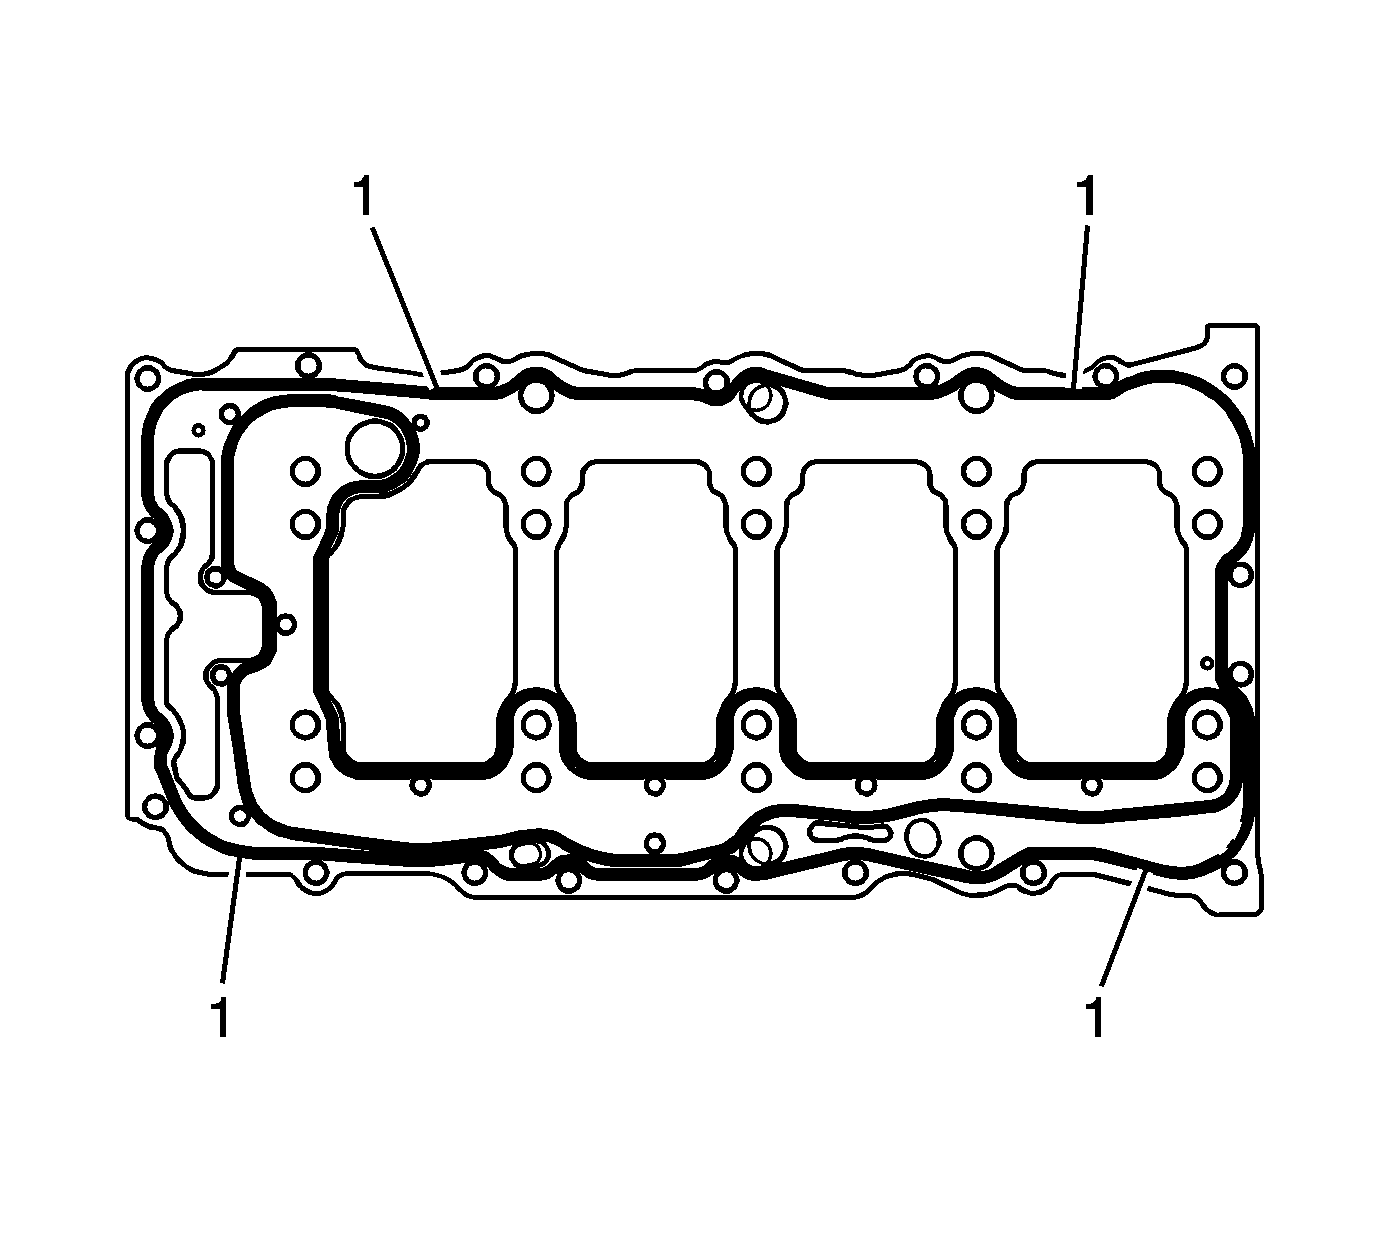
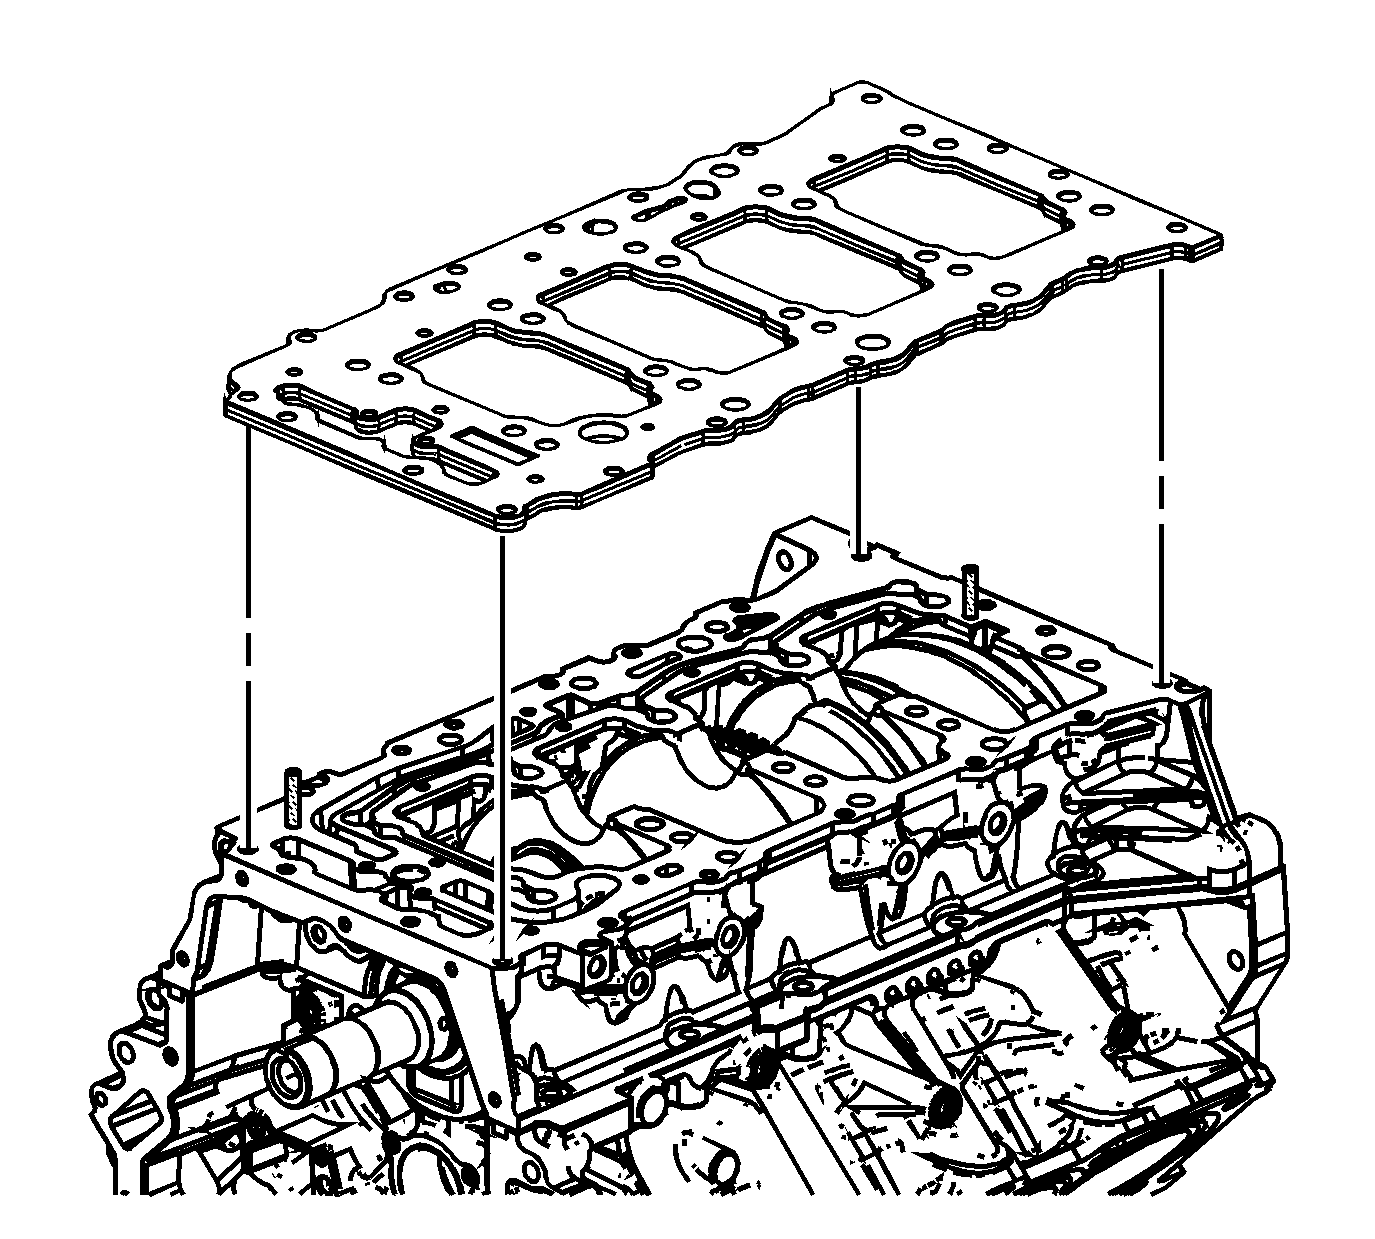
- Using a NEW oil distribution plate, remove the outer seal (1) if installed, and completely fill and slightly overfill the outer seal groove (1) with a continuous bead of RTV sealant GM P/N 12378521 (Canada P/N 88901148) or equivalent. Ensure the RTV sealant bead is higher than the plate surface by 1.0-1.5 mm (0.0394-0.0591 in).
- To prevent shifting of the oil distribution plate install one of the EN 46109 pins into a bolt hole in each side of the lower crankcase.
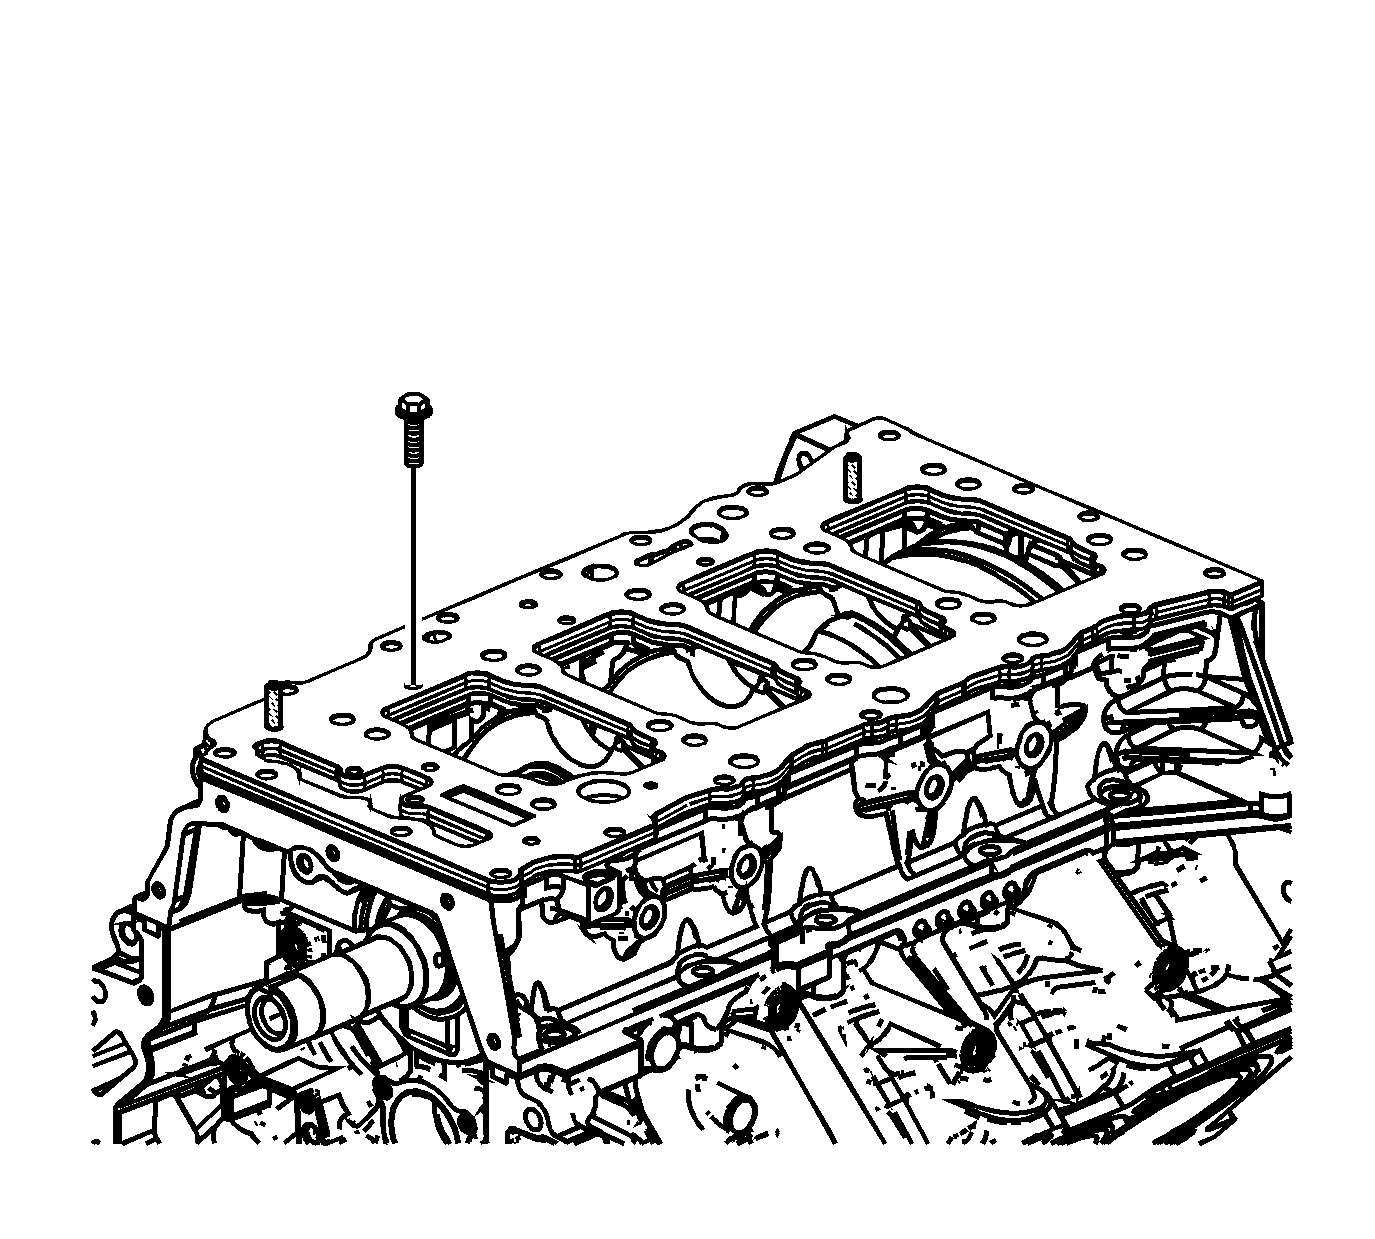
- Install the NEW oil distribution plate.
- Remove both of the EN 46109 pins .
- Install the oil distribution plate bolts and tighten to 10 N·m (89 lb in).
- Using a small long blade screwdriver clean out any sealant in the oil drain back passages.
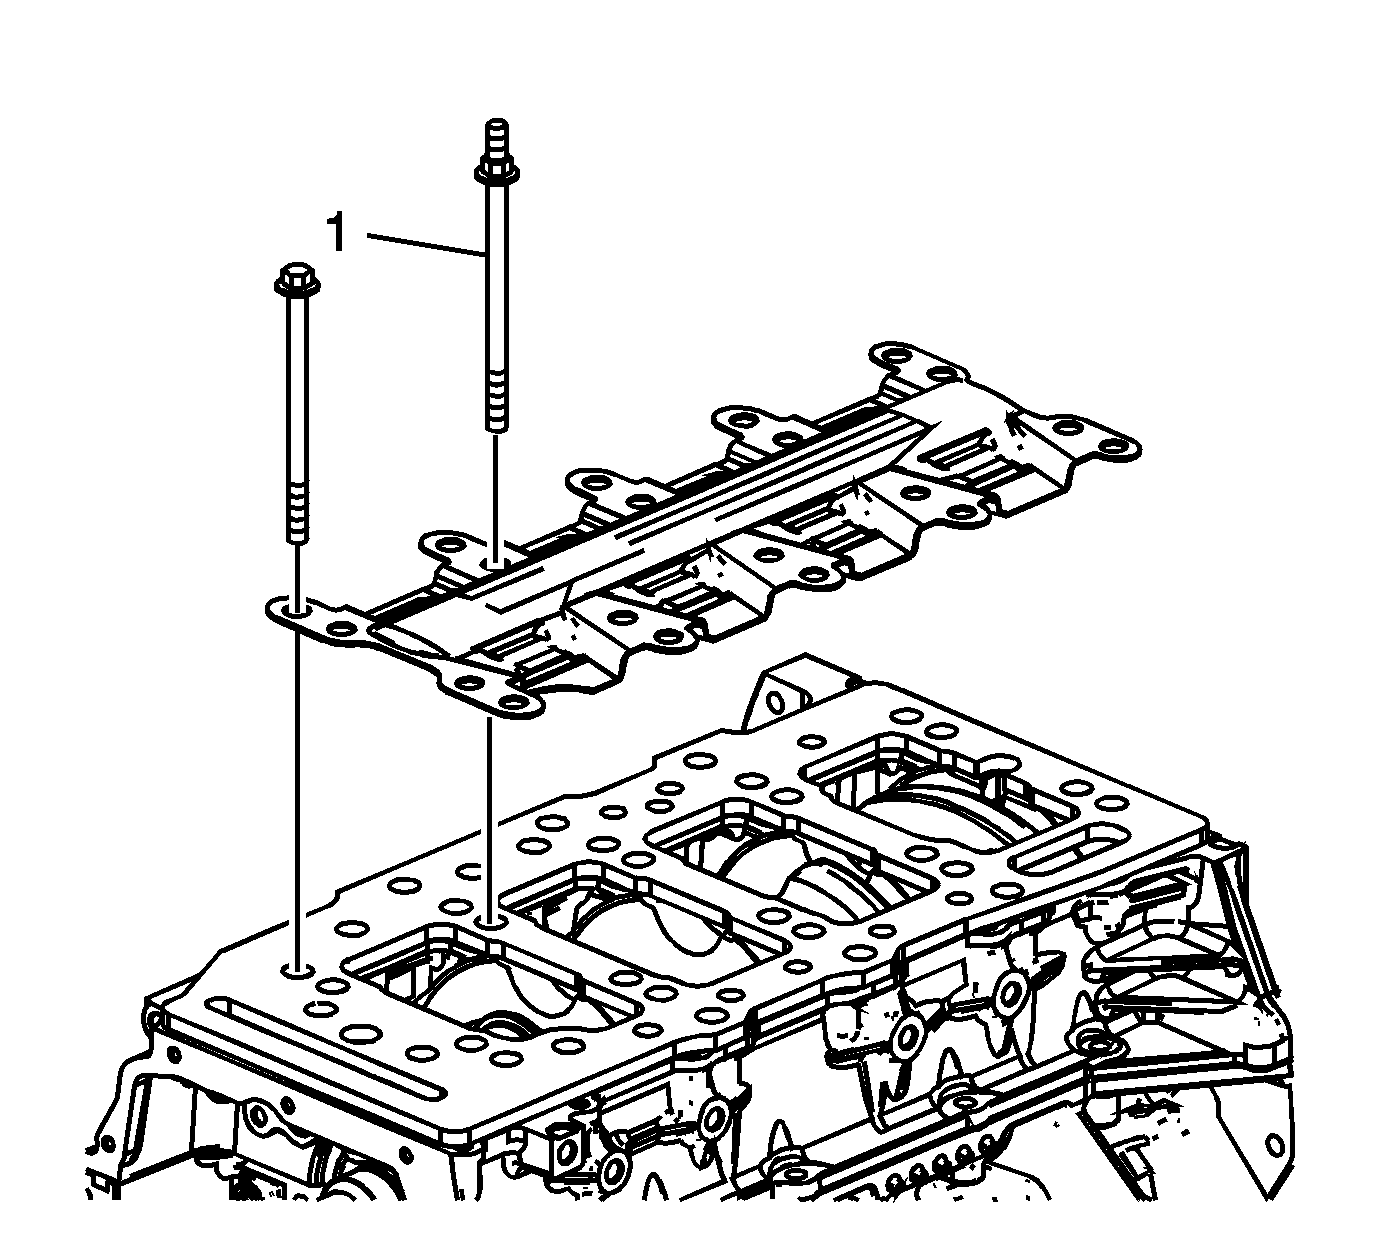
- Install the crankshaft oil scraper plate.
- Install the main bearing bolts. Ensure the stud-head bolt (1) used for the oil suction tube support bracket is placed in the proper position.
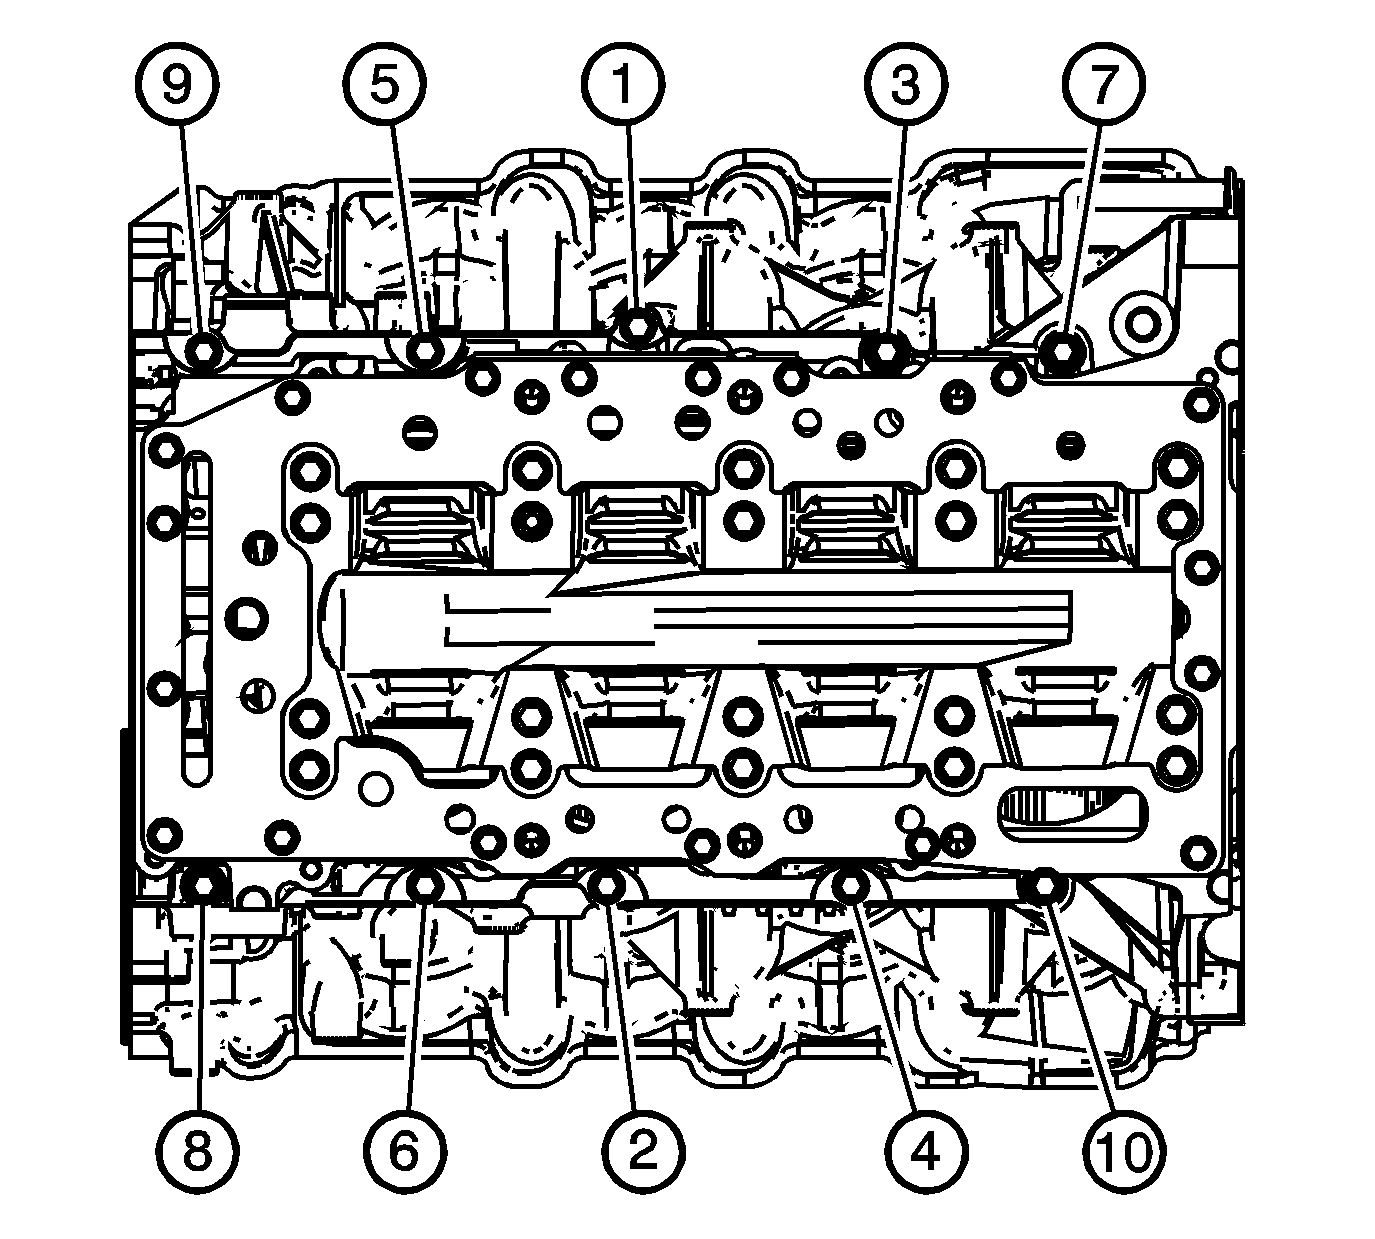
- Tighten the main bearing bolts (1-20) in the proper sequence.
- Tighten the crankcase perimeter bolts in sequence shown to 30 N·m (22 lb ft).
- Using a small long blade screwdriver verify that the threaded holes for the oil pan bolts and the oil drain back passages are clear of sealant.
- Using the J 39946 socket rotate the crankshaft until the number one piston is at top dead center (TDC) and the crankshaft key way is approximately at the 7 o'clock position.
Note: Ensure components being sealed with RTV are assembled within 20 minutes. Components assembled after the RTV has skinned-over, approximately 20 minutes, will not seal properly.
Note: Ensure components being sealed with RTV are assembled within 20 minutes. Components assembled after the RTV has skinned-over, approximately 20 minutes, will not seal properly.
Note: DO NOT apply sealant to the inner seal of the oil distribution plate.
Caution: Refer to Fastener Caution in the Preface section.
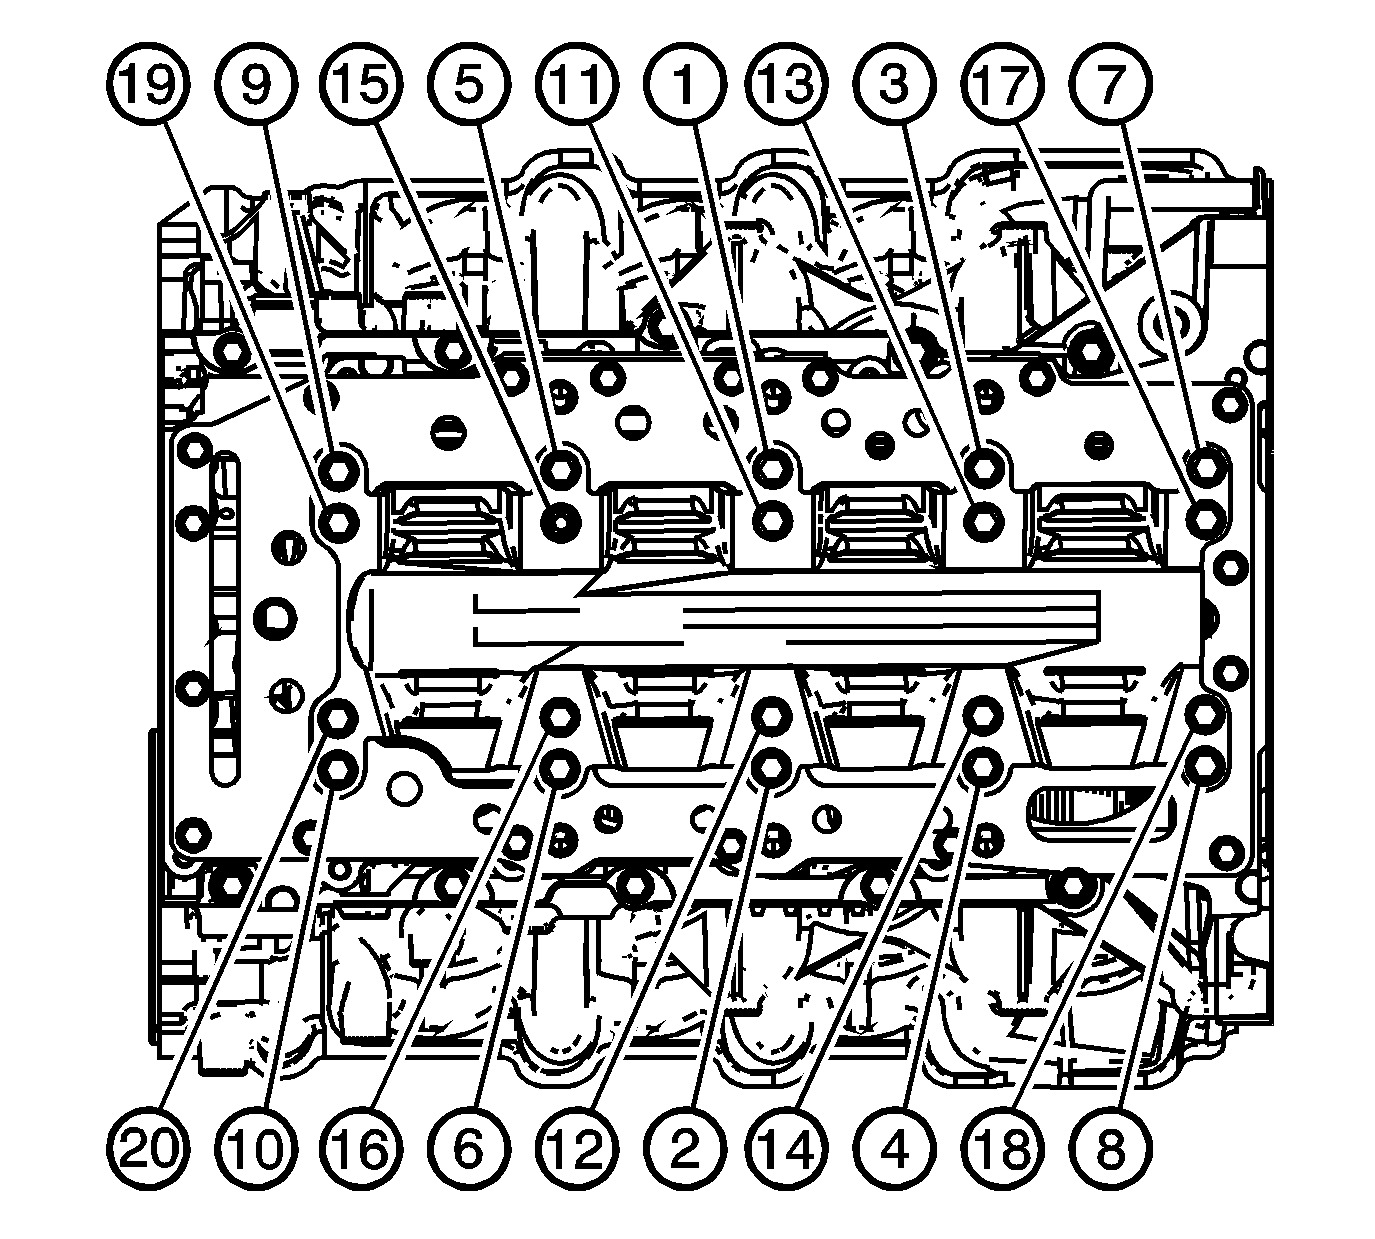
| 20.1. | First pass to 20 N·m (15 lb ft ). |
| 20.2. | Final pass to an additional 65 degrees using the J 45059 meter . |
