Tools Required
J 39946 Crankshaft Rotation Socket
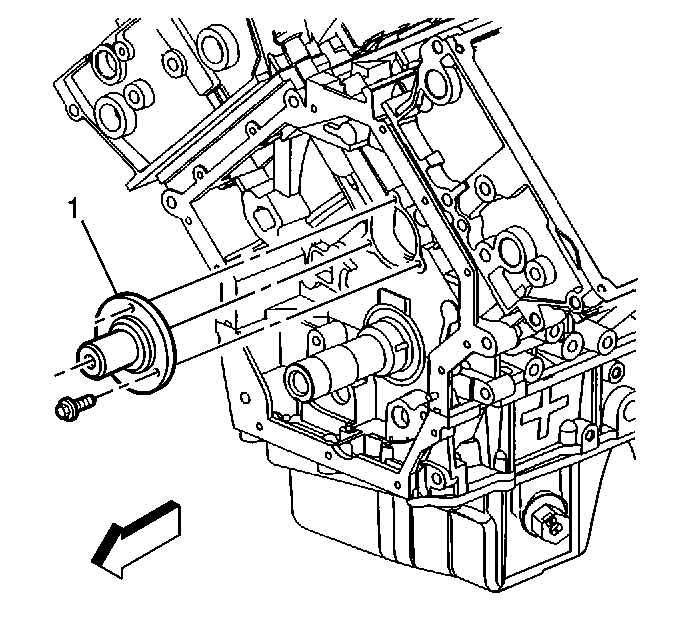
- Install the intermediate sprocket shaft (1) and the retaining bolts.
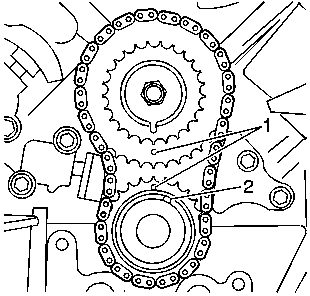
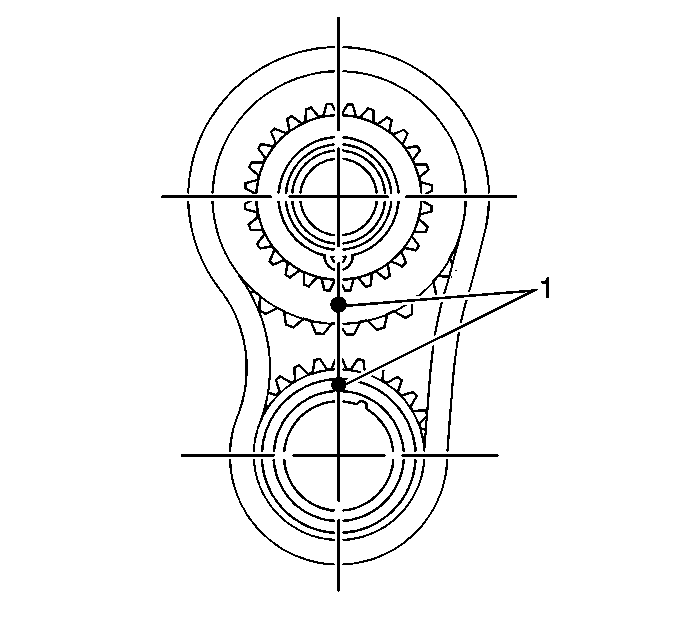
- Align the timing marks (1) of the intermediate and crankshaft sprockets. The marks should be aligned vertically in the installed position.
- Install the primary timing chain on the drive sprockets.
- Make sure that piston number one is at top dead center (TDC) and the crankshaft keyway is approximately at the one o'clock position.
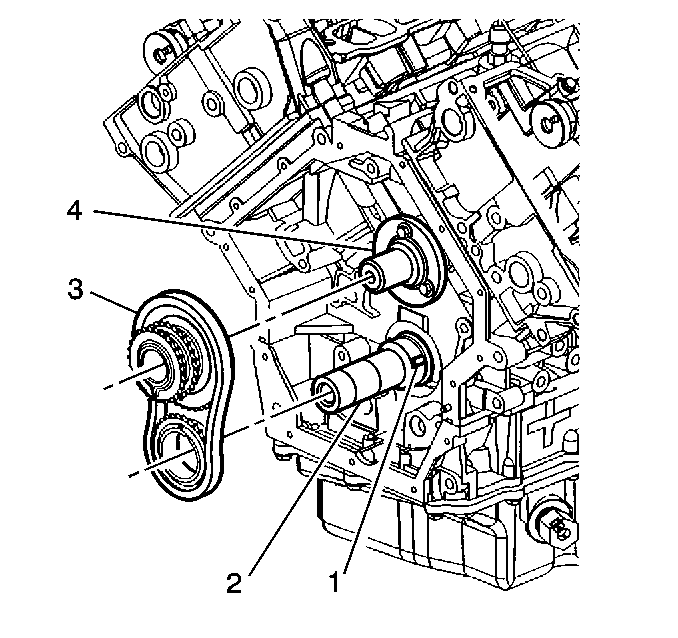
- Install the primary timing chain (3), intermediate sprocket and crankshaft sprocket as an assembly onto their respective shafts (2 & 4). Use the J 39946 to align the crankshaft key (1) with the drive sprocket.
- Install the intermediate sprocket retaining bolt.
- Collapse the primary timing chain tensioner using the following procedure:
- As the ratchet lever moves to its first click, hold the tensioner shoe inward. Insert a pin through the hole in the release lever. The locked ratchet mechanism should hold the shoe in a collapsed position.
- Install the primary timing chain guide (1) and retaining bolts.
- Install the primary timing chain tensioner and retaining bolts.
- Make sure the timing marks (1) are aligned vertically.
- DO NOT remove the pin holding the tensioner until the secondary timing chains are installed.
Notice: Use the correct fastener in the correct location. Replacement fasteners must be the correct part number for that application. Fasteners requiring replacement or fasteners requiring the use of thread locking compound or sealant are identified in the service procedure. Do not use paints, lubricants, or corrosion inhibitors on fasteners or fastener joint surfaces unless specified. These coatings affect fastener torque and joint clamping force and may damage the fastener. Use the correct tightening sequence and specifications when installing fasteners in order to avoid damage to parts and systems.
Tighten
Tighten the intermediate sprocket shaft bolts to 10 N·m
(89 lb in).
Tighten
Tighten the intermediate sprocket shaft bolt to 60 N·m
(44 lb ft).
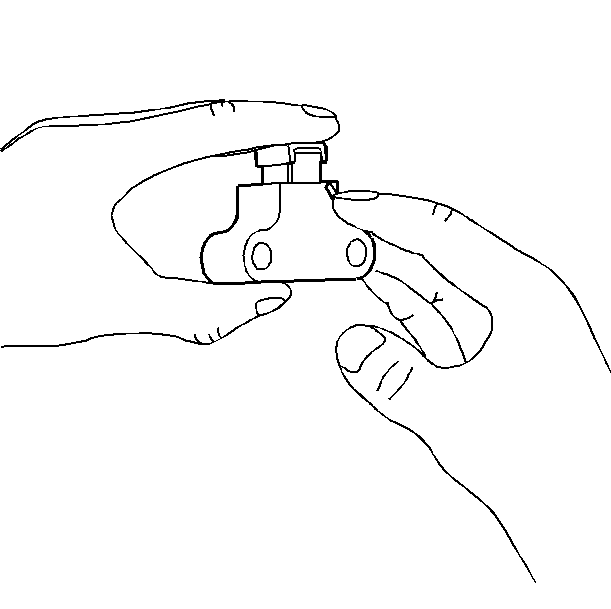
| 7.1. | Rotate the ratchet release lever counterclockwise and hold. |
| 7.2. | Collapse the tensioner shoe and hold. |
| 7.3. | Release the ratchet lever and slowly release the pressure on the shoe. |
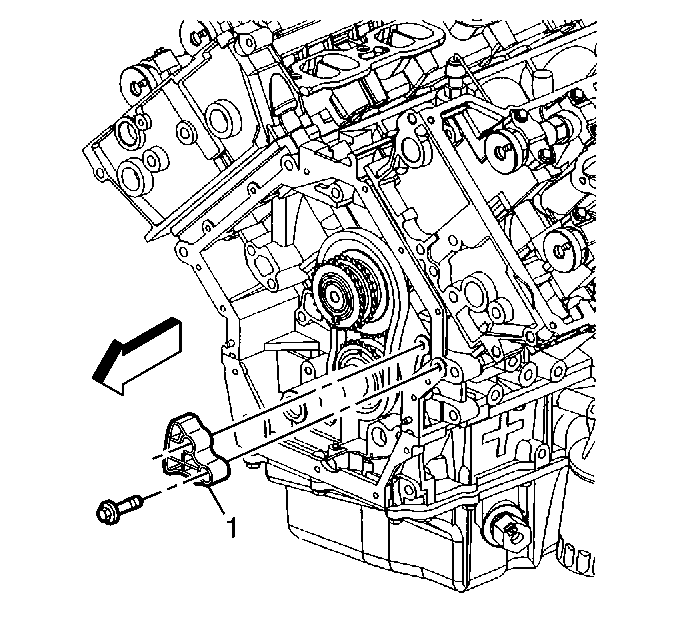
Tighten
Tighten the primary timing chain guide bolts to 25 N·m
(18 lb ft).
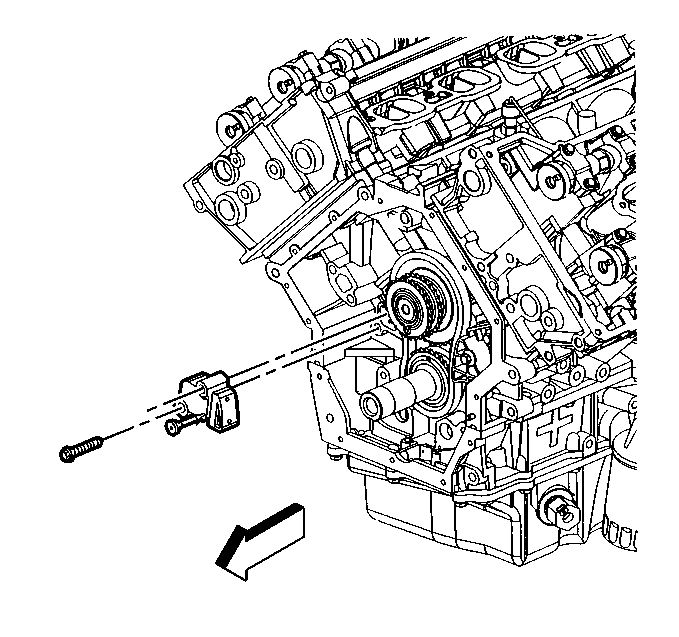
Important: Make sure the tensioner release lever faces toward you before tightening.
Tighten
Tighten the primary timing chain tensioner bolts to 25 N·m
(18 lb ft).
