- Clean the crankshaft bearings and the crankshaft journals with
solvent and compressed air.
- Inspect each bearing journal and bearing for damage.
- Inspect the reluctor ring for any damage to the sensor ring teeth.
- Support the crankshaft on wooden v-blocks at the front (1) and
rear (5) journals.

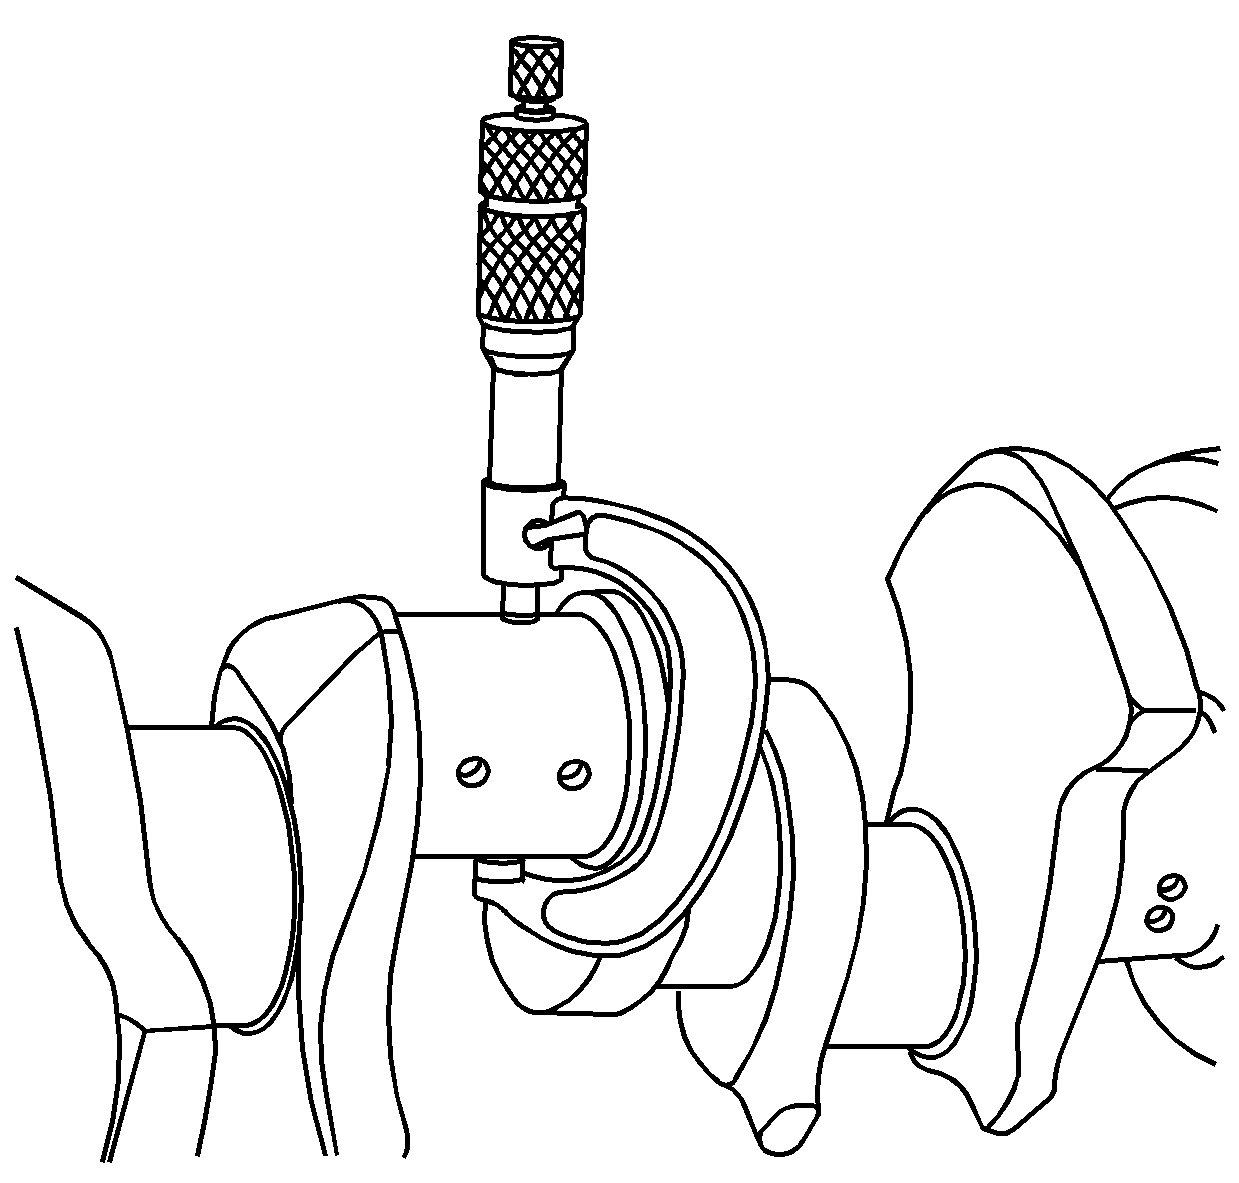
- Check the crankpins for undersize using an outside micrometer.

- Check crankshaft main bearing and crankpin journals for out-of-round
using the following procedure:
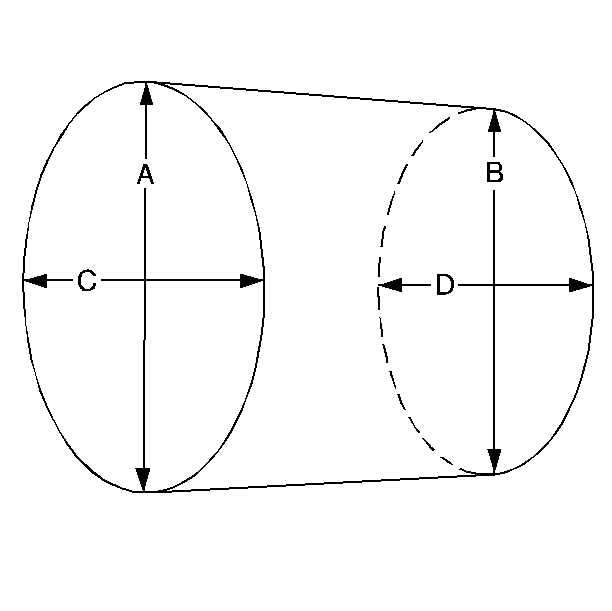
| 6.1. | Using an outside micrometer, measure the journal at the extreme
front and rear locations on the journal. Call these points A and B. |
| 6.2. | Measure the journal in two new locations exactly 90 degrees from
the first points. Call these points C and D. |
| 6.3. | Subtract A from C and B from D. The differences will indicate
journal out-of-round. |
| 6.4. | The out-of-round should not exceed 0.004 mm (0.00016 in.)
maximum. |
| 6.5. | If the specifications are exceeded, replace the crankshaft. |
- Measure the crankshaft bearing journals for taper using the following
procedure:
| 7.1. | Using an outside micrometer, measure the journal at the extreme
front and rear of the journal parallel to the crankshaft centerline. |
| 7.2. | Subtract the smallest from the largest measurement. The result
will be the journal taper. |
| 7.3. | If the crankshaft bearing journal taper exceeds 0.004 mm
(0.00016 in), replace the crankshaft. |
| 7.4. | If the crankpin journal taper exceeds 0.005 mm (0.0002 in),
replace the crankshaft. |
- If the crankshaft journals are damaged or worn beyond dimensions,
replace the crankshaft. No machining of the crankshaft journals is allowed.


