Headlining Trim Panel Replacement w/o CF5
Caution: Do not attempt to repair or alter the head impact energy-absorbing material glued to the headliner or to the garnish trims. If the material is damaged, replace the headliner and/or the garnish trim. Failure to do so could result in personal injury.
Removal Procedure
- Remove the front bucket seats. Refer to Front Seat Replacement - Bucket .
- Remove the center console. Refer to Console Replacement .
- Remove the windshield pillar garnish molding. Refer to Windshield Pillar Garnish Molding Replacement .
- Remove the center pillar trim. Refer to Center Pillar Garnish Molding Replacement .
- Remove the sail panels. Refer to Sail Panel Replacement .
- Remove the sunshades. Refer to Sunshade Replacement .
- Disconnect the electrical connector on the windshield outside moisture sensor.
- Disconnect the rearview mirror electrical connectors.
- Pull the door opening moldings down to clear the headliner.
- Remove the assist handles. Refer to Assist Handle Replacement .
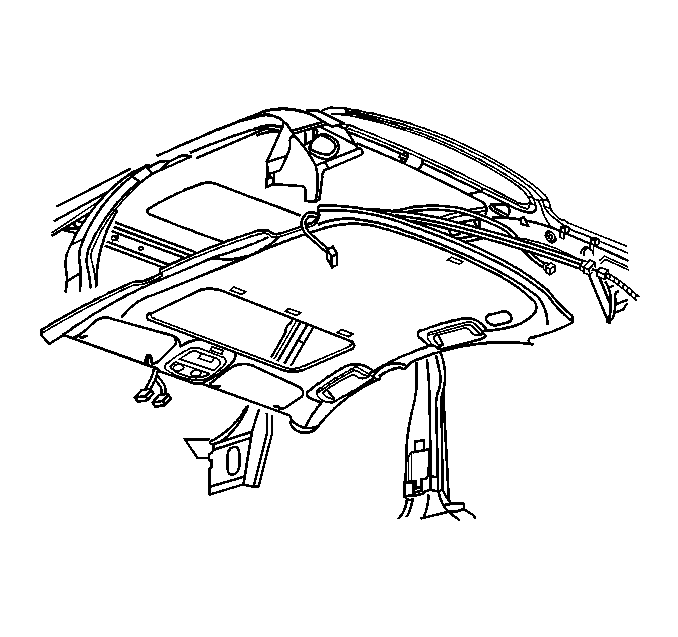
- Disconnect the headliner wiring harness connector.
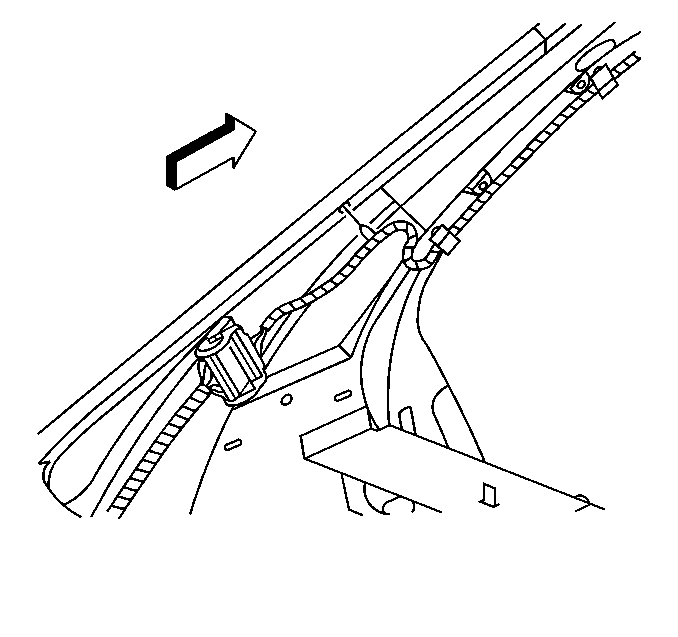
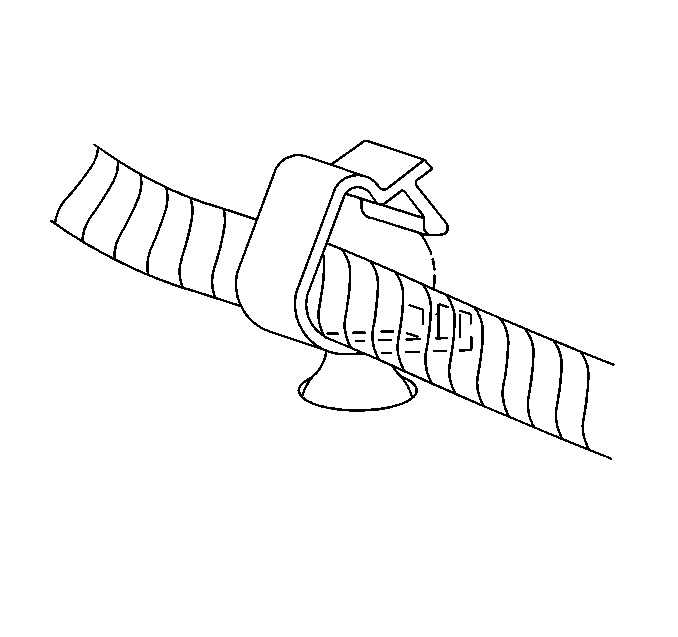
- Open the wire harness retainers and remove the harness.
- Carefully pull down on the headliner in order to release the adhesive bead retaining the cardboard roof damper to the roof panel.
- Remove the headliner through the rear drivers door opening.


Notice: Use care when removing and installing the headliner. If reusing the headliner lay the headliner down flat on a clean surface. Excessive bending will damage the headliner.
Important: A sharp putty knife may be necessary to cut the adhesive bead retaining the headliner to the cardboard roof panel reinforcement.
Installation Procedure
- Ensure the roof dampener is attached to the roof panel. Install the cardboard insulator to the roof dampener. Refer to Cardboard Insulator Headliner Replacement
- Load the headliner into the vehicle through the rear drivers door opening.
- With the aid of a helper, raise the headliner into position.
- Install the assist handles. Refer to Assist Handle Replacement .
- Install the sunshades. Refer to Sunshade Replacement .
- Install the windshield pillar garnish molding. Refer to Windshield Pillar Garnish Molding Replacement .
- Install the center pillar garnish molding. Refer to Center Pillar Garnish Molding Replacement .
- Connect the headliner wiring harness connector.
- Route and secure the wiring harness in the wiring harness retainers.
- Install the sail panels. Refer to Sail Panel Replacement .
- Install the weather-strips in the door openings. Refer to Front Side Door Weatherstrip Replacement or to Rear Door Weatherstrip Replacement .
- Connect the rear view mirror electrical connectors.
- Connect the electrical connector on the windshield outside moisture sensor.
- Install the center console. Refer to Console Replacement .
- Install the front bucket seats. Refer to Front Seat Replacement - Bucket .

Important: If the headliner locators separate during removal, obtain a locator repair kit from GM SPO.


Important: Ensure that the inside lip of the door opening weather-strip is properly seated to close out the headliner, sail panel and pillar garnish moldings.
Headlining Trim Panel Replacement w/ CF5
Caution: Do not attempt to repair or alter the head impact energy-absorbing material glued to the headliner or to the garnish trims. If the material is damaged, replace the headliner and/or the garnish trim. Failure to do so could result in personal injury.
Removal Procedure
- Remove the front bucket seats. Refer to Front Seat Replacement - Bucket .
- Remove the center console. Refer to Console Replacement .
- Remove the windshield garnish molding. Refer to Windshield Pillar Garnish Molding Replacement .
- Remove the center pillar trim. Refer to Center Pillar Garnish Molding Replacement .
- Remove the sail panels. Refer to Sail Panel Replacement .
- Remove the sunshades. Refer to Sunshade Replacement .
- Remove the overhead console. Refer to Roof Console Replacement .
- Disconnect the rearview mirror electrical connectors.
- Disconnect the electrical connector on the windshield outside moisture sensor.
- Pull the door opening moldings down to clear headliner.
- Remove the assist handles. Refer to Assist Handle Replacement .
- Disconnect the headliner wiring harness connector.
- Open the wire harness retainers and remove the harness.
- If equipped, release the push-in retainers at the rear of the headliner.
- Carefully pull the headliner down from the roof panel in order to release the remaining headliner locators from the roof panel.
- Remove the headliner through the rear drivers door opening.


Notice: Use care when removing and installing the headliner. If reusing the headliner lay the headliner down flat on a clean surface. Excessive bending will damage the headliner.

Installation Procedure
- Load the headliner into the vehicle through the rear drivers door opening.
- With the aid of a helper, raise the headliner into position.
- Install the assist handles. Refer to Assist Handle Replacement .
- Install the sunshades. Refer to Sunshade Replacement .
- Install the windshield pillar garnish molding. Refer to Windshield Pillar Garnish Molding Replacement .
- Install the center pillar garnish molding. Refer to Center Pillar Garnish Molding Replacement .
- Connect the headliner wiring harness connector.
- Route and secure the wiring harness in the wiring harness retainers.
- Install the sail panel. Refer to Sail Panel Replacement .
- Install the weather-strips in the door openings. Refer to Front Side Door Weatherstrip Replacement or to Rear Door Weatherstrip Replacement .
- Install the overhead console. Refer to Roof Console Replacement .
- Connect the rear view mirror electrical connectors.
- Connect the electrical connectors on the windshield outside moisture sensor.
- Install the center console. Refer to Console Replacement .
- Install the front bucket seats. Refer to Front Seat Replacement - Bucket .

Important: If the headliner locators separate during removal, obtain a locator repair kit from GM SPO.


Important: Ensure that the inside lip of the door opening weather-strip is properly seated to close out the headliner, sail panel and pillar garnish moldings.
