Removal Procedure
The following components must be replaced as an assembly:
| • | Courtesy lamp switches |
| • | Flat wire harness |
| • | Interior lamps control switch |
| • | Sunroof switch |
| • | Vent switch |
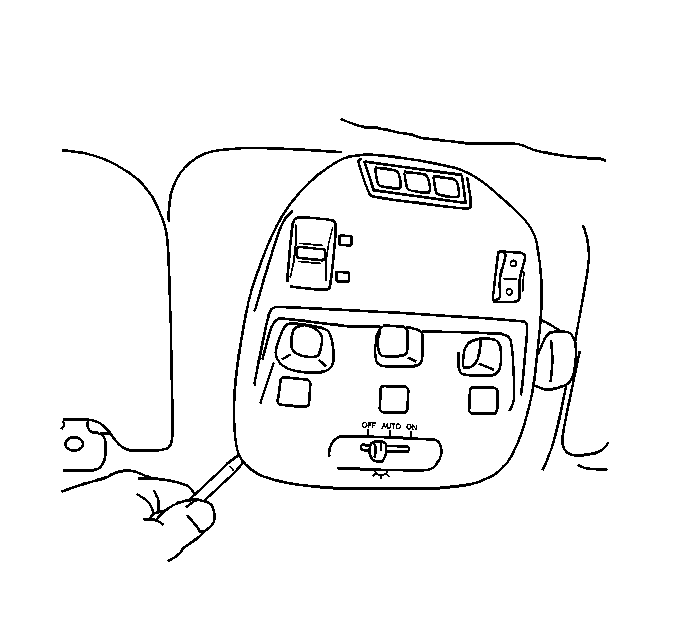
- Carefully pull down on the overhead console to release the four retaining clips.
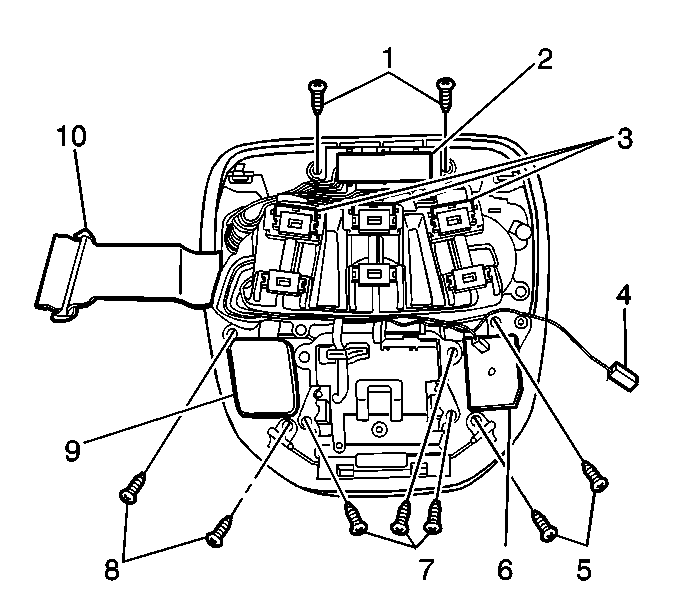
- Disconnect the flat wire electrical connector (10).
- Disconnect the cell phone microphone connector (4).
- Remove the screws (8) attaching the sunroof switch (9) to the overhead console.
- Remove the screws (5) attaching the vent switch (6) to the overhead console.
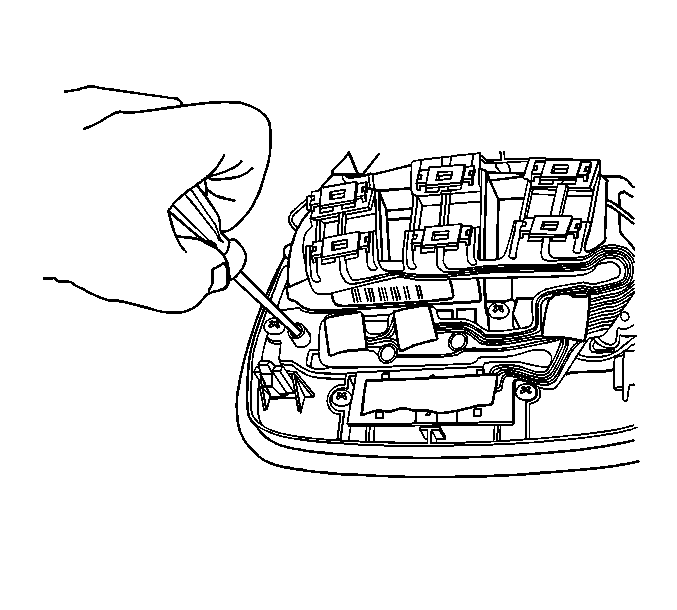
- Remove the six clips retaining the flat wire harness to the courtesy lamps.
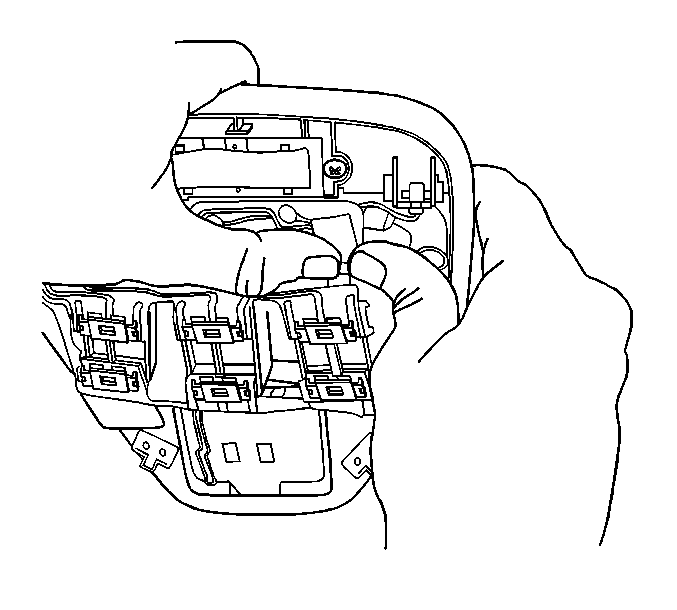
- Remove the flat wire harness from the courtesy lamps.
- Remove the screws (7) attaching the UGDO structure to the overhead console.
- Disconnect the electrical connector from the UGDO structure.
- Remove the interior lamps control knob by pulling outward.
- Remove the screws (1) attaching the interior lamps control switch (2) to the overhead console.
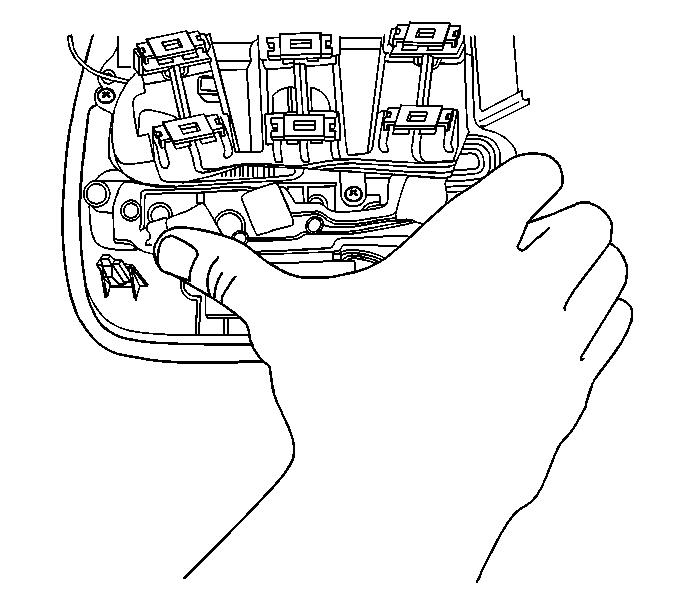
- Carefully push out the three courtesy lamp push buttons through the alignment holes.
- In order to remove, slide the three courtesy lamp switches toward the front edge of the overhead console.
- Remove the assembly from the overhead console.
Important: Care should be taken not to damage the flat wire harness.
Installation Procedure
- Slide the three courtesy lamp switches inward, securing them in place.
- Press the three courtesy lamp push buttons inward, until a snap is heard.
- Install the screws (1) attaching the interior lamps control switch (2) to the overhead console.
- Press the interior lamps control knob to the control switch.
- Connect the electrical connector to the UGDO structure.
- Install the screws (7) attaching the UGDO structure to the overhead console.
- Install the flat wire harness to the courtesy lamps.
- Install the six clips retaining the flat wire harness to the courtesy lamps.
- Install the screws (5) attaching the vent switch (6) to the overhead console.
- Install the screws (8) attaching the sunroof switch (9) to the overhead console.
- Connect the cell phone microphone connector (4).
- Connect the flat wire electrical connector (10).
- Install the overhead console into the opening of the headliner.
- Push in on the overhead console to engage the four retainer clips.

Notice: Use the correct fastener in the correct location. Replacement fasteners must be the correct part number for that application. Fasteners requiring replacement or fasteners requiring the use of thread locking compound or sealant are identified in the service procedure. Do not use paints, lubricants, or corrosion inhibitors on fasteners or fastener joint surfaces unless specified. These coatings affect fastener torque and joint clamping force and may damage the fastener. Use the correct tightening sequence and specifications when installing fasteners in order to avoid damage to parts and systems.
Tighten
Tighten the screws to 1 N·m (9 lb in).
Tighten
Tighten the screws to 1 N·m (9 lb in).
Tighten
Tighten the screws to 1 N·m (9 lb in).
Tighten
Tighten the screws to 1 N·m (9 lb in).

