For 1990-2009 cars only
Tools Required
J 38778 Door Trim Pad Clip Remover
Removal Procedure
- Disable the SIR. Refer to SIR Disabling and Enabling or SIR Disabling and Enabling in SIR.
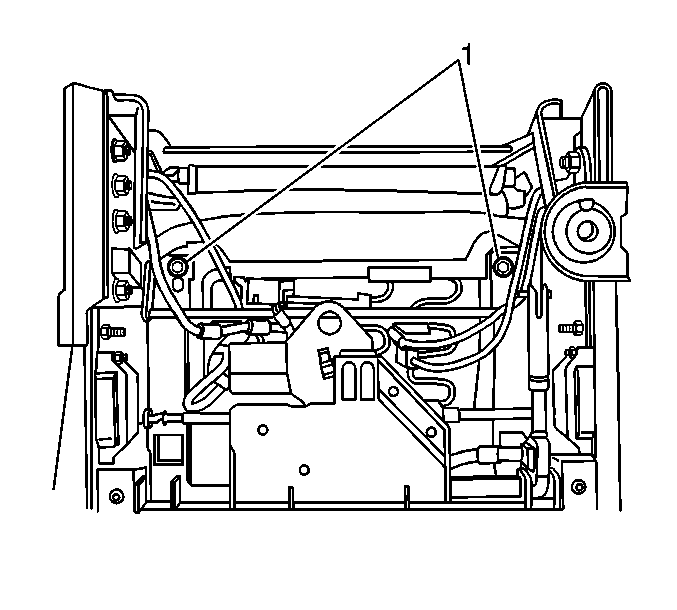
- Adjust the front seat assembly up and forward in order to access the fasteners (1) at the rear of the front seat cushion assembly
- Remove the front seat cushion assembly fasteners (1), at the rear of the seat cushion.
- Adjust the front seat assembly to the rear of the vehicle.
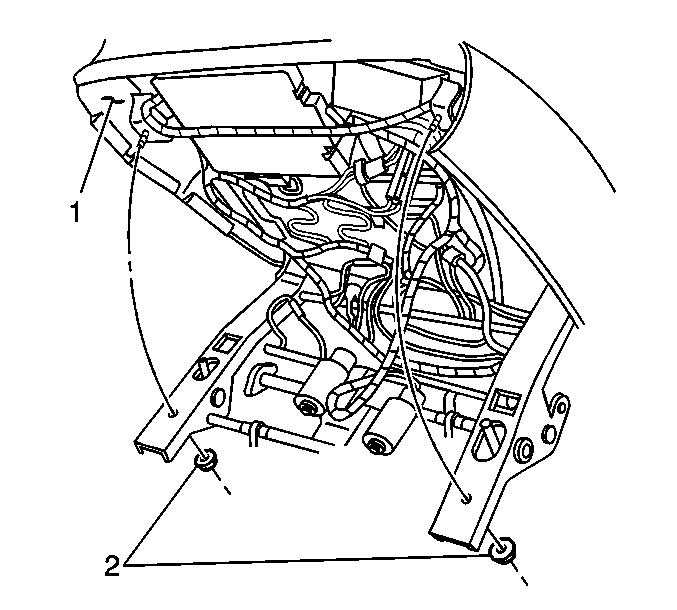
- Angle the front of the front seat cushion (1) up, in order to access the front seat cushion assembly fasteners (2).
- Remove the front seat cushion assembly fasteners (2).
- Lift the front seat cushion assembly (1) away from the seat riser assembly.
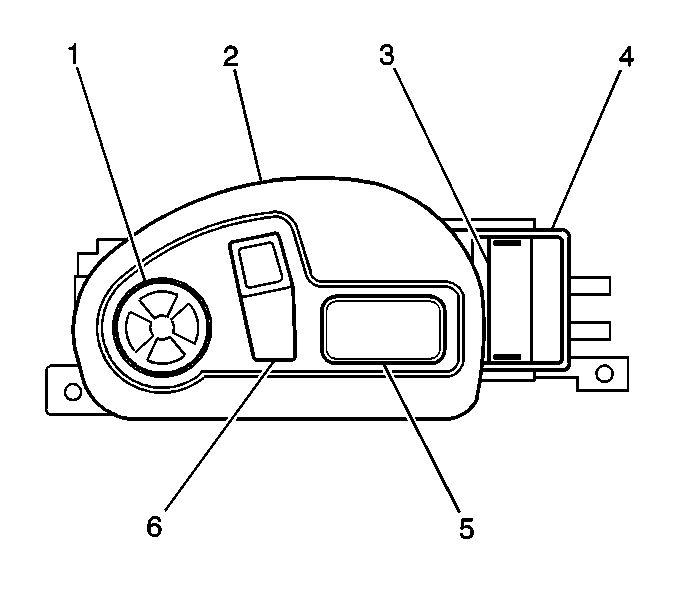
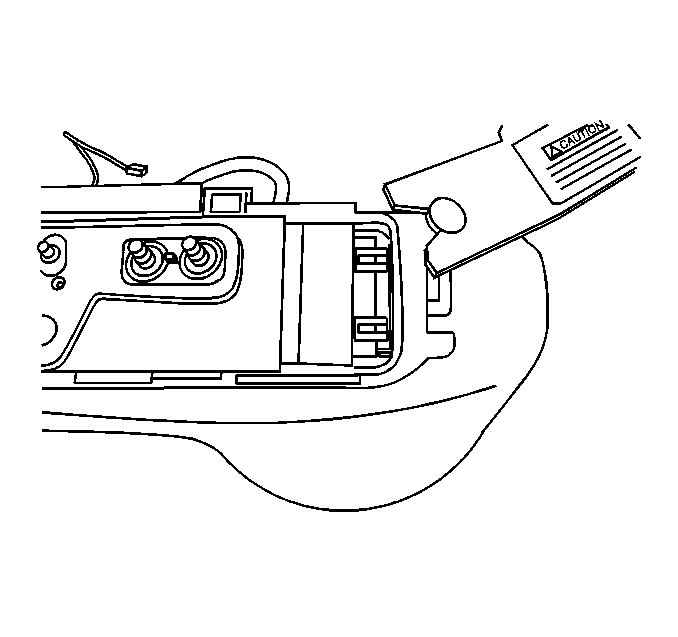
- Remove the knobs (5,6) from the seat switch.
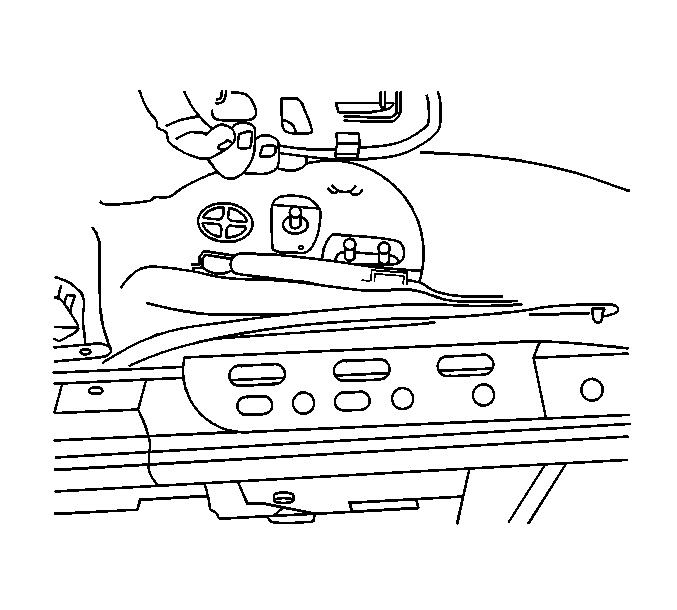
- Remove the seat switch trim plate bezel.
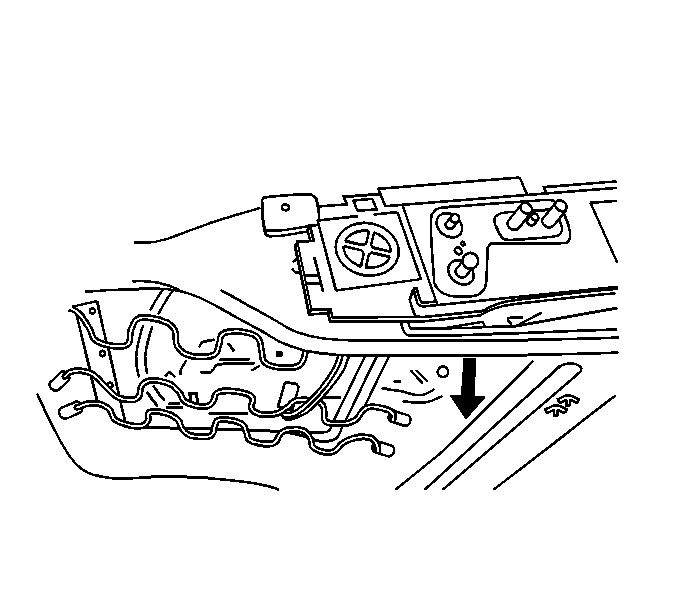
- Pull the front seat cushion cover up in order to expose the seat switch.
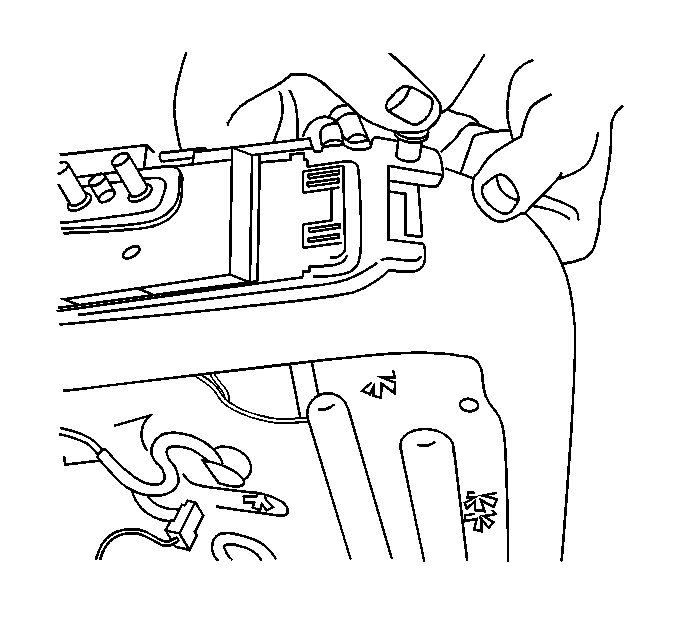
- Using the J 38778 remove the switch bracket retainers.
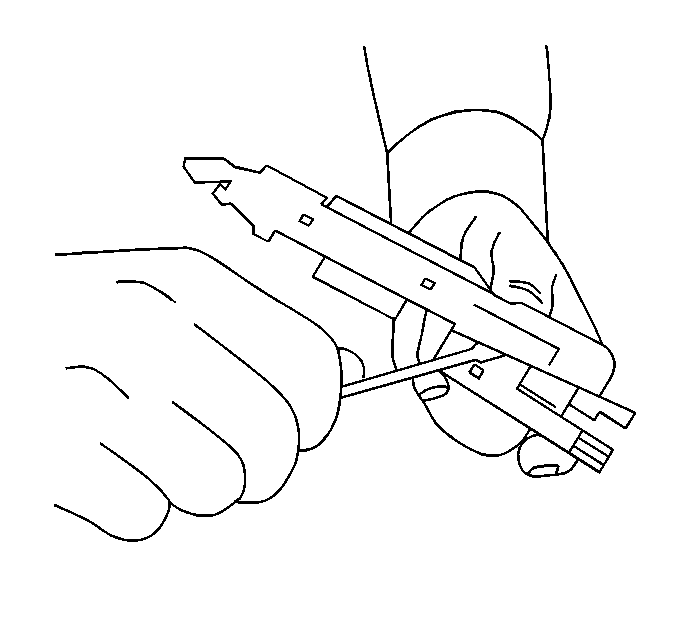
- Release the locking tabs on the switch mounting bracket, and remove the switches and bracket assembly from the seat bottom frame.
- Using a flat bladed toll, release the switch from the mounting bracket.
- Disconnect the electrical connector from the seat switches.
Caution: Refer to SIR Caution in the Preface section.
Important: The lumbar switch knob (1) is part of the lumbar switch assembly. Do not remove the lumbar switch knob.
Installation Procedure
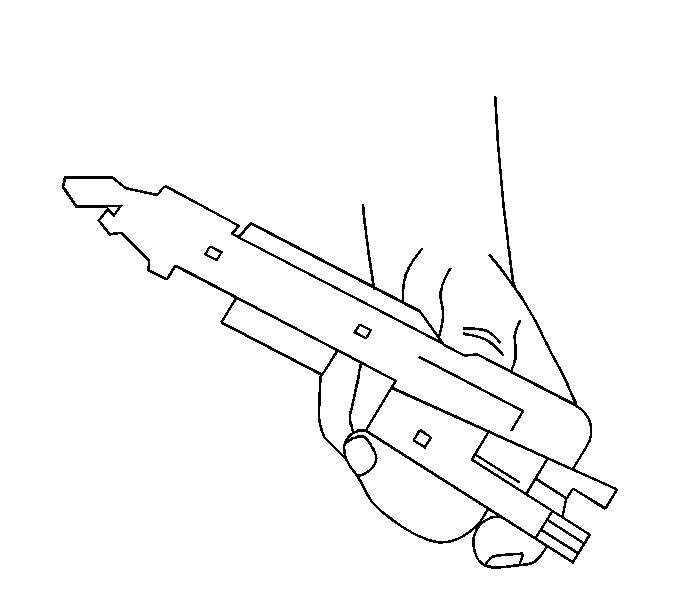
- Connect the electrical connector to the switch.
- Install the switch to the switch mounting bracket.
- Install the seat switches to the seat bottom frame.
- Install the switch bracket retainers into the seat bottom frame.
- Pull the seat cover back down over the switch and align holes in the cover to the switch assembly.
- Install the seat cushion assembly (1) to the seat riser.
- Install the front fasteners (2) to the seat cushion assembly (1).
- Adjust the front seat assembly up and forward in order to access the fasteners (1) at the rear of the front seat cushion assembly
- Install the seat cushion assembly rear fasteners (1) to the seat cushion assembly.
- Angle the front of the front seat cushion up, in order to access the front seat cushion assembly fasteners.
- Install the switch trim plate bezel (2).
- Install the knobs (5,6) to the switches.
- Enable the SIR. Refer to SIR Disabling and Enabling or SIR Disabling and Enabling in SIR.



Notice: Refer to Fastener Notice in the Preface section.

Tighten
Tighten the rear seat cushion assembly fasteners to 9 N·m (80 lb in).
Tighten
Tighten the seat cushion assembly fasteners, on the front of the cushion assembly to 9 N·m (80 lb in).

