For 1990-2009 cars only
Removal Procedure
- Remove the floor console ashtray.
- Remove the auxiliary HVAC control module. Refer to Auxiliary Heater and Air Conditioning Control Module Replacement in HVAC Automatic.
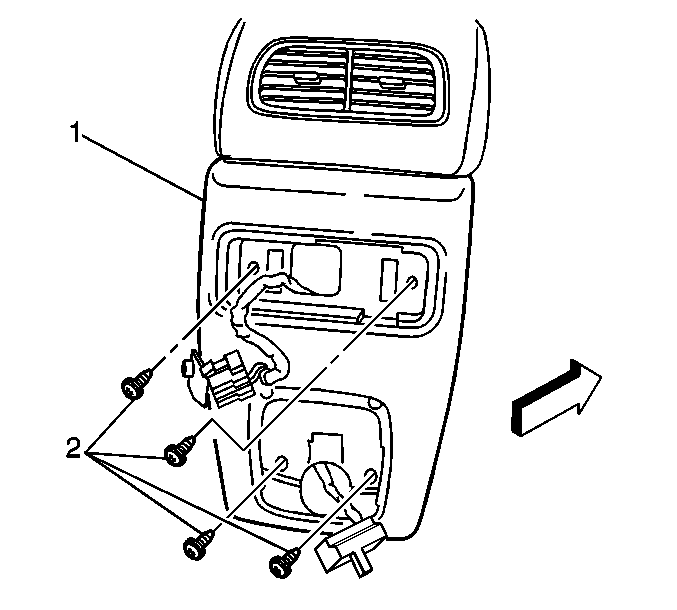
- Remove the floor console rear cover screws (2).
- Remove the floor console rear cover (1).
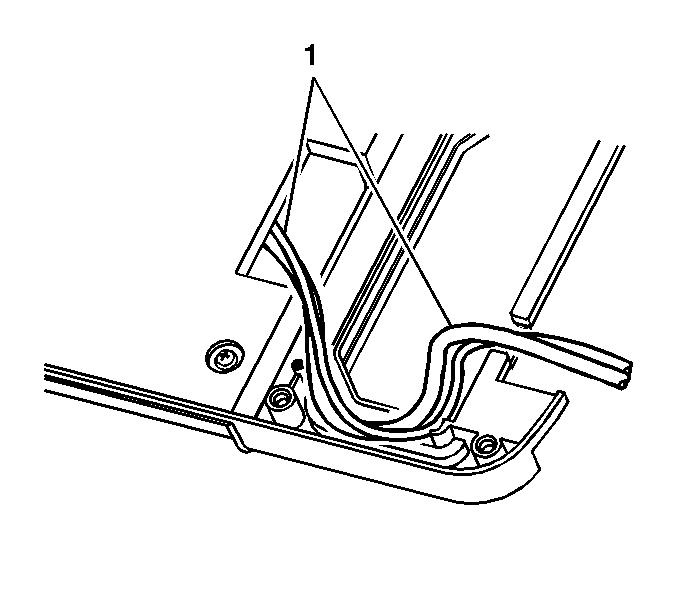
- Carefully pull the cellular phone wiring out from under the floor console.
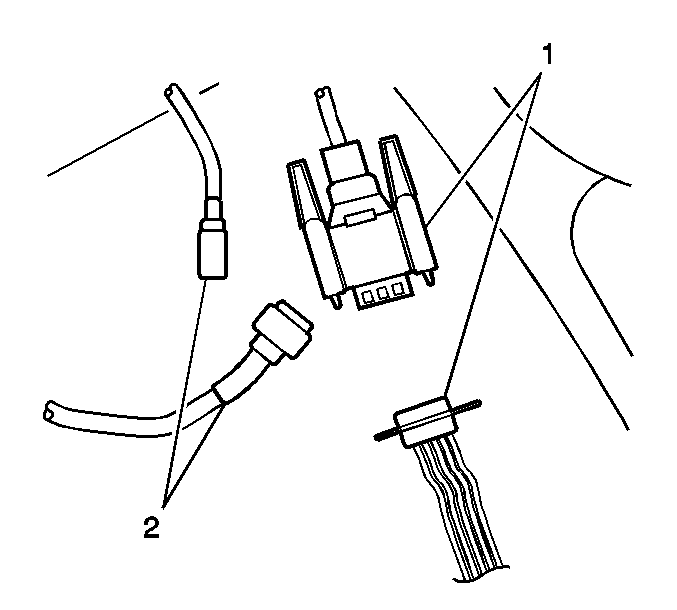
- Disconnect the docking station electrical connector (1).
- Disconnect the coaxial cable (2).
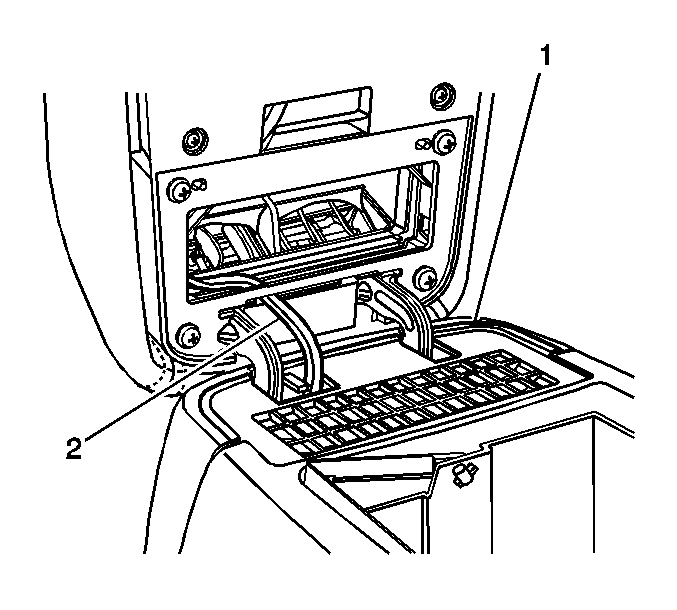
- Remove the inner auxiliary HVAC outlet (1).
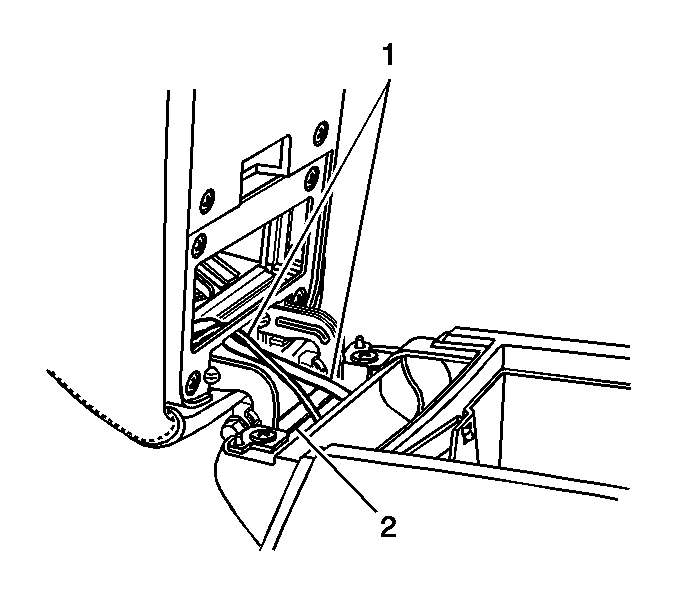
- Remove the phone wiring (2) from the hinge area of the floor console.
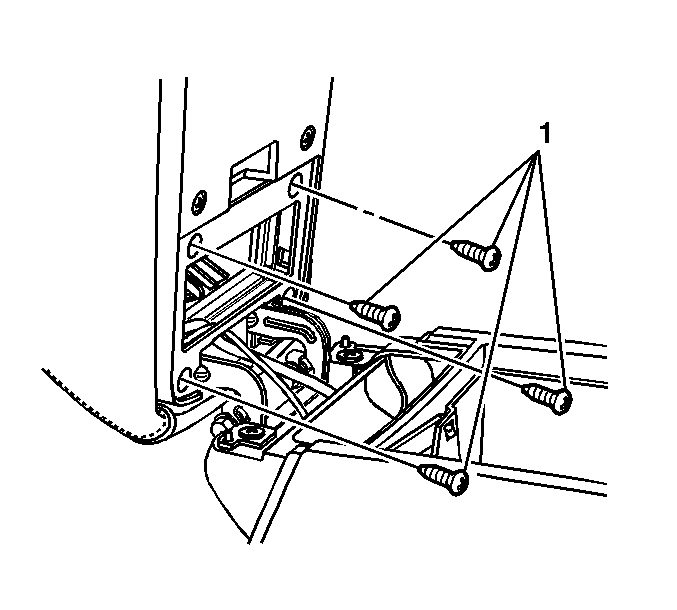
- Remove the floor console tray screws (1).
- Remove the console tray from the floor console.
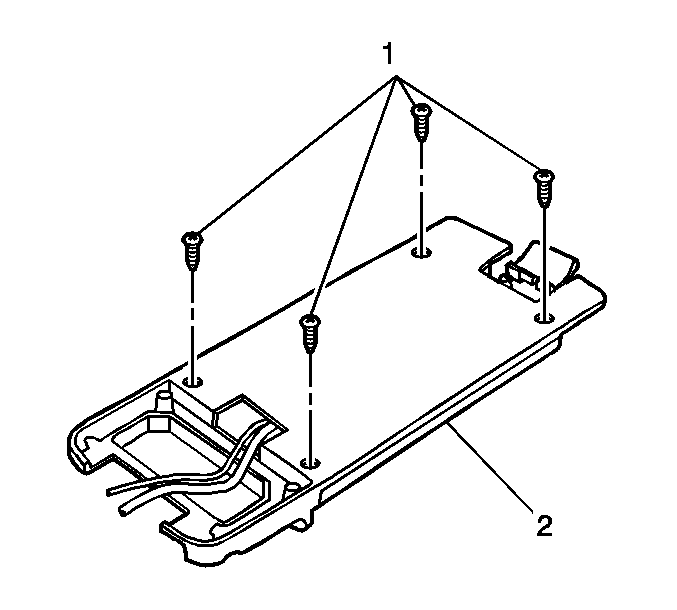
- Remove the console tray insert screws (1) from the console tray (2).
- Remove the tray insert from the console tray (1).
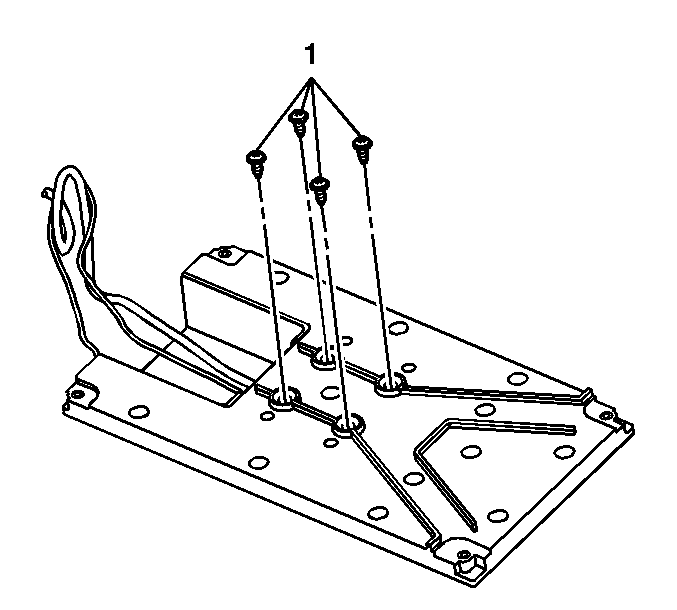
- Remove the docking station screws (1) from the console tray insert.
- Remove the docking station from the tray insert.
Installation Procedure
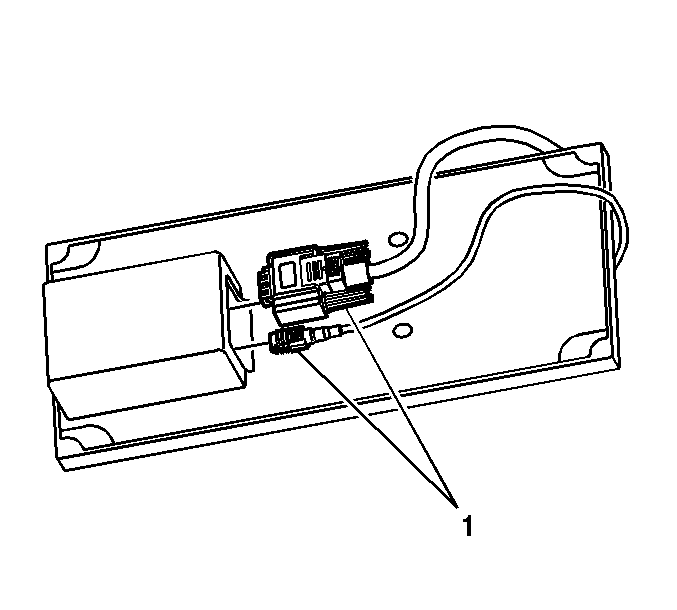
- Route the docking station wires (1) through the opening in the tray insert.
- Install the docking cup to the console tray insert.
- Install the docking station screws (1).
- Route the docking station wires (1) through the opening in the console tray.
- Install the console tray insert to the console tray (2).
- Install the console tray insert screws (1).
- Route the cellular phone wiring (1) in the hinge area of the console tray.
- Install the console tray to the floor console.
- Install the console tray screws (1).
- Route the cellular phone wiring (1) behind the console hinge cross brace (2).
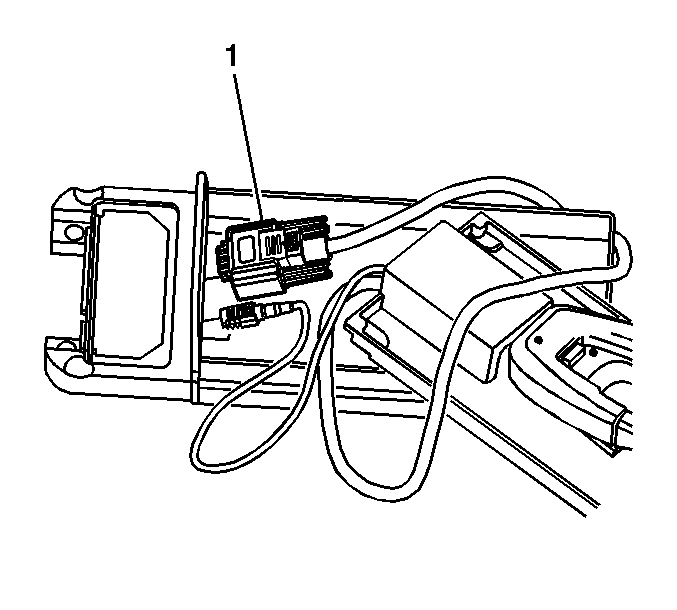
- Connect the docking station electrical connector (1).
- Connect the coaxial cable (2).
- Route the cellular phone wiring under the floor console.
- Install the floor console rear cover (1).
- Install the floor console rear cover screws (2).
- Install the floor console ashtray.
- Install the auxiliary HVAC control module. Refer to Auxiliary Heater and Air Conditioning Control Module Replacement in HVAC Automatic.
- Install the inner auxiliary HVAC outlet (1).
- Ensure the phone wiring (2) is captured in the cutout on the inner auxiliary HVAC outlet (1).

Notice: Refer to Fastener Notice in the Preface section.
Tighten
Tighten the screws to 1.6 N·m (14 lb in).

Tighten
Tighten the screws to 1.6 N·m (14 lb in).

Tighten
Tighten the screws to 1.6 N·m (14 lb in).


Tighten
Tighten the screws to 1.6 N·m (14 lb in).

