For 1990-2009 cars only
Tools Required
| • | J 42168-16 Spacers |
| • | J 42170 Bearing and Race Installer |
| • | J 42194 Bearing and Race Remover |
| • | J 46405 Output Shaft Seal Installer |
Removal Procedure
- Raise and support the vehicle. Refer to Lifting and Jacking the Vehicle in General Information.
- Remove the RH rear tire and wheel assembly. Refer to Tire and Wheel Removal and Installation in Tires and Wheels.
- Remove the RH wheel drive shaft. Refer to Wheel Drive Shaft Replacement in Wheel Drive Shafts.
- Remove the RH muffler assembly. Refer to Exhaust Muffler Replacement - Right Side in Engine Exhaust.
- Drain the fluid from the differential. Refer to Rear Axle Lubricant Replacement .
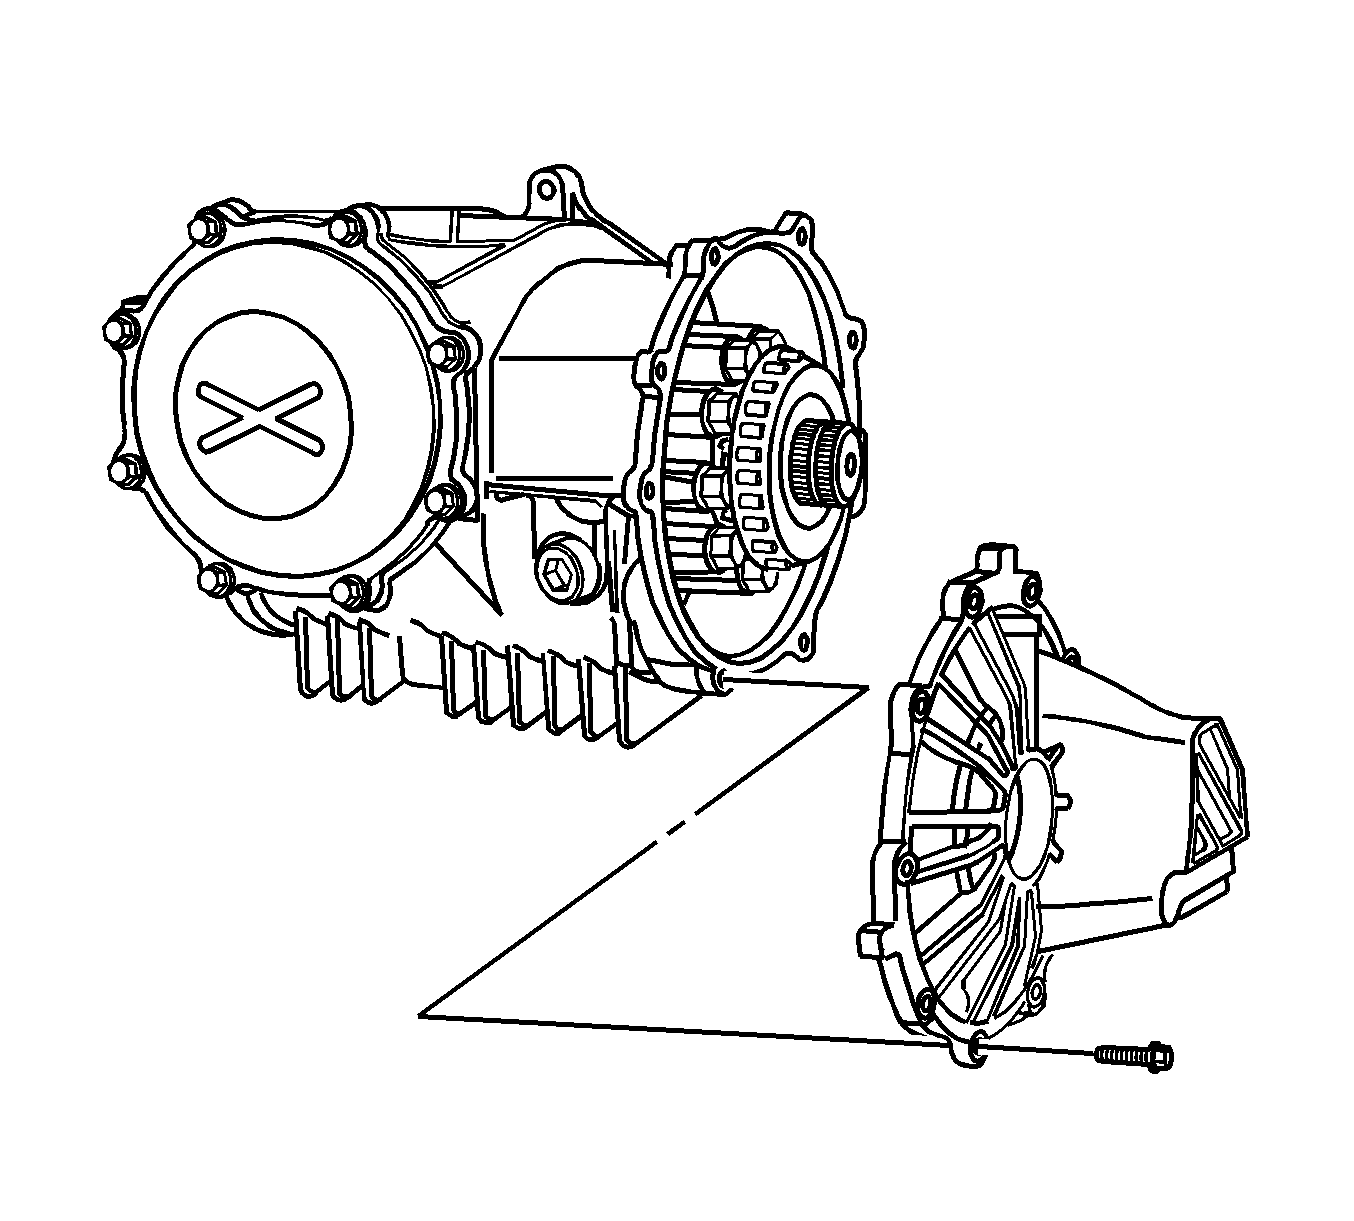
- Support the differential and remove the right differential mount.
- Clean any dirt or debris from around the differential cover.
- Remove the bolts retaining the differential cover and push out the dowel pin.
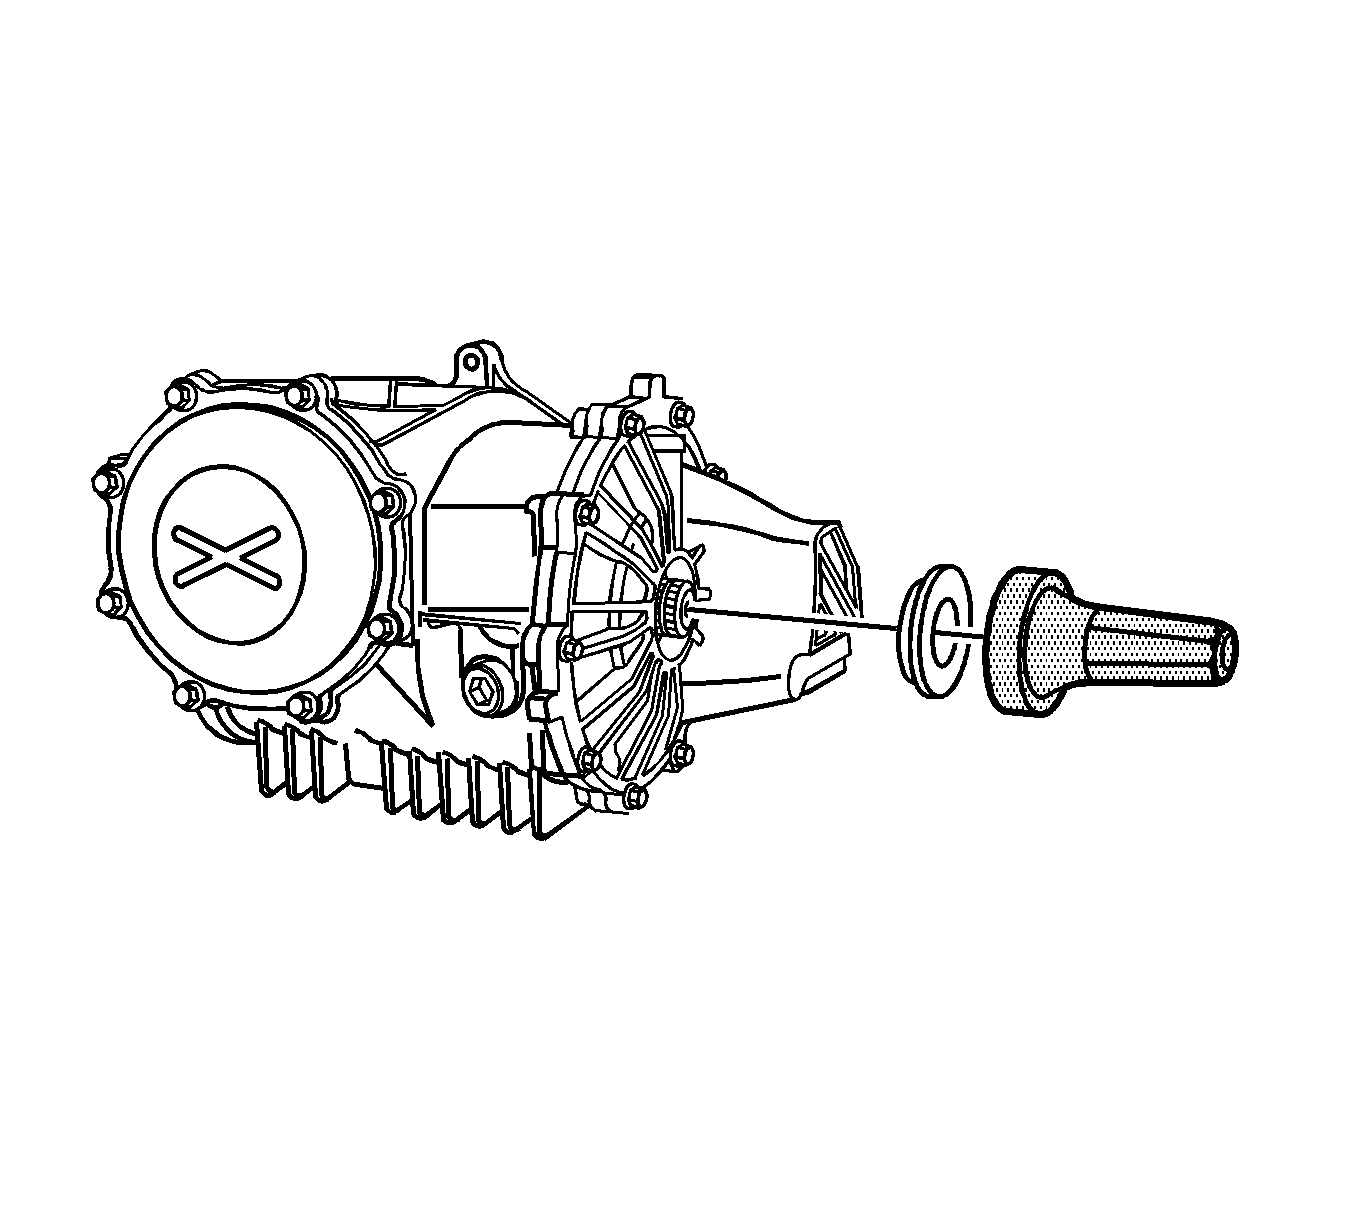
- Remove the differential cover .
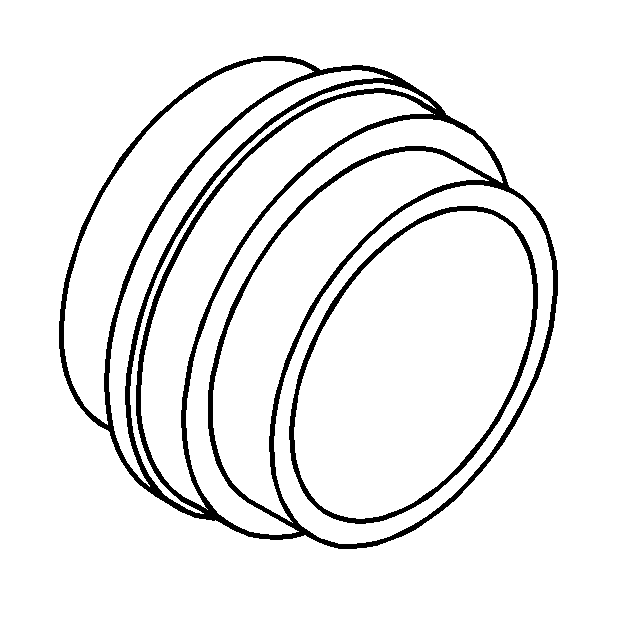
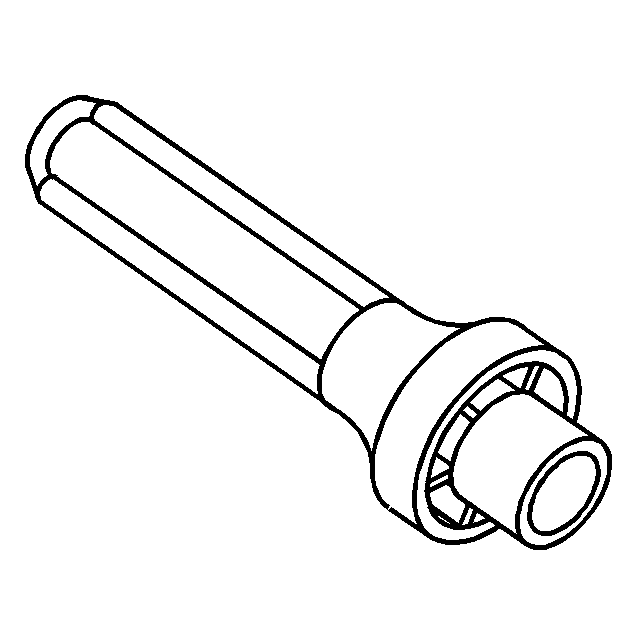
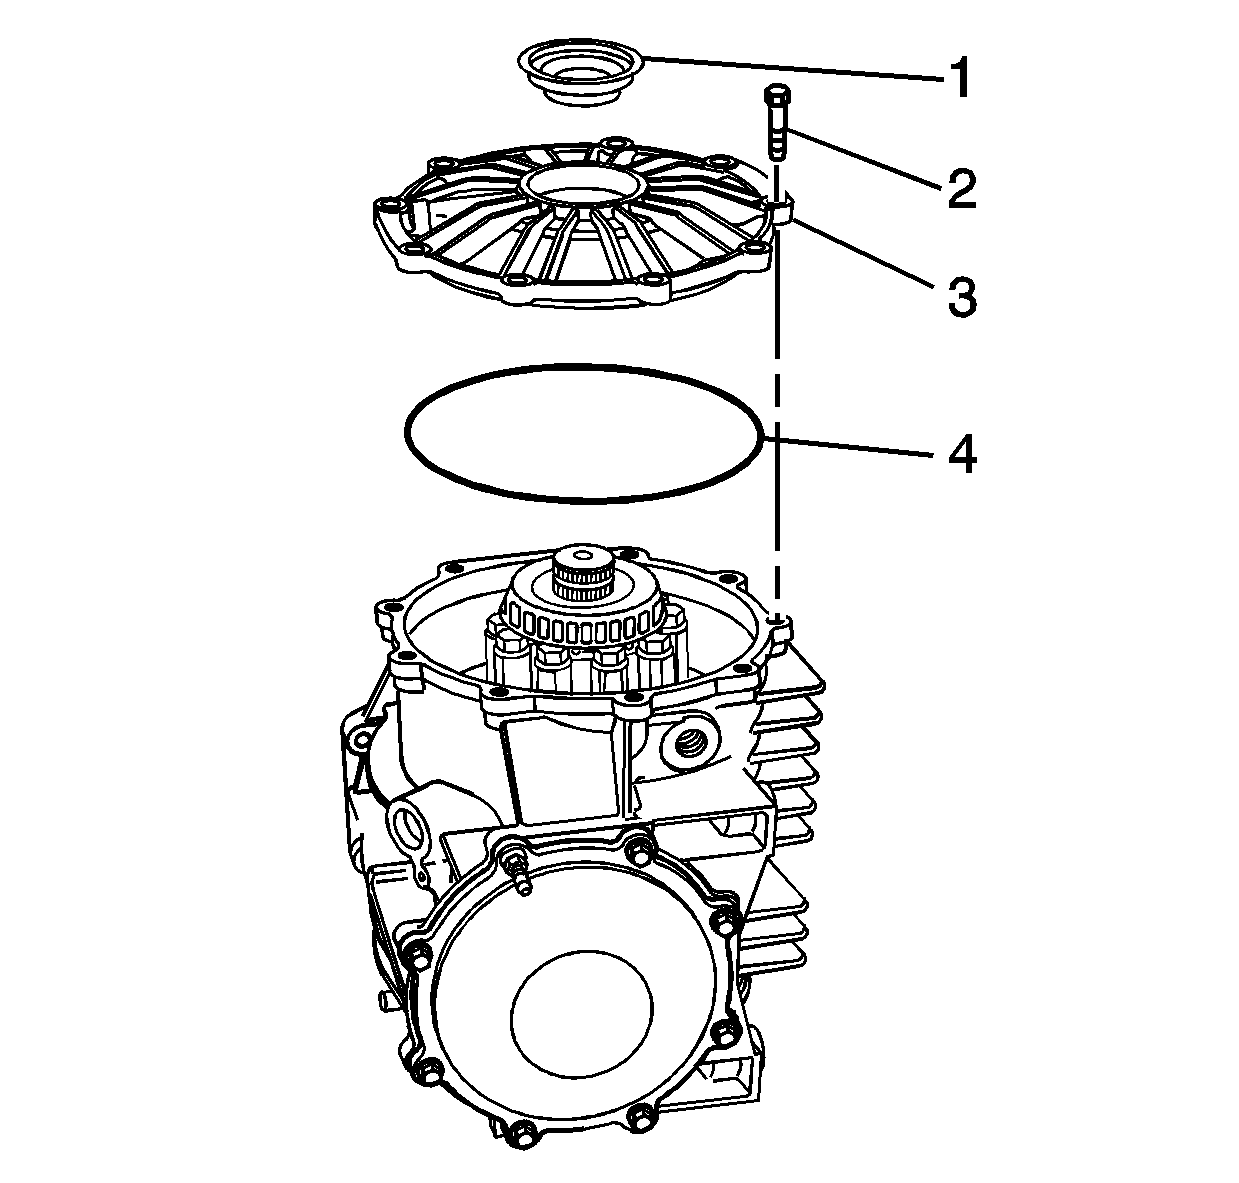
- Remove and discard the axle seal (1), and O-ring seal (4) from the differential cover .
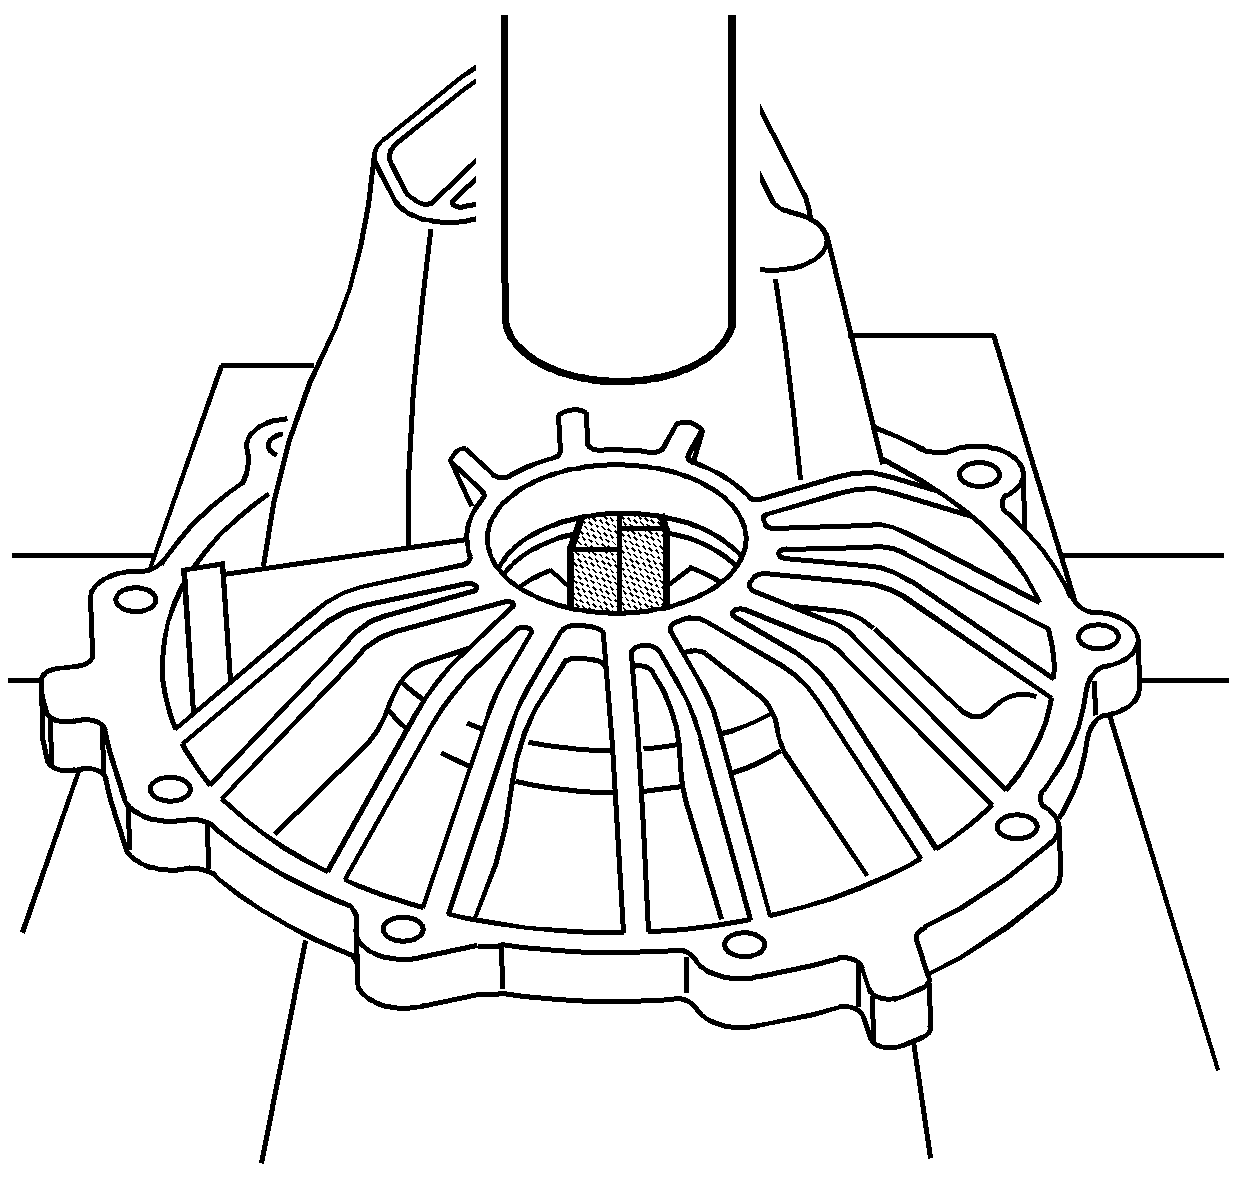
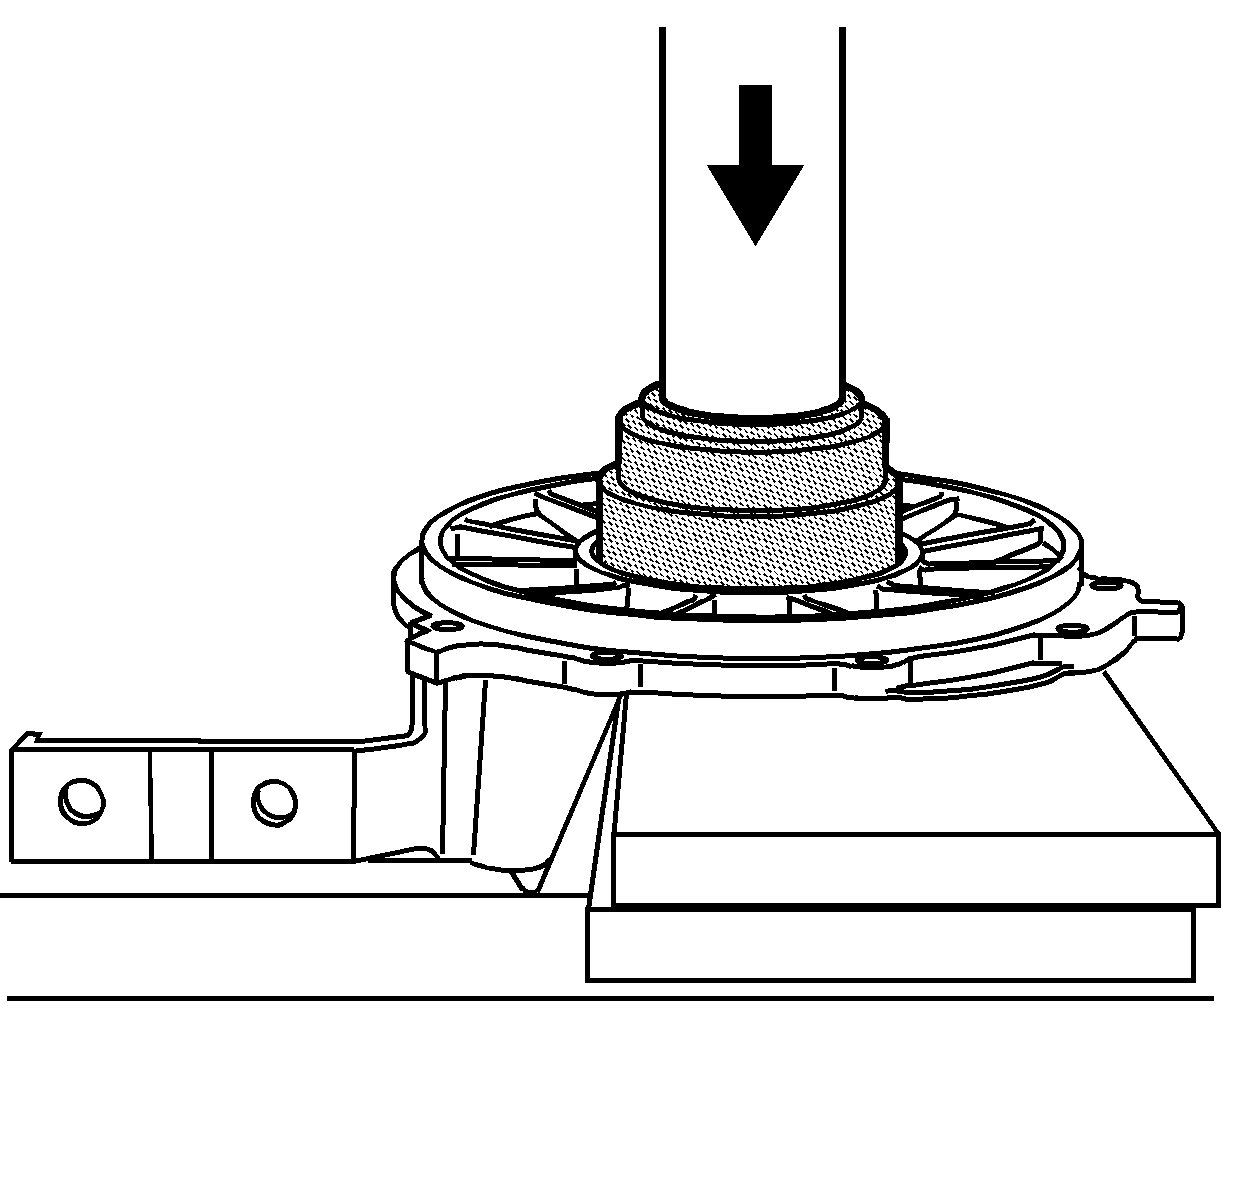
- Install the J 42194 into the differential cover, in order to remove the bearing race and shims. Position the cover into a hydraulic press.
- Using a hydraulic press, remove the bearing race (1) and shims (2). Mark or tag the shims for assembly.
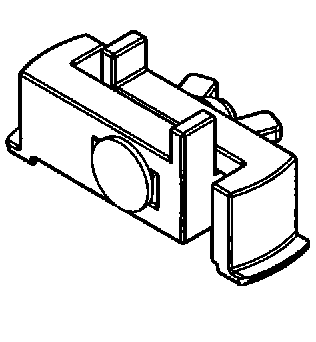
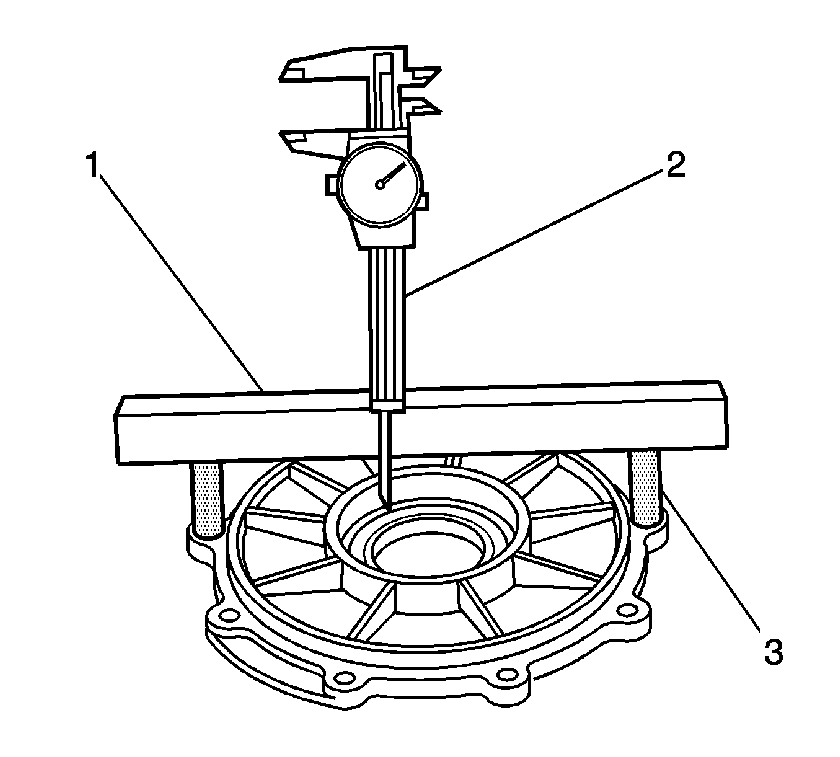
- Use a caliper (2), a straight edge (1), and J 42168-16 (3) in order to measure the NEW differential cover bore dimension. Record the measurement as value A.
- Use a caliper (2), a straight edge (1), and J 42168-16 (3) in order to measure the old differential cover bore dimension. Record the measurement as value B.
- Subtract value B from value A. If the computation is a positive value, add shims equal to the value, to the existing shim pack. If the computation is a negative value, subtract shims equal to the value, from the existing shim pack.
Important: Whenever service requires the replacement of the right side differential cover, the covers MUST be measured and the right side shim pack adjusted to compensate for machining tolerances between the two components. Failure to perform this measurement procedure may result in improper differential bearing preload.
Installation Procedure
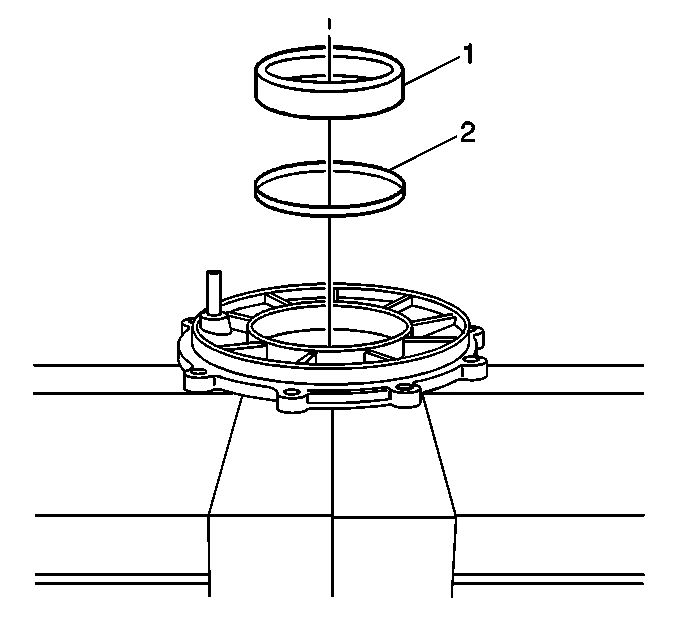
- Install the selected shims (2) and the bearing race (1) to the NEW cover.
- Press the shims and bearing race into the NEW cover using the J 42170 and a hydraulic press.
- Clean the O-ring sealing surface on the differential cover and the differential housing.
- Install a new O-ring seal (4) to the differential cover (3).
- Install the differential cover to the differential.
- Install the dowel pin and the differential cover retaining bolts.
- Install the axle seal into the differential cover using J 46405 .
- Fill the rear axle differential with the proper fluids and to the proper level. Refer to Rear Axle Lubricant Replacement .
- Install the RH muffler assembly. Refer to Exhaust Muffler Replacement - Right Side in Engine Exhaust.
- Install the RH wheel drive shaft. Refer to Wheel Drive Shaft Replacement in Wheel Drive Shafts.
- Install the RH rear tire and wheel assembly. Refer to Tire and Wheel Removal and Installation in Tires and Wheels.
- Lower the vehicle.
Notice: Refer to Fastener Notice in the Preface section.
Tighten
Tighten the differential cover (right) retaining bolts to 28 N·m
(20 lb ft).