For 1990-2009 cars only
Removal Procedure
- Remove the fuel rail assembly. Refer to Fuel Injection Fuel Rail Assembly Replacement .
- Loosen the plenum duct clamp at the front of the intake manifold.
- Remove 10 bolts attaching the intake manifold to the cylinder heads.
- Remove the intake manifold by using an upward lifting motion at the rear of the manifold assembly.
- Clean and inspect the intake manifold. Refer to Intake Manifold Cleaning and Inspection .
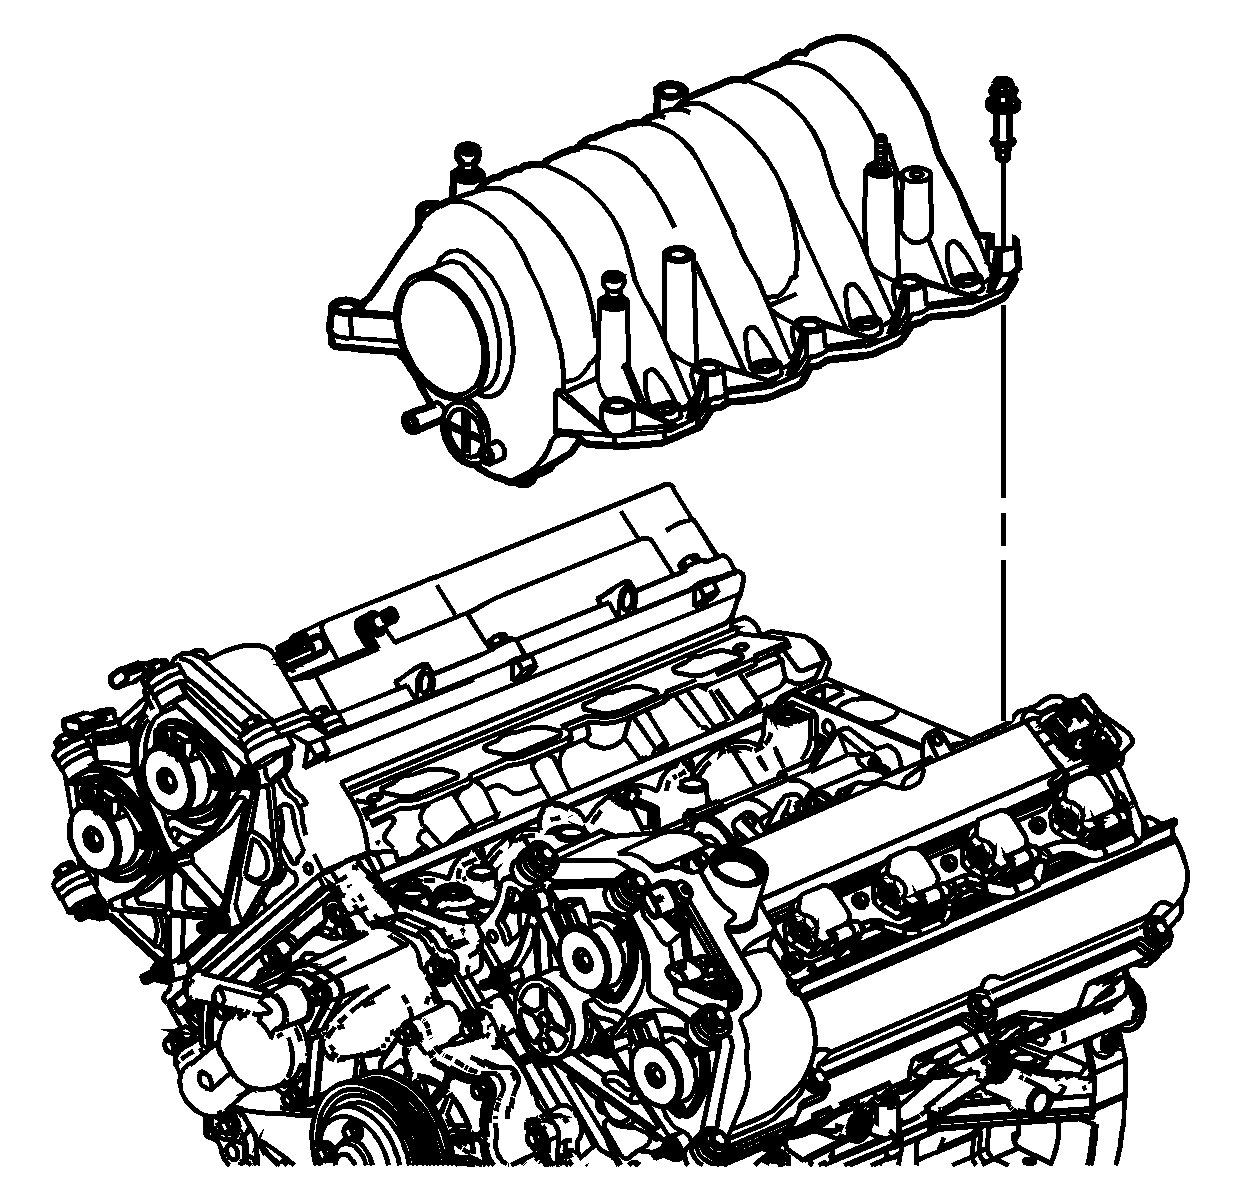
Installation Procedure
- Lightly lubricate the inside edge of the rubber plenum duct.
- Clean any debris from the cylinder head and intake manifold.
- Install the new gaskets to the intake manifold.
- Place the intake manifold in position by completing the following:
- Loosely install the 10 bolts attaching the intake manifold (1) to the cylinder heads.
- Tighten the intake manifold bolts in sequence (1-10).
- Ensure that the plenum duct is fully attached to the front of the intake manifold.
- Install the fuel rail assembly. Refer to Fuel Injection Fuel Rail Assembly Replacement .
- To clean, turn the ignition switch to the ON position for 2 seconds, then turn to the OFF position for 10 seconds. Again turn to the ON position and check for fuel leaks.
- Install the fuel injector sight shield. Refer to Fuel Injector Sight Shield Replacement .
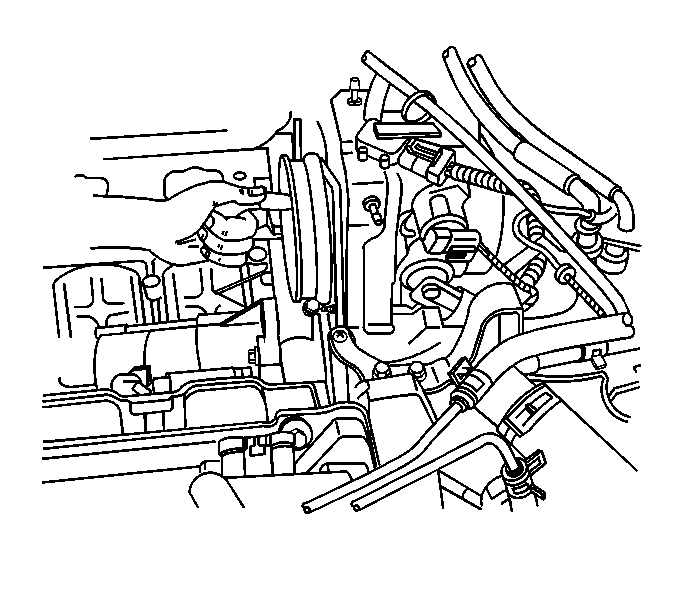
Important: Ensure the PCV valve hose is firmly connected to the fitting at the rear of the intake manifold, prior to installation.
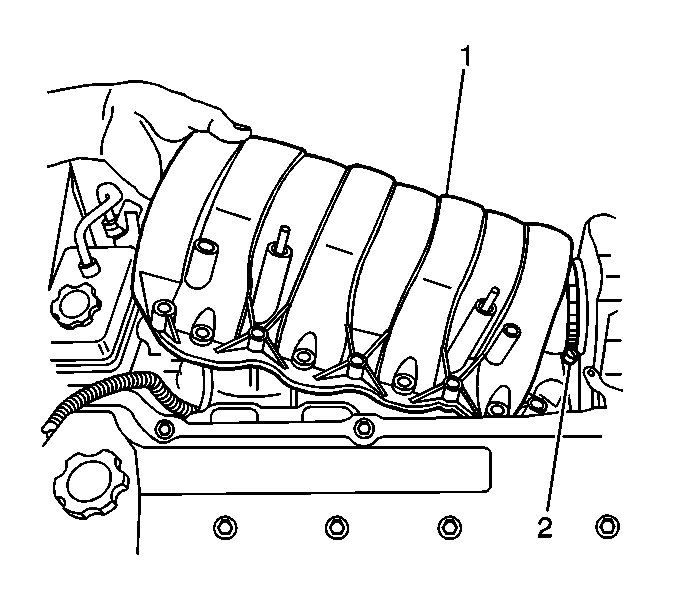
| 4.1. | Position the front of the intake manifold (1) into the plenum duct (2). |
| 4.2. | Position the rear of the intake manifold (1) downward on to the cylinders heads. |
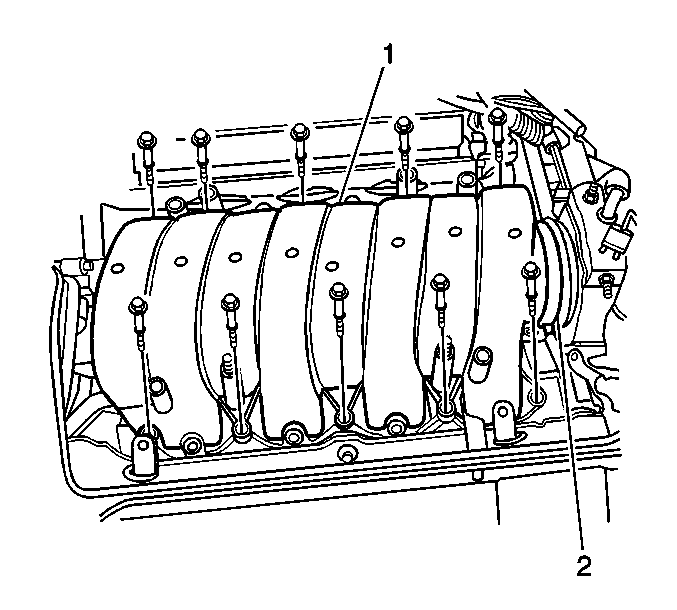
Notice: Refer to Fastener Notice in the Preface section.
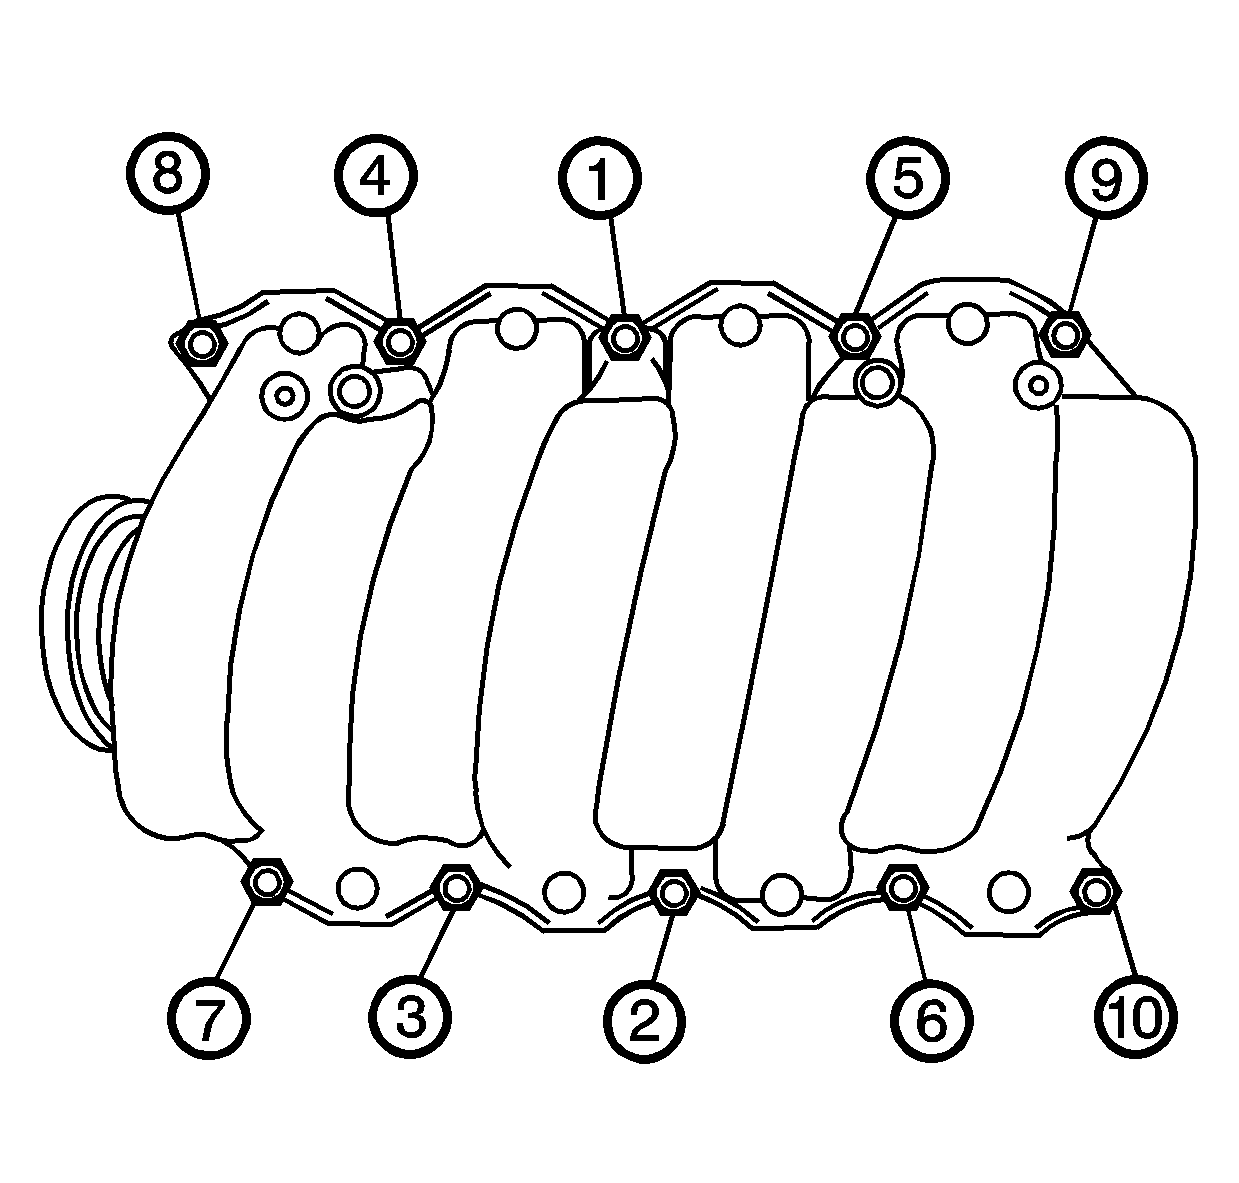
Tighten
Tighten the intake manifold bolts to 10 N·m (89 lb in).
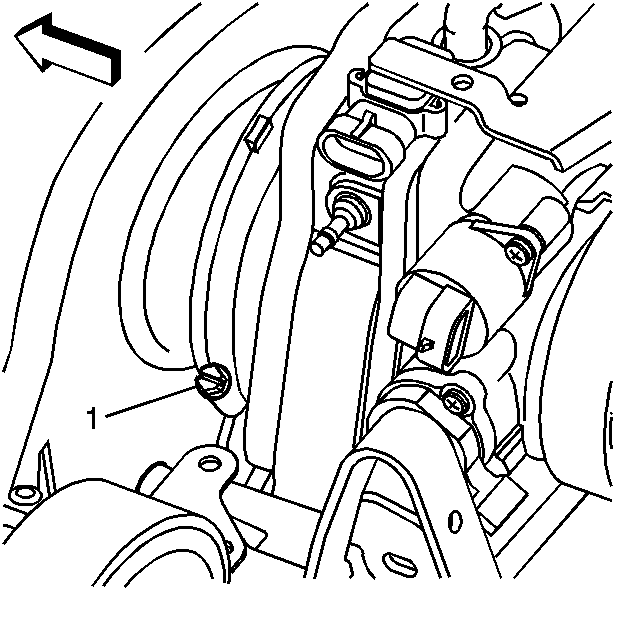
Tighten
Tighten the plenum duct clamp (1) to 2.25 N·m (20 lb in).
