For 1990-2009 cars only
Removal Procedure
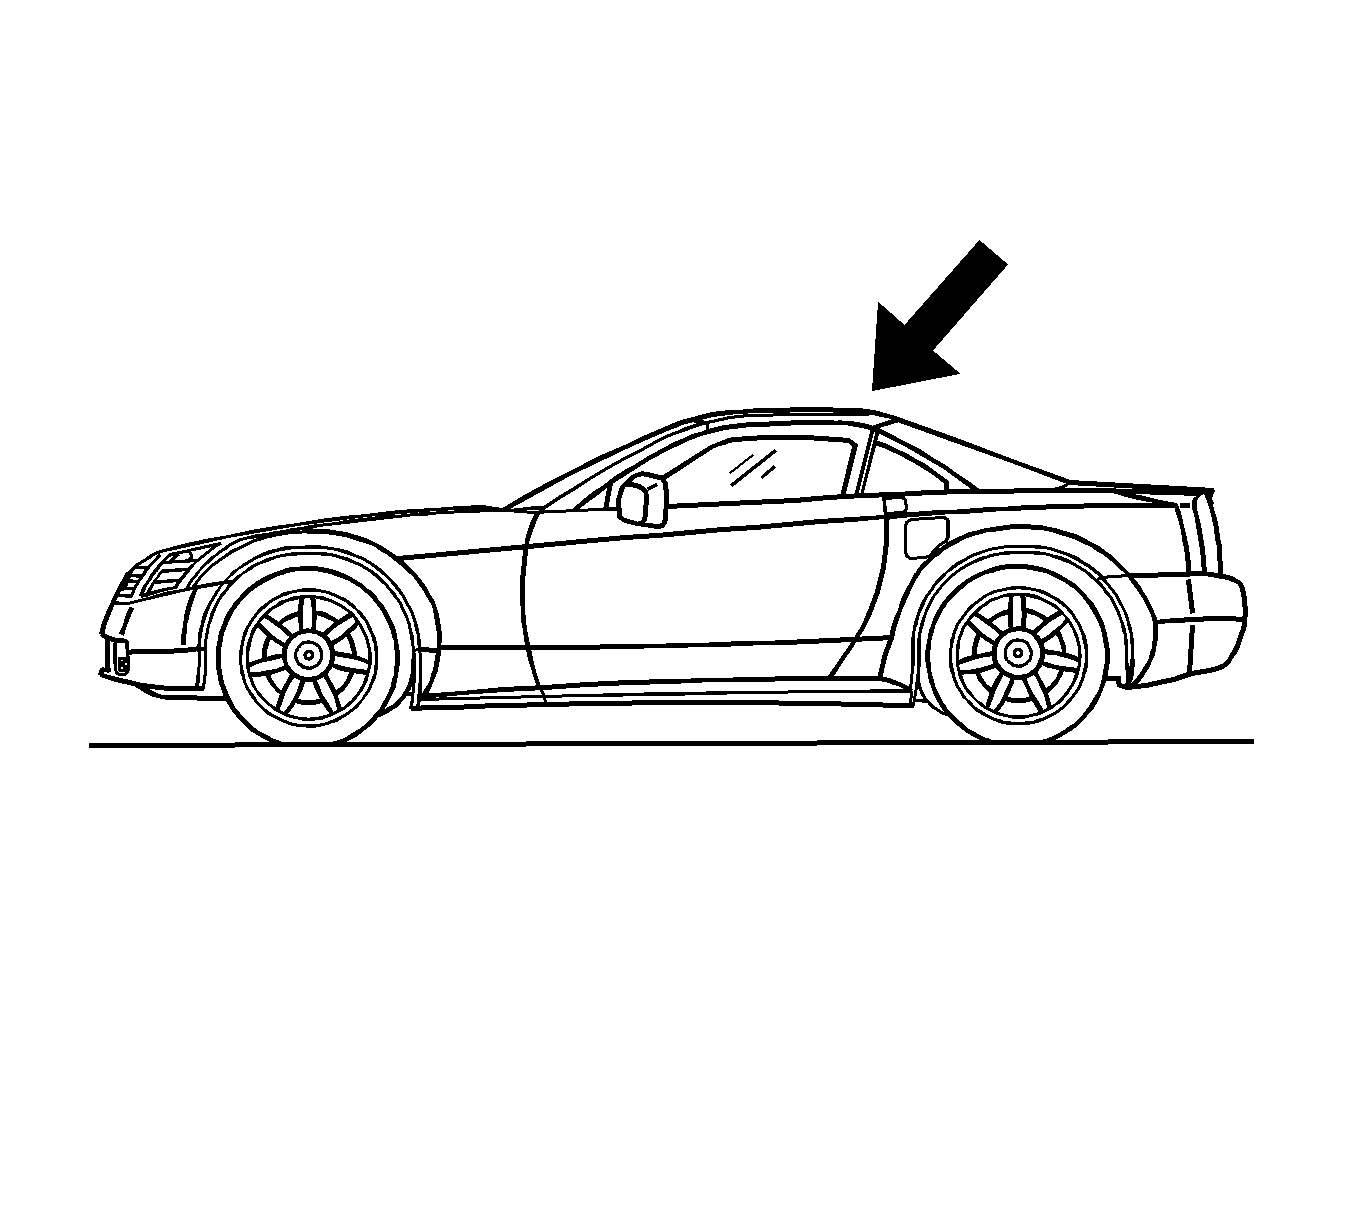
- Place the folding top in the up position.
- Place a protective covering over the interior and the adjacent body panels.
- Remove the rear window panel. Refer to Rear Window Panel Trim Replacement in Interior Trim.
- Using an open-end wrench, remove both of the drive rods from the center compartment closeout panel.
- Remove both of the outer compartment closeout panels. Refer to Folding Top Stowage Compartment Front Outer Closeout Panel Replacement .
- Remove the position switch. Refer to Folding Top Stowage Compartment Front Closeout Panel Position Switch Replacement .
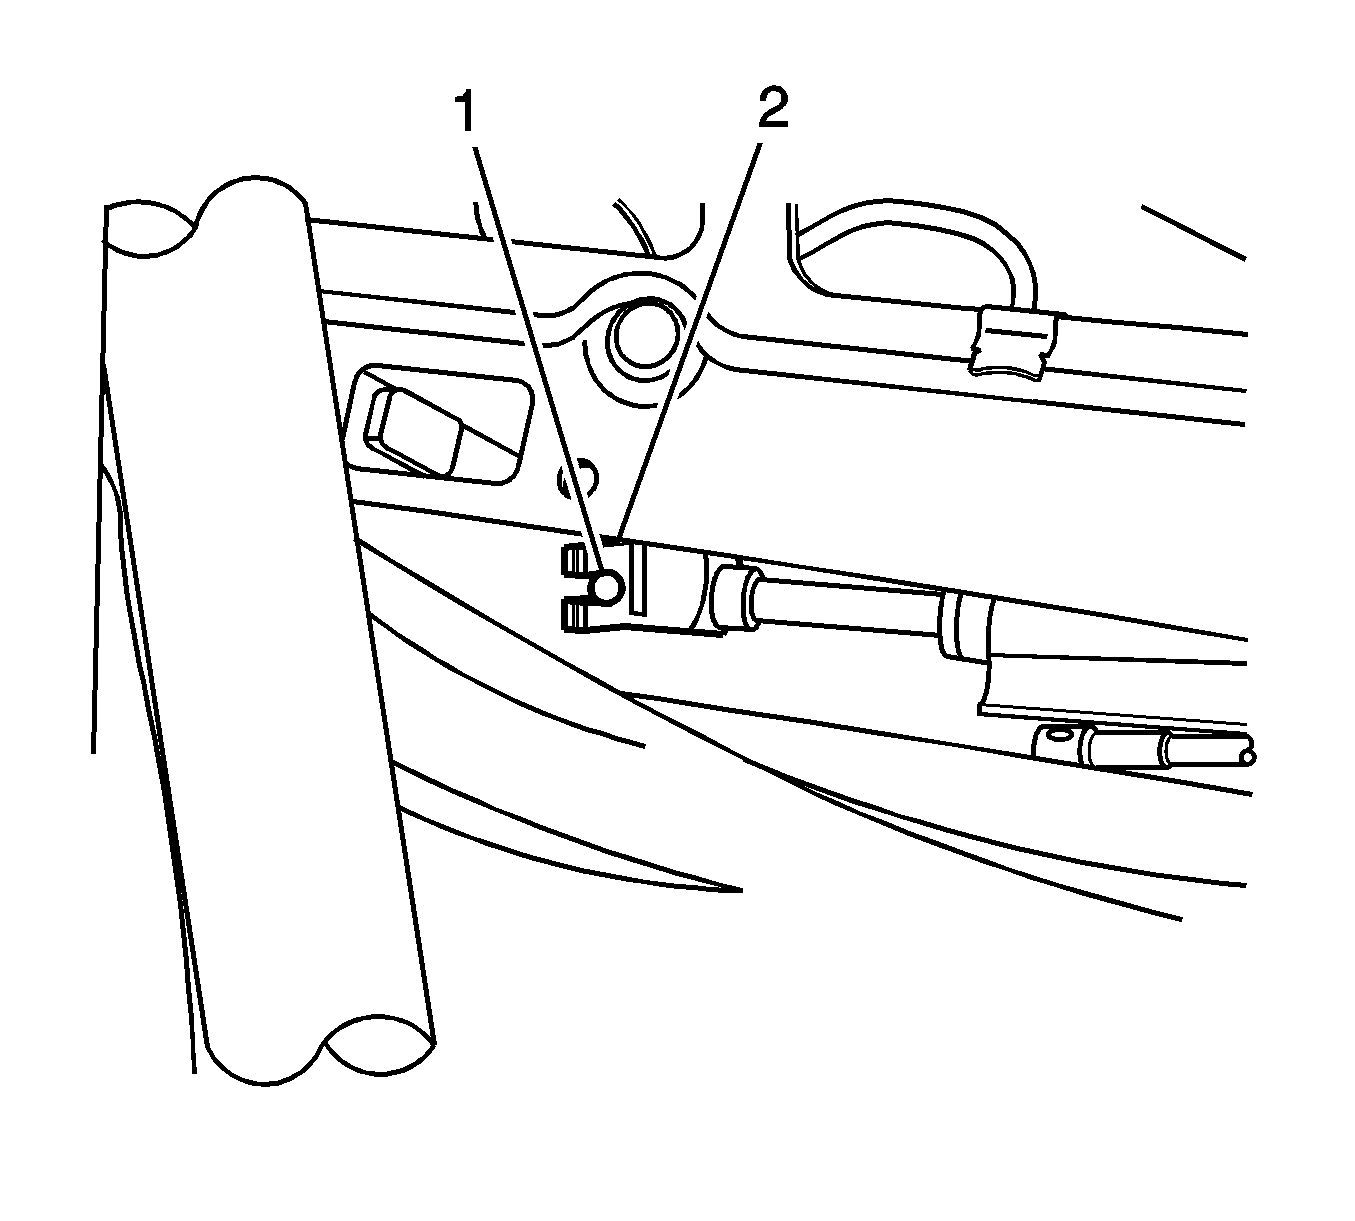
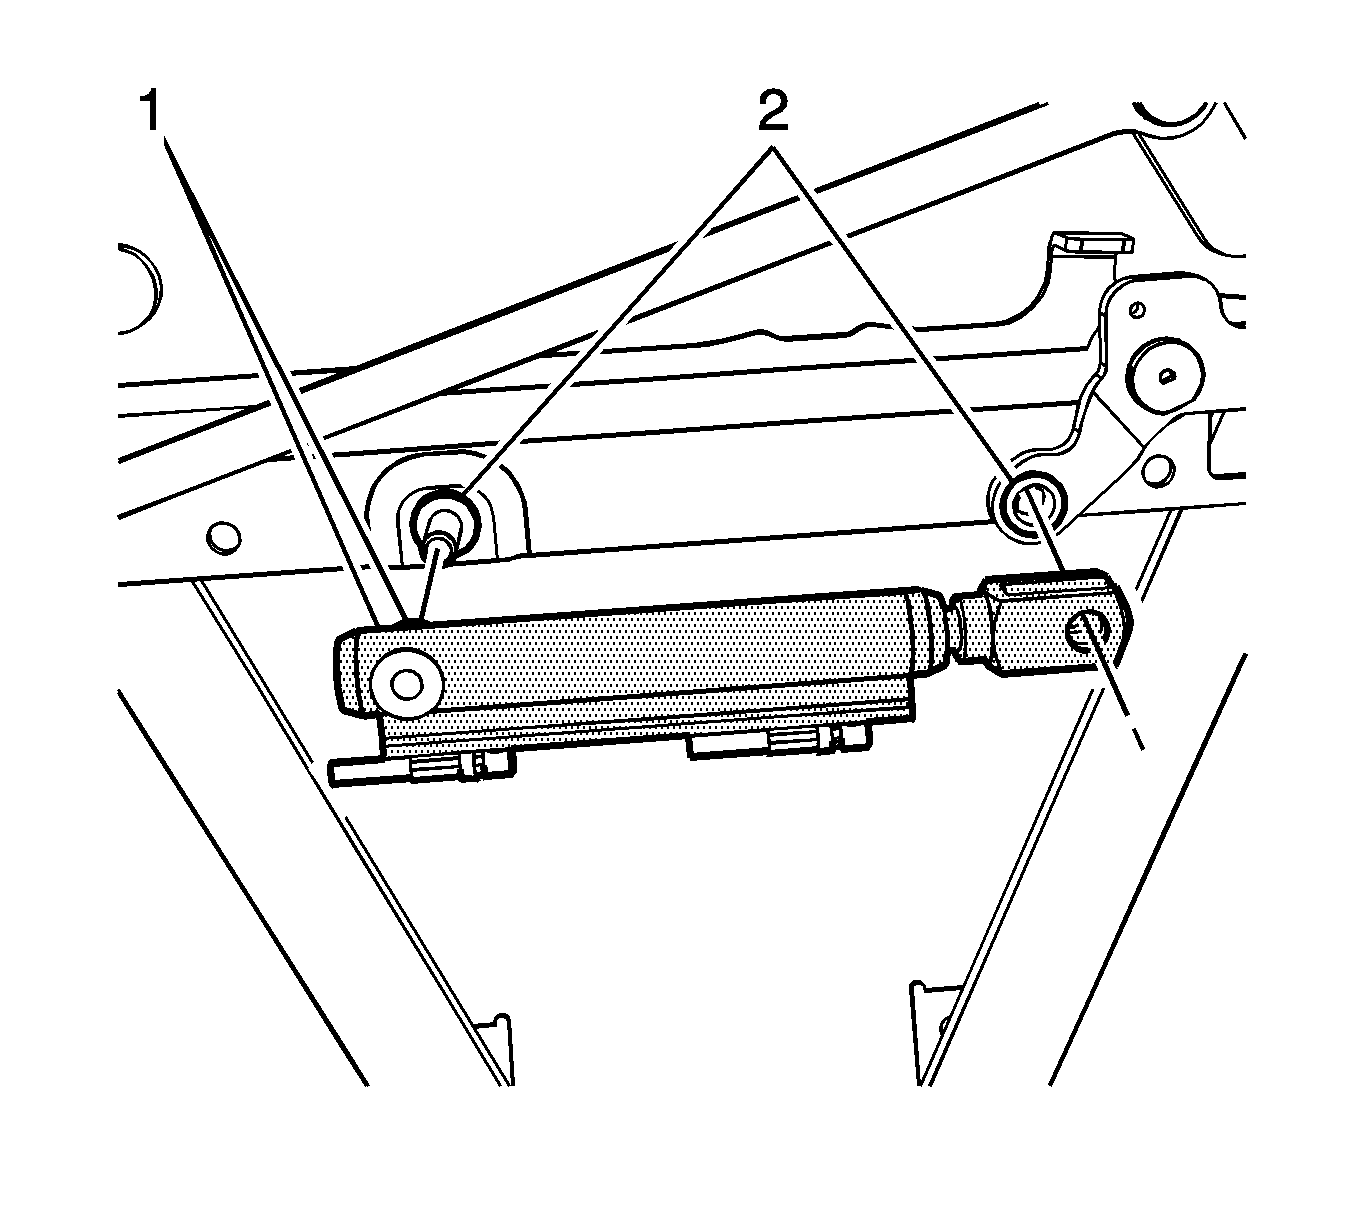
- Remove the spring clip (1) from the hydraulic cylinder retainer pin.
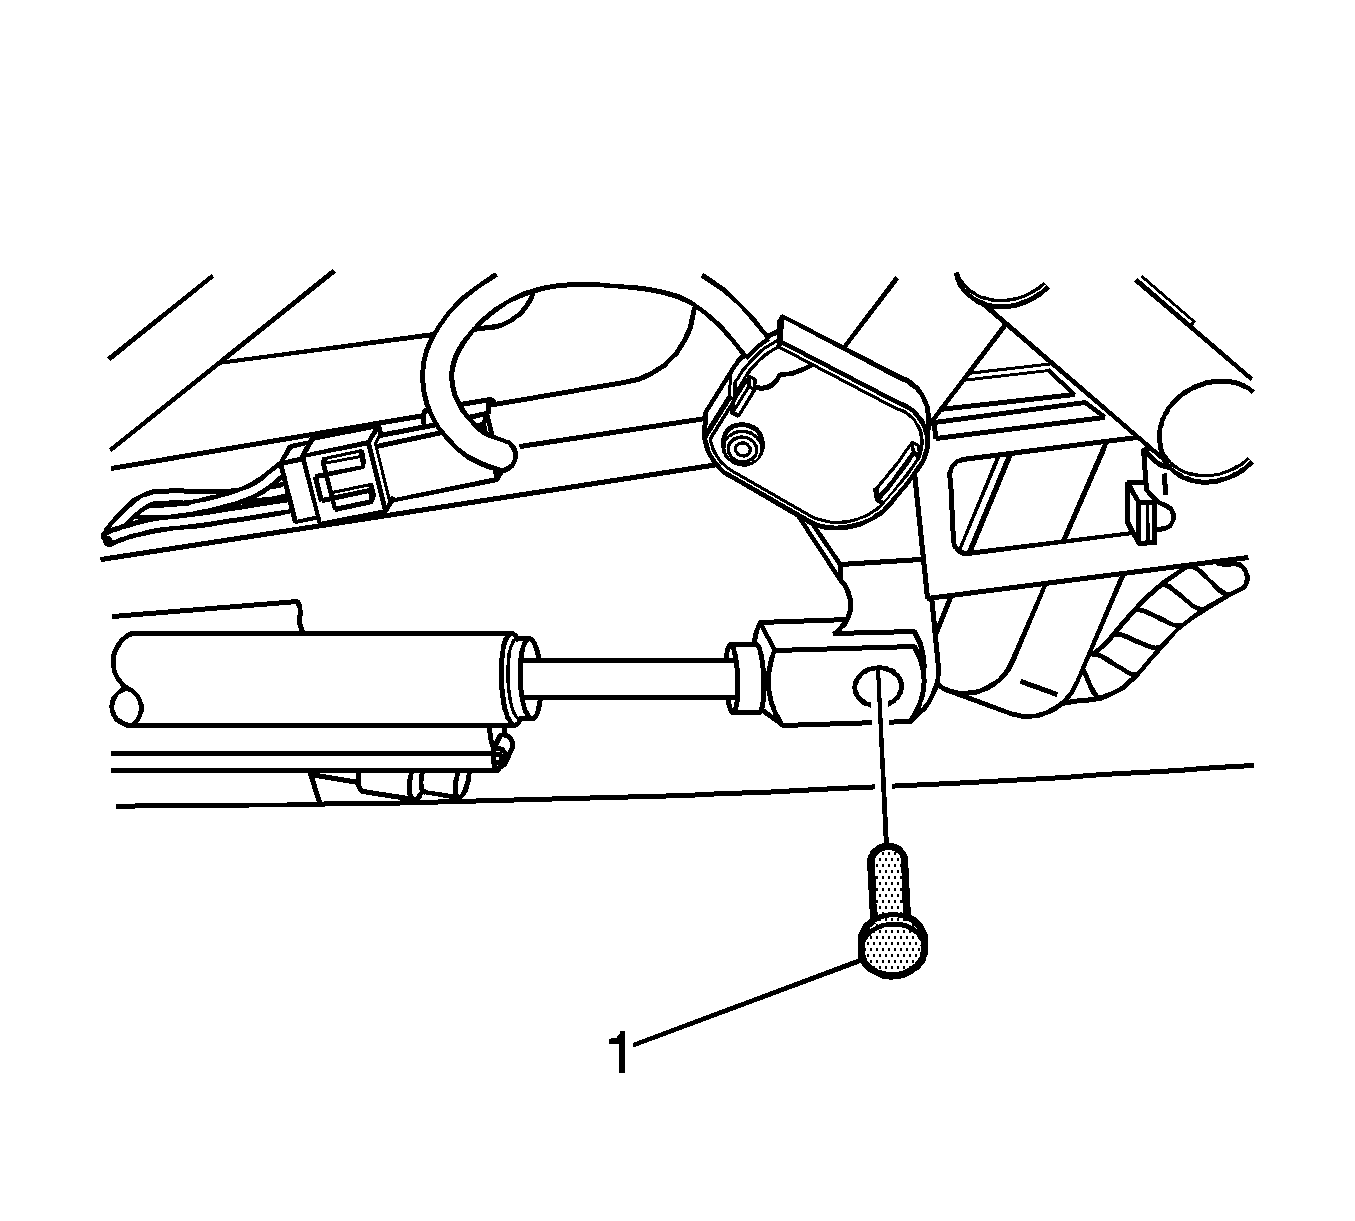
- Remove the retainer pin (1).
- Remove the spring clip (1) from the hydraulic cylinder.
- Remove the hydraulic cylinder (2) from the link (1).
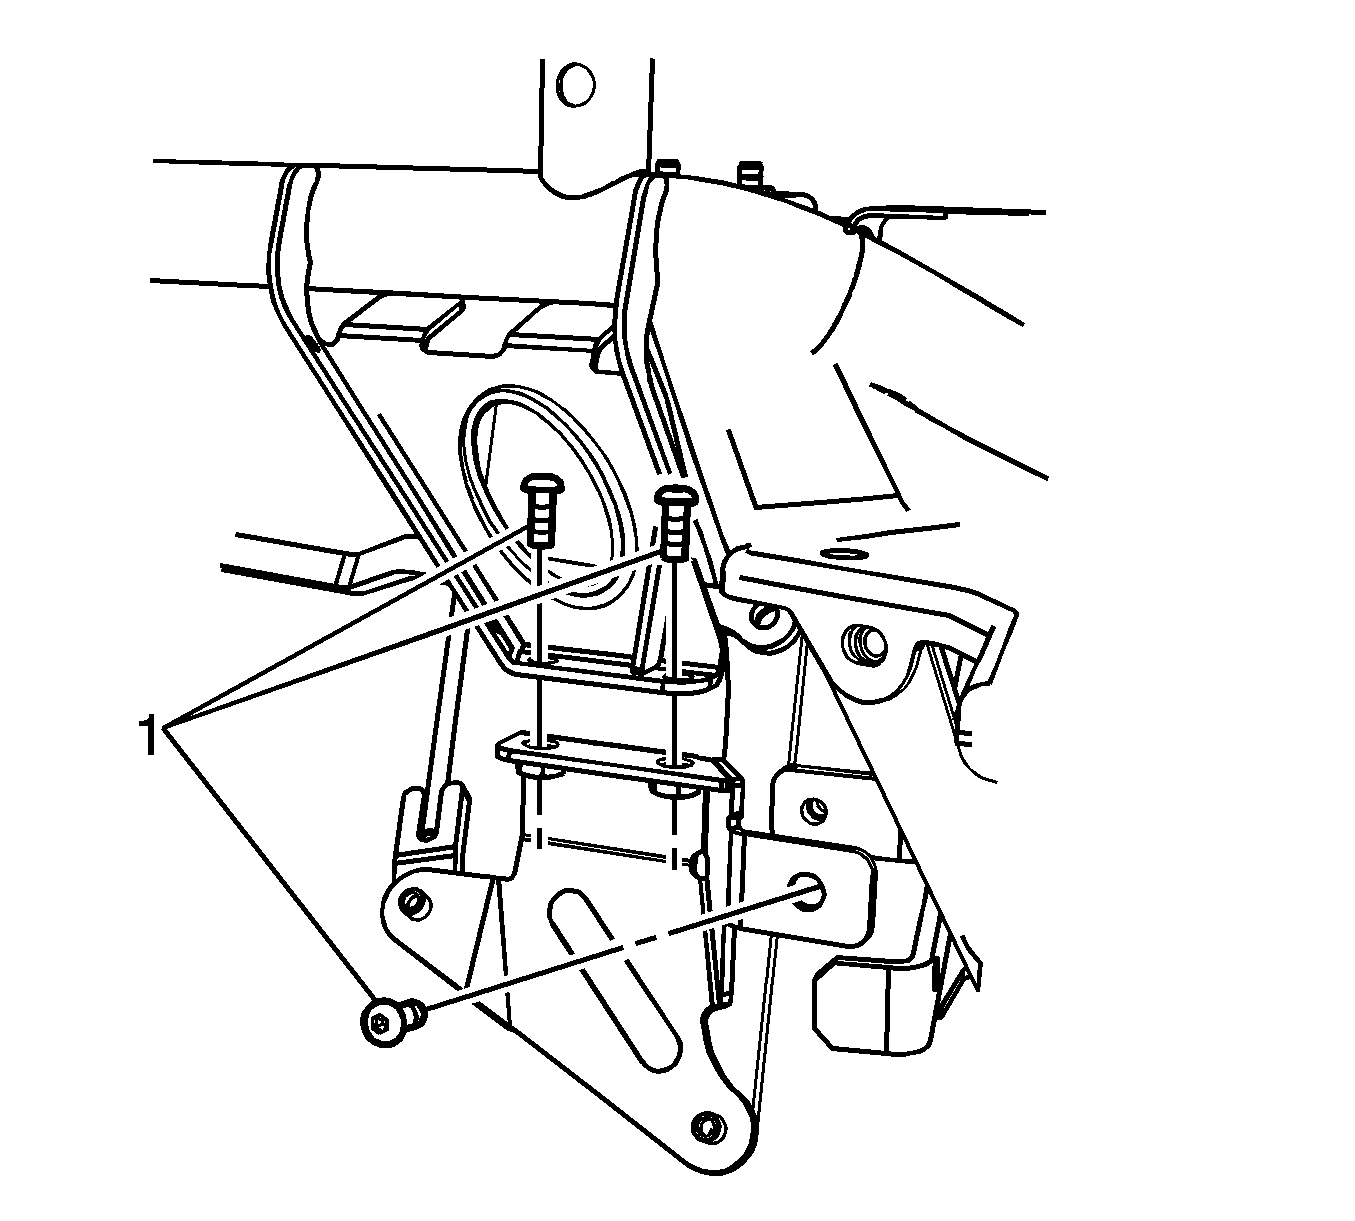
- Using a grease pencil, mark the location of the bolts (1) to the support bracket.
- Remove the outboard link bolts (1).
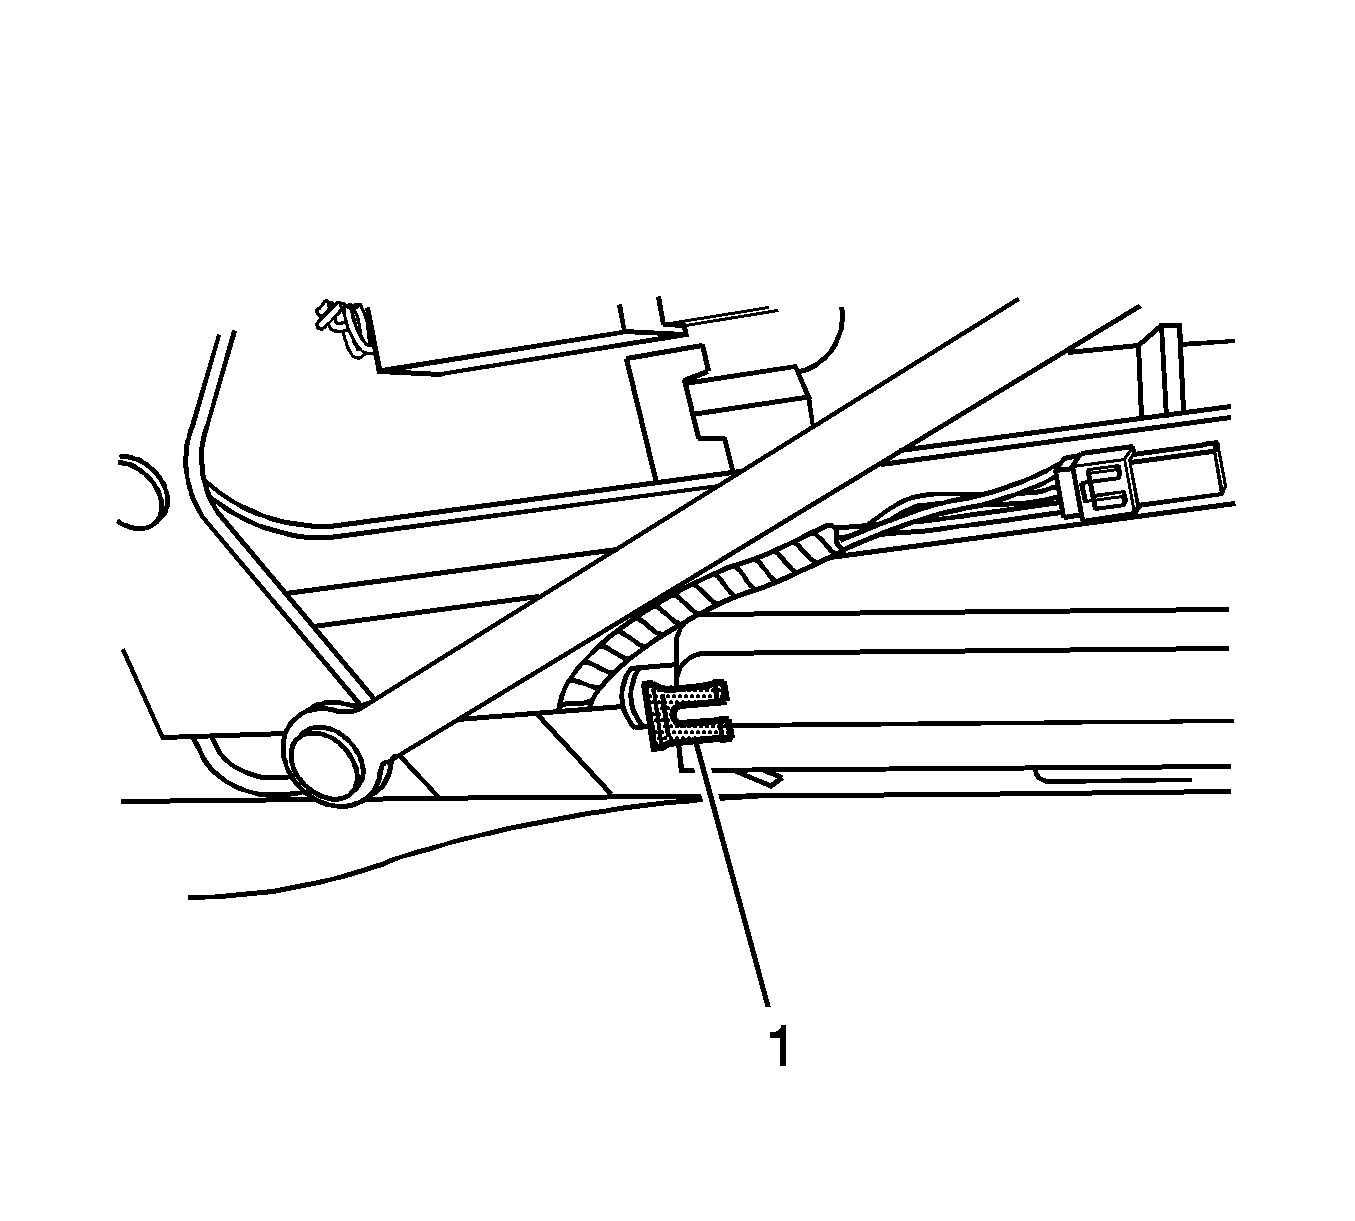
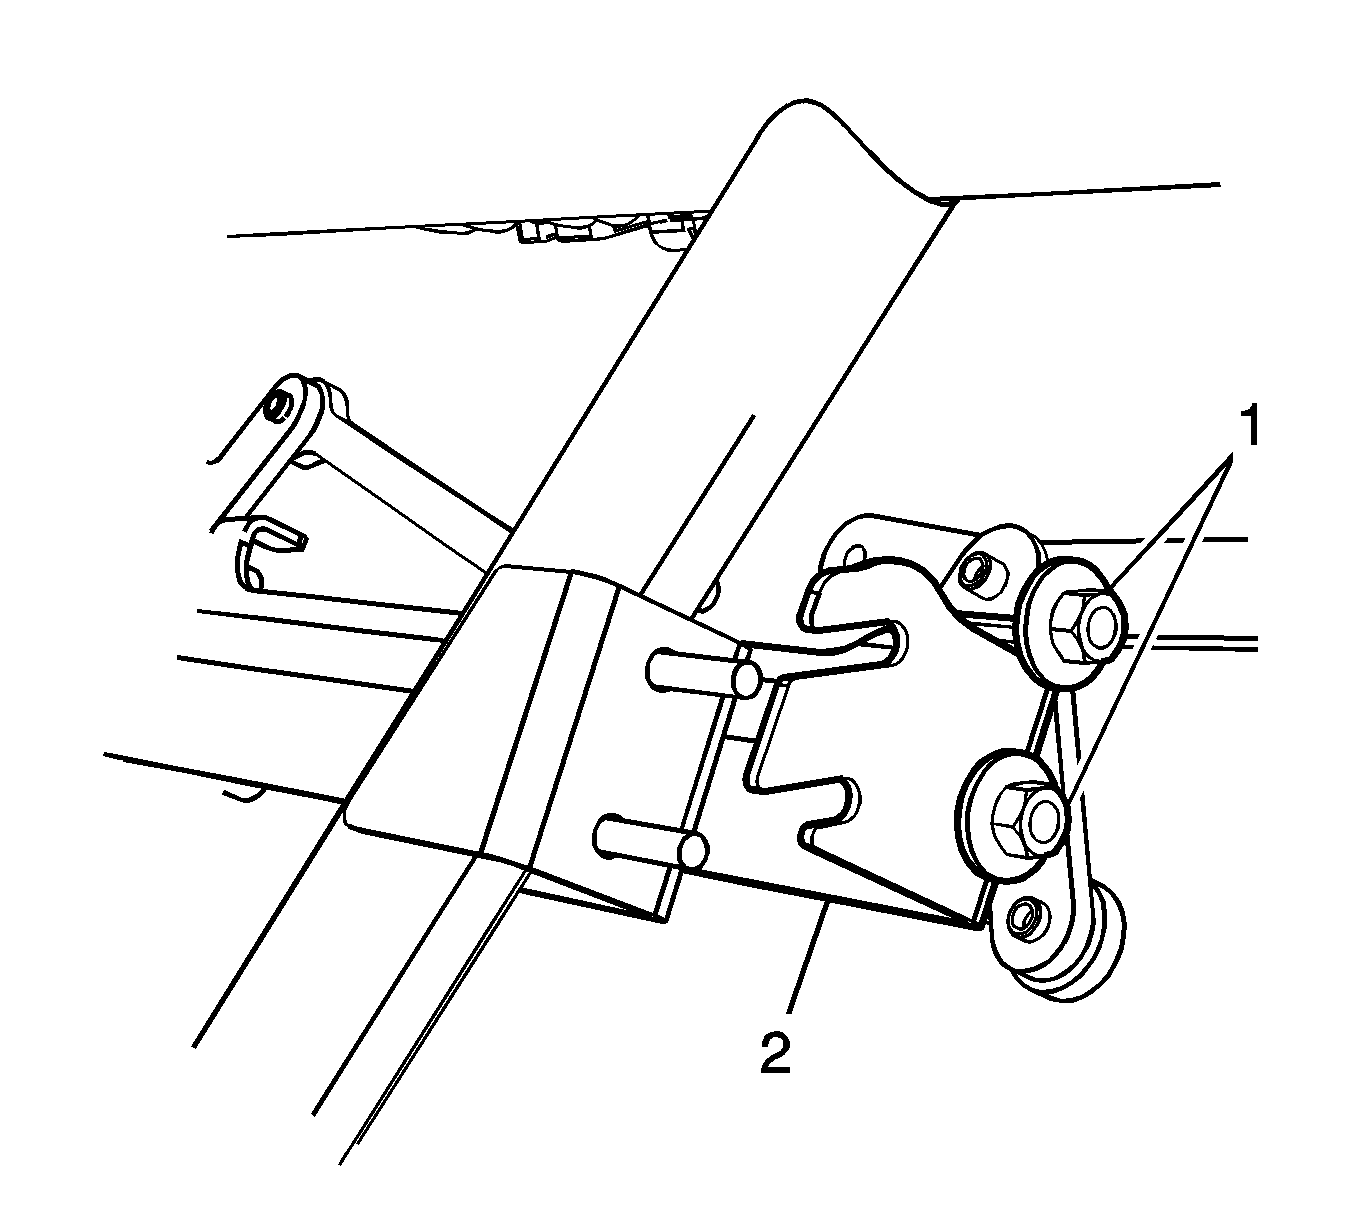
- Loosen the center link nuts (1).
- Remove the link (2) from the vehicle.
- Note the number and the location of any shims.
Installation Procedure
- Position the link to the vehicle. Hand start the bolts (1). Do NOT tighten.
- Apply LOCTITE™ Blue, GM P/N 12345382 (Canadian P/N 10953489) or equivalent to the bolts.
- Align the bolts (1) to the marks on the support bracket.
- Install the shims in the same locations.
- Pull the link (2) forward until the slots are seated against the studs. Install the center link nuts (1).
- Position the hydraulic cylinder (2) to the folding top support bracket (1).
- Install the spring clip (1) to the hydraulic cylinder.
- Install the retainer pin (1) to the hydraulic cylinder.
- Install the spring clip (2) to the retainer pin (1).
- Install the position switch. Refer to Folding Top Stowage Compartment Front Closeout Panel Position Switch Replacement .
- Install both of the drive rods to the center compartment closeout panel.
- Install the outer compartment closeout panels. Refer to Folding Top Stowage Compartment Front Outer Closeout Panel Replacement .
- Verify that the compartment closeout panels are properly aligned. Refer to Folding Top Clearance Gap Specifications .
- Adjust the center compartment closeout panel, if necessary. Refer to Folding Top Storage Compartment Closeout Panel Adjustment - Front .
- Adjust the outer compartment closeout panel, if necessary. Refer to Folding Top Stowage Compartment Front Outer Closeout Panel Adjustment .
- Remove the protective covering.
- Cycle the folding top under power through one complete cycle in both directions.
- Inspect the folding top for proper operation. Refer to Power Folding Top Description and Operation .
- Install the rear window panel. Refer to Rear Window Panel Trim Replacement in Interior Trim.

Notice: Refer to Fastener Notice in the Preface section.
Tighten
Tighten the bolts to 11 N·m (97 lb in).

Tighten
Tighten the nuts to 11 N·m (97 lb in).


