For 1990-2009 cars only
Removal Procedure
- Raise and support the vehicle. Refer to Lifting and Jacking the Vehicle .
- Remove the left engine mount bracket. Refer to Engine Mount Bracket Replacement - Left Side .
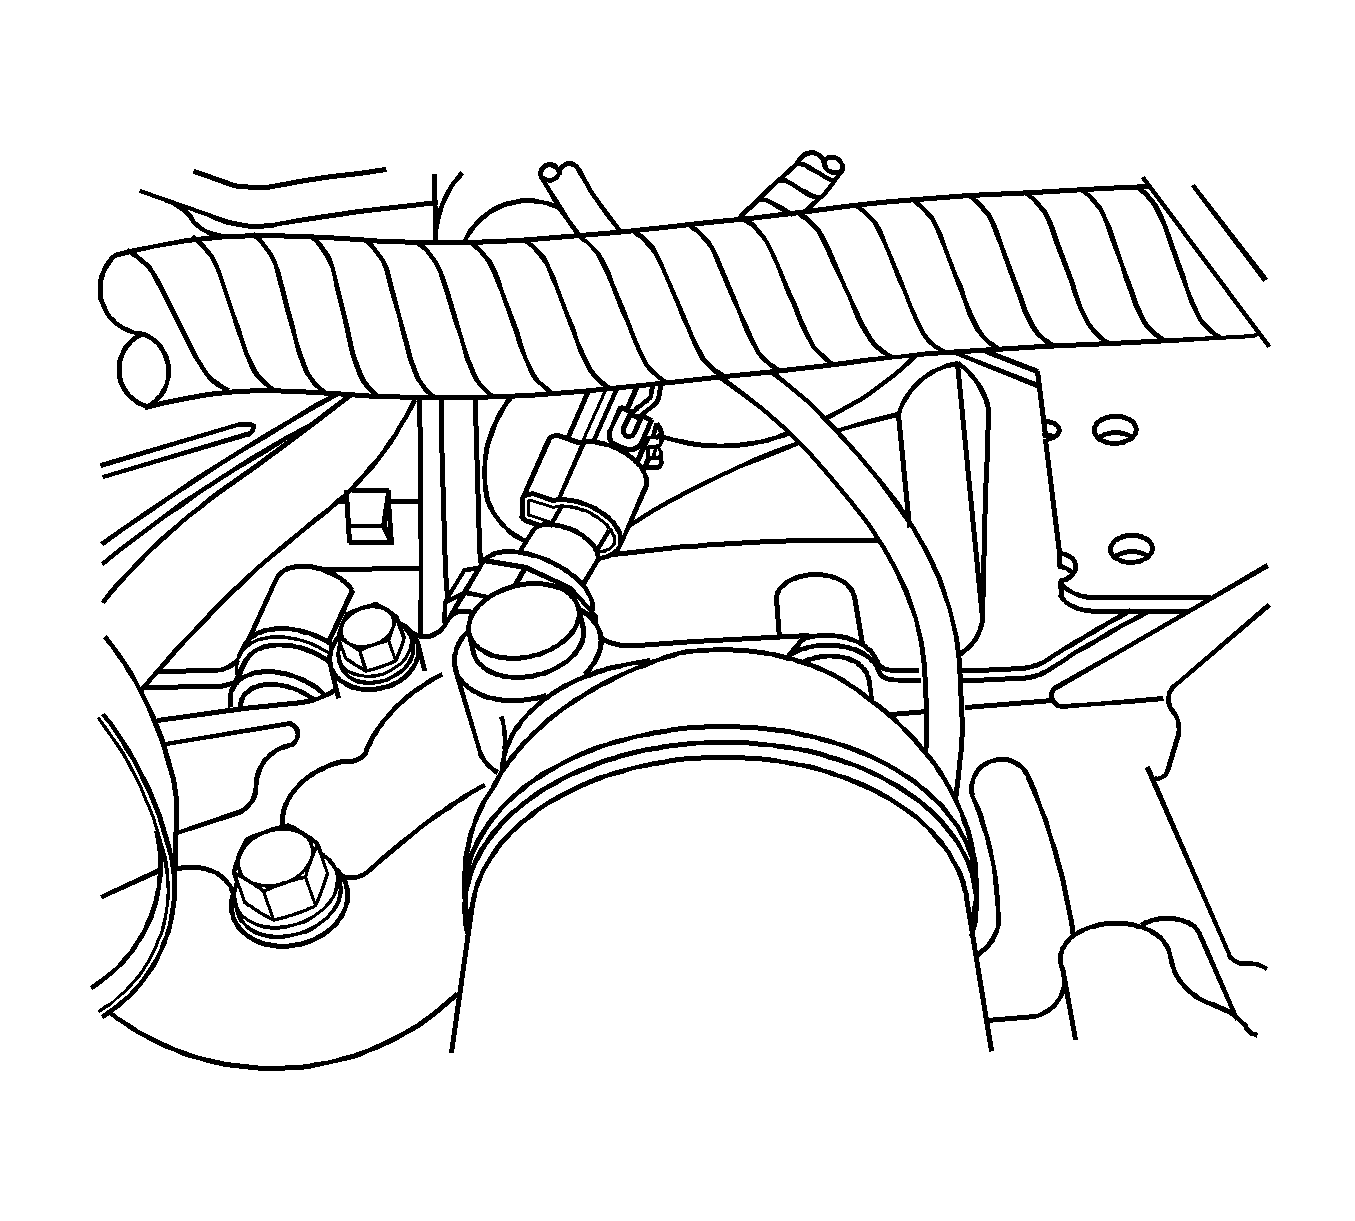
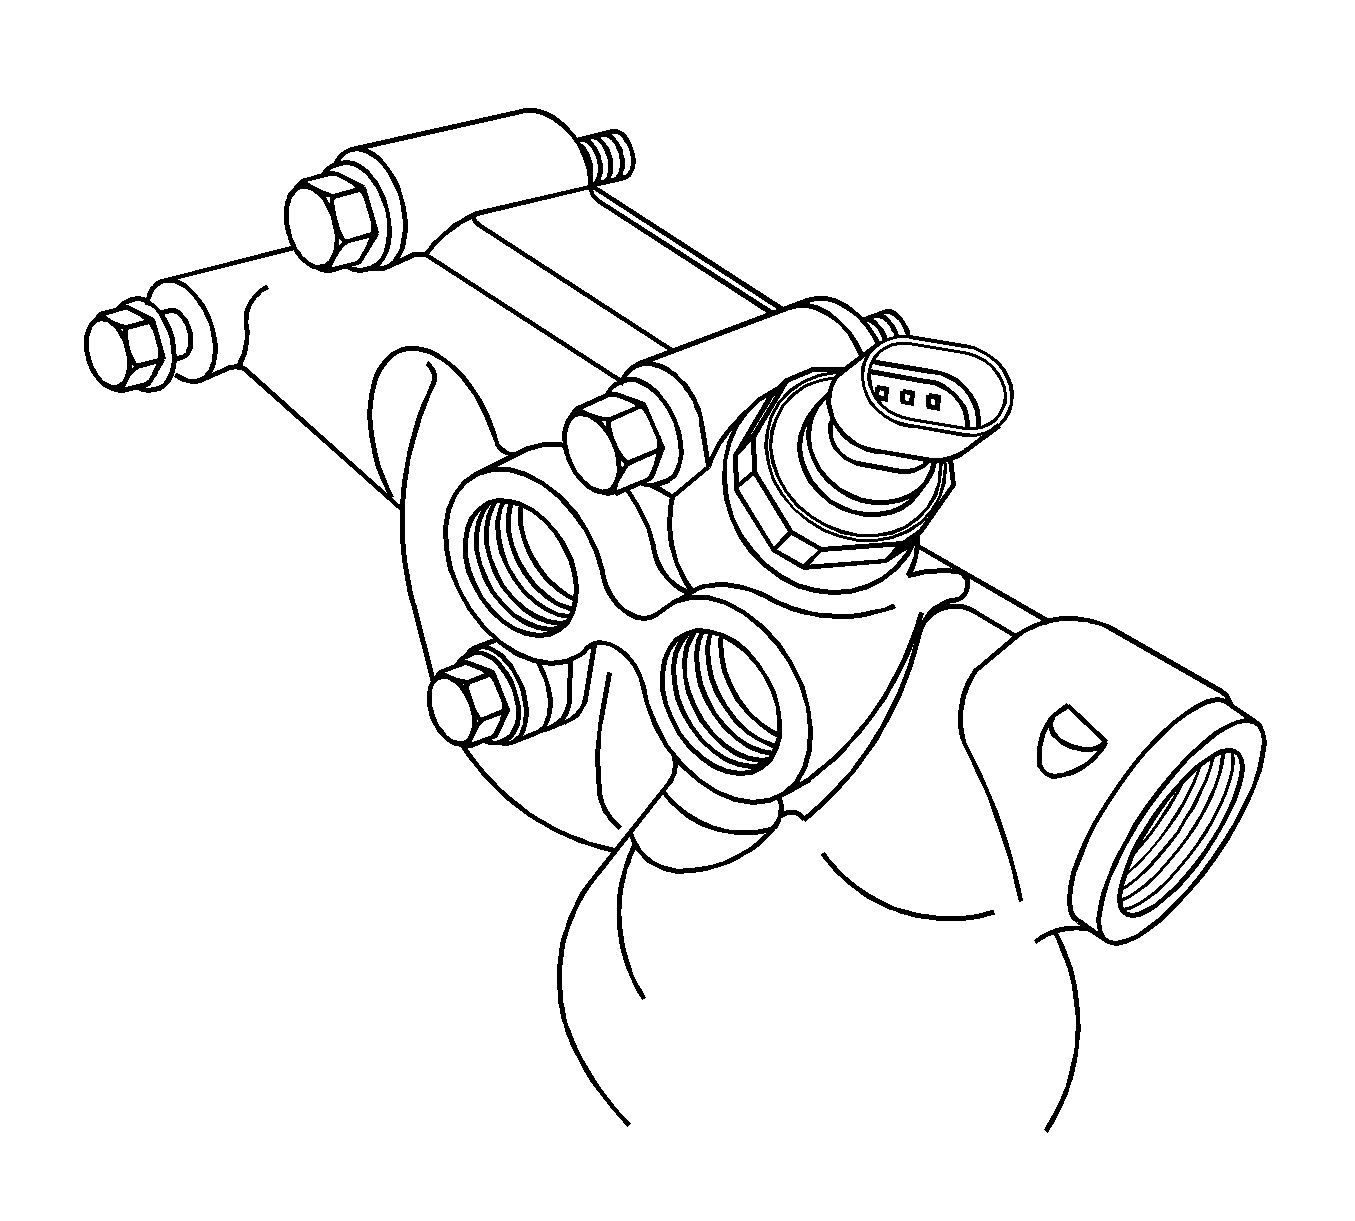
- Disconnect the electrical connector from the engine oil pressure switch.
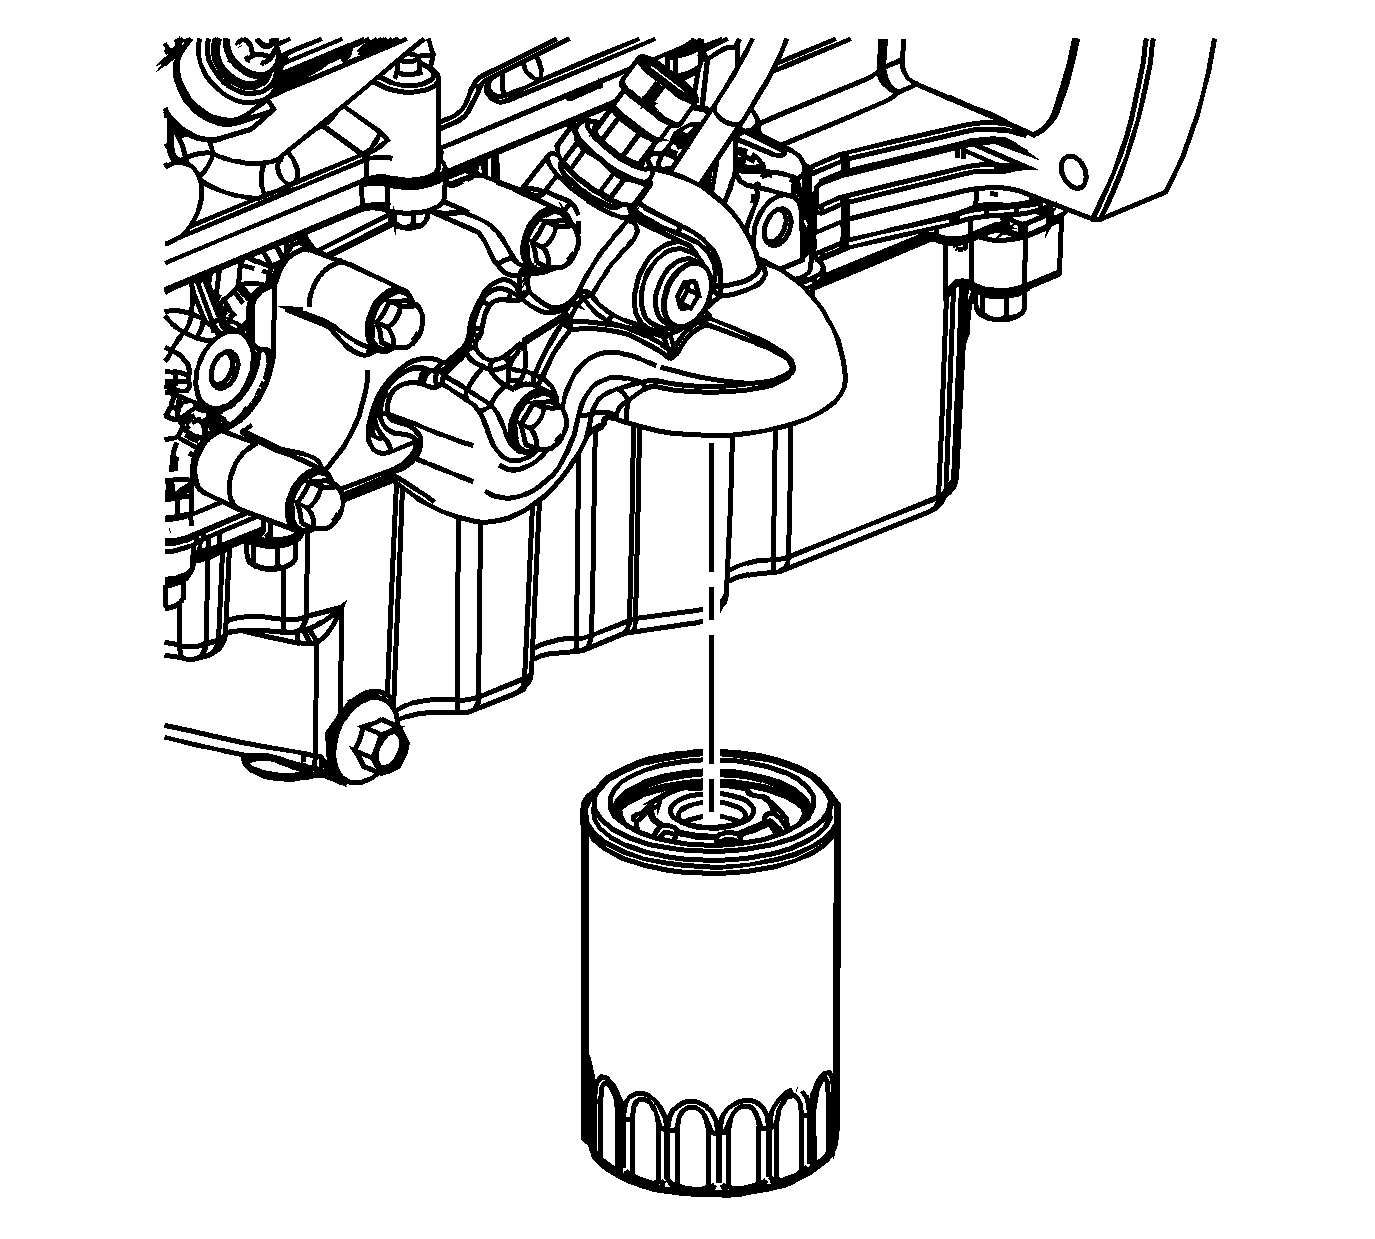
- Remove the oil filter.
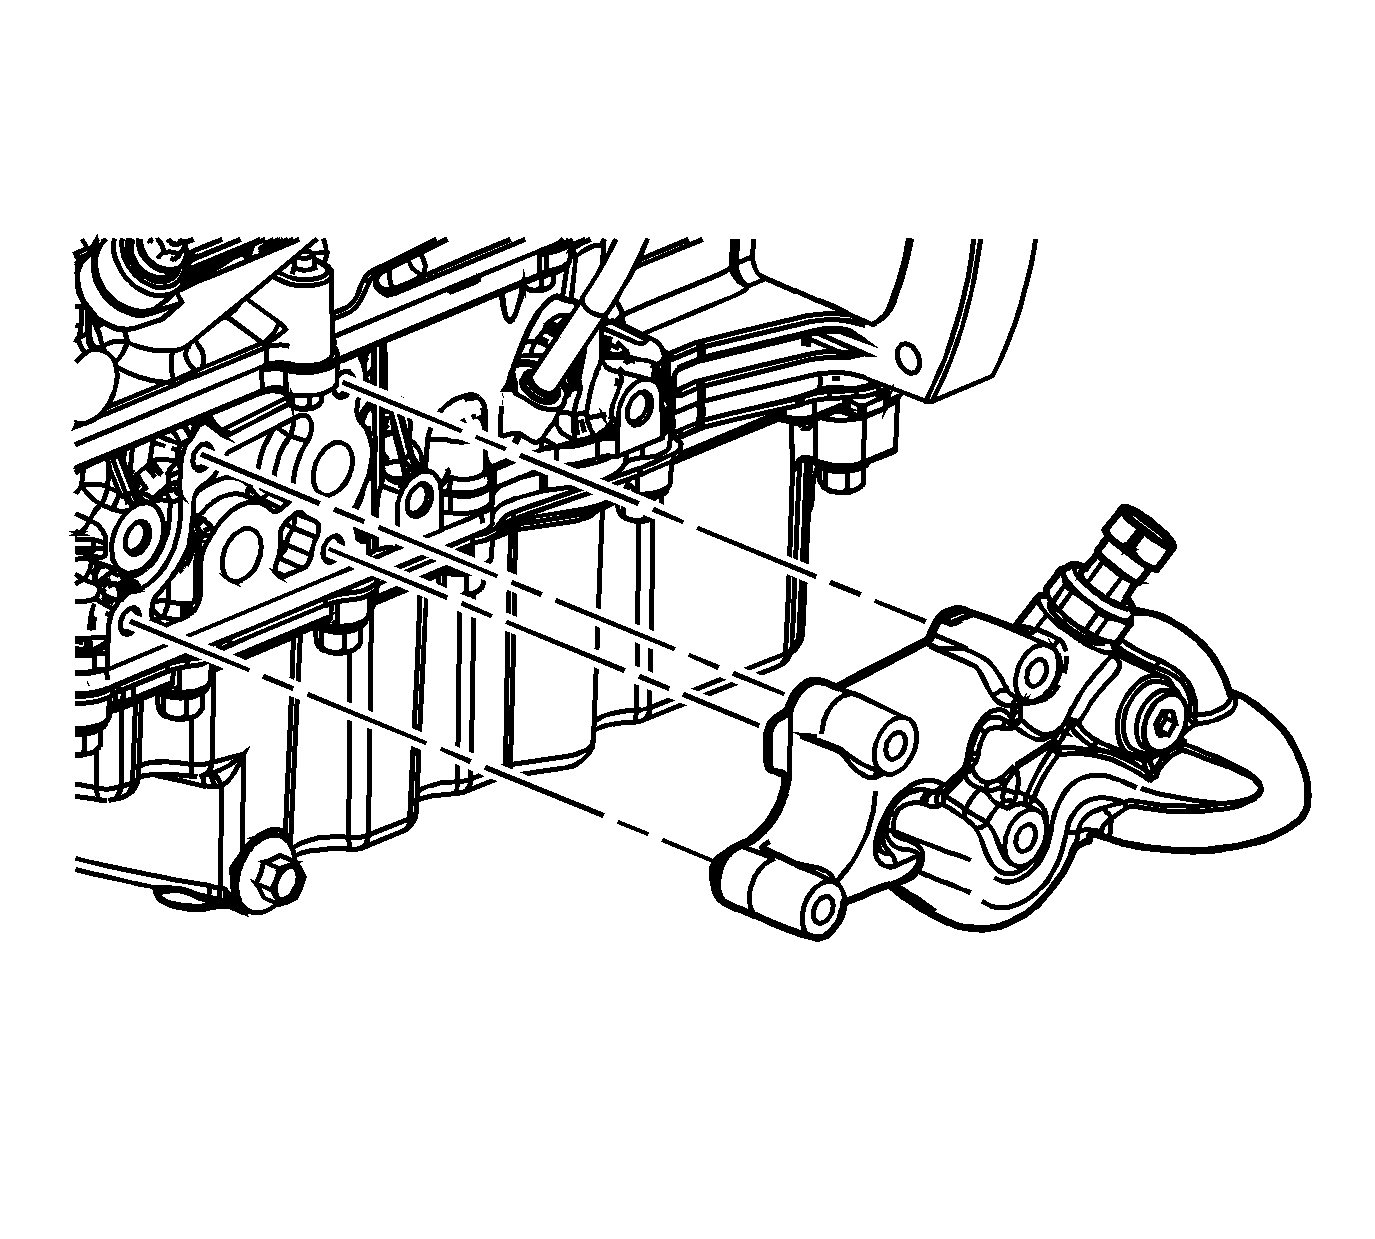
- Remove the adapter mounting bolts.
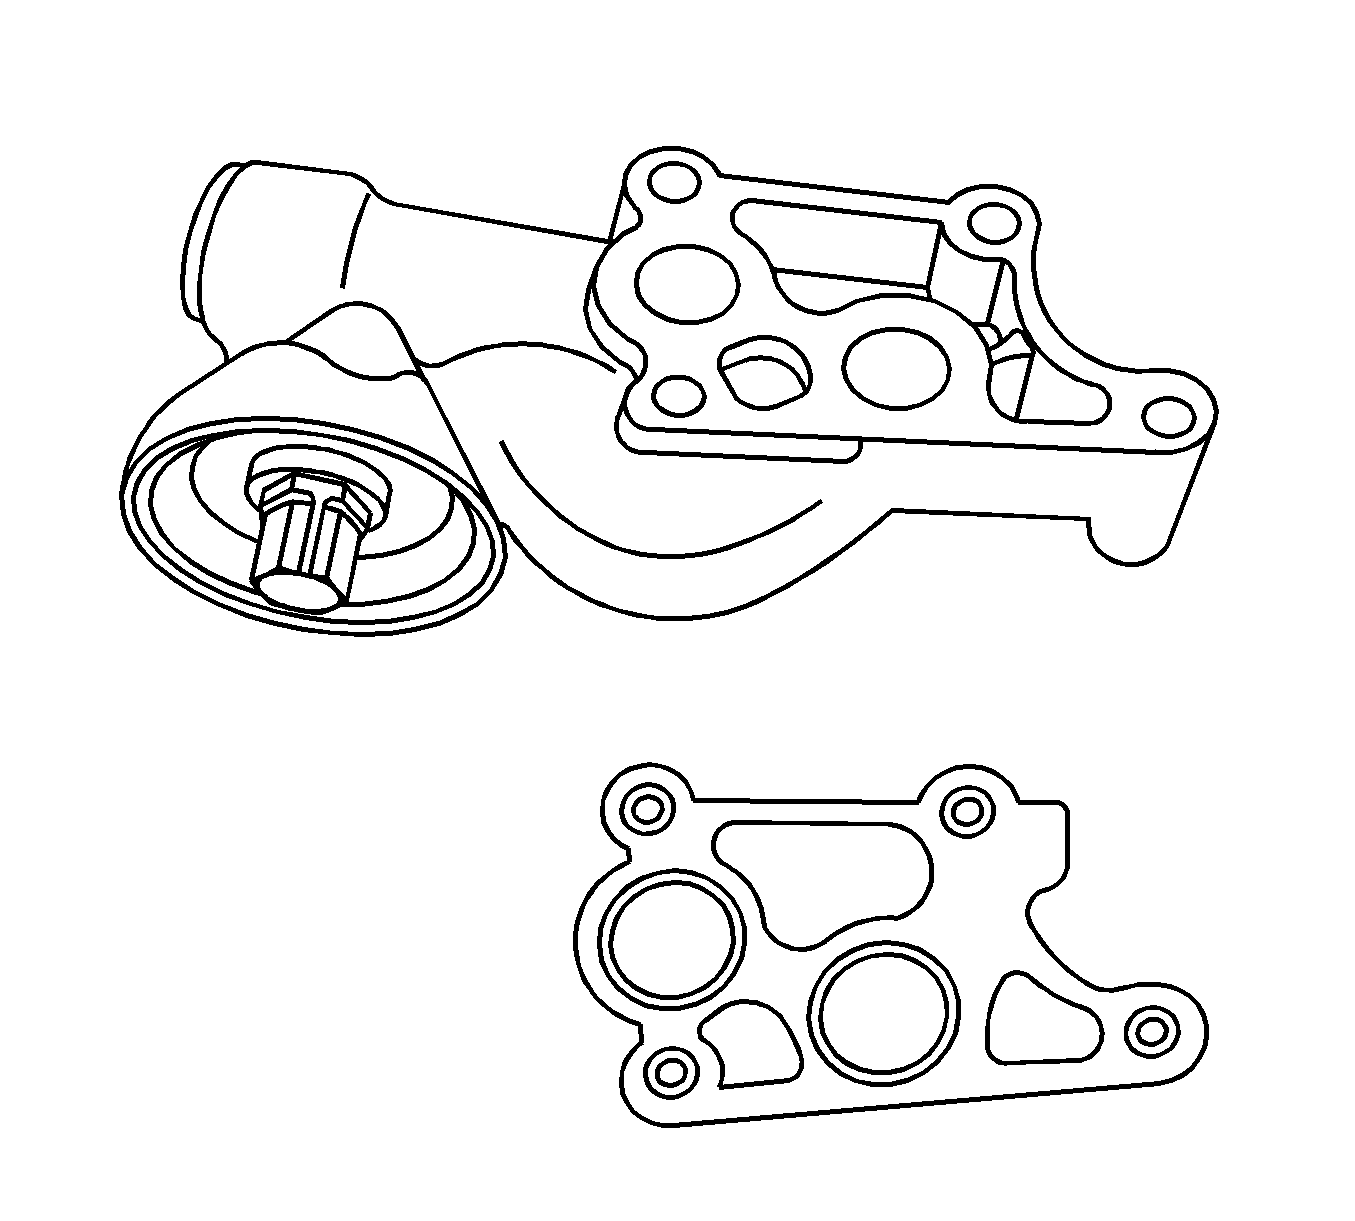
- Remove the adapter and discard the gasket.
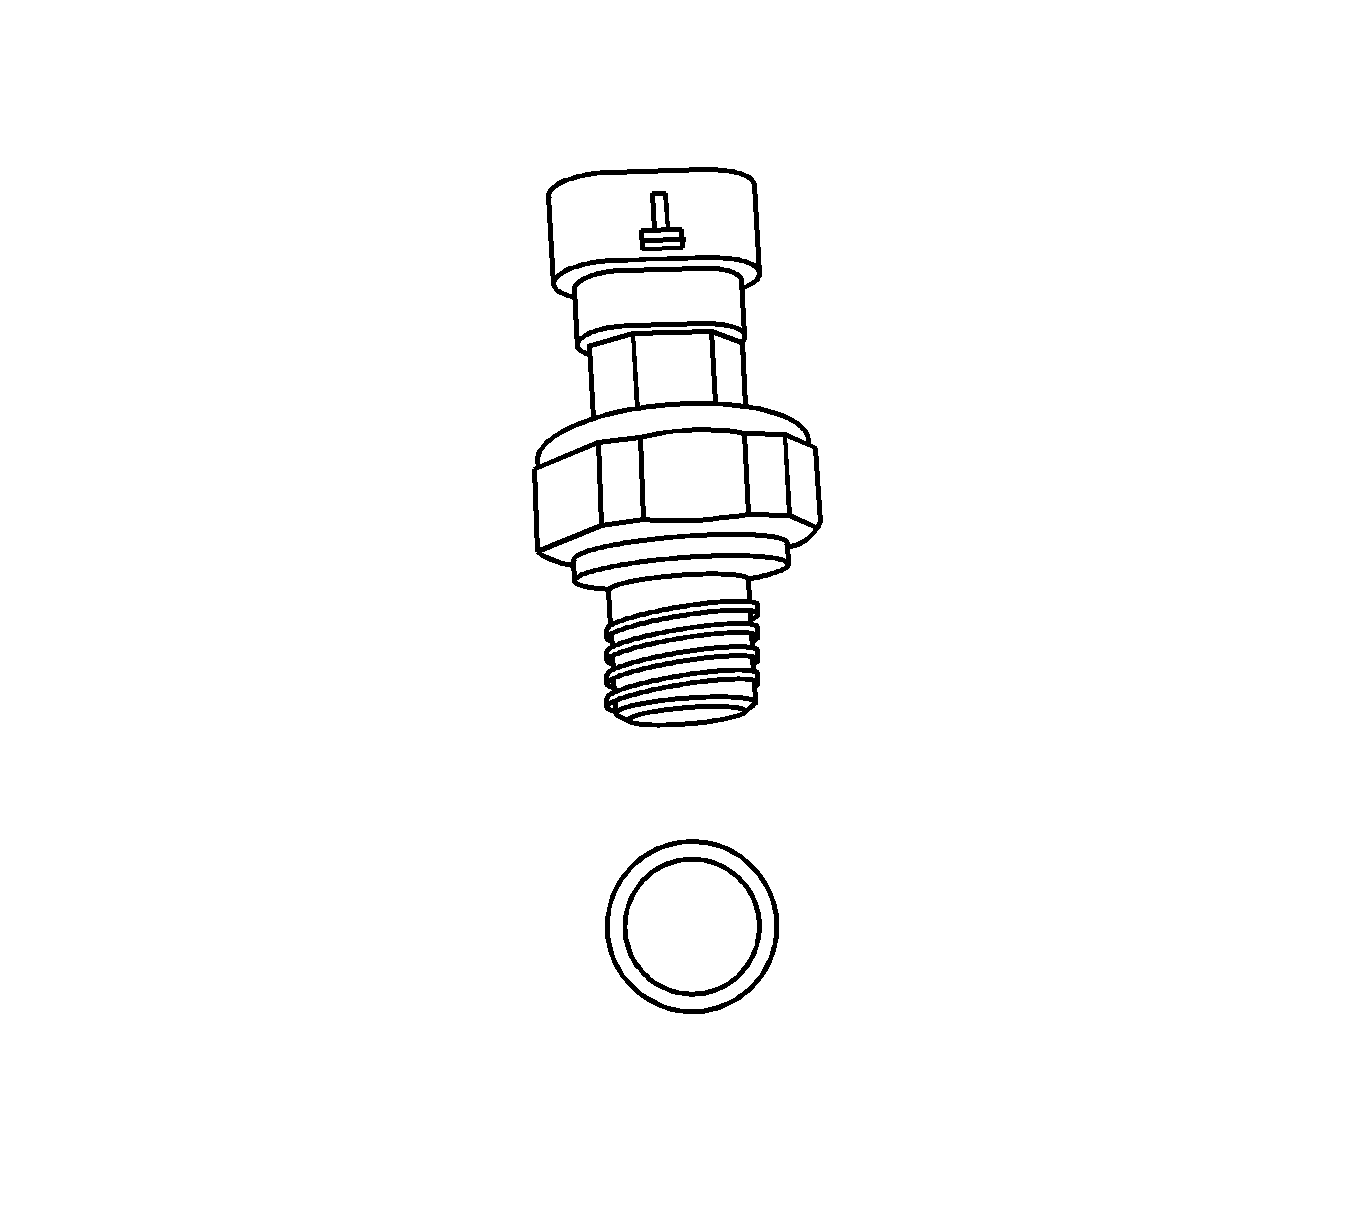
- Remove the engine oil pressure switch from the oil filter adapter.
- Clean and inspect the oil filter adapter. Refer to Oil Filter Adapter Cleaning and Inspection .

Installation Procedure
- Install the engine oil pressure switch to the oil filter adapter.
- Install the new gasket.
- Install the bolts attaching the oil filter adapter to the engine block.
- Lightly oil the replacement oil filter gasket with clean oil.
- Install the oil filter.
- Connect the electrical connector (2) to the engine oil pressure switch (1).
- Install the left engine mount bracket. Refer to Engine Mount Bracket Replacement - Left Side .
- Lower the vehicle.
- Adjust the engine oil level to the full mark.
- Inspect for oil leaks after engine start up.
Notice: Refer to Component Fastener Tightening Notice in the Preface section.
Tighten
Tighten the engine oil pressure switch to 16 N·m (12 lb ft).

Notice: Refer to Fastener Notice in the Preface section.
Tighten
Tighten the oil filter adapter bolts to 25 N·m (18 lb ft).

Important: Fill the oil filter with engine oil.
Tighten
Tighten the oil filter to 32 N·m (24 lb ft).

