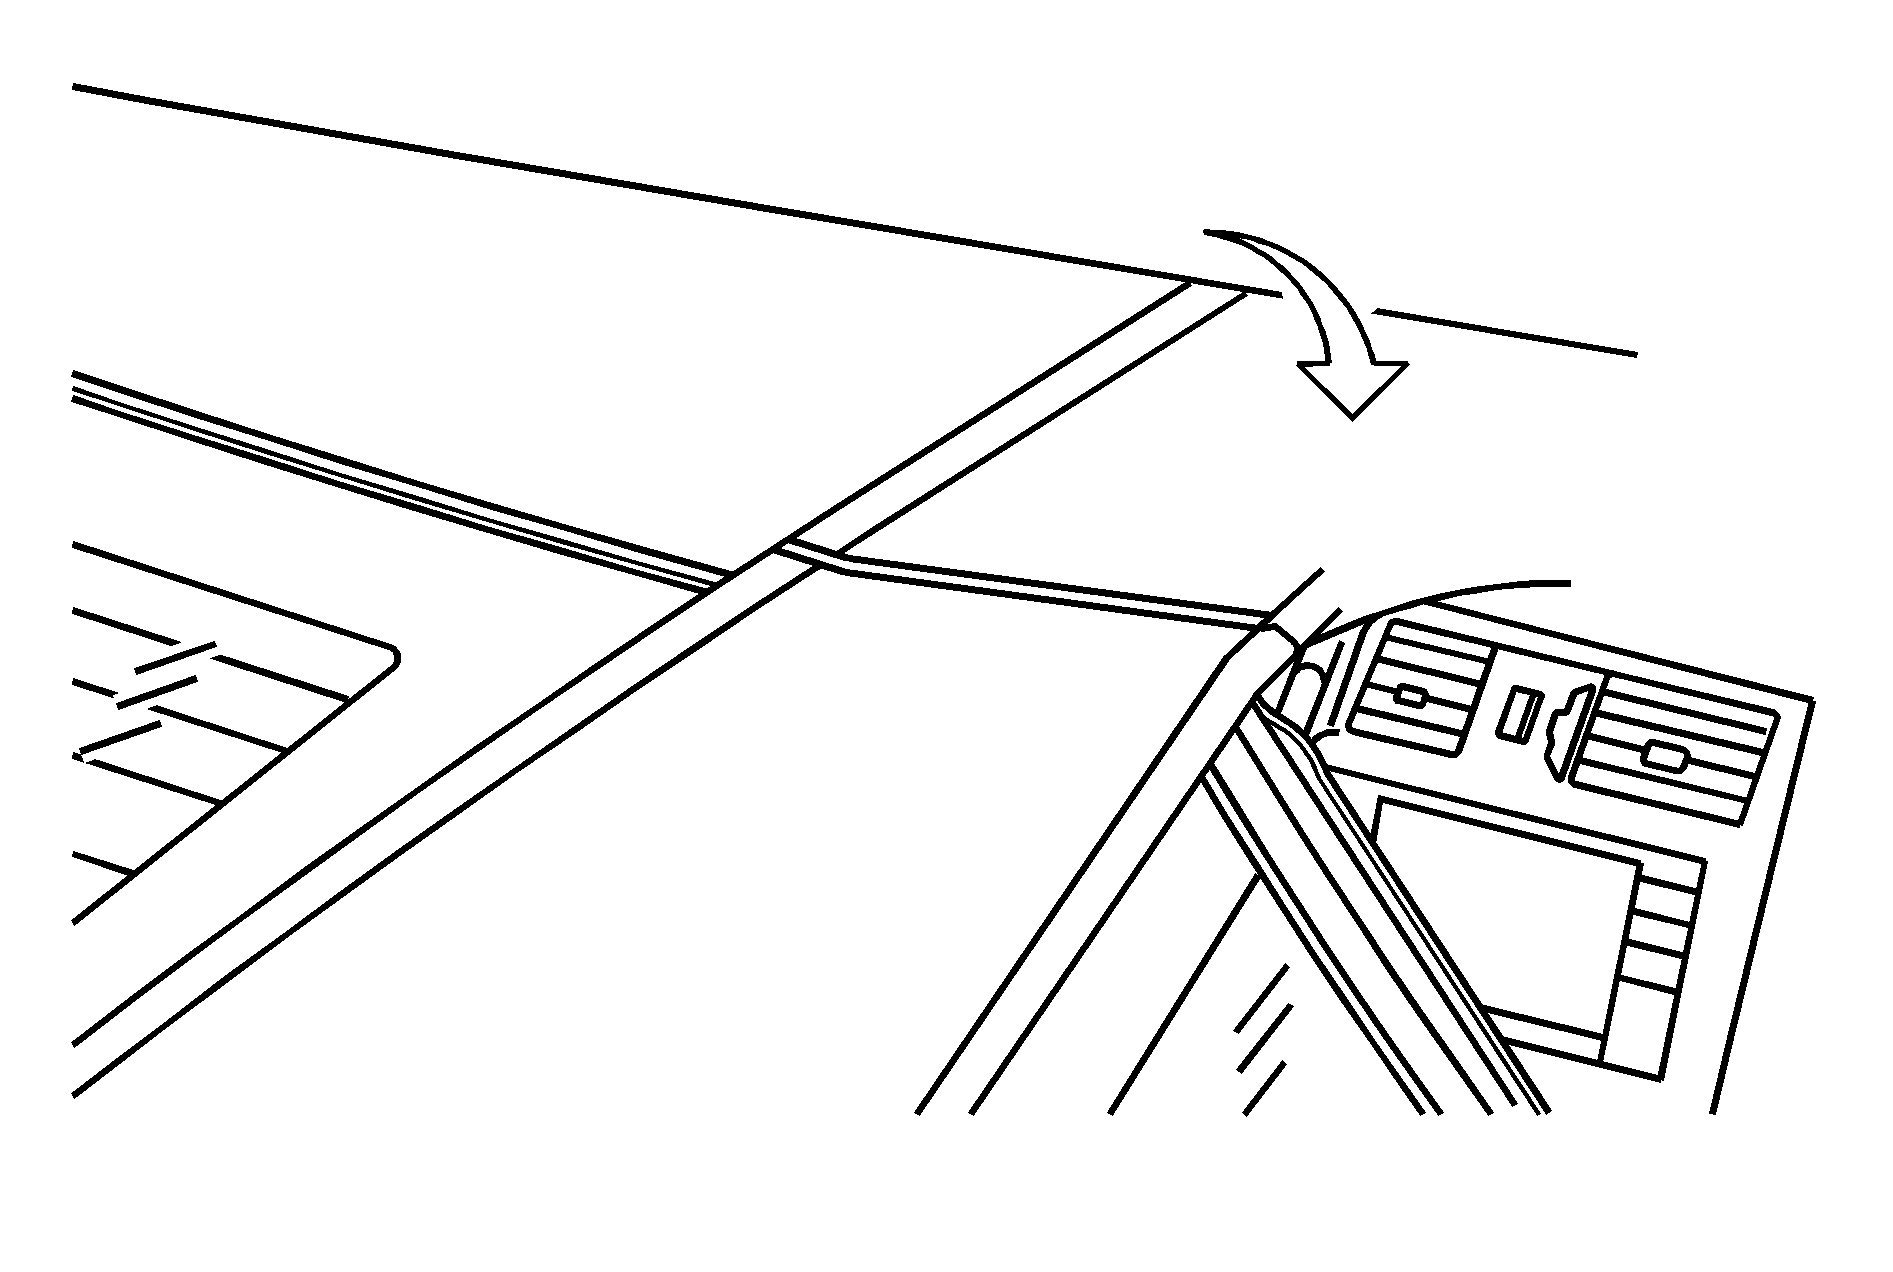
- Park on a level surface. Shift the transmission into P (Park).
- The vehicle's engine must be on or in Acc.
- Lower both sun visors.
- Make sure nothing or no one is on or around the top. Make sure the trunk cargo cover is in place with no cargo on top of or in front of the cargo cover. See Rear Storage Area for more information. Also, be sure the valet lockout switch is off.
- Push and hold the top of this button located behind the shift lever.
Notice: Raising or lowering the top while the vehicle is in motion can cause damage to the top or top mechanism. Make sure the vehicle is in P (Park) to lower or raise the top.
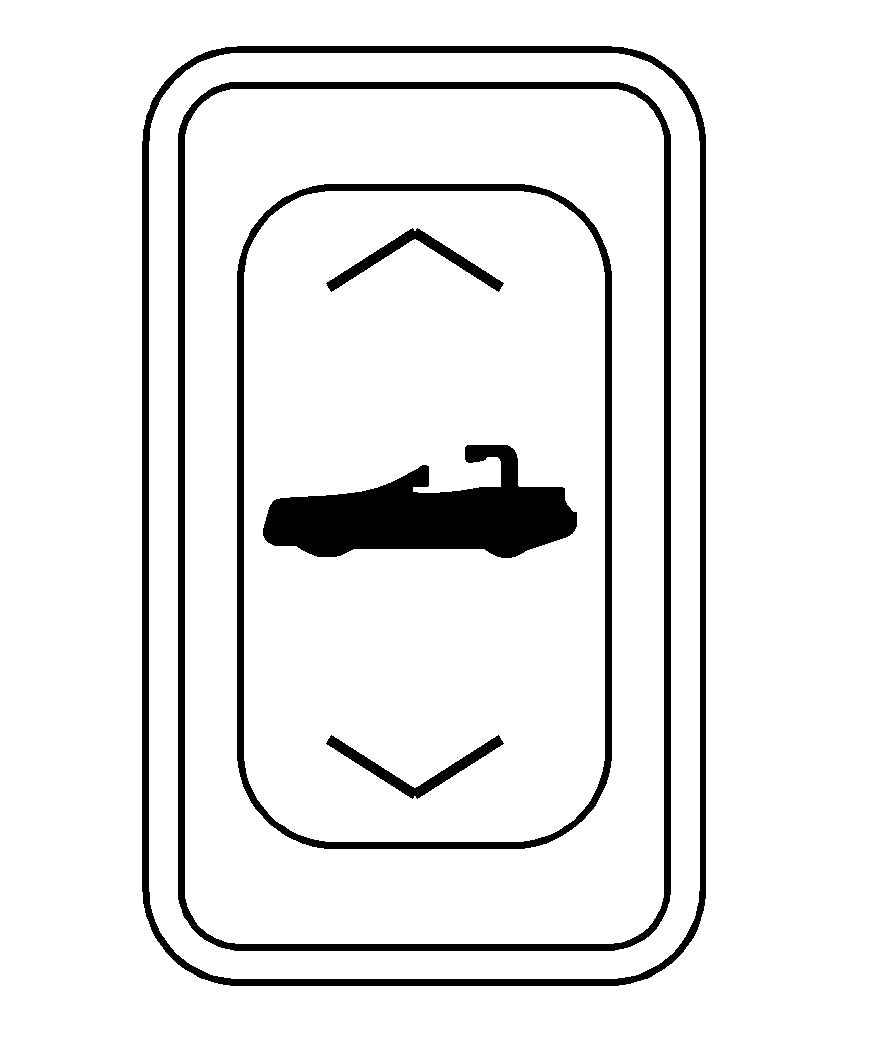
The windows will automatically lower and the top will raise. A chime will sound when the top has raised completely.
After the top is fully raised, release the retractable hardtop button.
If the radio is on, you may notice a brief mute in sound. This is normal and due to a new audio system equalization being loaded for the vehicle with the top raised.
Under certain conditions, the Driver Information Center (DIC) may display messages regarding the retractable hardtop. See DIC Warnings and Messages for more information.
If the retractable hardtop does not operate, and there are no messages displayed on the Driver Information Center (DIC), then perform the "Power Window Initialize" steps under Power Windows .
Manually Raising the Retractable Hardtop
If the vehicle has a power loss, such as a dead battery, you can still raise the top manually by doing the following:
- Lower both sun visors and open both doors.
- Use the key to open the trunk. See Keys and Trunk for more information.
- Raise the trunk by hand.
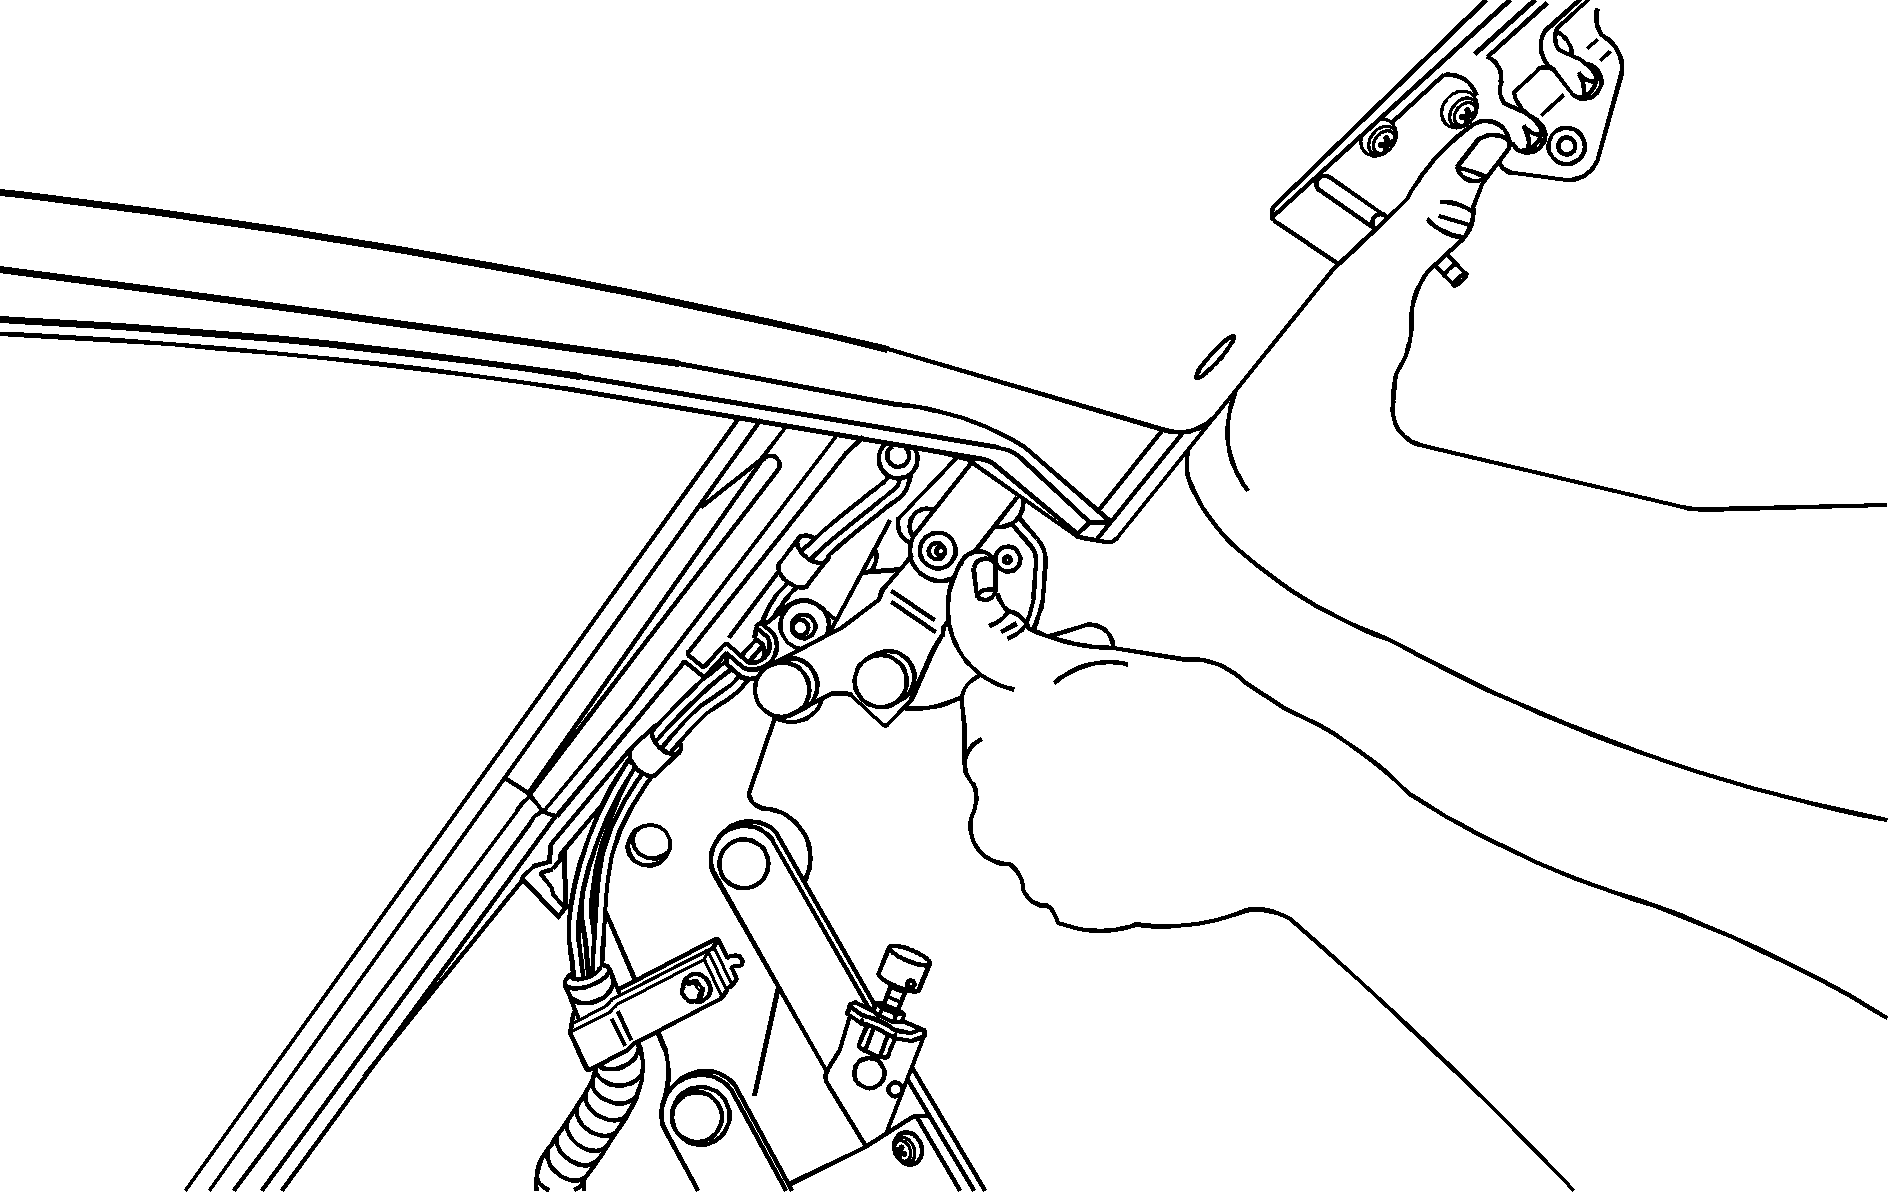
- Pull both sides of the rear tonneau over-center link down to unlock the linkage.
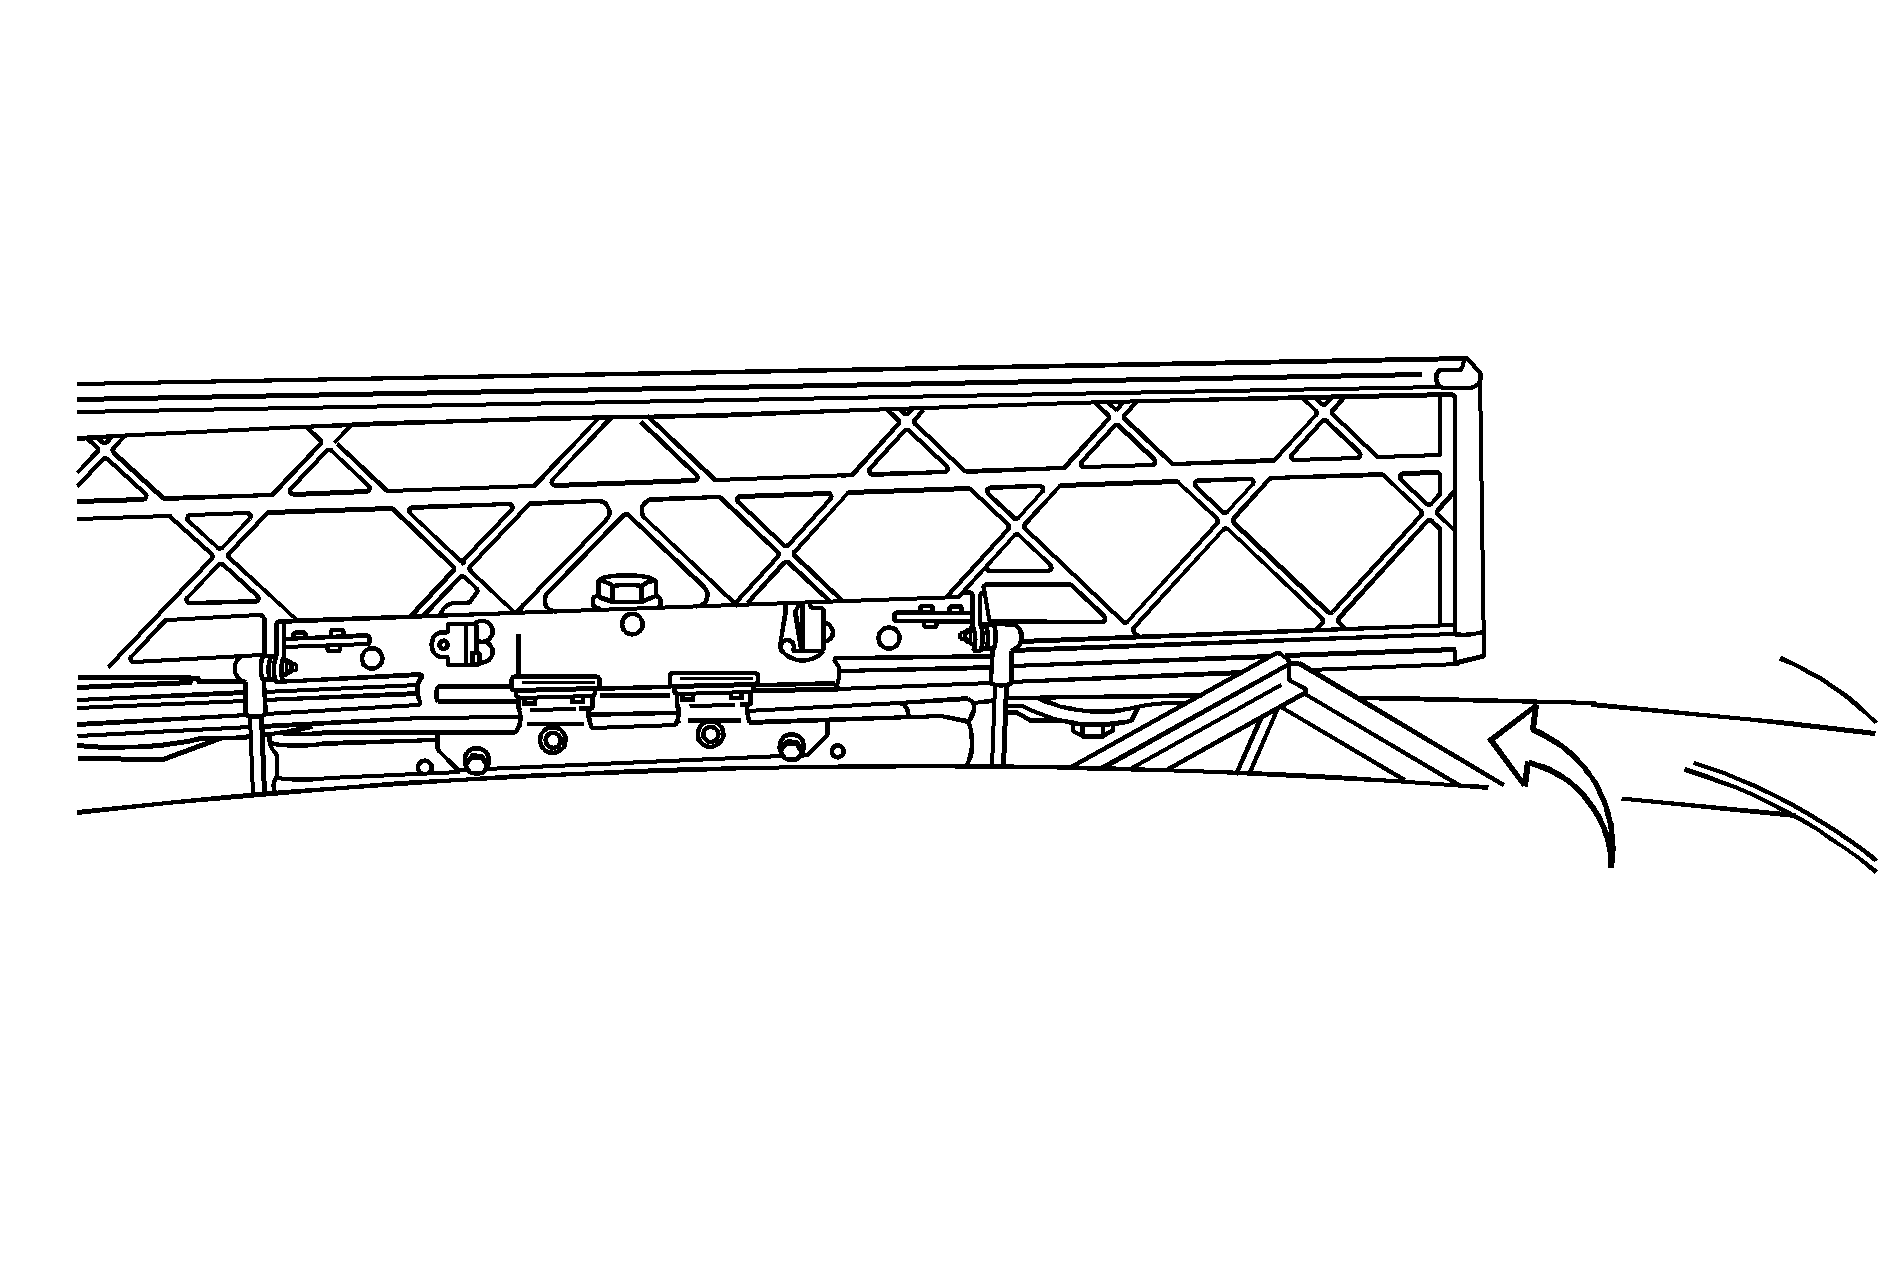
- Move the rear tonneau rearward and up to the stored position. Pull from the center of the tonneau to keep pressure even. The rubber bumper on each corner will fit against the underside of the trunk decklid.
- Push both sides of the rear tonneau over-center link up until they stop to lock the linkage.
- Close the hydraulic pump valve by turning it clockwise with your hand until it stops.
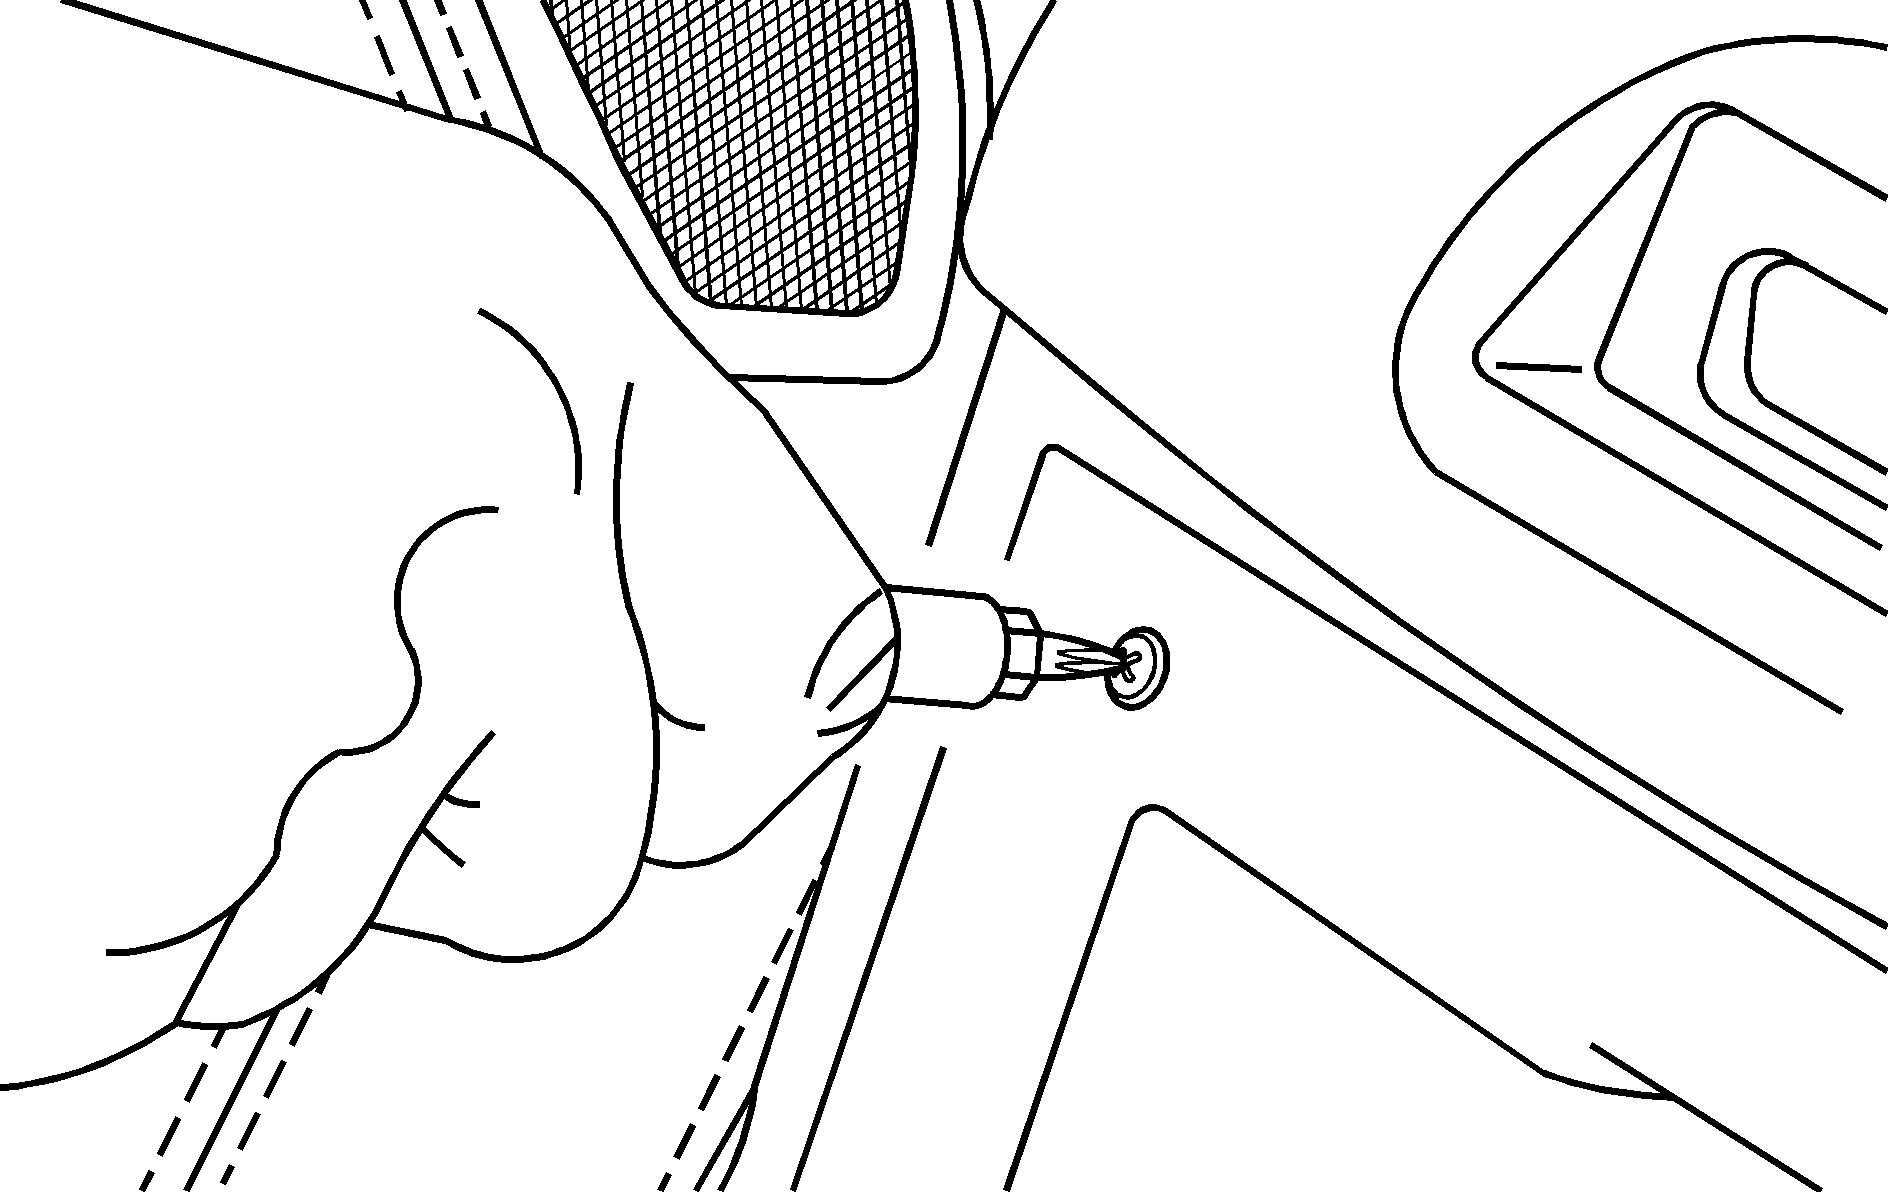
- Remove the upright center storage compartment. Use the wrench to remove the four screws holding the storage area in place.
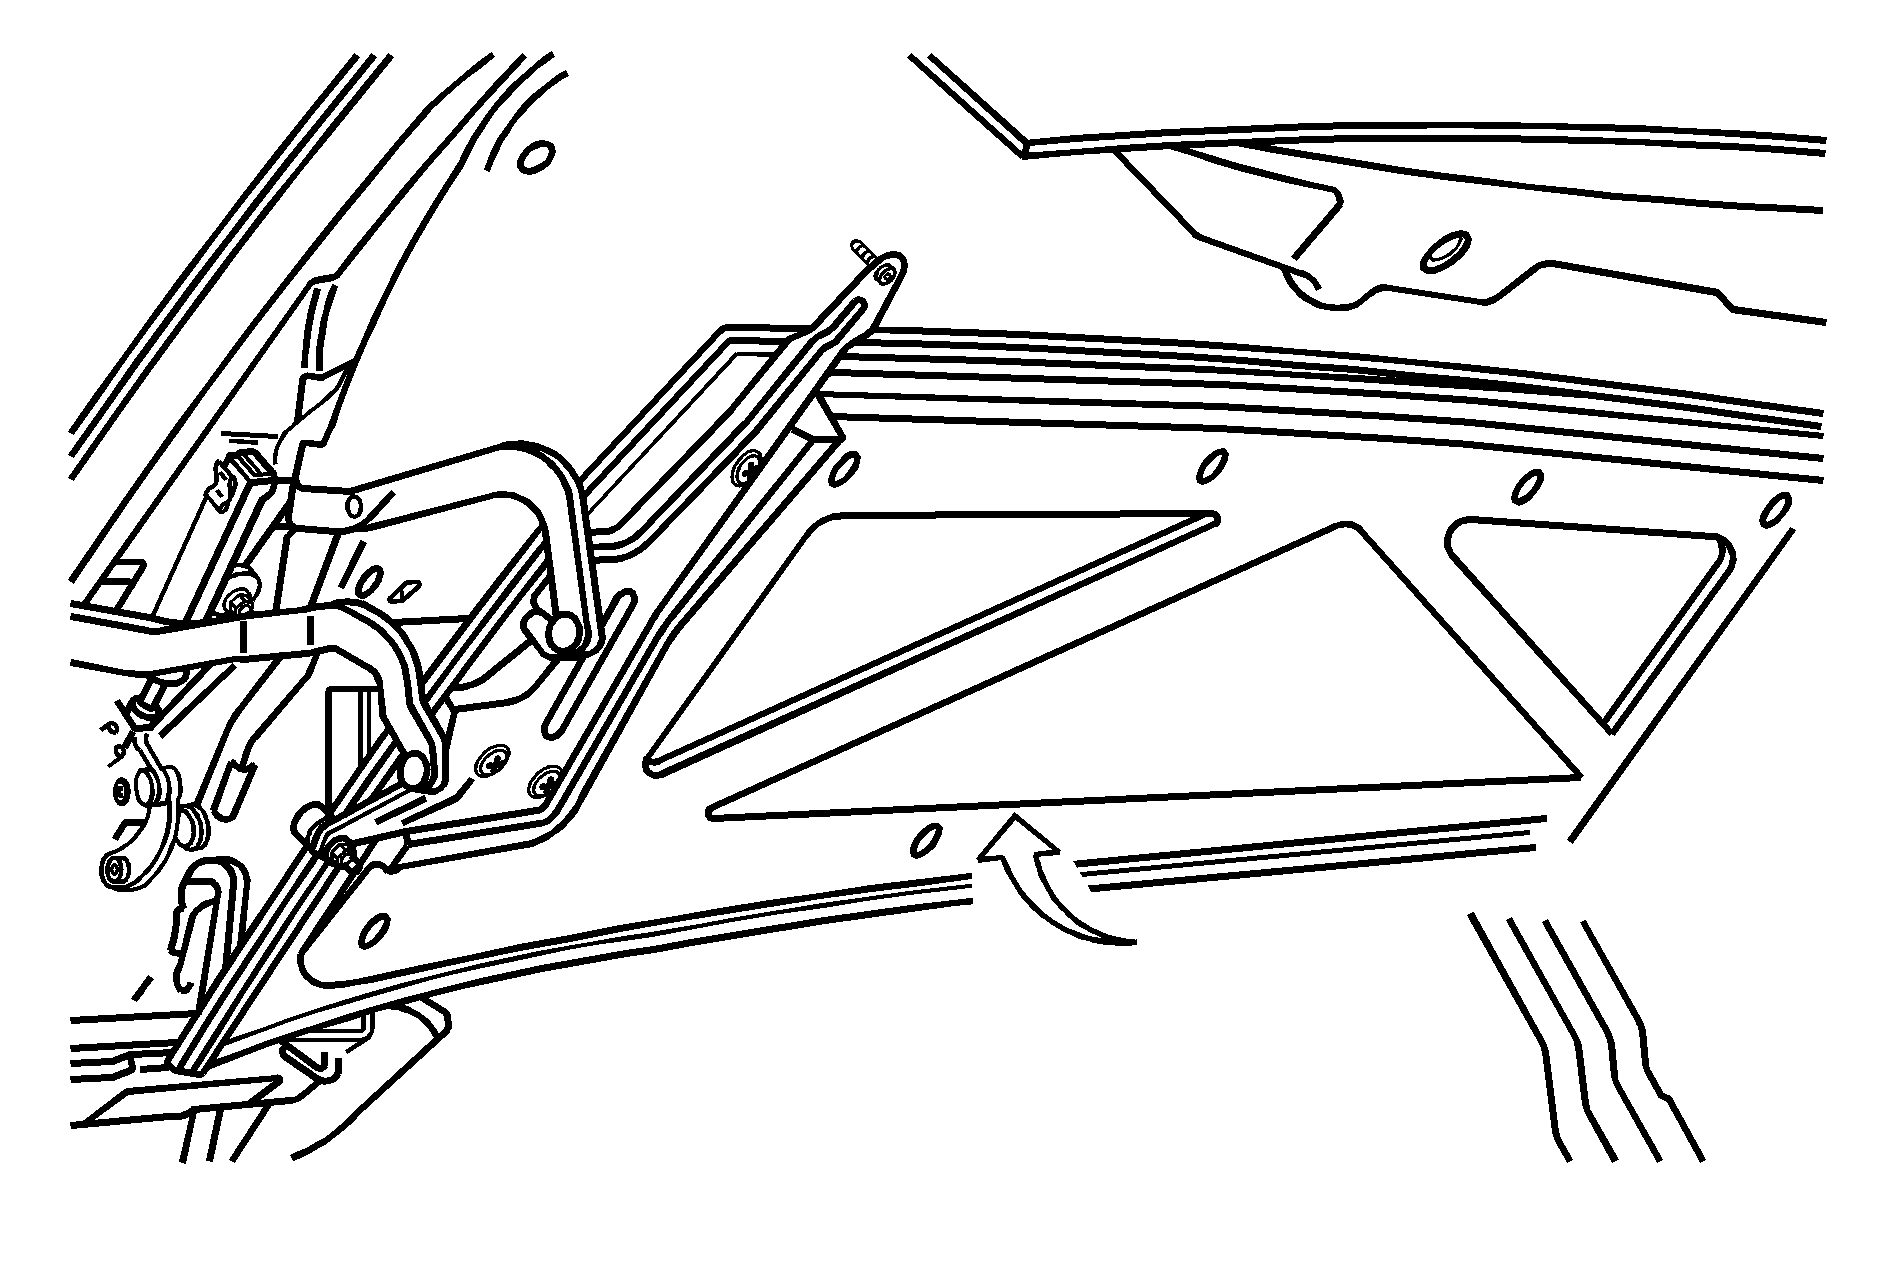
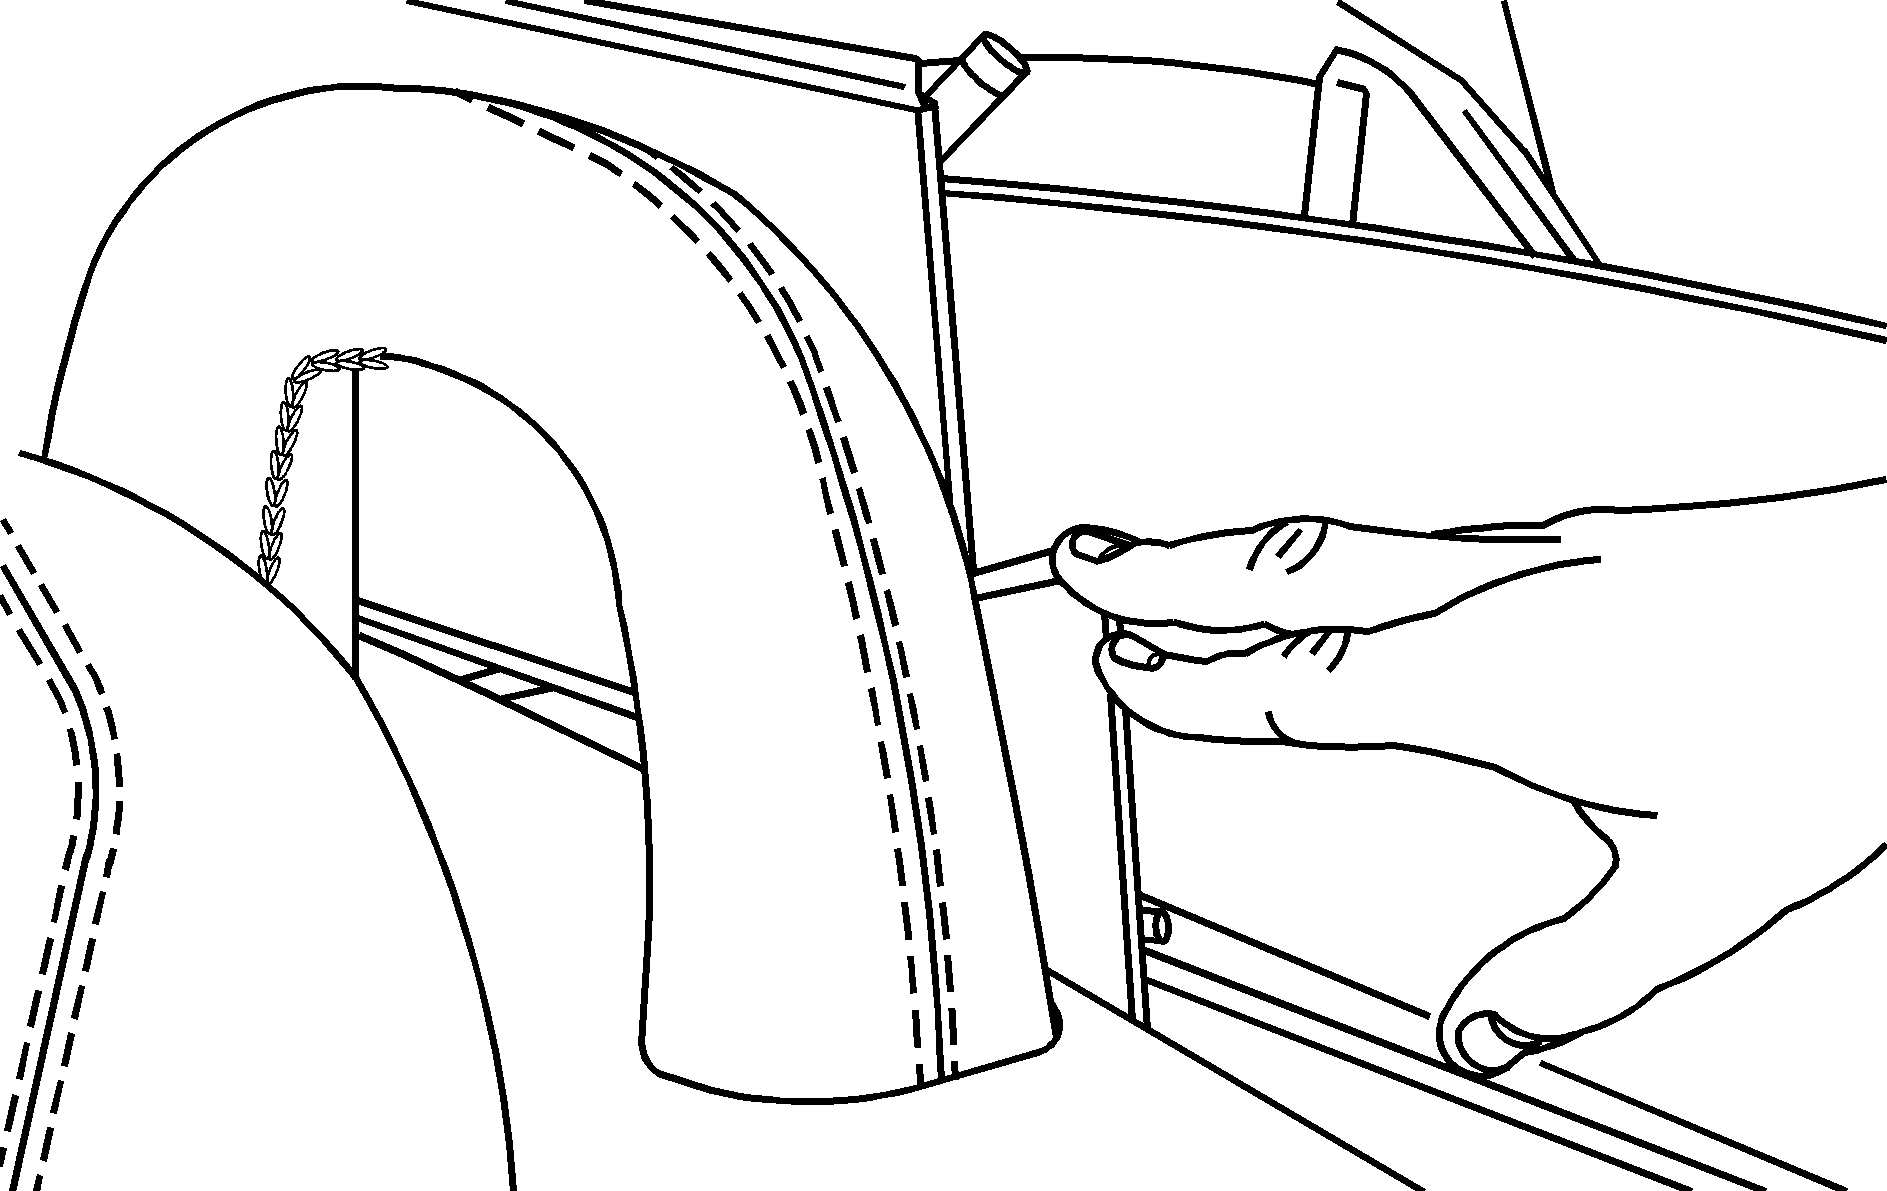
- Reach behind the square hole and push the front tonneau over-center link up. The front tonneau should pull up easily. If it does not, push the over-center link up more.
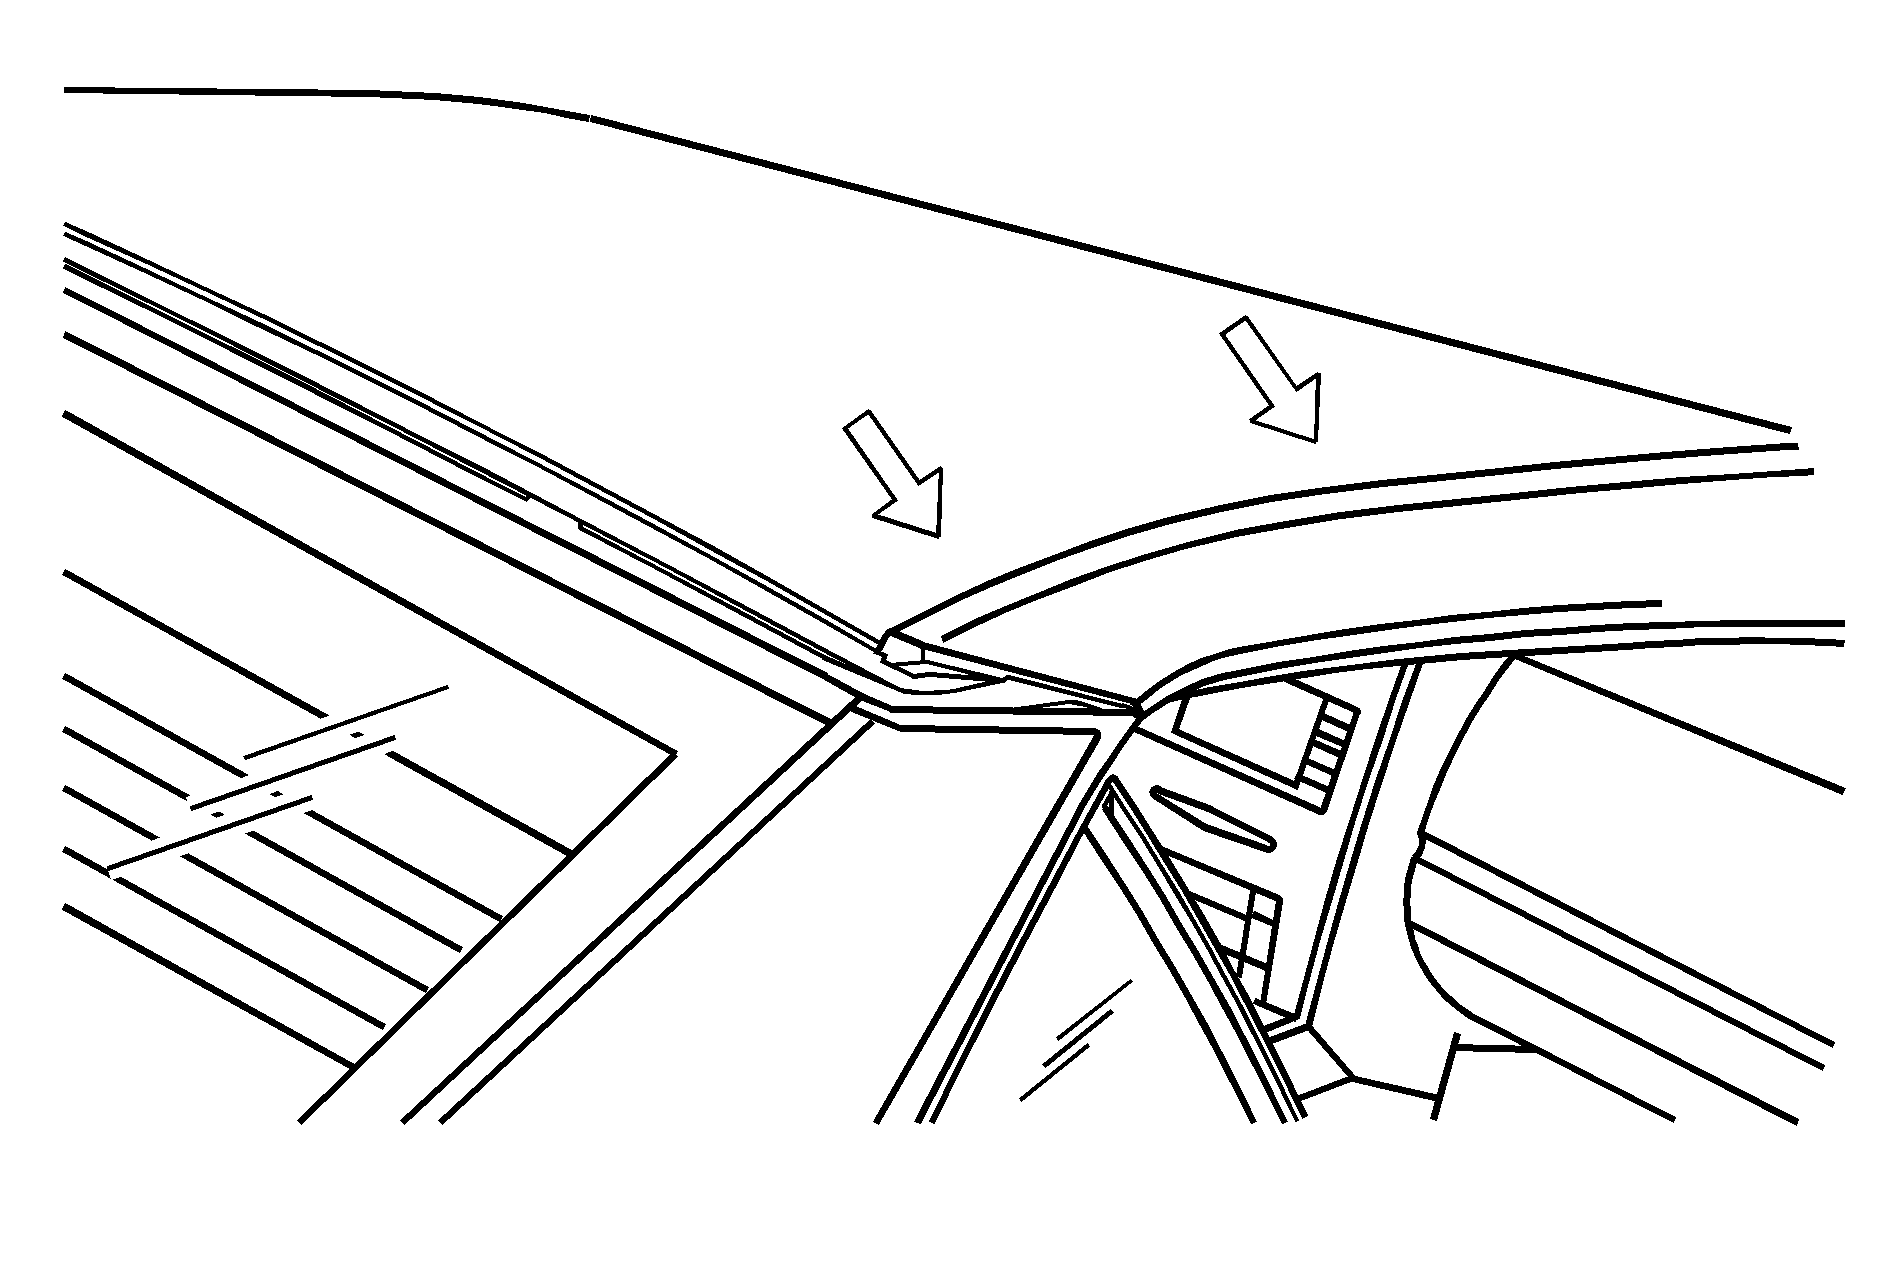
- Manually move the front tonneau to the open position. Once the front tonneau is open, fold the side wings by gently pressing them in. Do not force the wings. If they are hard to move, make sure the front tonneau is open all the way.
- Reach in from the side of the vehicle and under the top to remove the headliner plug. The plug will be located in the center of the top near the front.
- Insert the wrench into the bolt beneath the plug location. Turn the wrench about one-quarter turn counterclockwise until it stops while gently pulling up on the center of the top to release it.
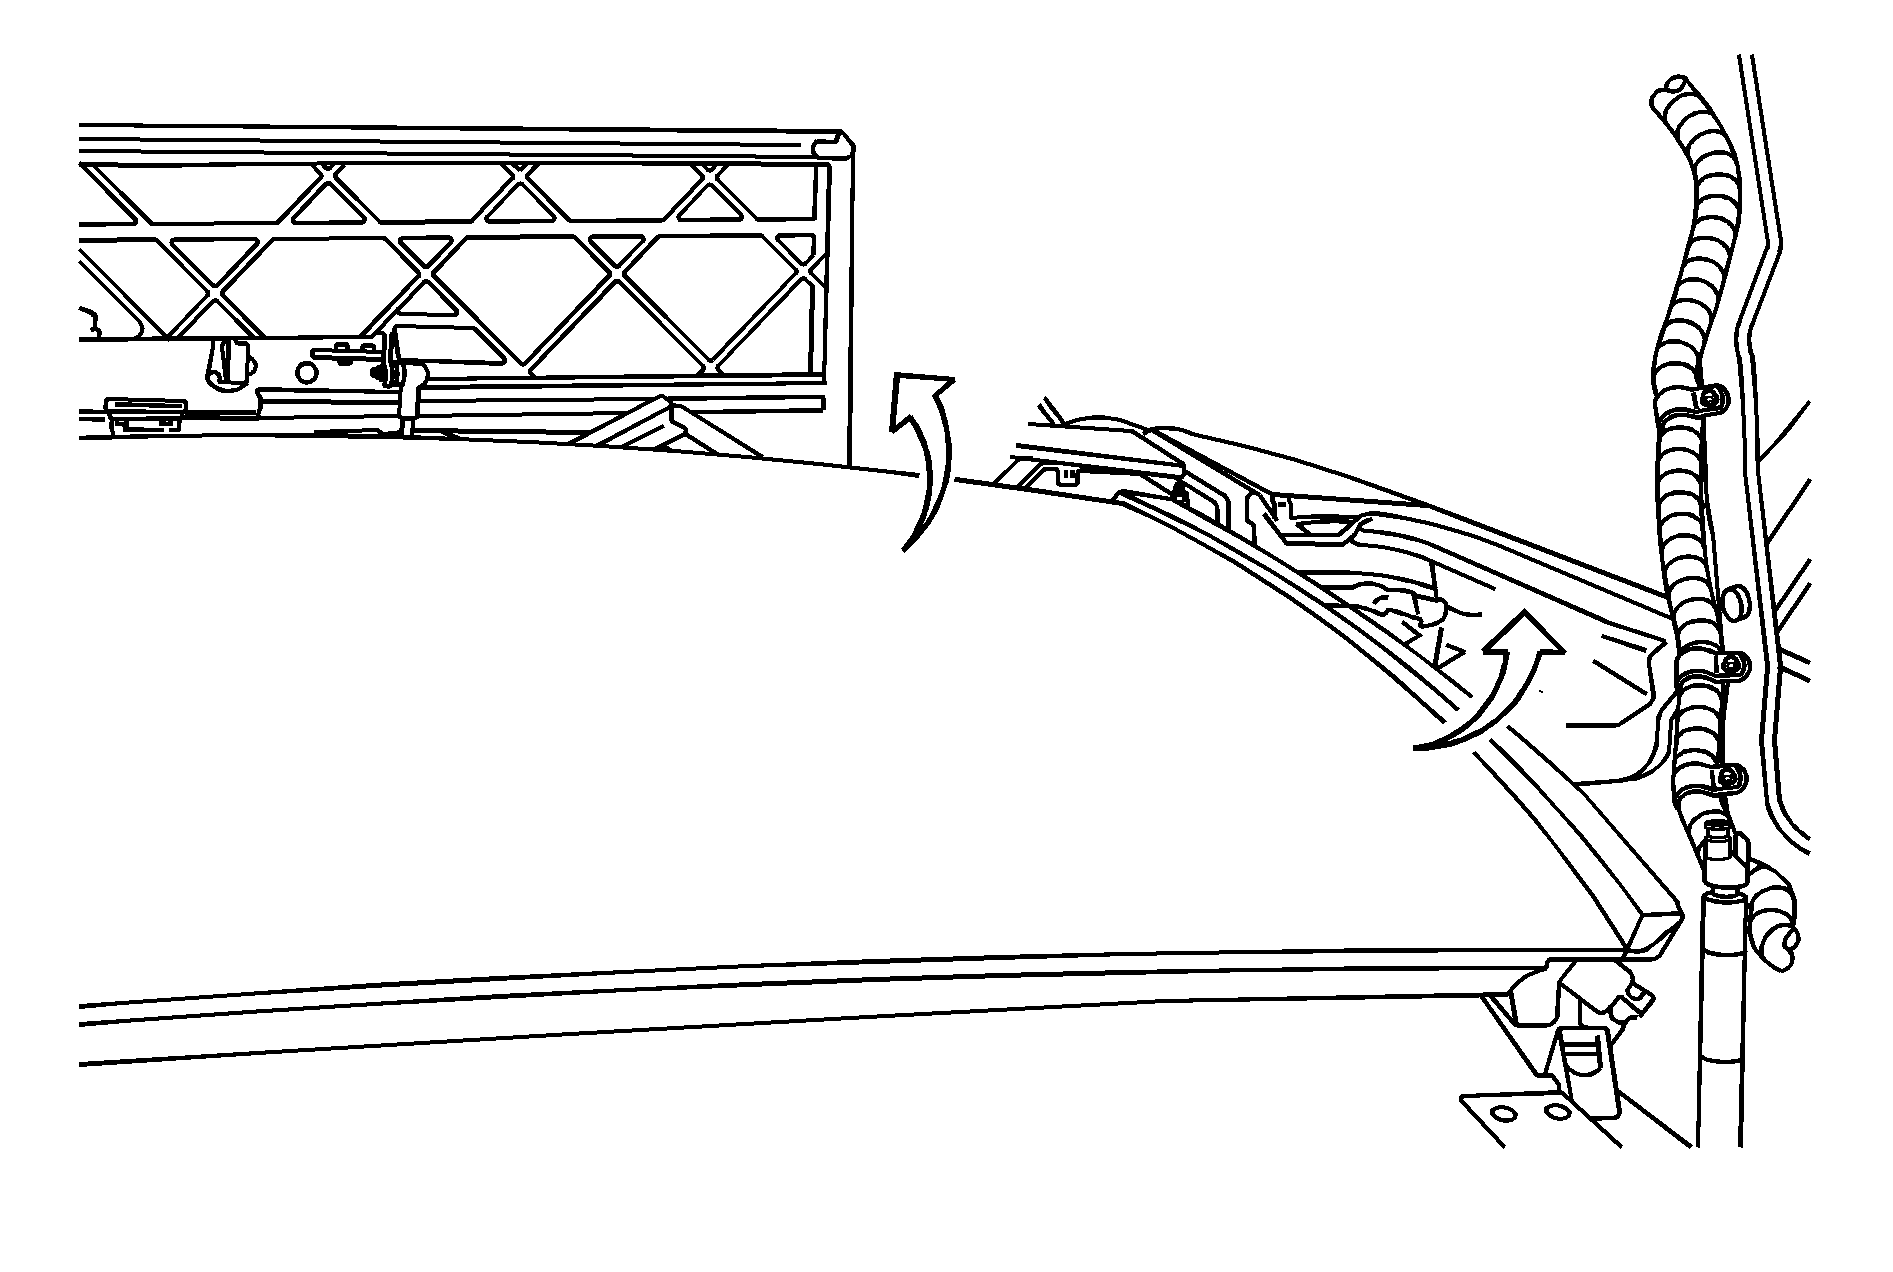
- Hold the top in the front and side and lift the top out of the stored position.
- Hold the top in the front and the rear and lift the top until it is almost closed. Be careful not to pinch your fingers between the rear of the top and the rear window.
- Place your hands on the top and guide the top into the closed position.
- While sitting in the driver seat, pull down on the rear of the top.
- Pull down on the roof with the latch turned open. Turn the wrench clockwise until it stops to lock the top into position. Push up on the roof. If it moves away from the windshield header it is not latched and you will need to repeat the previous steps.
- From outside the vehicle, push down on both rear corners of the top to make sure it is completely locked into place.
- From inside the vehicle, reach behind the headrest and gently pull the wings out a small amount. Then, fold the front tonneau to the closed position.
- Manually close the trunk.
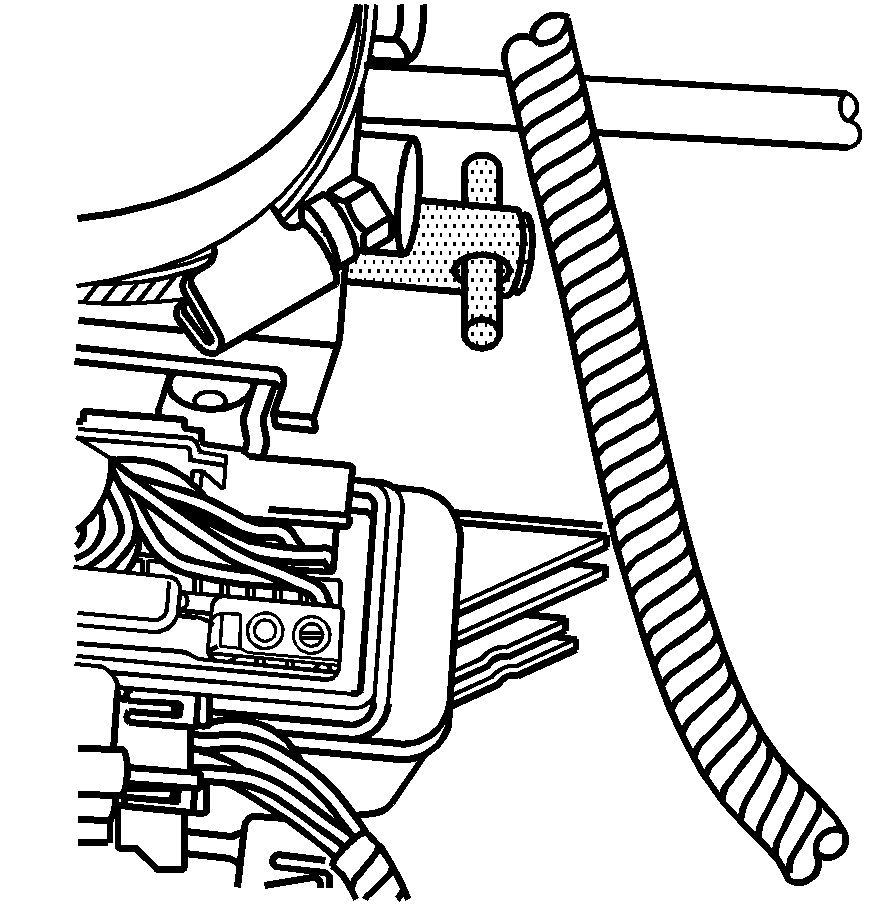
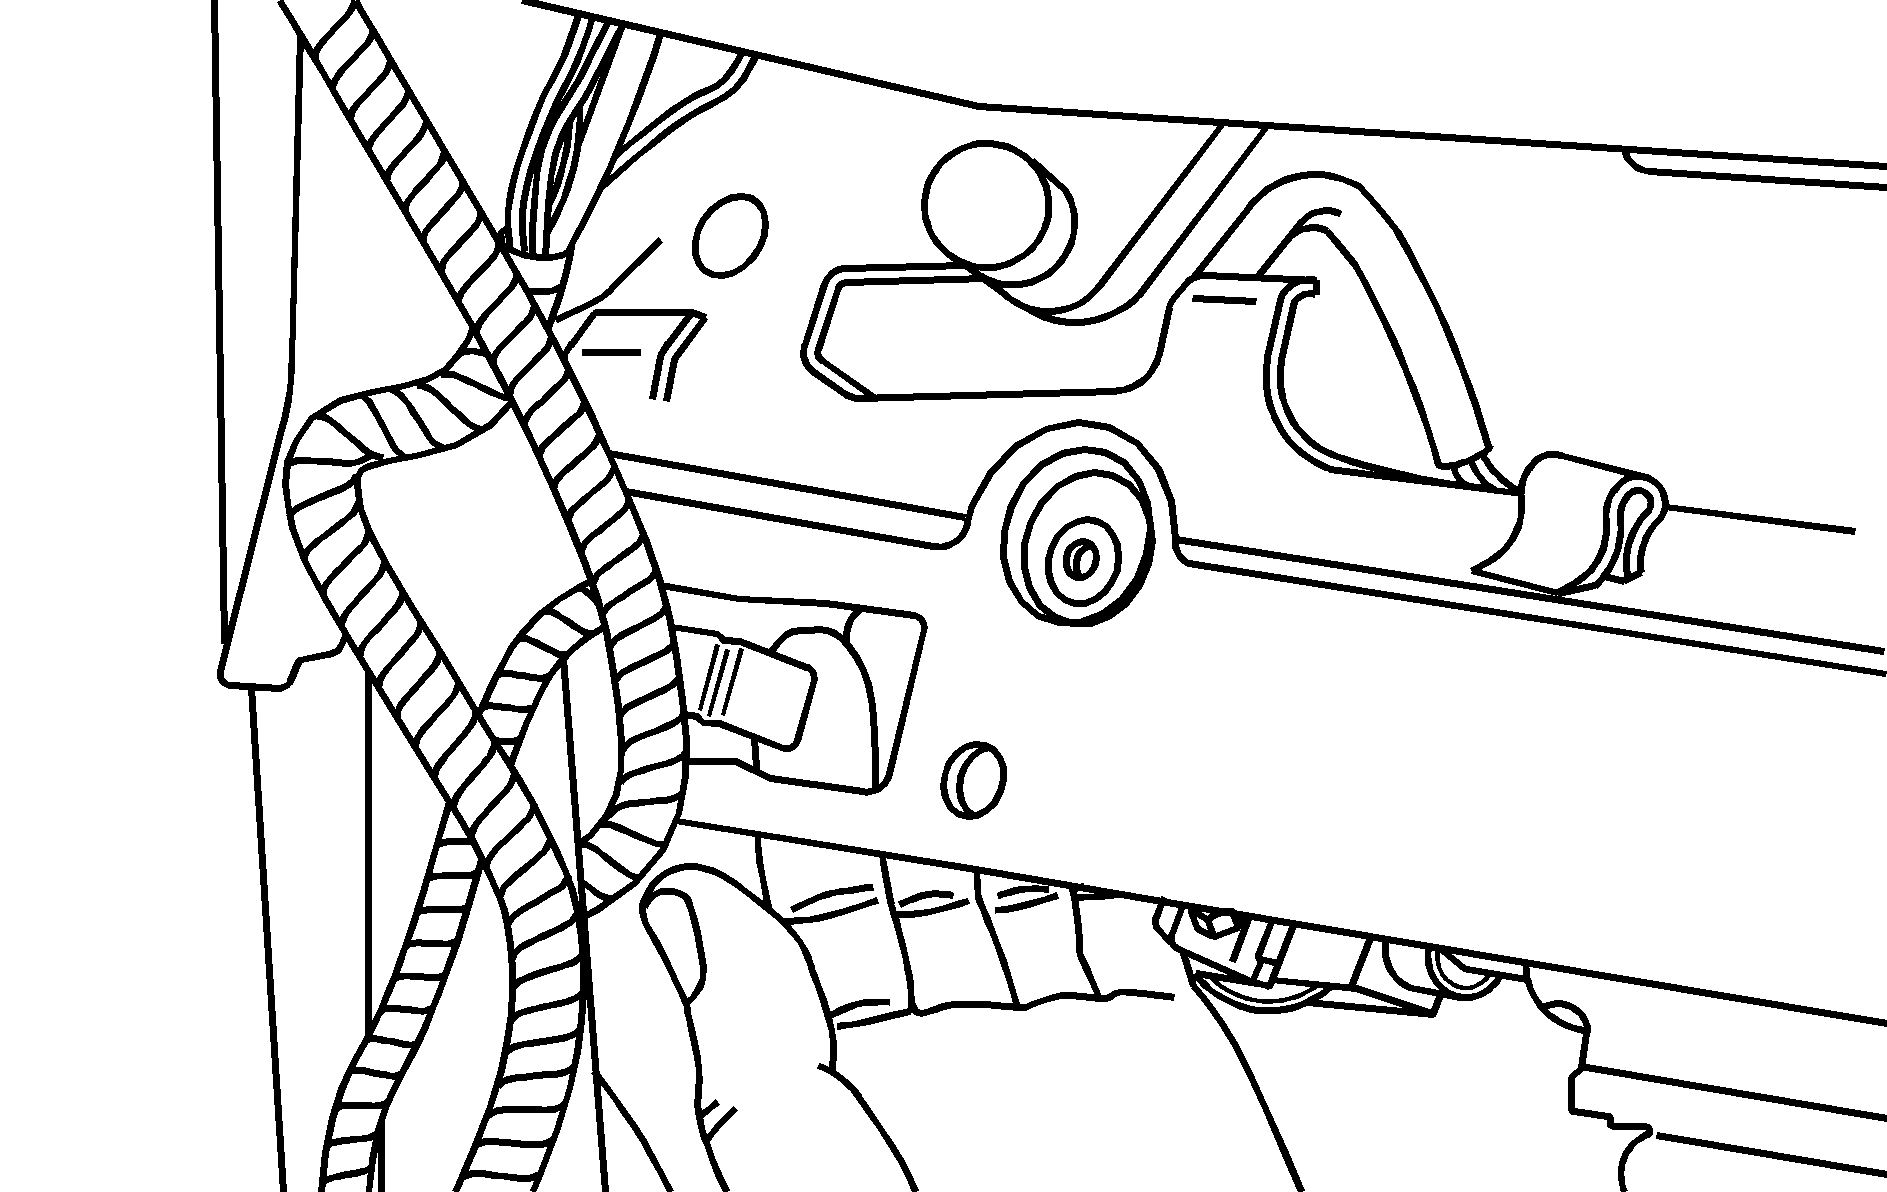
Find the hydraulic pump under the carpet on the rear driver side of the trunk. Open the valve by turning it counterclockwise with your hand until it stops.
Notice: Pressing the retractable hardtop button when the hydraulic pump valve is open could damage the pump. Always close the hydraulic pump valve after the retractable hardtop has been closed manually.
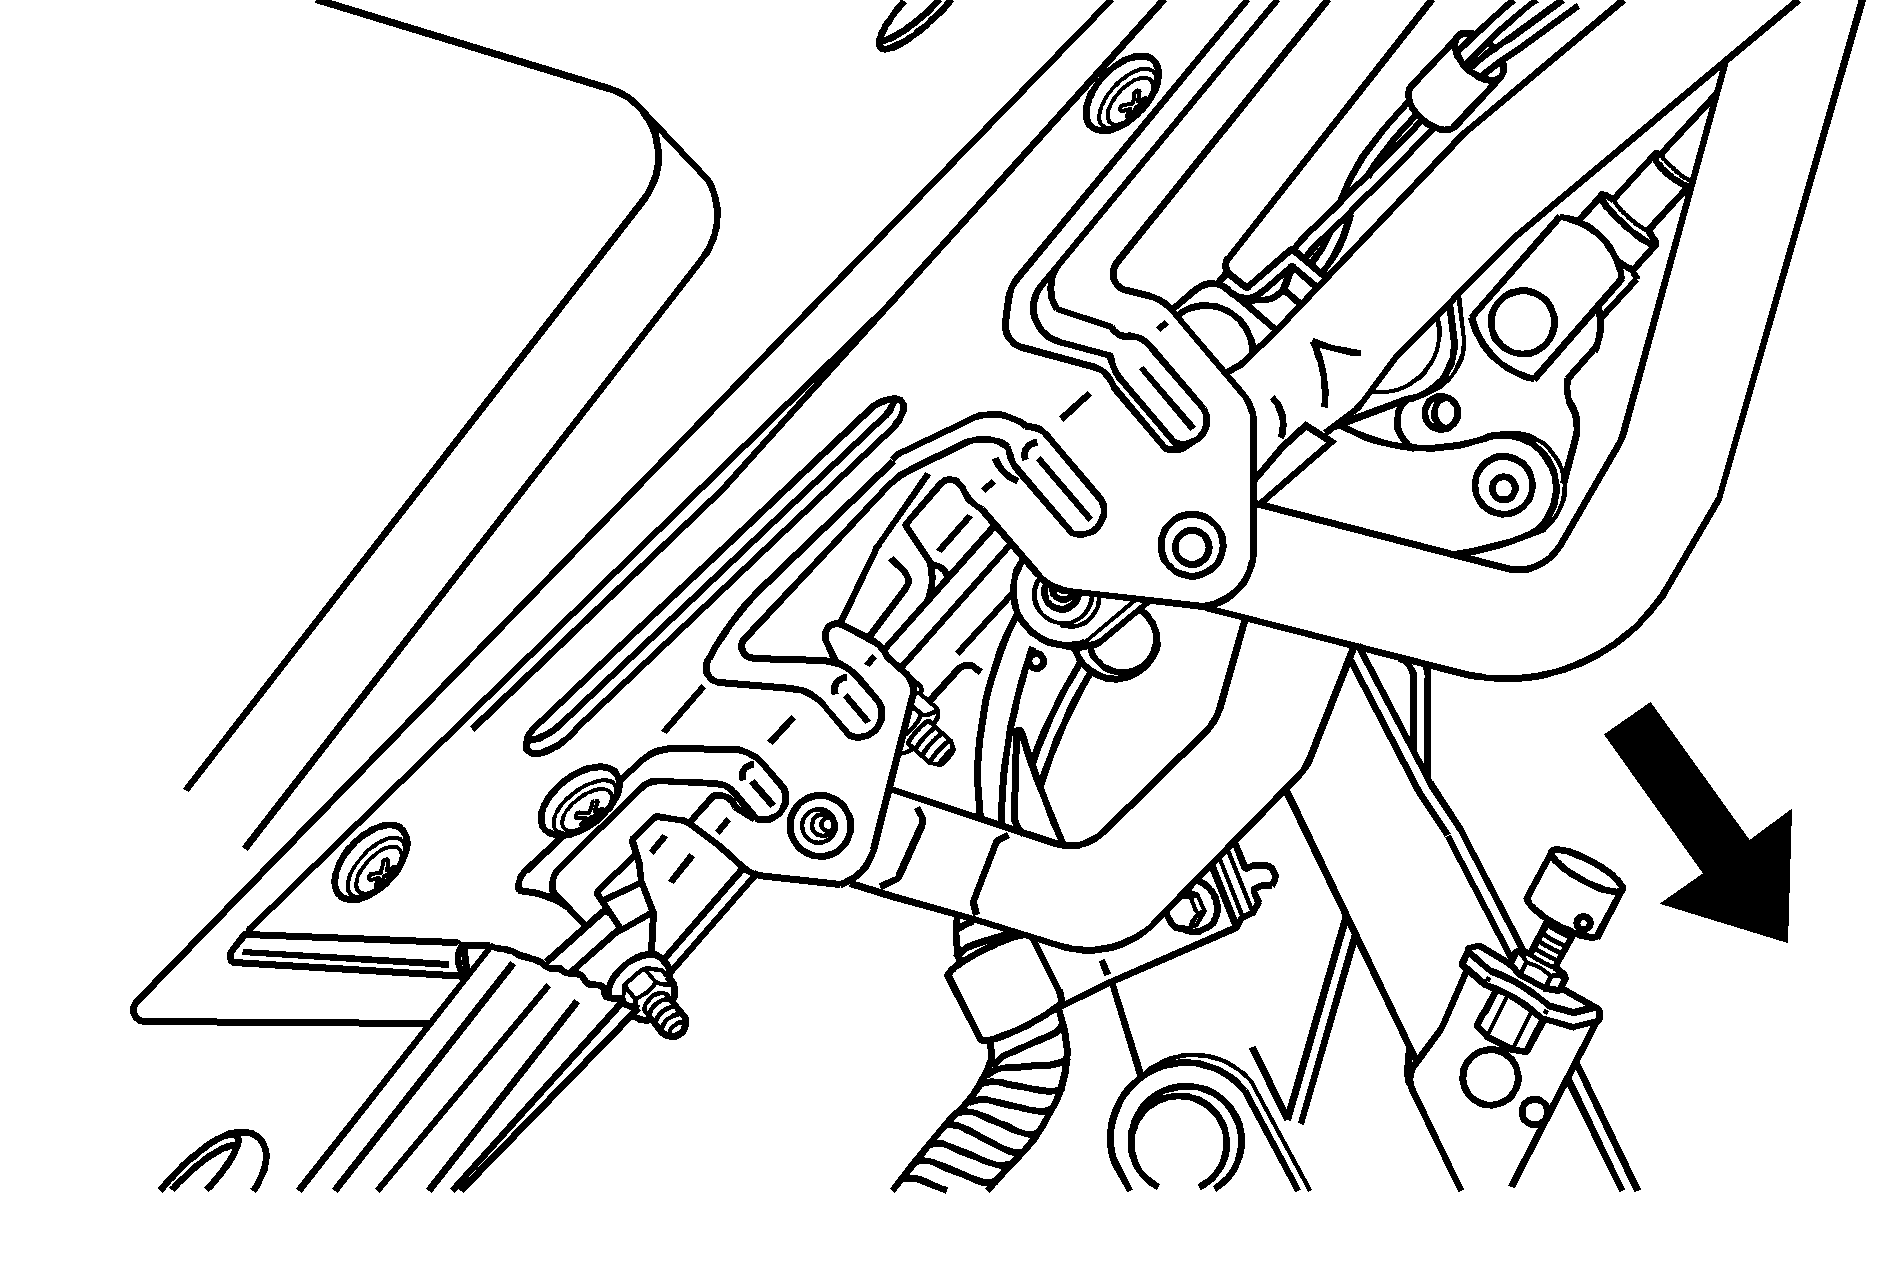
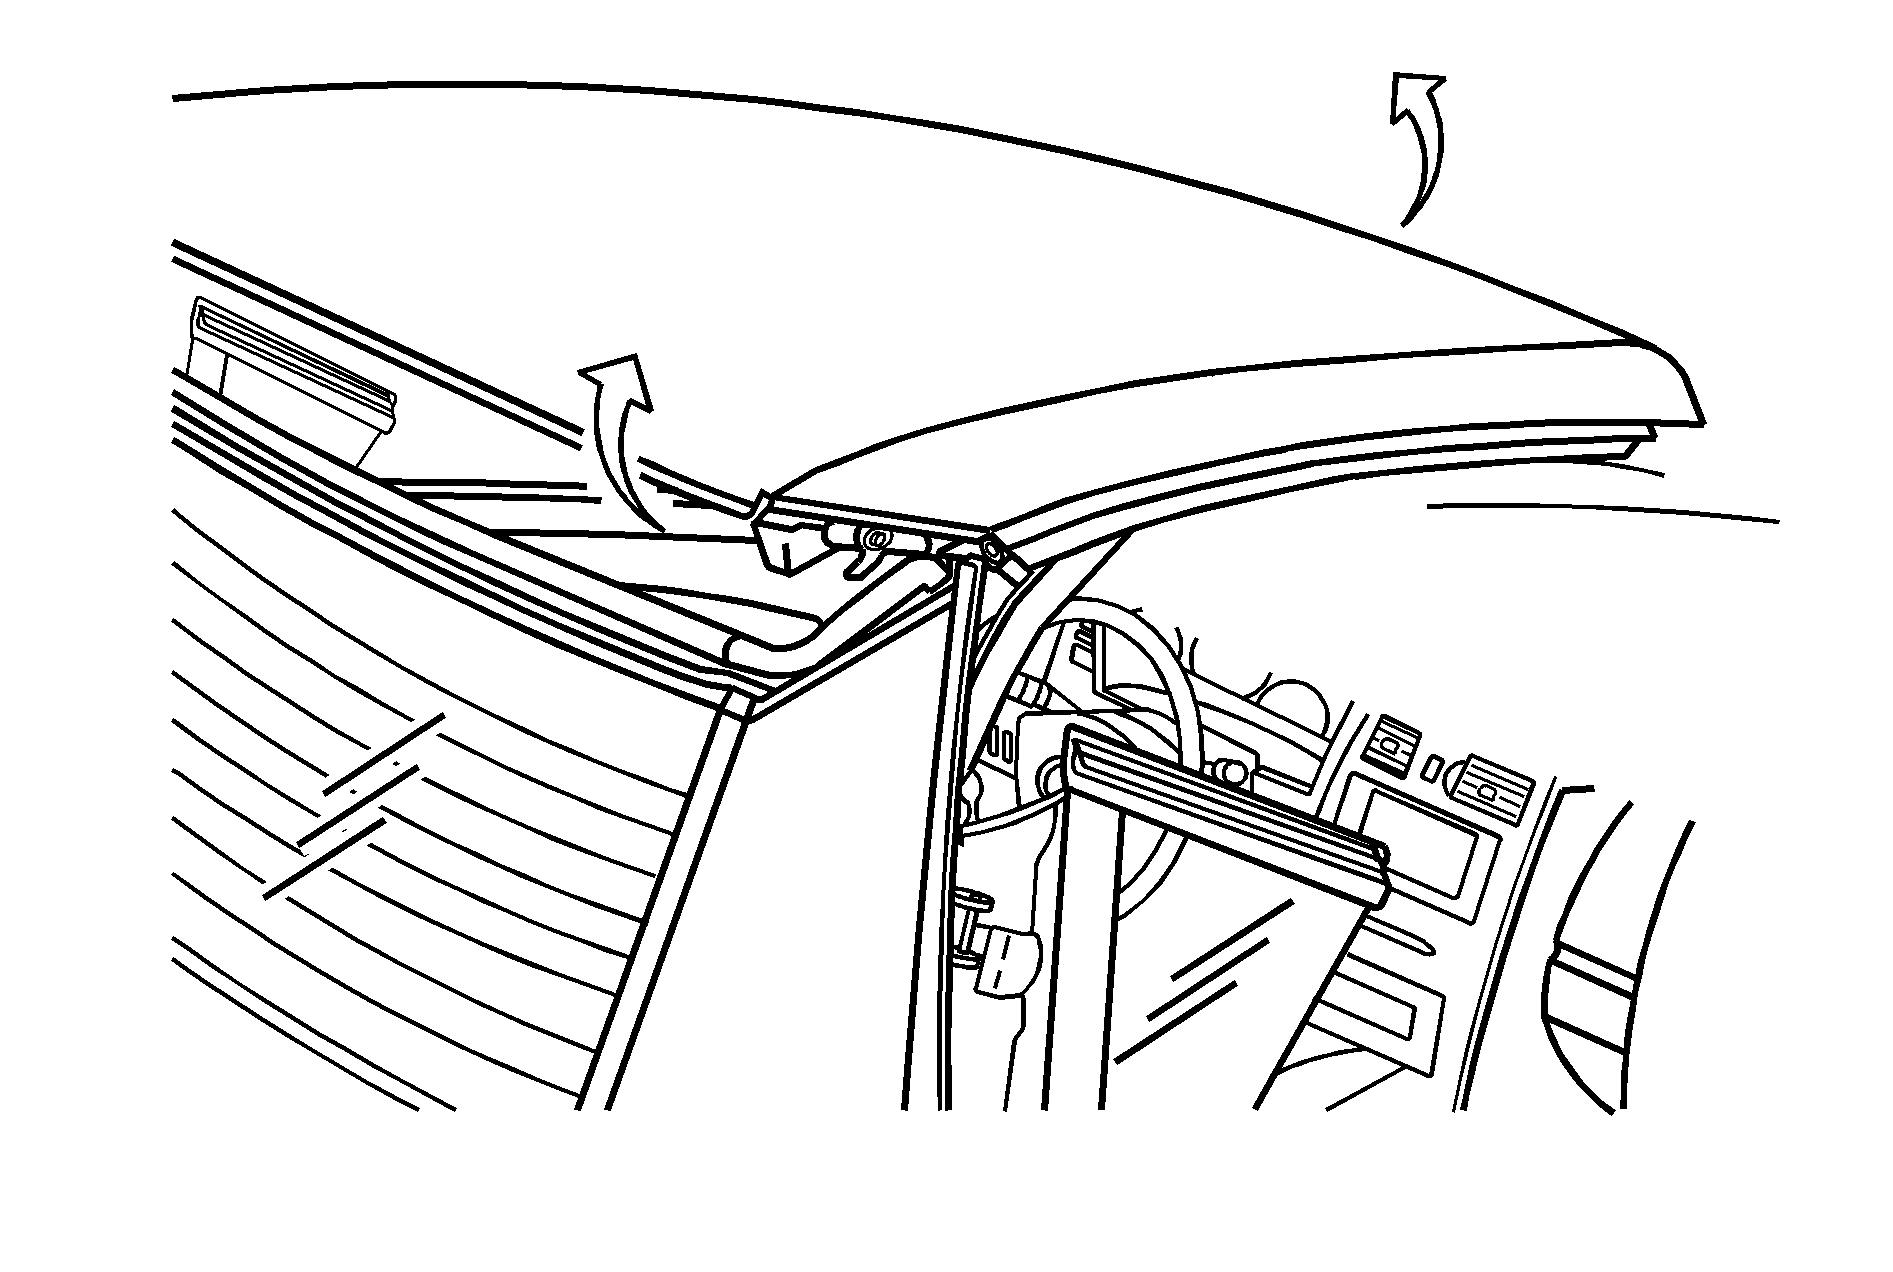
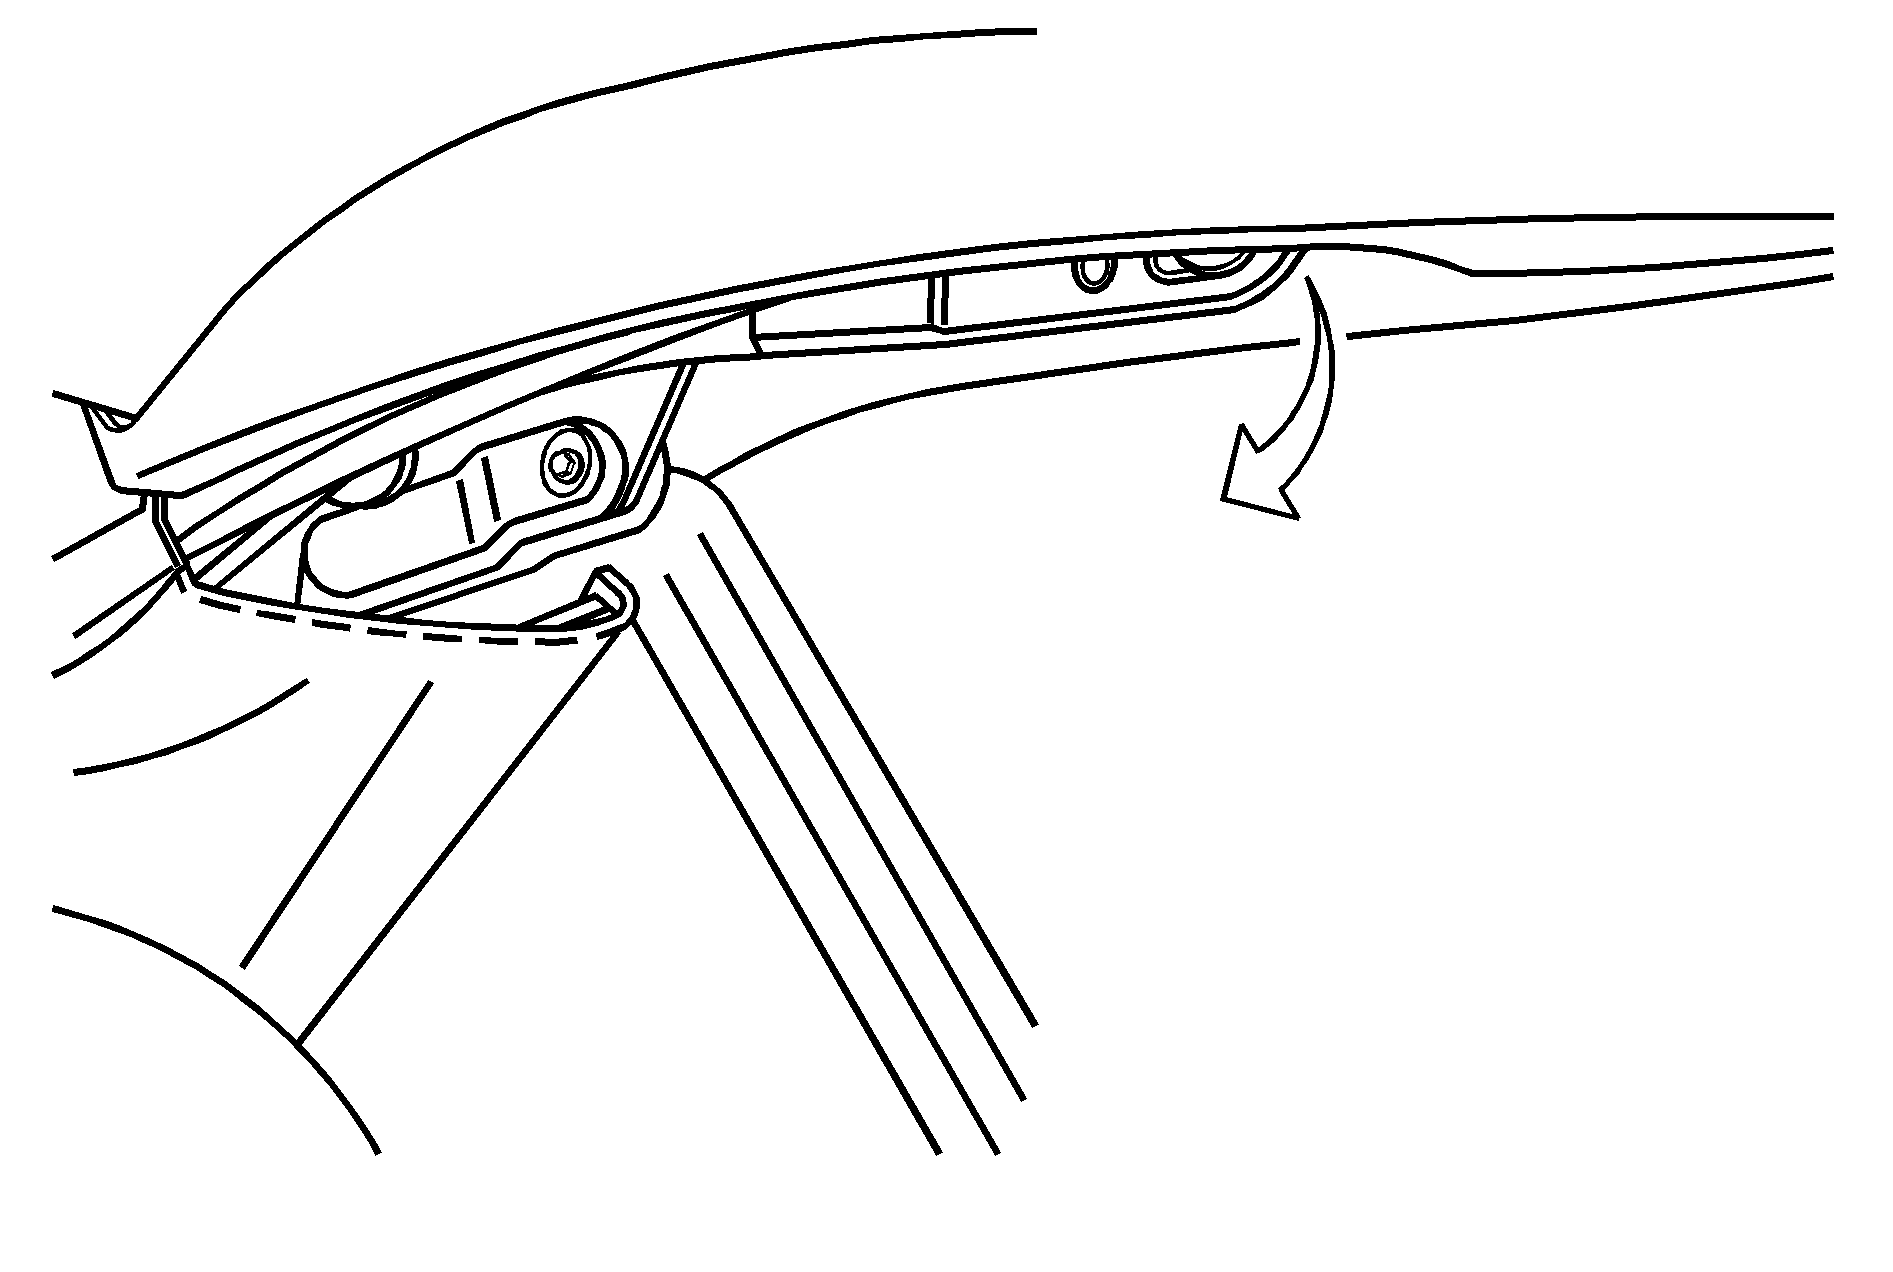
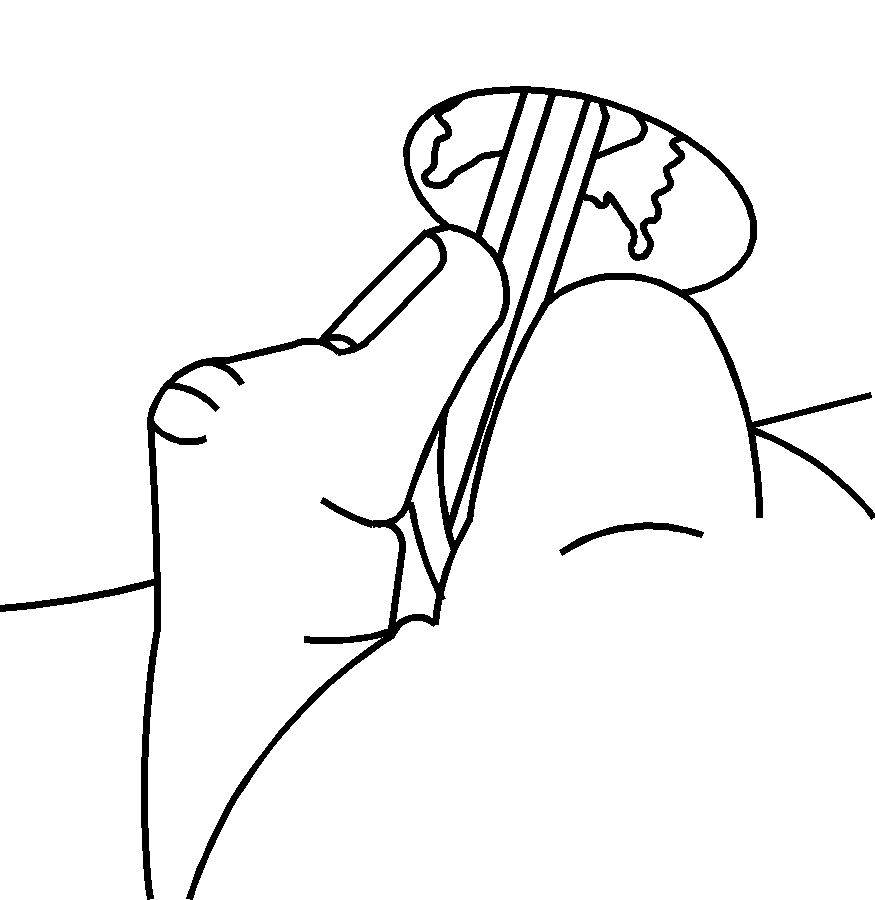
While holding the rear of the top down, insert the wrench into the bolt in the plug opening in the headliner.
Turn the wrench counterclockwise until it stops to fully open the latch jaws around the pins.
