For 1990-2009 cars only
Tools Required
J 37088-A Fuel Line Disconnect Tool
Removal Procedure
- Remove the driveline support assembly. Refer to Driveline Support Assembly Replacement .
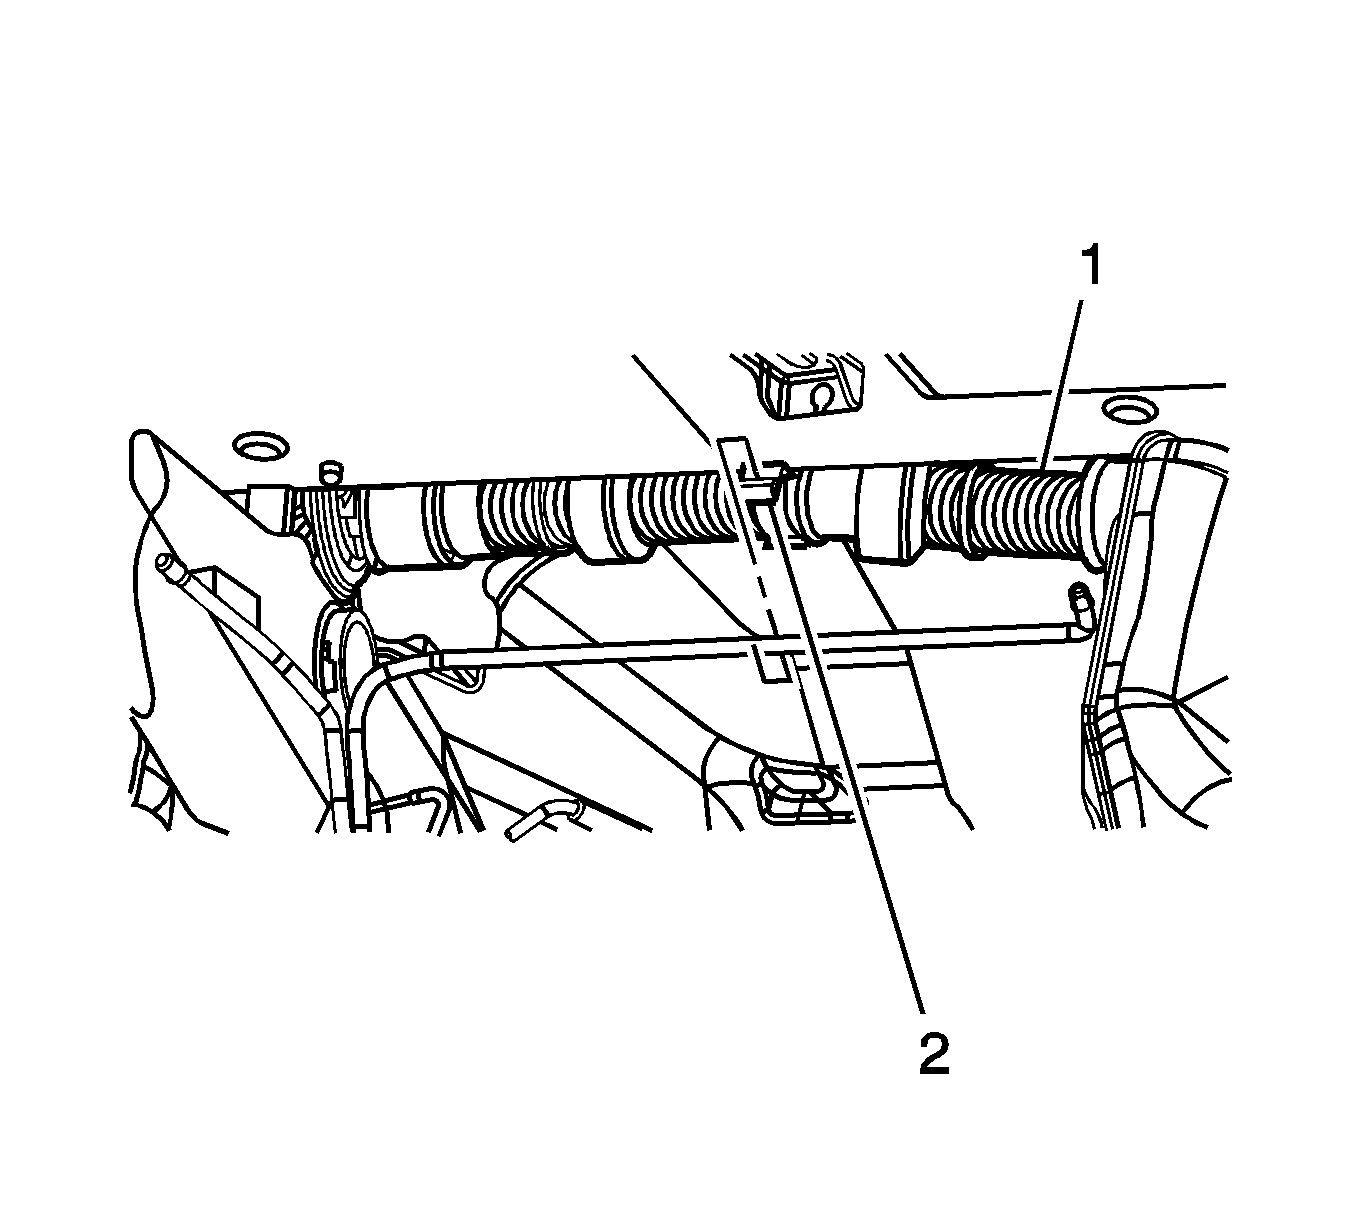
- Remove the crossover tube (1) from the clamp (2) located above the transmission.
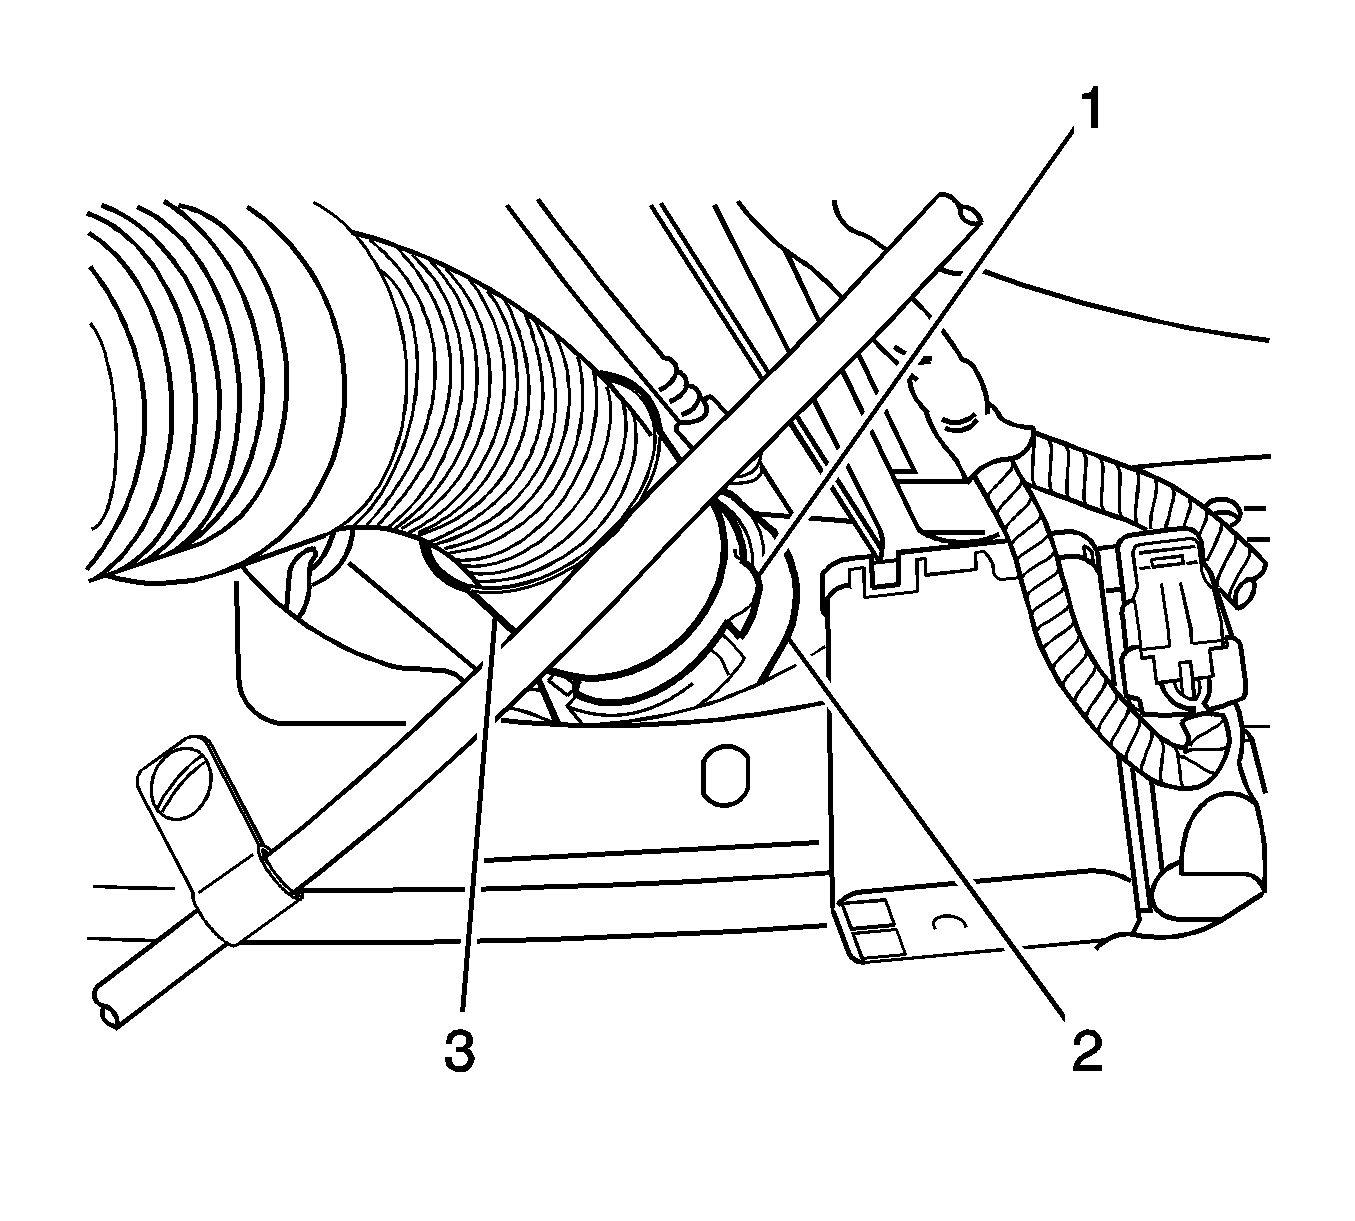
- Disengage the left crossover tube connector position assurance (CPA) retainer by pulling the tab (1) outward and rotate.
- Rotate crossover tube collar (3) counterclockwise to disengage.
- Disconnect the crossover tube from the left fuel tank by pulling the tube straight out of the fuel tank connection.
- Repeat steps 3-5 for the right side tank.
Important: The crossover tube CPA is released when the latch disengages from the tank connection groove.
Installation Procedure
- Lubricate the right crossover tube to fuel tank connection O-rings (1-4) with P/N 1051717 rubber lubricant.
- Lubricate the crossover tube O-ring mating surfaces (1-4) with P/N 1051717 rubber lubricant.
- Connect the crossover tube to the right fuel tank using the features previously noted.
- Rotate the crossover tube collar clockwise to engage the tangs.
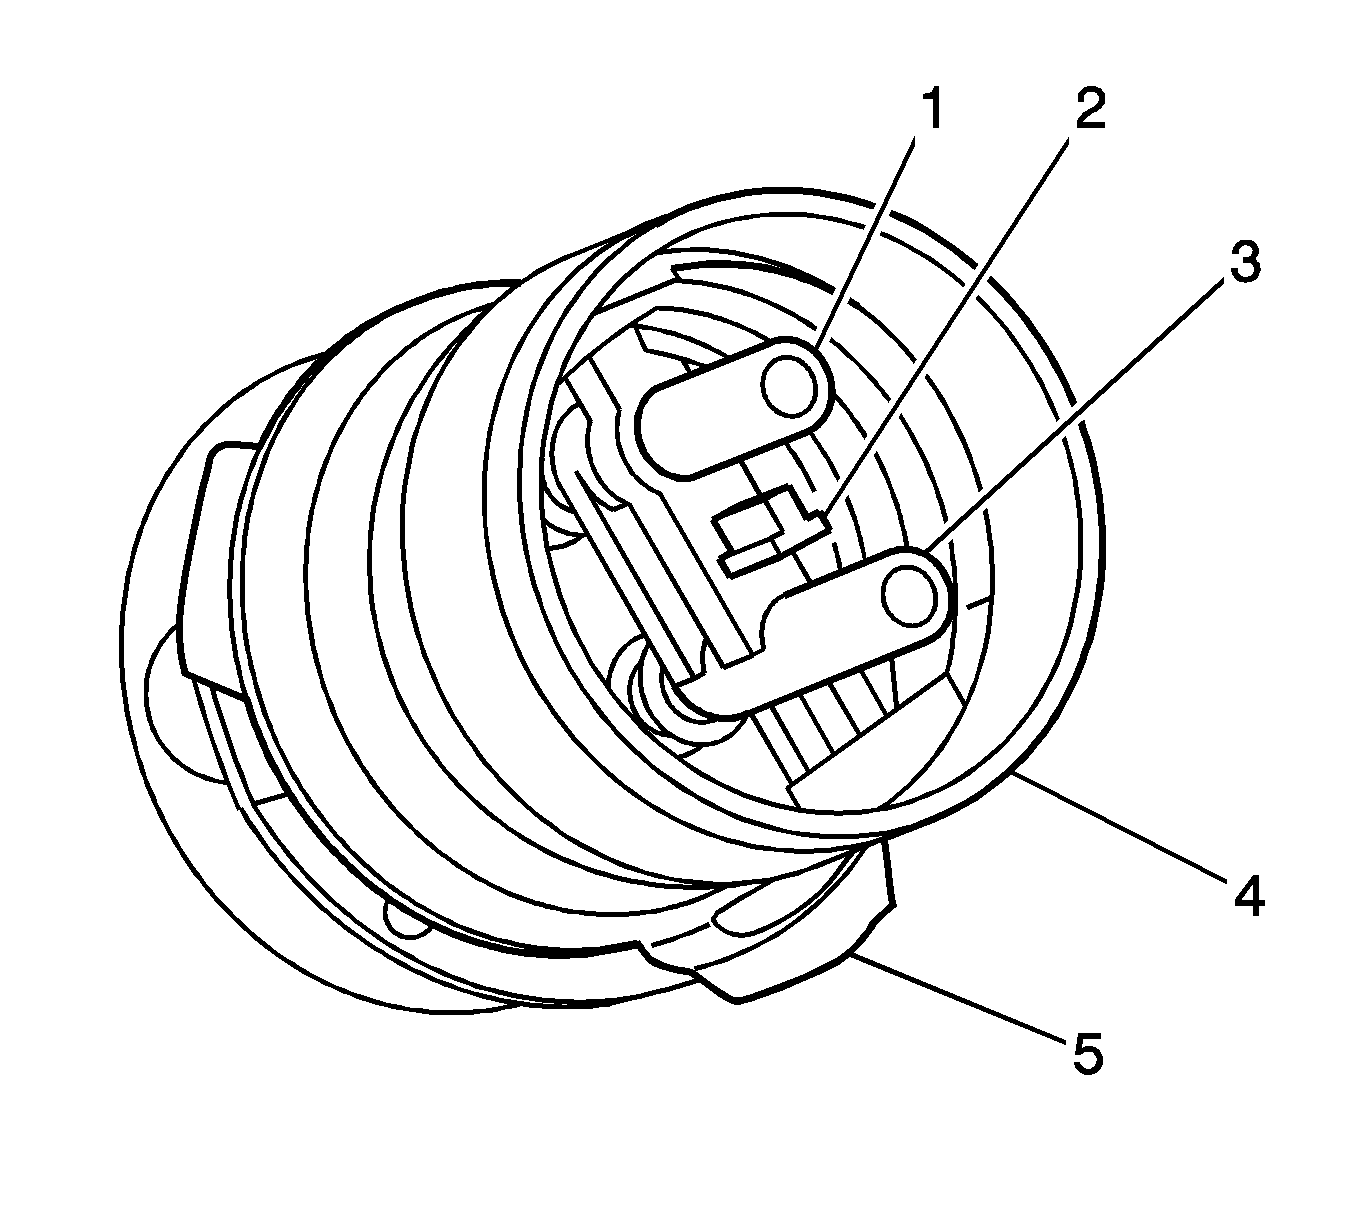
- Rotate the crossover tube CPA retainer counterclockwise past the collar latching tang and push the tab (1) into the locked position.
- Test the crossover tube to fuel tank connection by attempting to rotate the crossover tube collar counterclockwise.
- Repeat steps 1-6 for the left side fuel tank.
- Snap the crossover tube into the clamp located above the transmission.
- Install the driveline support assembly. Refer to Driveline Support Assembly Replacement .
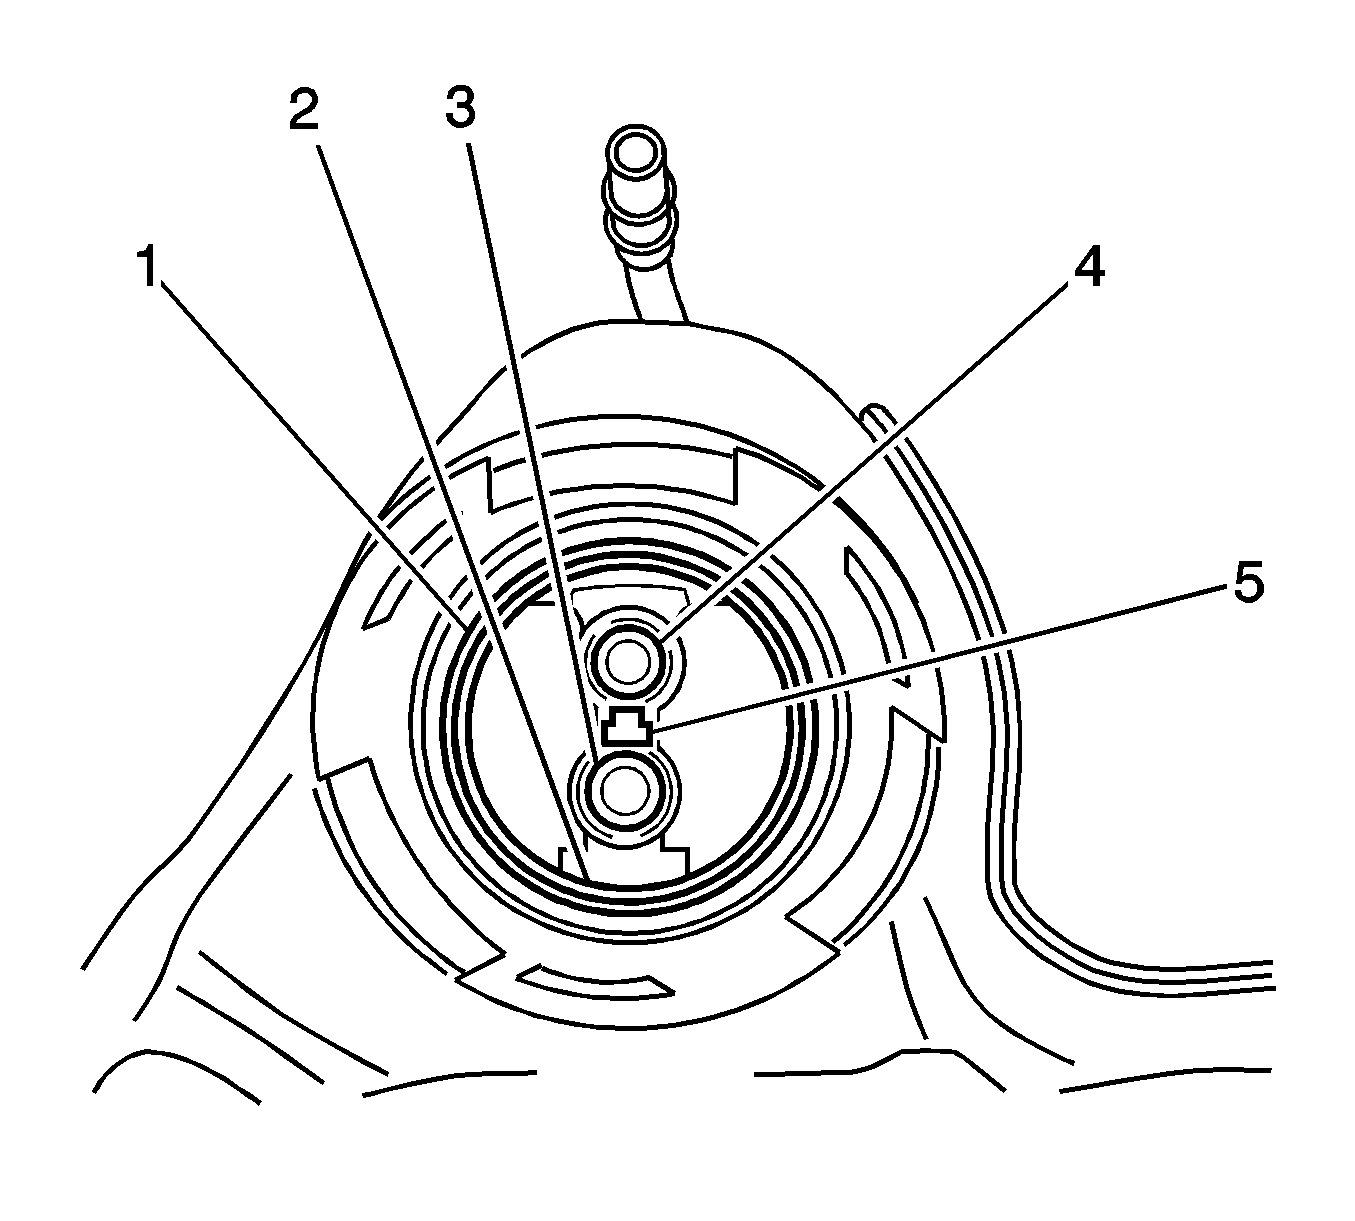
Important: Note the location of the T-shaped alignment feature (5) between the jet pump feed/return pipes connector.
Important:
• Note the T-shaped alignment feature (2) on the crossover tube. • The crossover tube will not fully seat into the fuel tank if the jet pump lines are misaligned.

Important: The crossover tube collar tangs will not latch if misalignment exists.
Important: If the CPA retainer is locked into position, the crossover tube collar will not rotate.
