For 1990-2009 cars only
Tools Required
J 38778 Door Trim Pad Clip Remover
Removal Procedure
- Lower the window.
- Remove the reflector lens with a trim tool.
- If the reflector lens does not come off in the previous step, insert a screwdriver into the hole at the rearward edge of the lamp housing. Holding the screwdriver, use a door trim removal tool to depress the top and bottom clip (closest to the rearward end of the housing). Refer to Step 10 for housing removal from the door trim pad.
- Turn the housing 90 degrees outward.
- Remove the one bolt behind the housing of the reflector.
- Remove the rubber closeout pad inside the bottom of the armrest wood handle.
- Remove the 2 bolts in the handle. Use needle nose pliers to remove the bolts from the trim pad after they are completely loosened.
- Insert J 38778 into the slot provided in the trim panels.
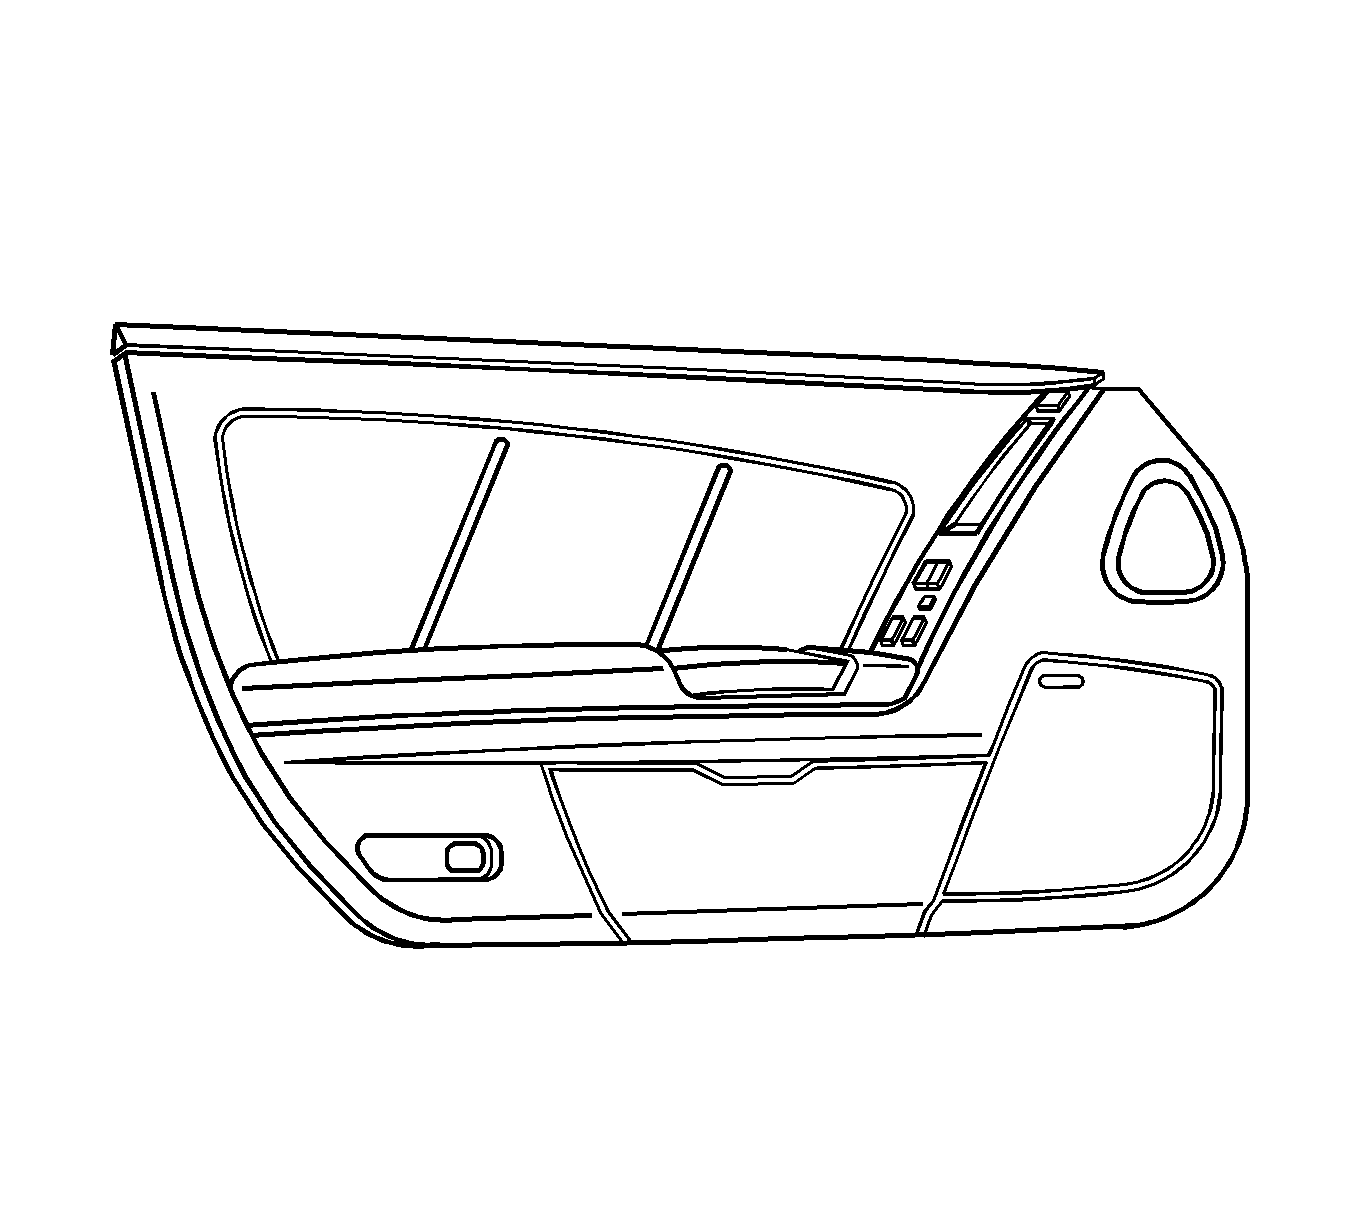
- Pry the door trim panel away from the door, moving rearward to the back of the door, then forward to the front speaker. When the panel is sufficiently loosened, grasp with both hands and lift up and towards you. The top of the door trim pad has a metal retainer that holds the door trim pad to the top of the door.
- This metal retainer has 3 downward flanges that hold it to the top of the door, as shown in illustration.
- With the door trim removed, the courtesy lamp housing can be extracted from the hole in the back of the door trim pad. Rotate the lamp over on its side and lift out of the hole.
- Disconnect the harness.
- Inspect both male and female retainer halves for damage or wear. Replace as necessary.
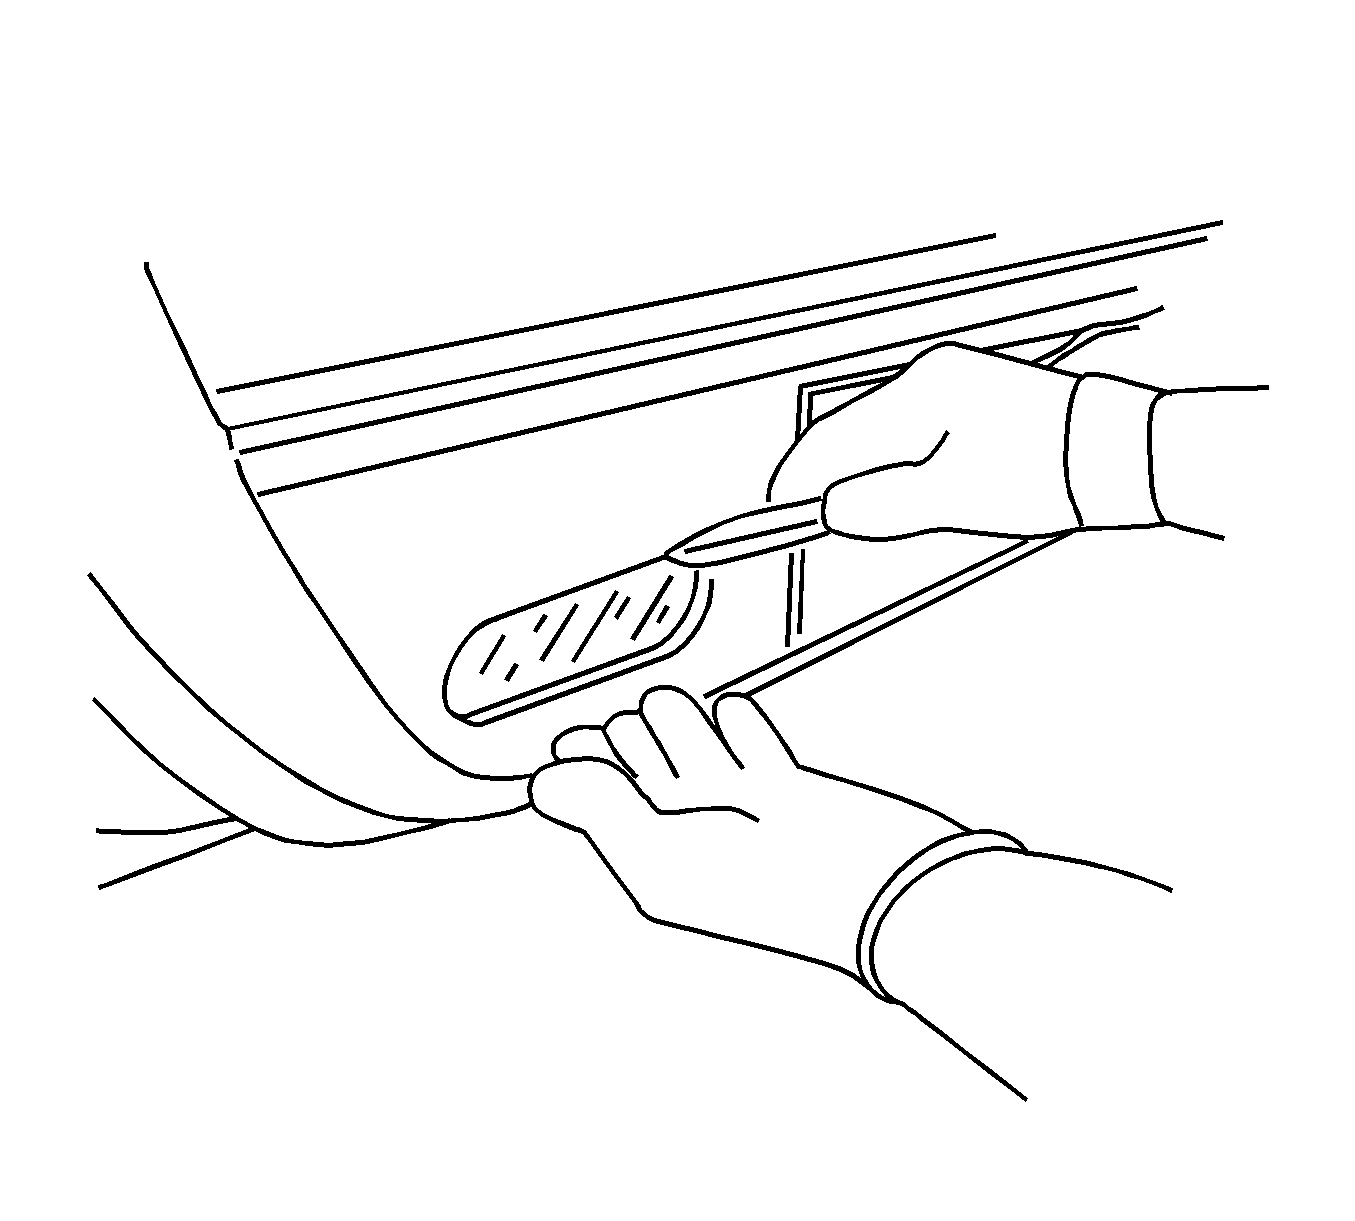
Important: Take care not to damage the door skin with the trim tool.
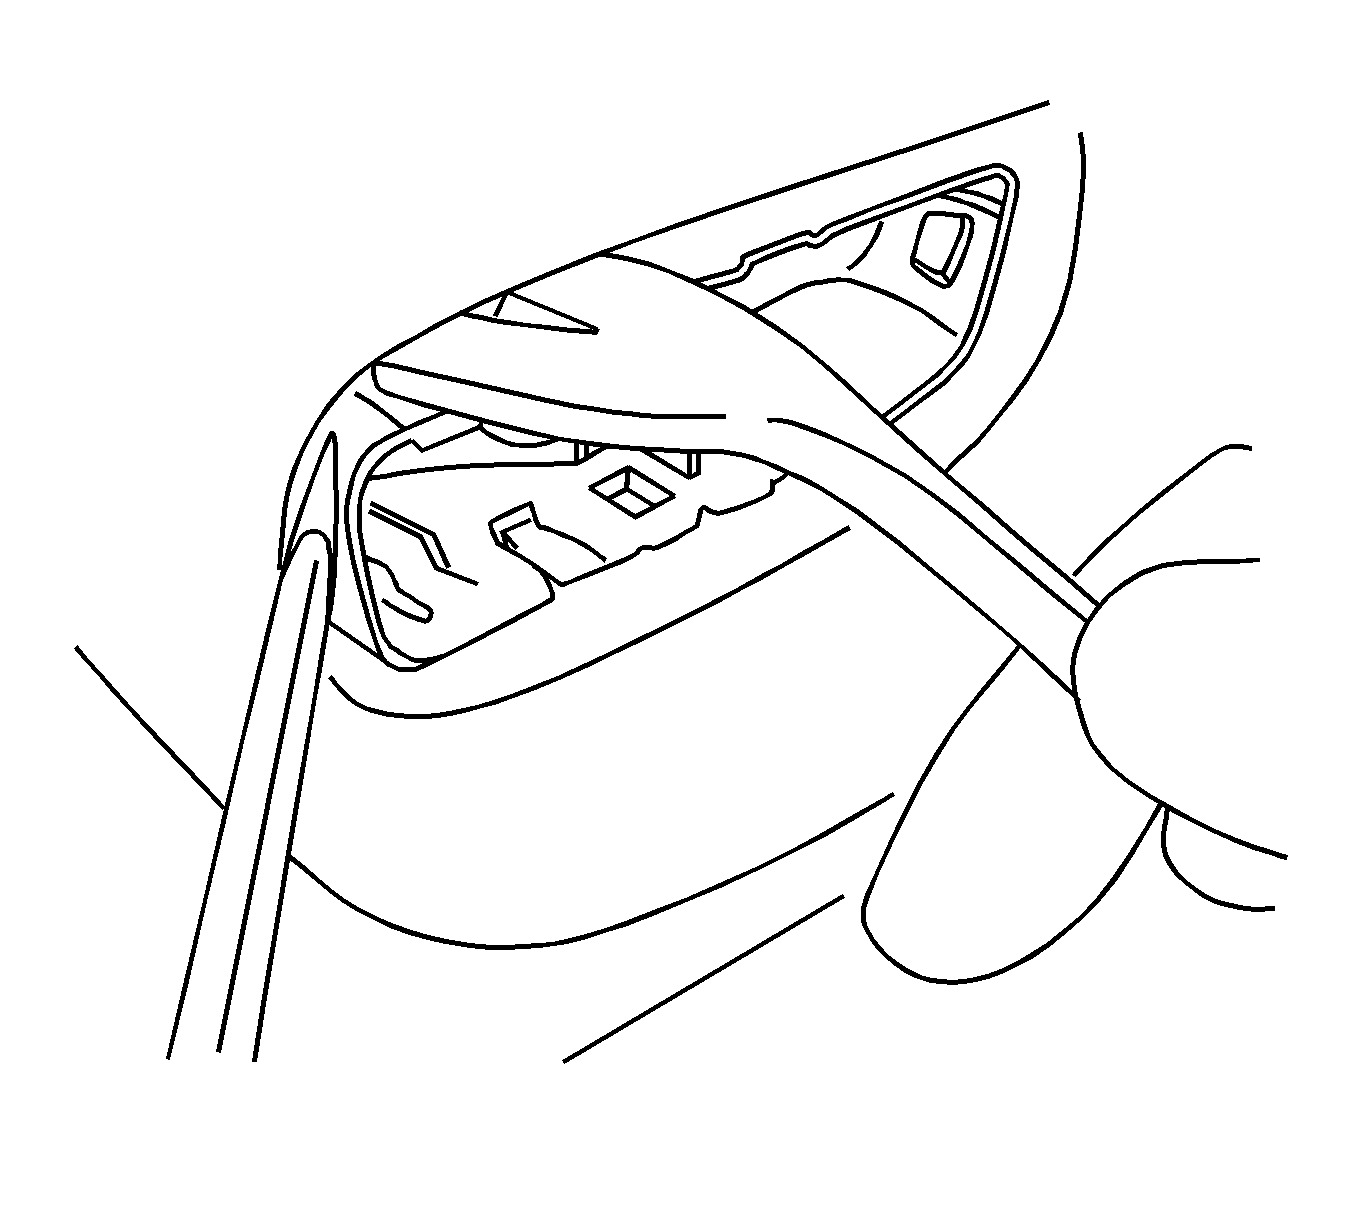
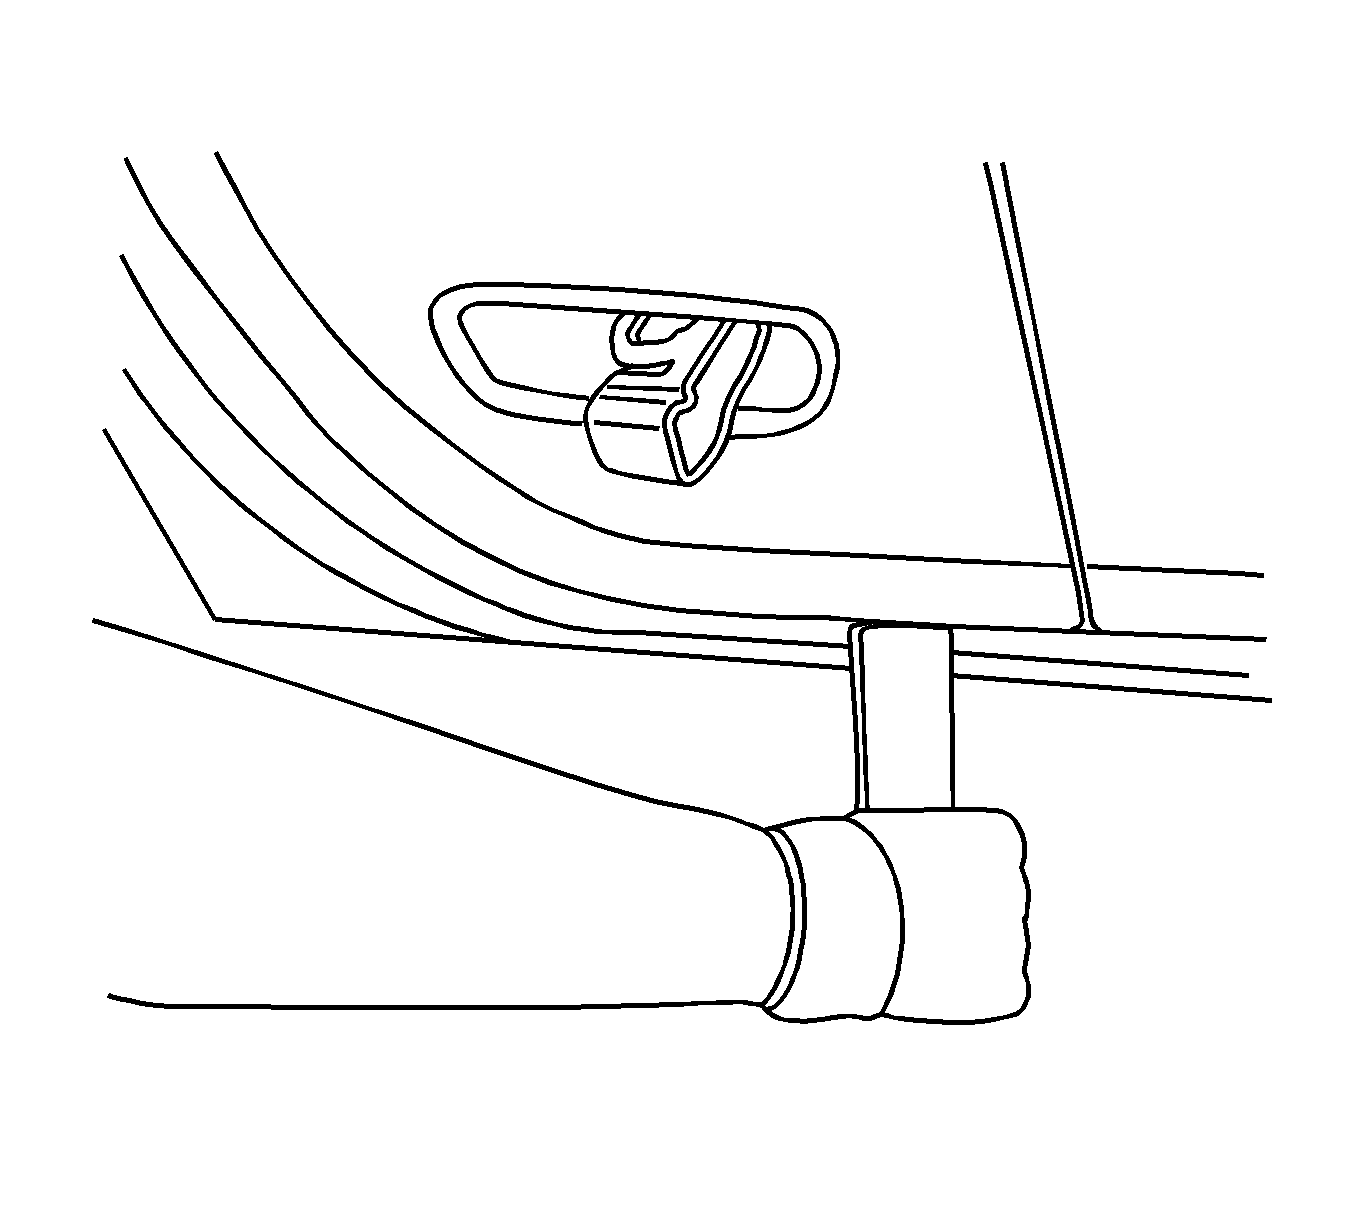
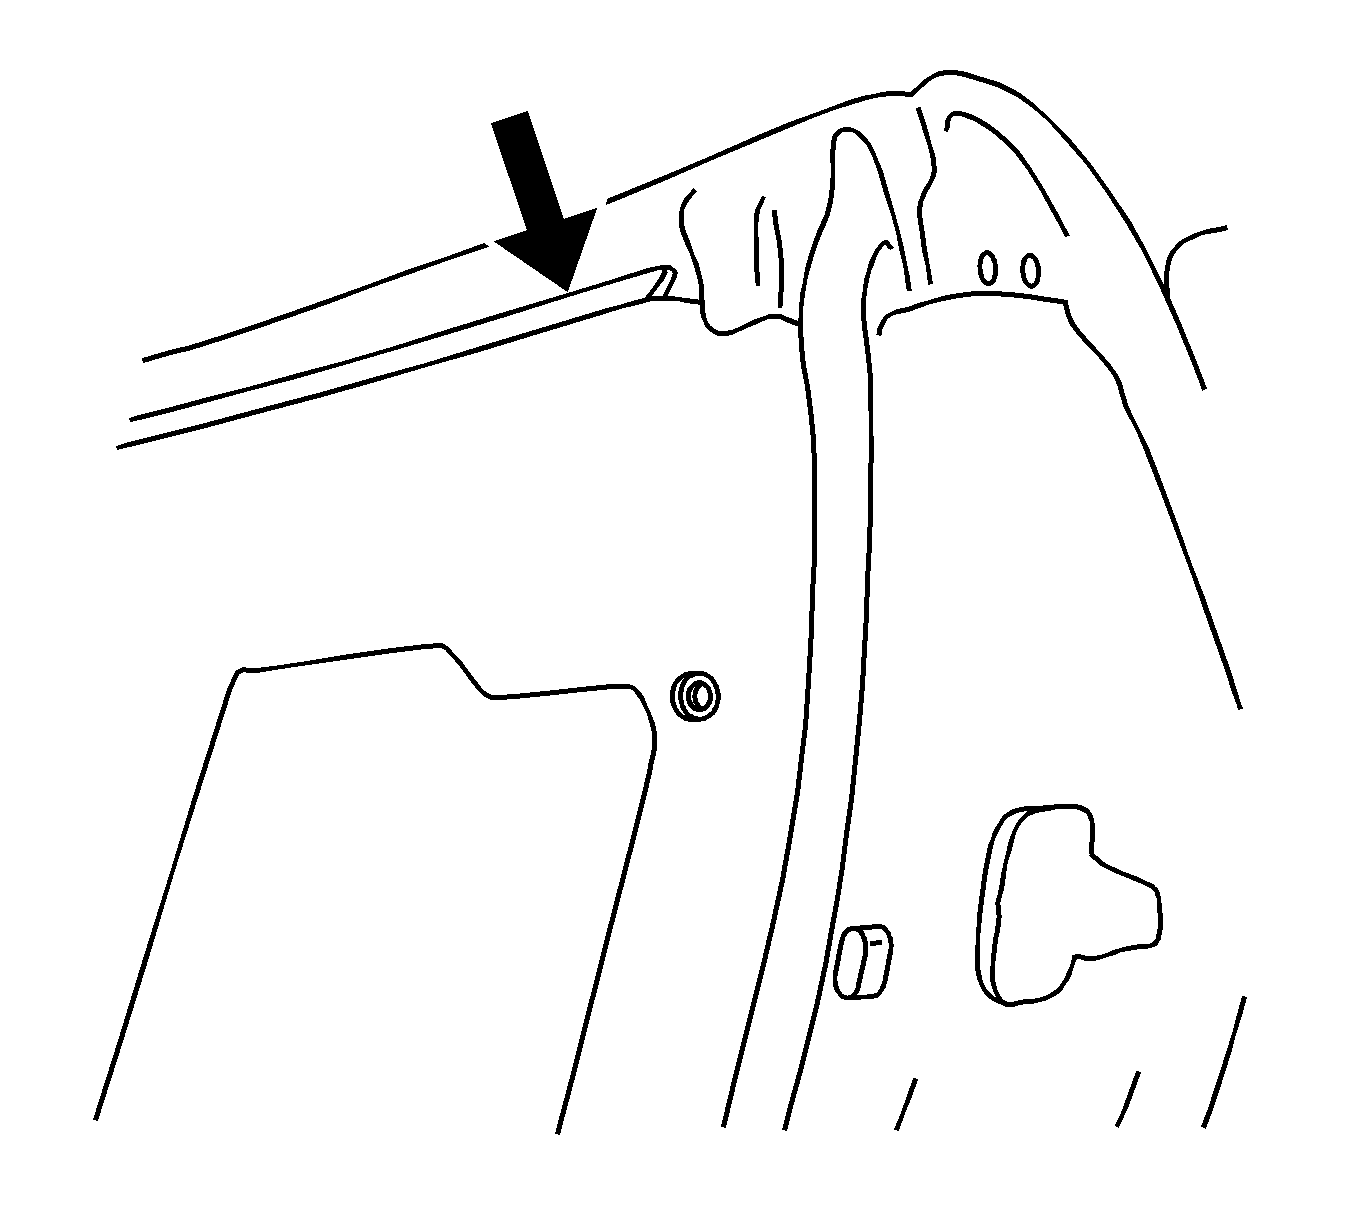

Important: The female portion of the retainer can be cracked behind the surface of the door where it is not visible. If the trim has been removed three or more times, always replace the retainers.
Installation Procedure
- Connect the electrical connector behind the speaker.
- Lower the door glass.
- Line up the retainer pins to the grommets in the door. The pins are long enough to reasonably stay put while the top of the door is installed.
- Set the hanger bracket at the top of the door to the door inner flange. Ensure that all 3 sections are snug on the flange.
- Lightly hit the 3 locations at the front of the door and then the 4 locations at the rear of the door with the palm of your hand.
- To prevent collapsing the rivnut, hand start the bolt behind the courtesy lamp.
- Install the 2 handle bolts.
- Install the covers over the bolts.
- Plug in the courtesy lamp.
- With the reflector lens back on the courtesy lamp housing, push straight in with the palm of your hand to seat the lens.
Notice: Refer to Fastener Notice in the Preface section.
Tighten
Tighten the nut to 10 N·m (89 lb in).
Tighten
Tighten the bolts to 6 N·m (53 lb in).
