For 1990-2009 cars only
Removal Procedure
Caution: The high intensity discharge system produces high voltage and current.
To reduce the risk of severe shocks and burns:
• Never open the high intensity discharge system ballast or the
arc tube assembly starter. • Never probe between the high intensity discharge system ballast
output connector and the arc tube assembly.
- Open the hood.
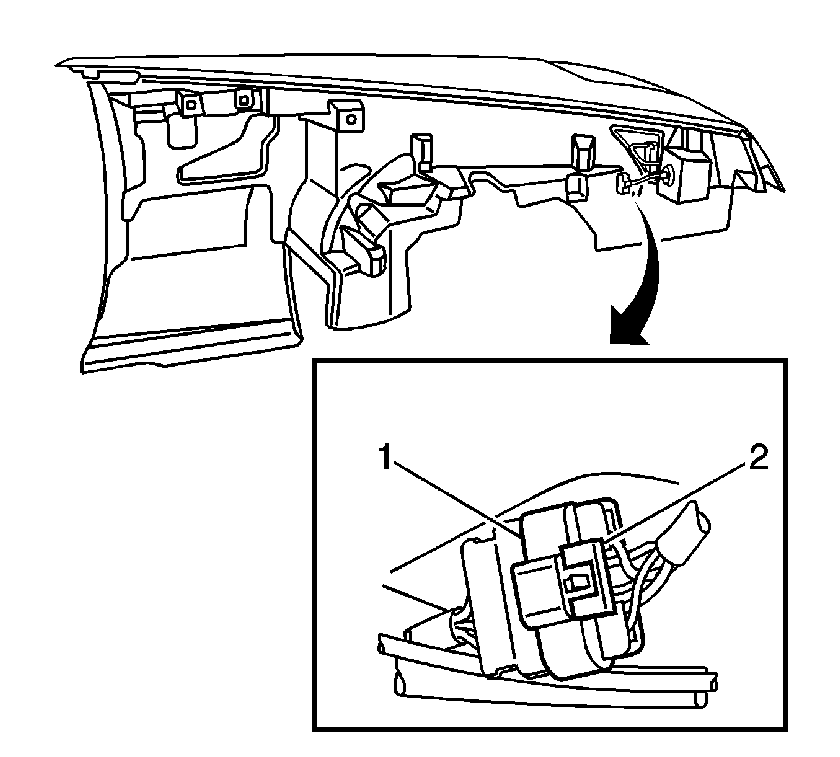
- Remove the connector position assurance (CPA) (2) from the electrical connector (1) to the headlamp wiring harness.
- Disconnect the electrical connector (1) from the headlamp wiring harness.
- Remove the wheelhouse panel. Refer to Front Wheelhouse Liner Replacement .
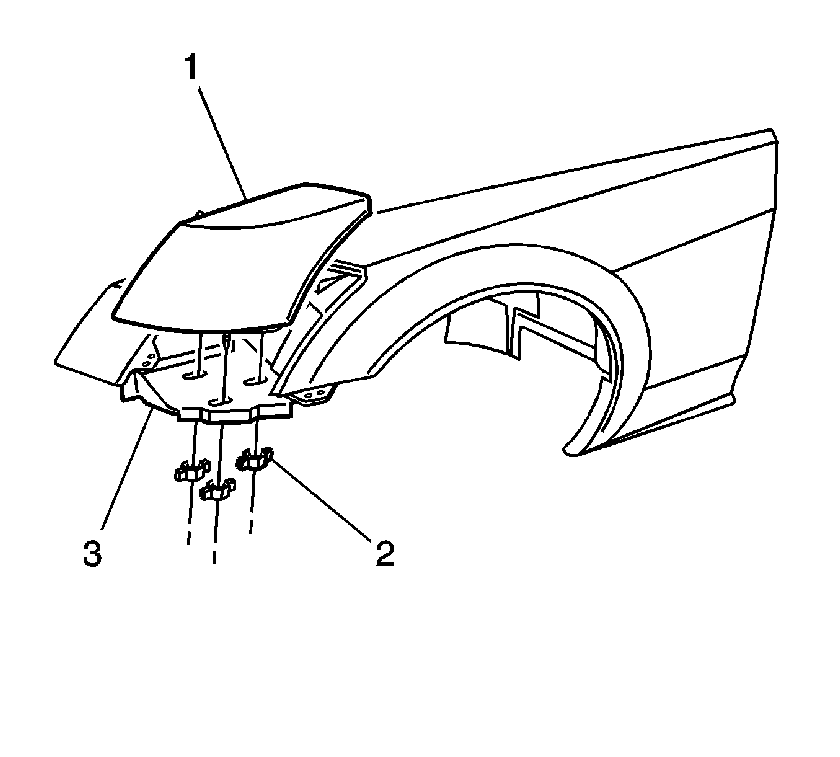
- Remove the nuts (2) attaching the headlamp assembly (1) to the front wheelhouse (3).
- Remove the headlamp (1) from the wheelhouse (3).


Installation Procedure
- Install the headlamp wiring harness to the wheelhouse.
- Position the headlamp (1) to the wheelhouse (3).
- Install the nuts (2) attaching the headlamp (1) to the front wheelhouse (3).
- Connect the electrical connector (1) to the headlamp wiring harness.
- Install the CPA (2) to the headlamp electrical connector (1).
- Install the wheelhouse panel. Refer to Front Wheelhouse Liner Replacement .
- Inspect the headlamp for proper operation and aim if required. Refer to Headlamp Aiming .
- Close the hood.

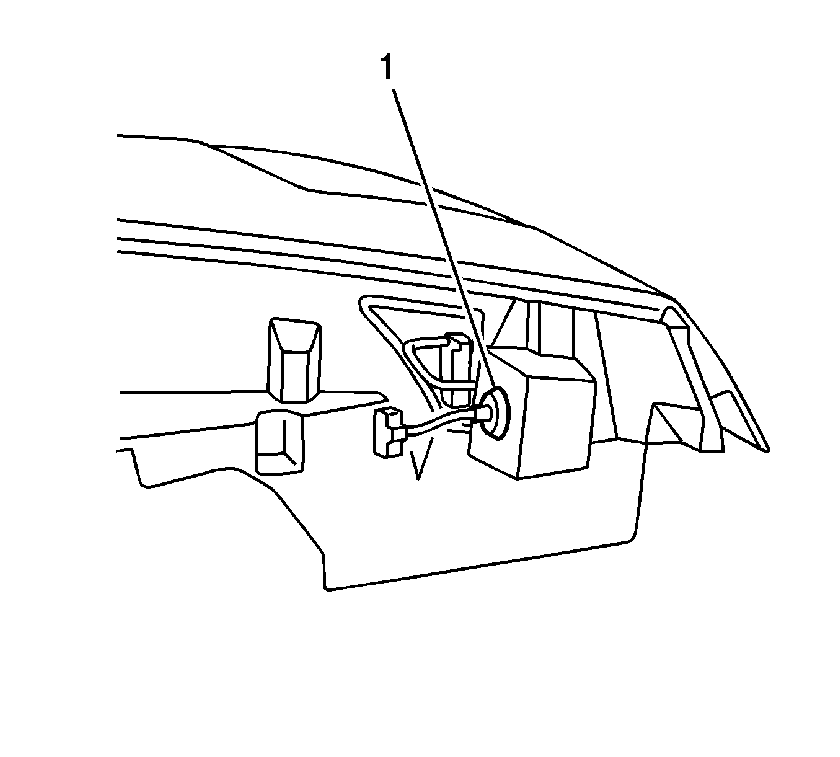
Important: Properly install the rubber grommet (1) to the headlamp wiring harness and seal the grommet to the wheelhouse in order to avoid chafing of the wiring harness.

Notice: Refer to Fastener Notice in the Preface section.
Tighten
Tighten the nuts to 6 N·m (53 lb in).
