Charge Air Cooling System Draining and Filling Static Fill
Draining Procedure
Tools Required
| • | J 26568 Coolant and Battery Tester |
| • | J 38185 Hose Clamp Pliers |
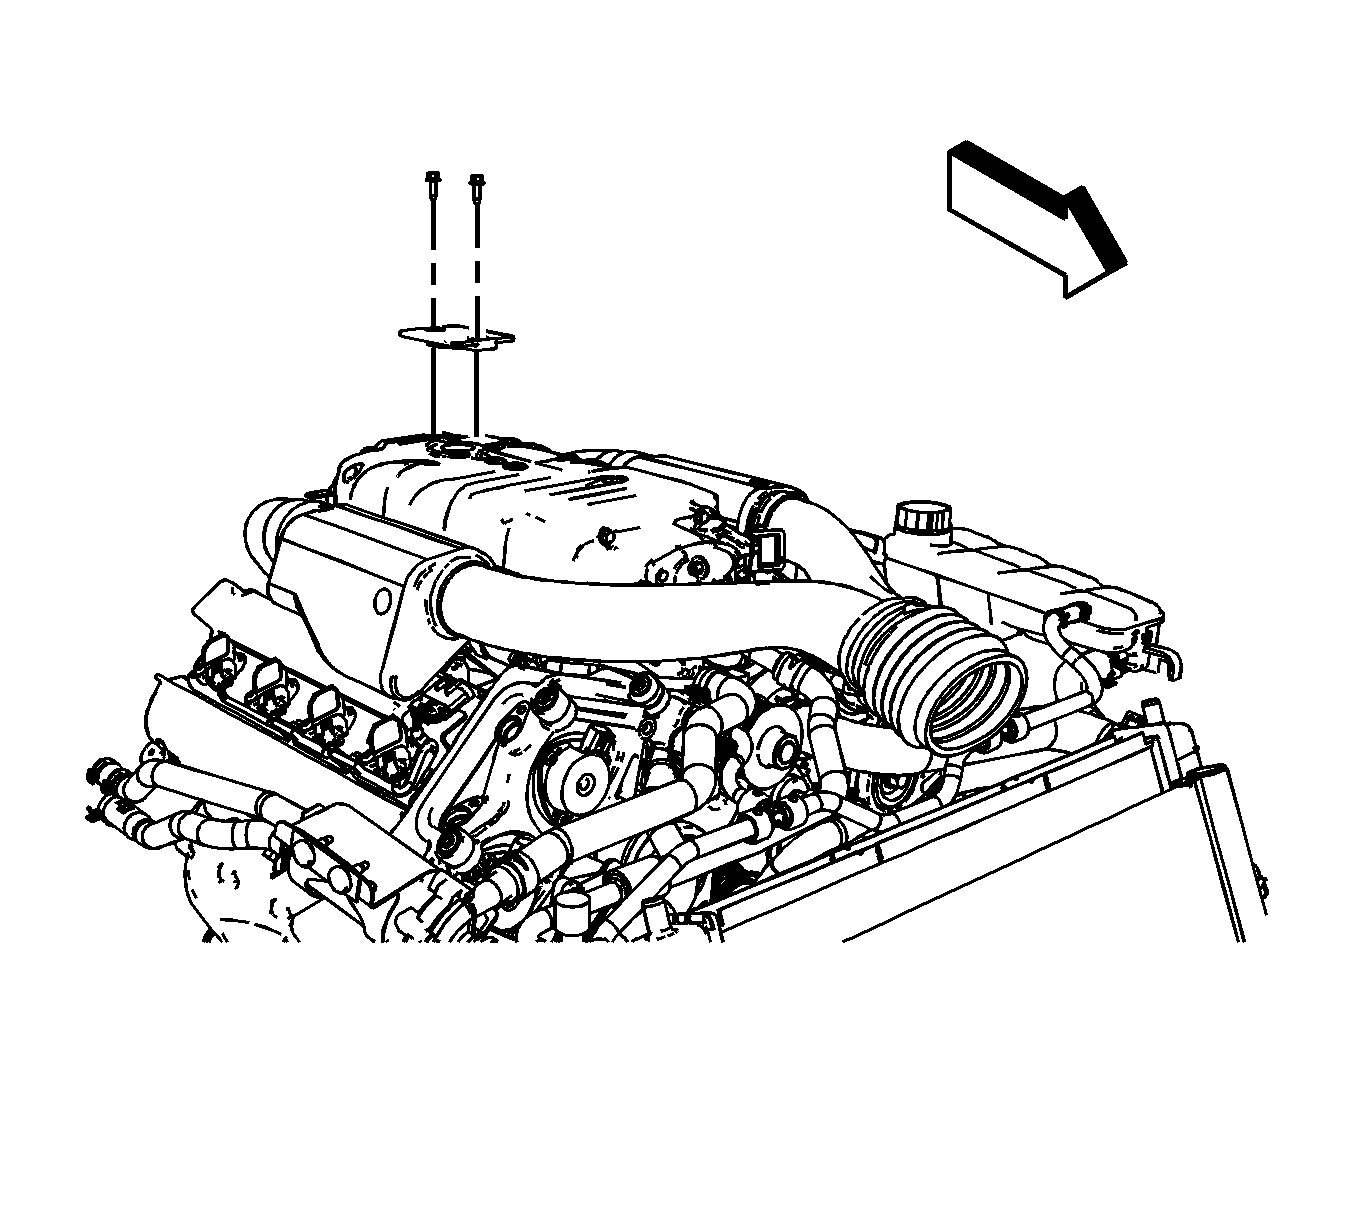
- Remove the manifold sight shield. Refer to Intake Manifold Sight Shield Replacement .
- Remove the charge air coolant cap.
- Raise and support the vehicle. Refer to Lifting and Jacking the Vehicle .
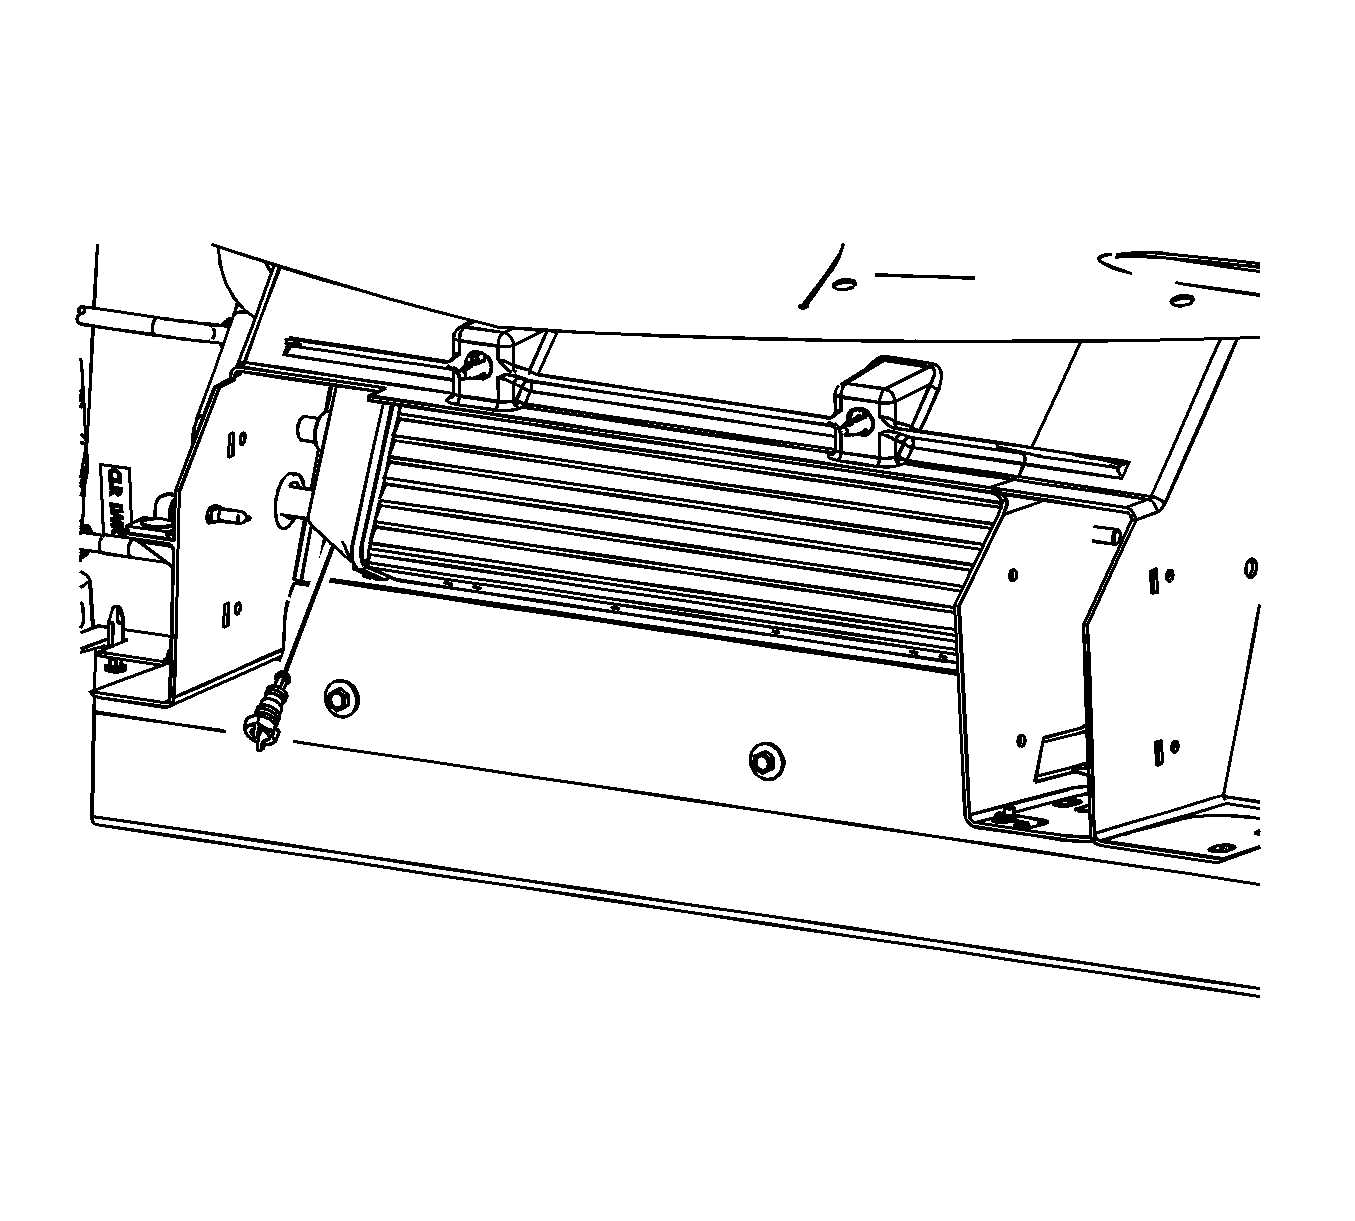
- Place a drain pan under the charge air cooler radiator.
- Remove the drain plug from the charge air cooler radiator.
- Drain the charge air cooling system.
- Inspect the coolant.
- Follow the appropriate procedure based on the condition of the coolant:
- Install the drain plug to the charge air cooler radiator.
- Remove the drain pan from under the charge air coolant radiator.
- Lower the vehicle.
Caution: To avoid being burned, do not remove the charge air coolant cap while the system is hot. The cooling system will release scalding fluid and steam under pressure if charge air coolant cap is removed while the system is still hot.
Important: Make sure the intercooler system is cool and that the pump is not in the ON position.
| • | Normal in appearance--Follow the filling procedure. |
| • | Discolored--Follow the flush procedure. Refer to Flushing . |
Filling Procedure
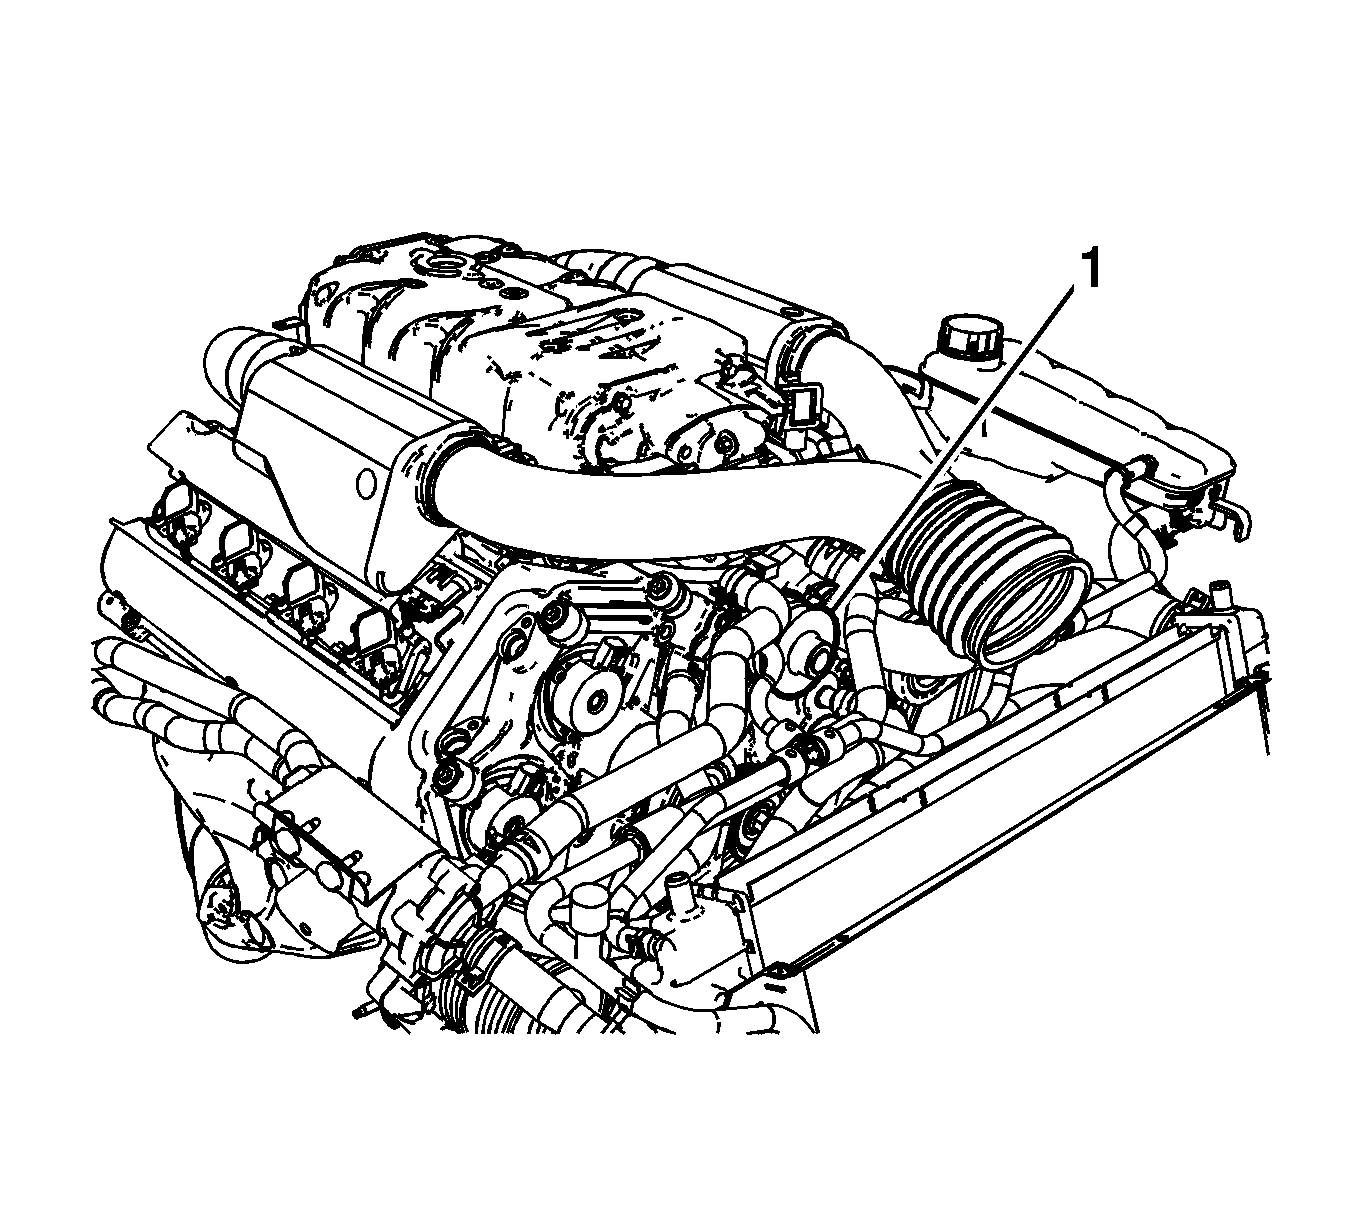
- Place a moderate amount of absorbent material below the charge air cooler manifold lines (1) to ensure that coolant does not contact the belts or other components.
- Remove the cap on the charge air cooler pump outlet hose.
- Using a small funnel, slowly fill the charge air cooling system through the charge air coolant cap port with a 50/50 coolant mixture until the level is slightly below the charge air coolant cap port. Refer to Approximate Fluid Capacities .
- Install the cap on the charge air cooler pump outlet hose.
- Install a new charge air cooler cooling fill cap O-ring.
- Install a new charge air cooler cooling fill cap.
- Ensure the charge air cooler cooling fill cap is installed in the proper orientation:
- Install the charge air coolant cap bolts.
- Cycle the charge air cooling system ON by using the Tech 2 or by starting the engine for approximately 2 minutes.
- Cycle the charge air cooling system OFF.
- Remove the charge air coolant cap bolts.
- Remove the charge air coolant cap.
- Ensure that coolant is almost level with the coolant cap fill port (1). Top off with a 50/50 coolant mixture through the charge air coolant cap port if necessary.
- Install the charge air coolant cap.
- Install the charge air coolant cap bolts.
- Repeat steps 10-16 two more times to ensure the system is properly purged of air.
- Inspect the concentration of the engine coolant, using the J 26568 .
- Inspect the charge air cooling system for leaks.
- Install the manifold sight shield. Refer to Intake Manifold Sight Shield Replacement .
Notice: The procedure below must be followed. Improper coolant level could result in poor system performance.
Important: The charge air cooling system is filled through the fitting in the charge air coolant pump outlet hose.
Be sure the coolant does not make contact with the drive belt or any other surfaces. Coolant contact will cause belt noise and require belt replacement.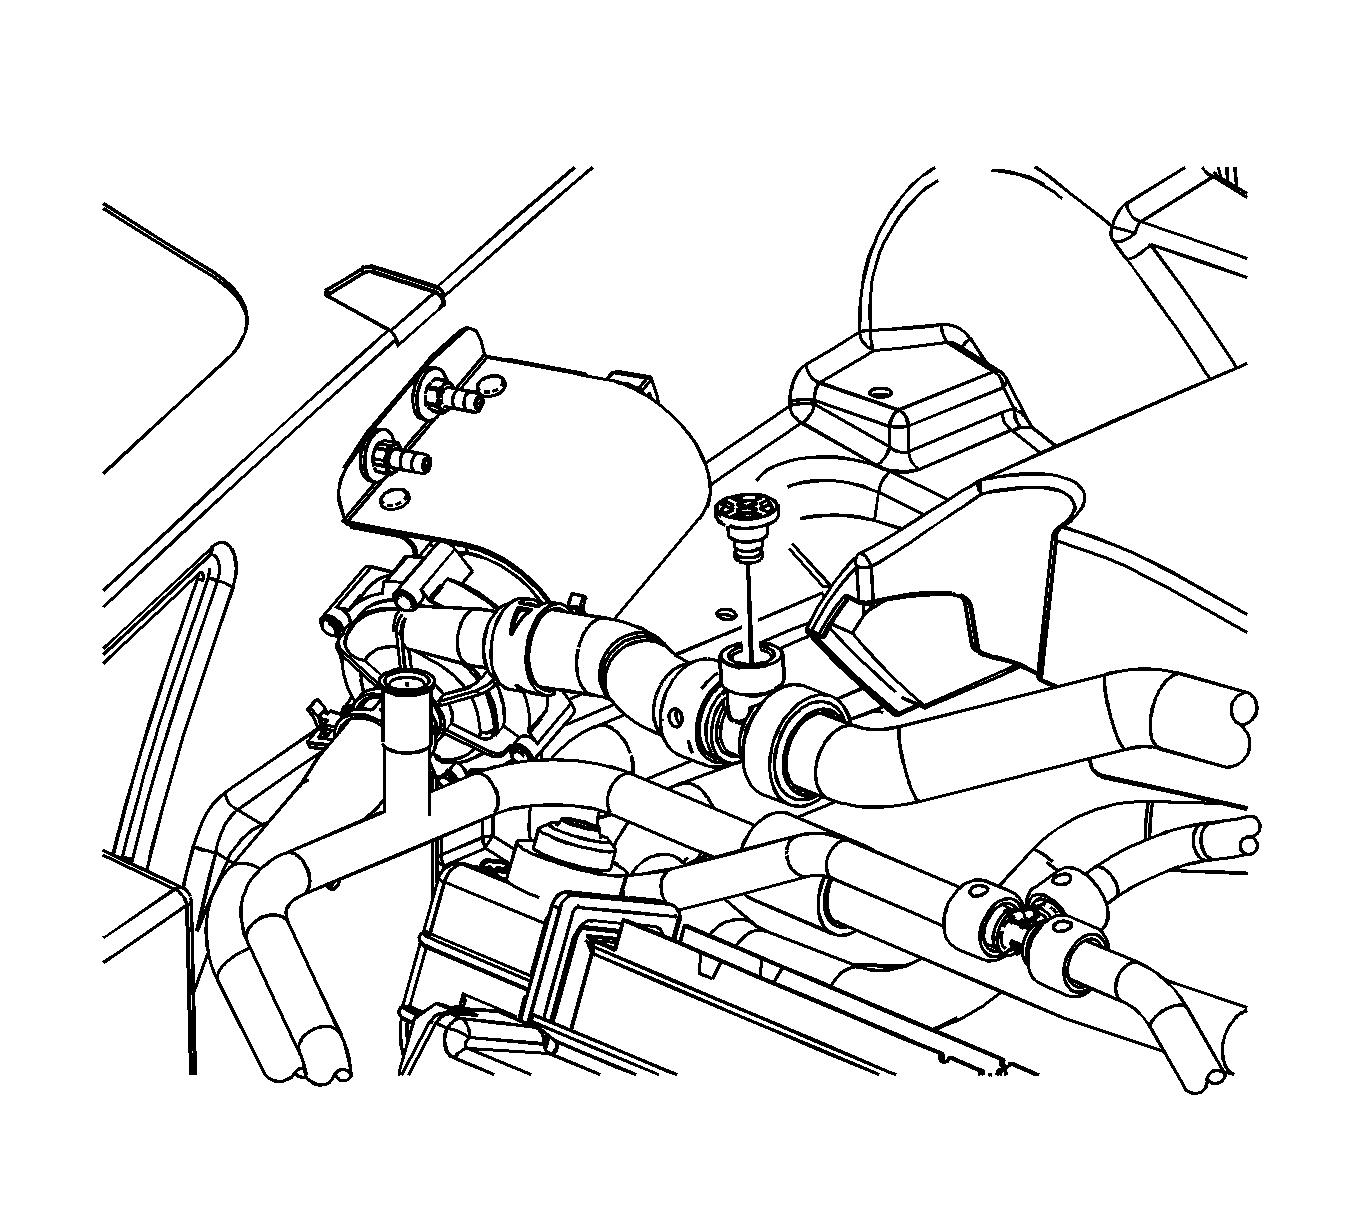
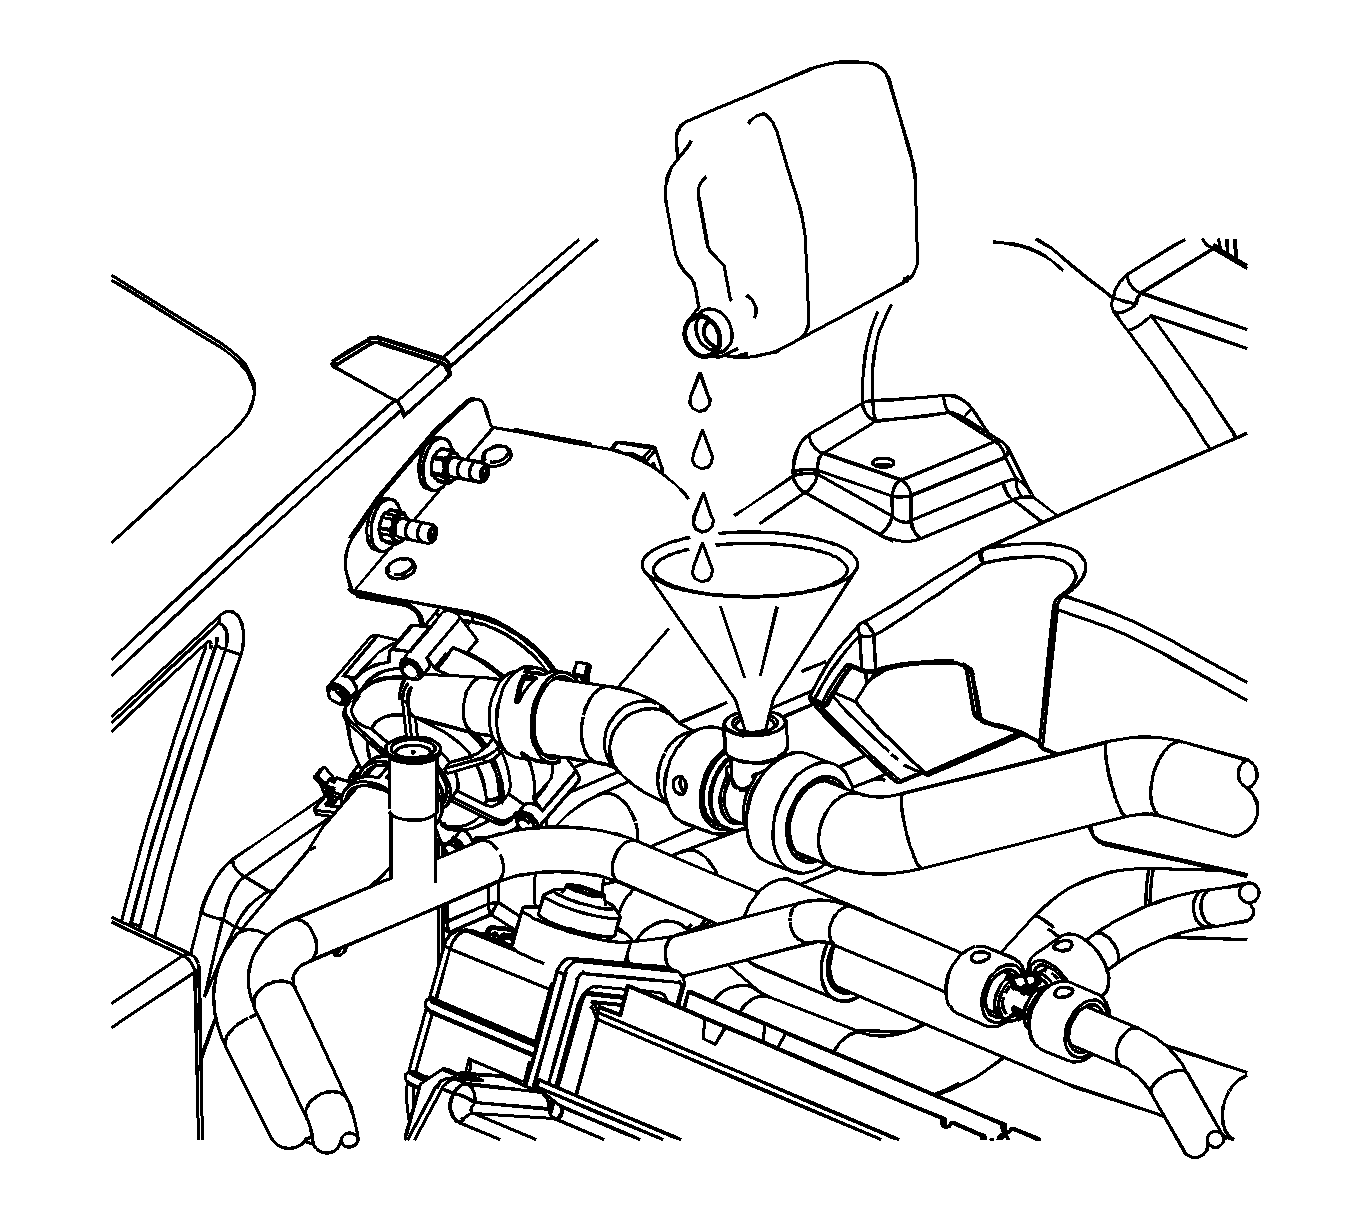
Important: Use a 50/50 mixture of DEX-COOL® antifreeze and clean drinkable water.
Pour coolant in very small amounts to avoid coolant spillage from the charge air coolant cap port or from the funnel.
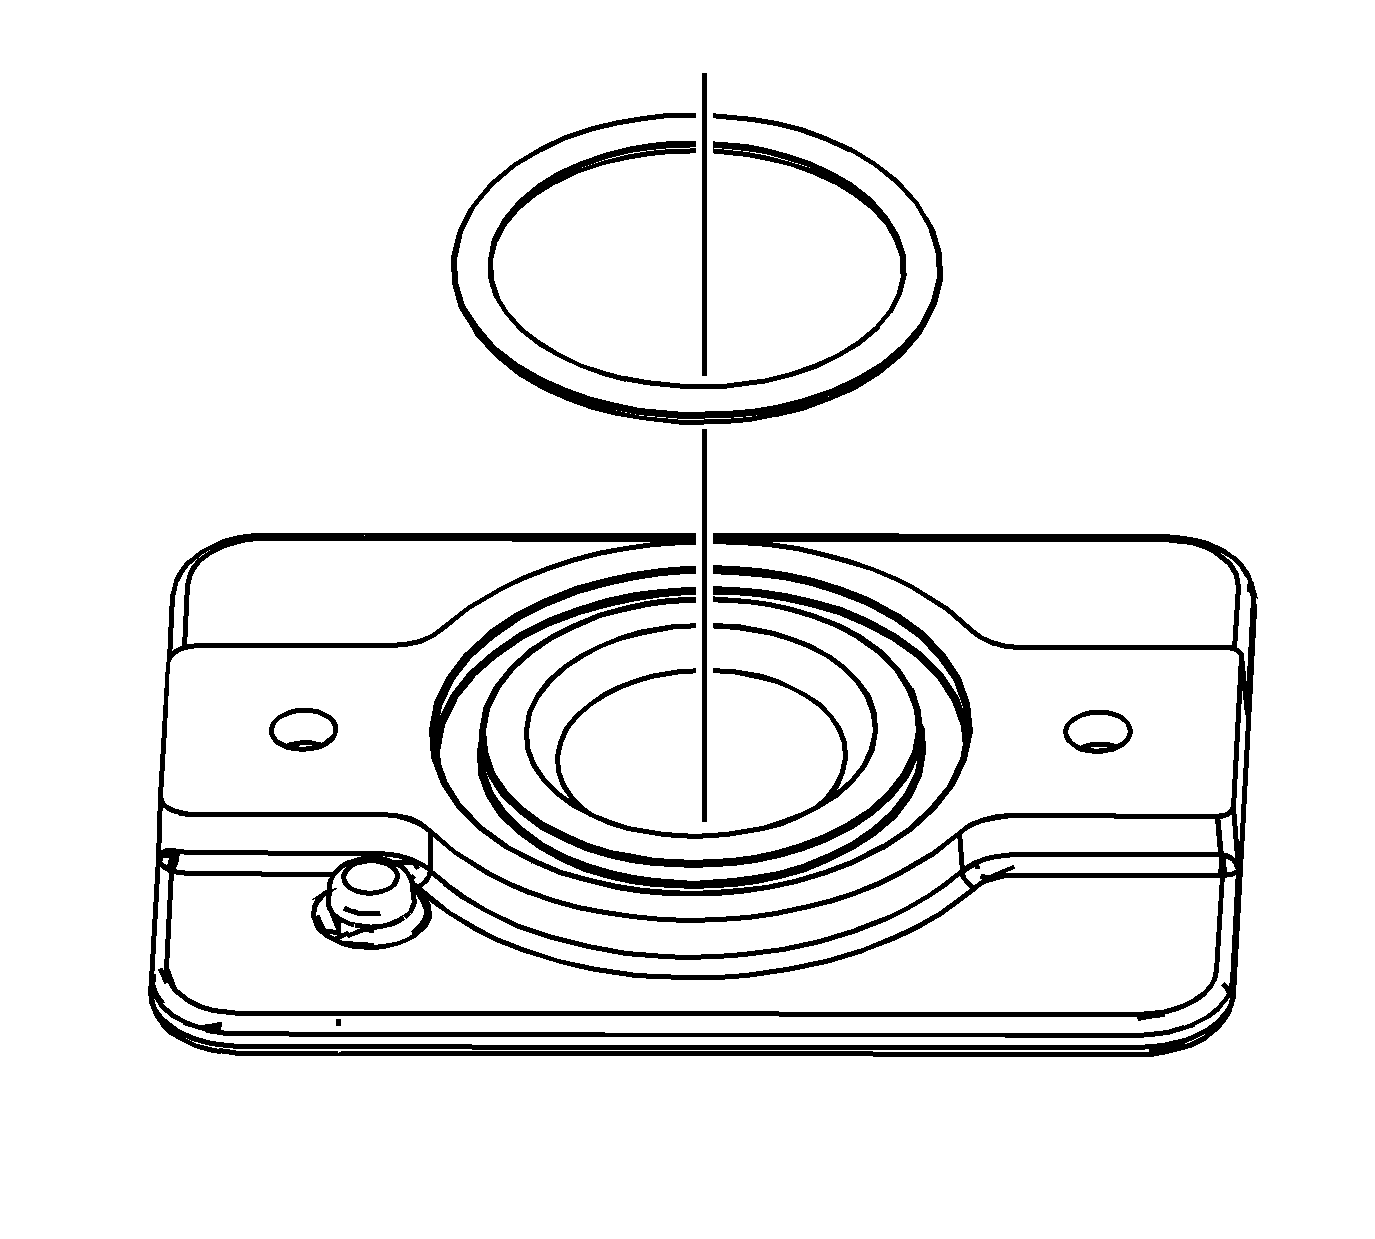
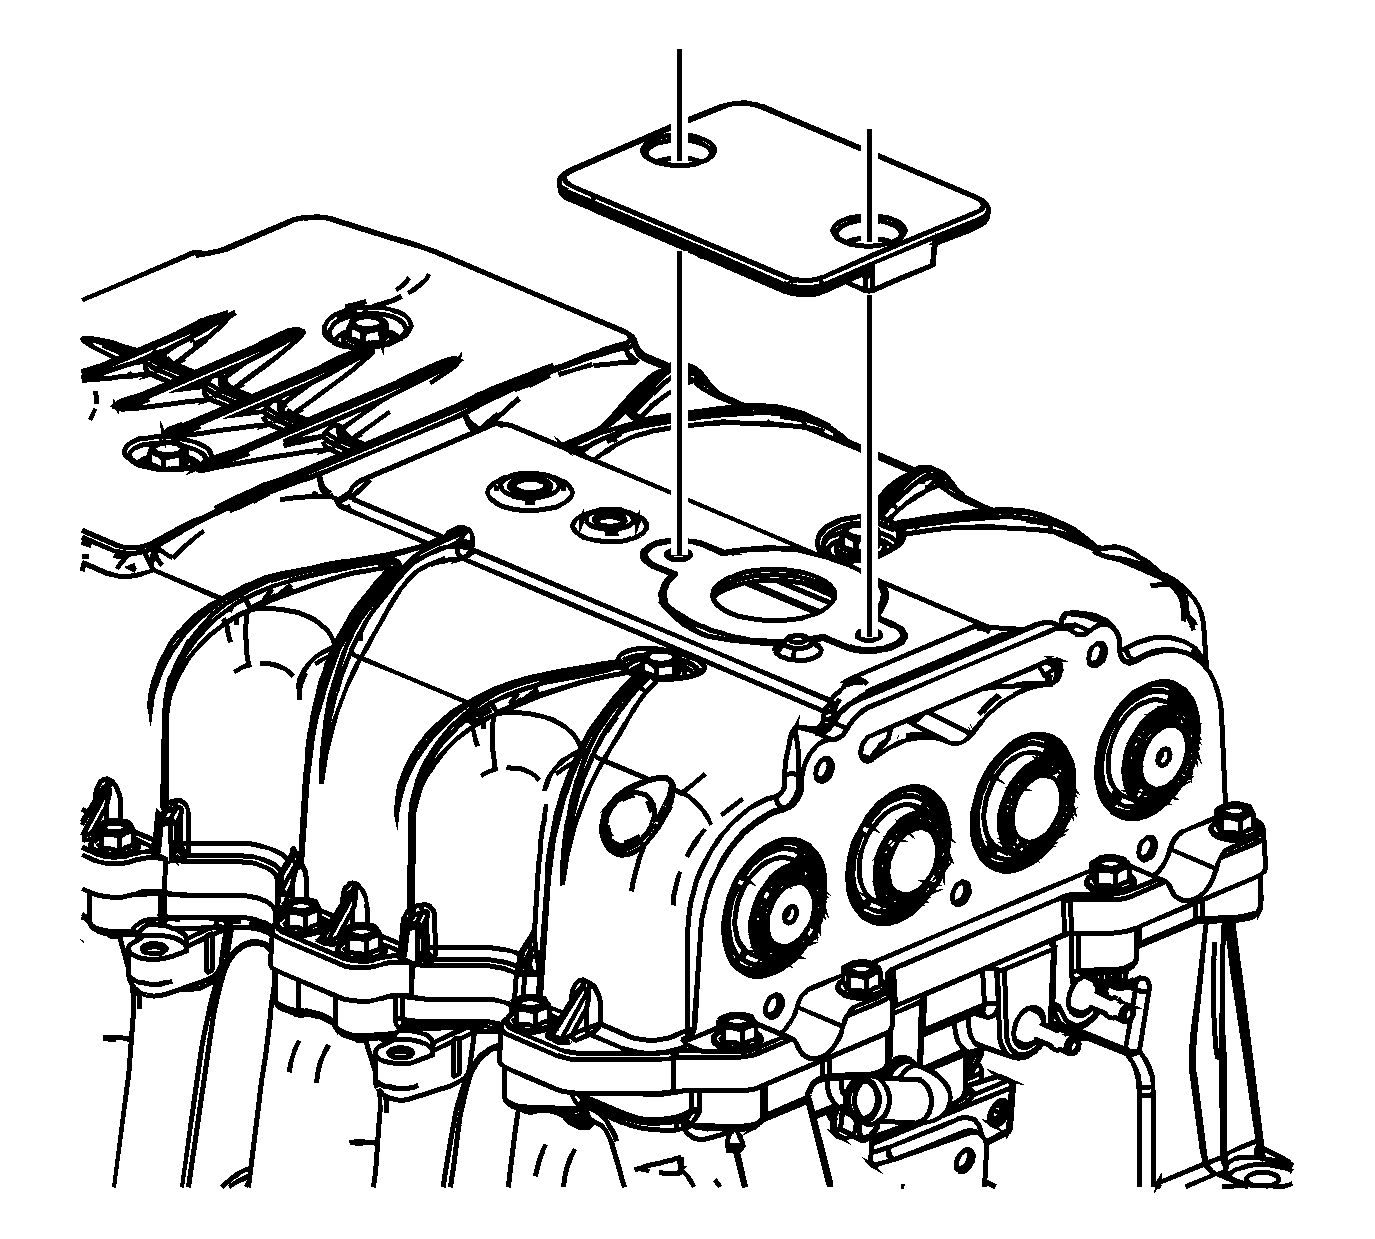
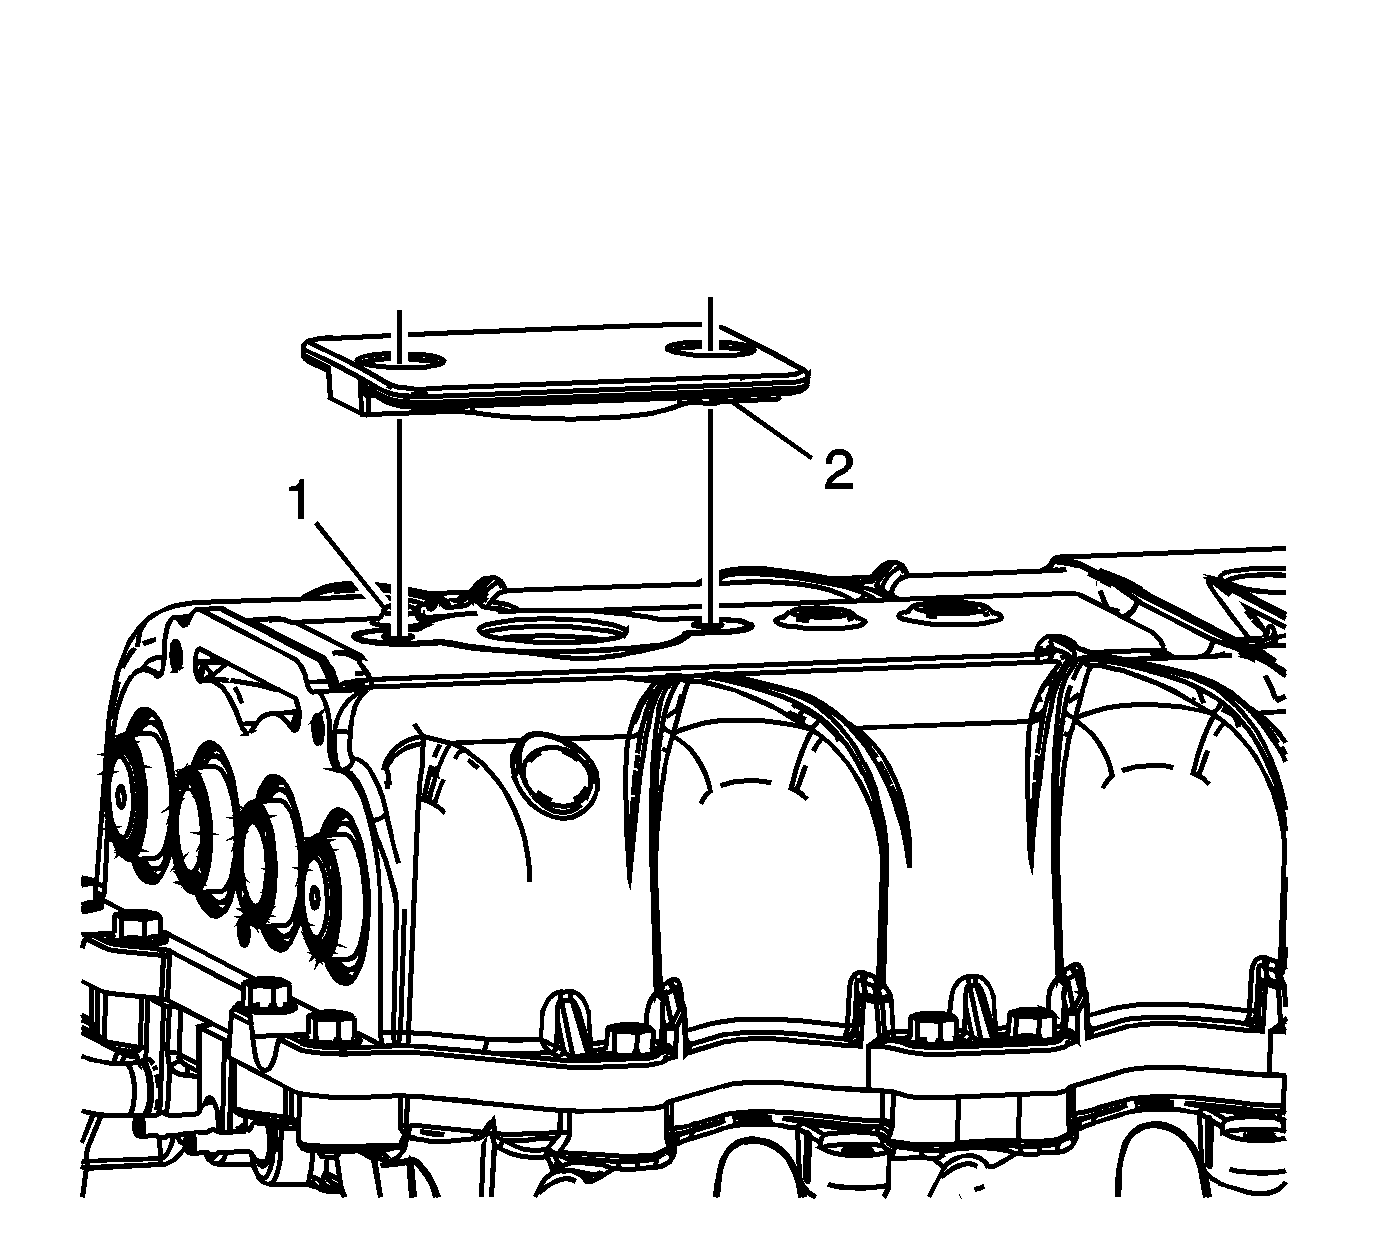
| • | The alignment boss (1) is at the rear of the charge air cooler manifold. |
| • | The alignment boss (2) is at the front of the charge air cooler cooling filling cap. |
Notice: Refer to Fastener Notice in the Preface section.
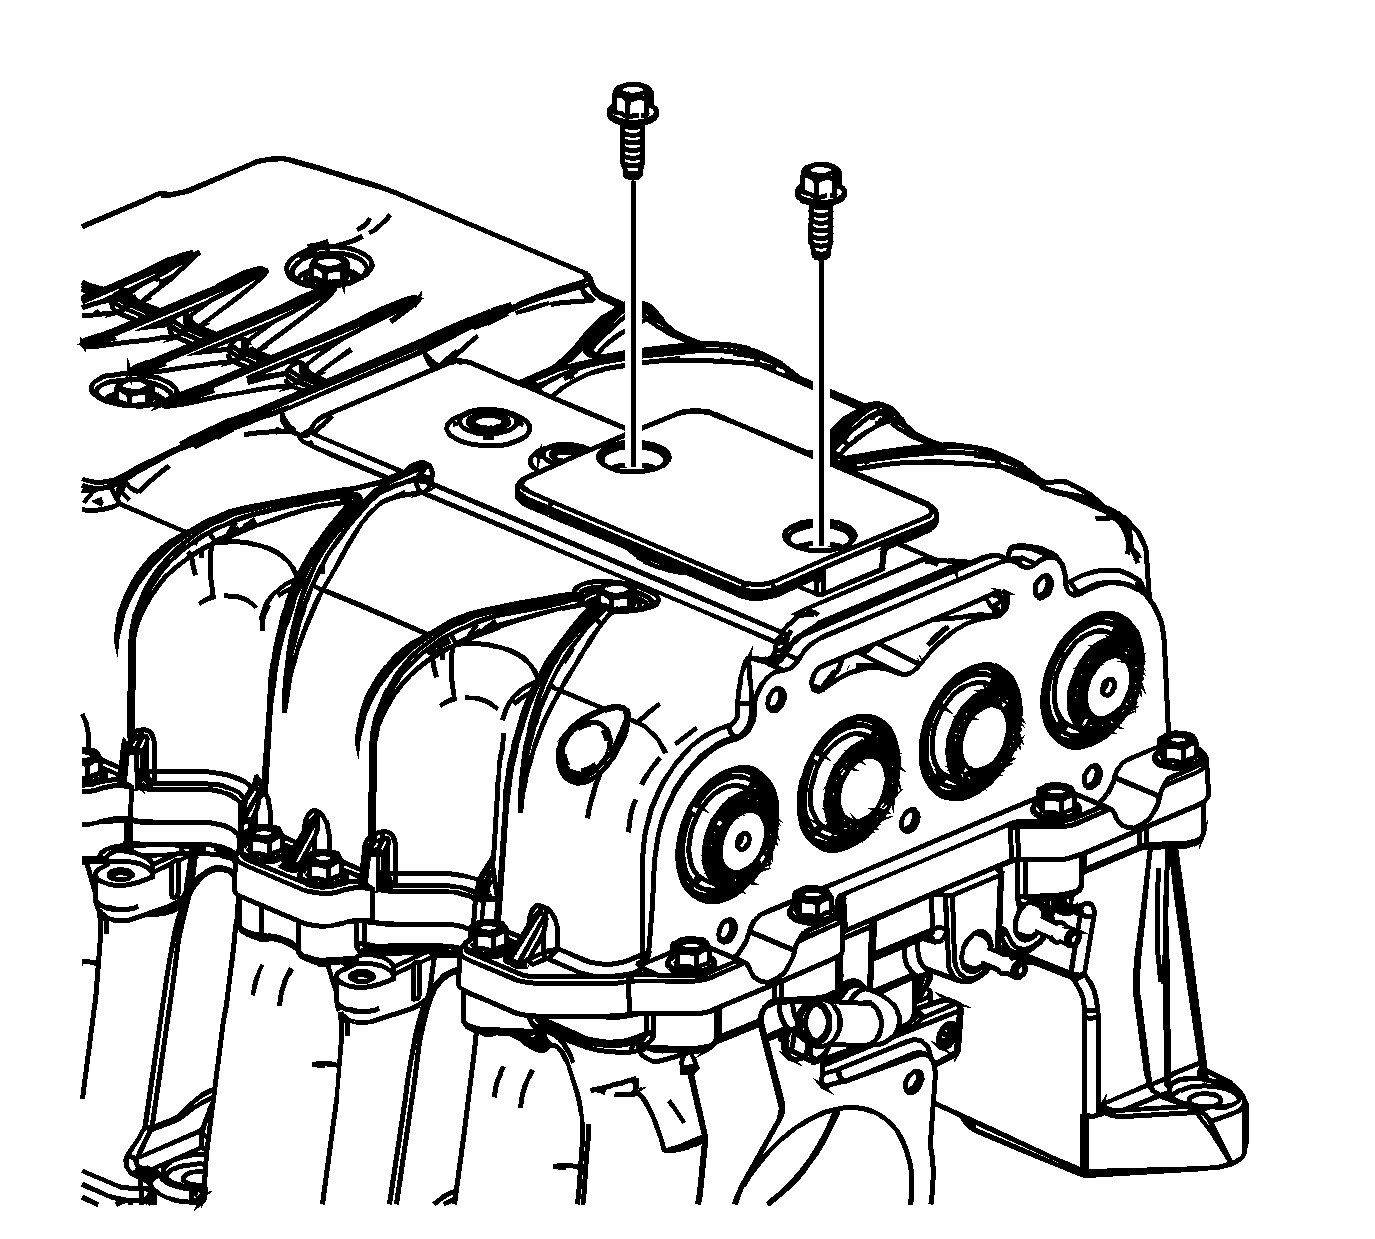
Tighten
Tighten the bolts to 10 N·m (89 lb in).
Important: Do not cycle the charge air cooling system without the charge air cooling cap in place or coolant loss will occur.
Important: It is normal to have a very small pocket of air at the top of the system below the fill cap on a properly filled charge air cooling system.

Tighten
Tighten the bolts to 10 N·m (89 lb in).
