For 1990-2009 cars only
Removal Procedure
- Remove the console upper trim plate. Refer to Console Trim Plate Replacement .
- Remove the screws (1-6) securing the console compartment to the console upper trim plate.
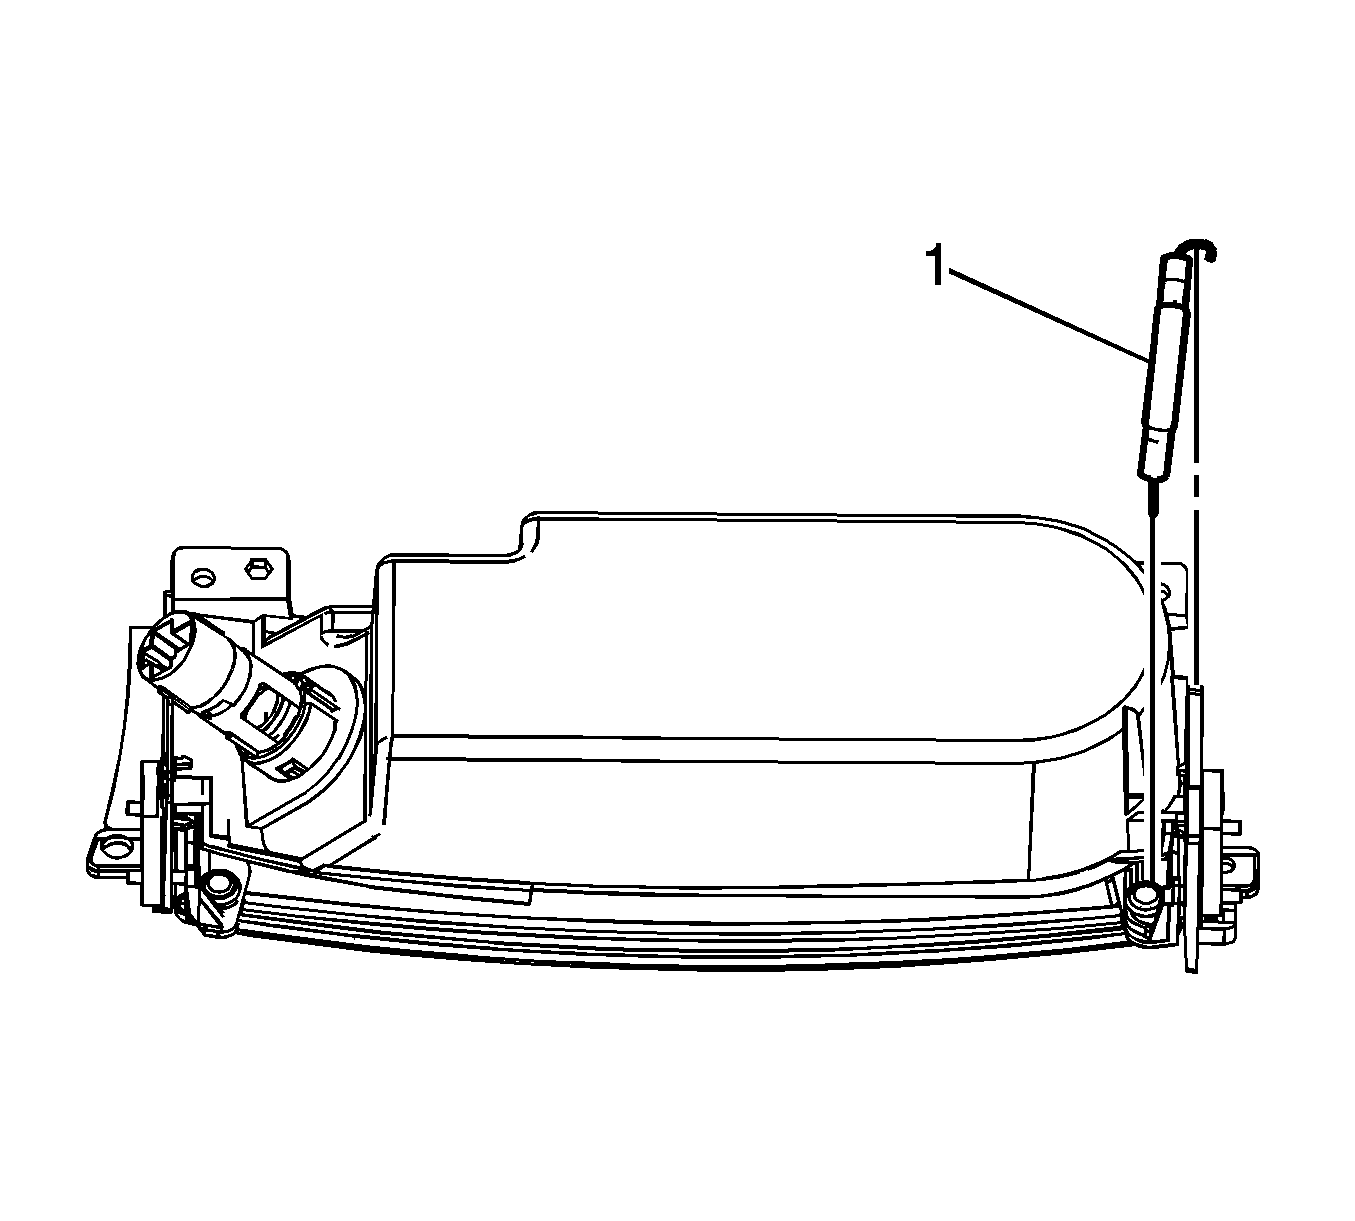
- Remove the console compartment door spring (1).
- Remove the door dampeners (1, 2) by aligning the tab (4) to the opening (3) and pull outward.
- Remove the console compartment door.
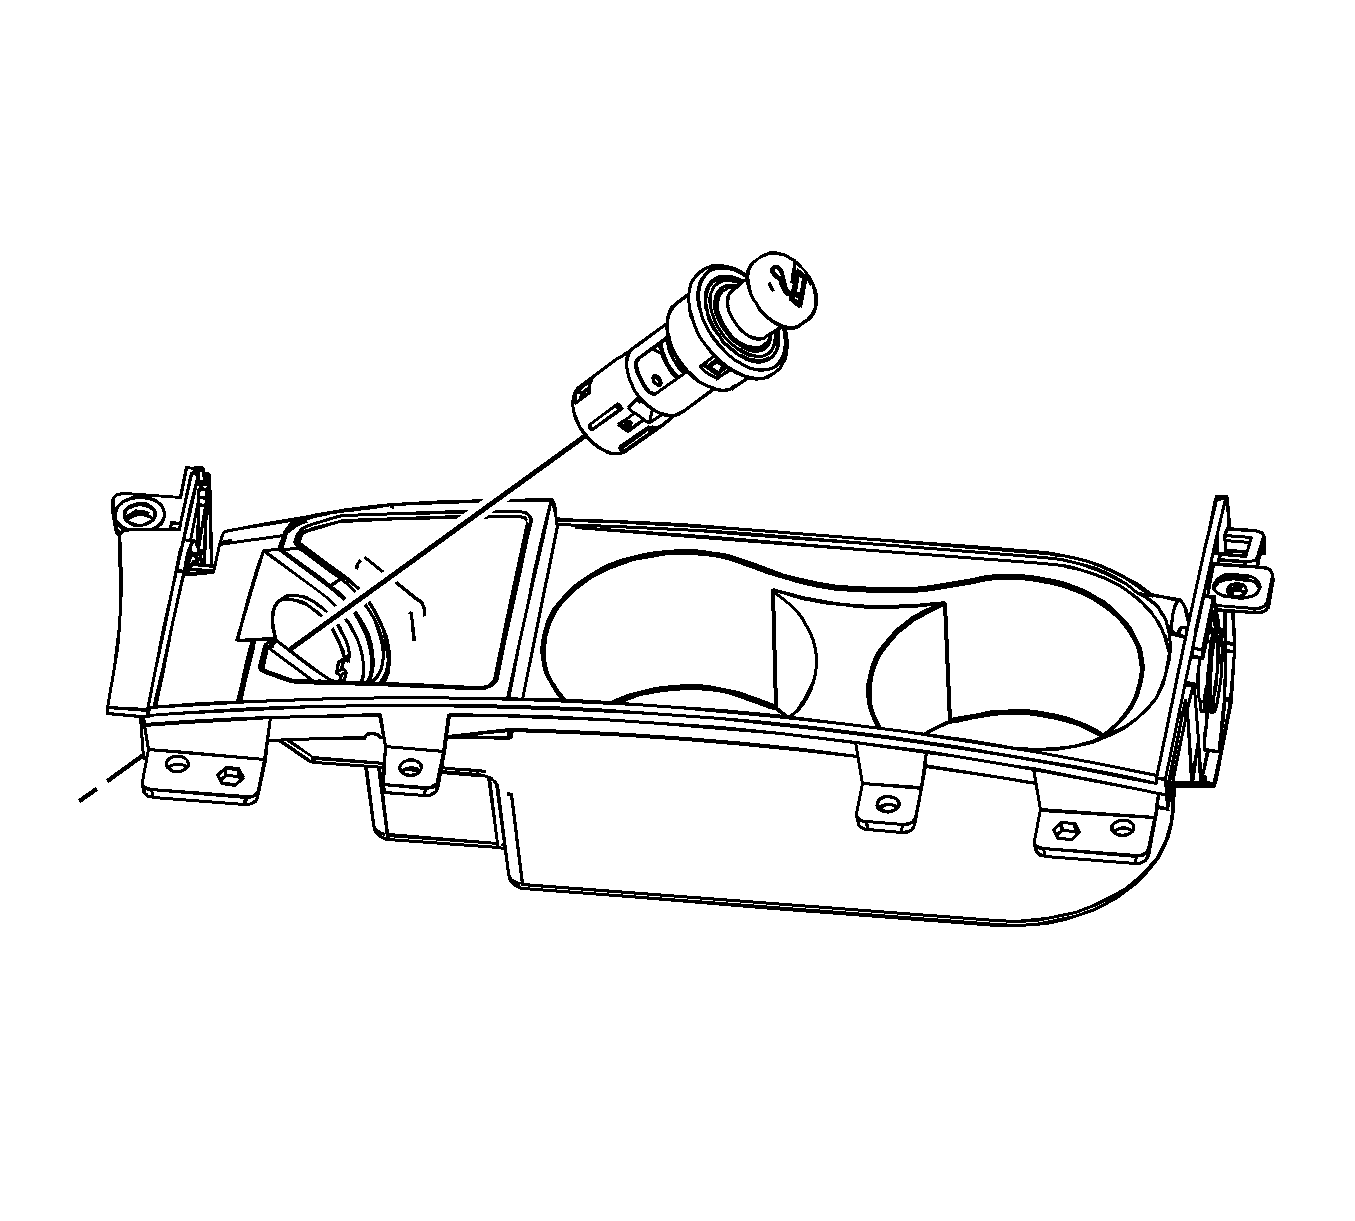
- Remove the floor console cigar lighter and retainer. Refer to Cigar Lighter Receptacle or 12-Volt Accessory Power Receptacle Replacement .
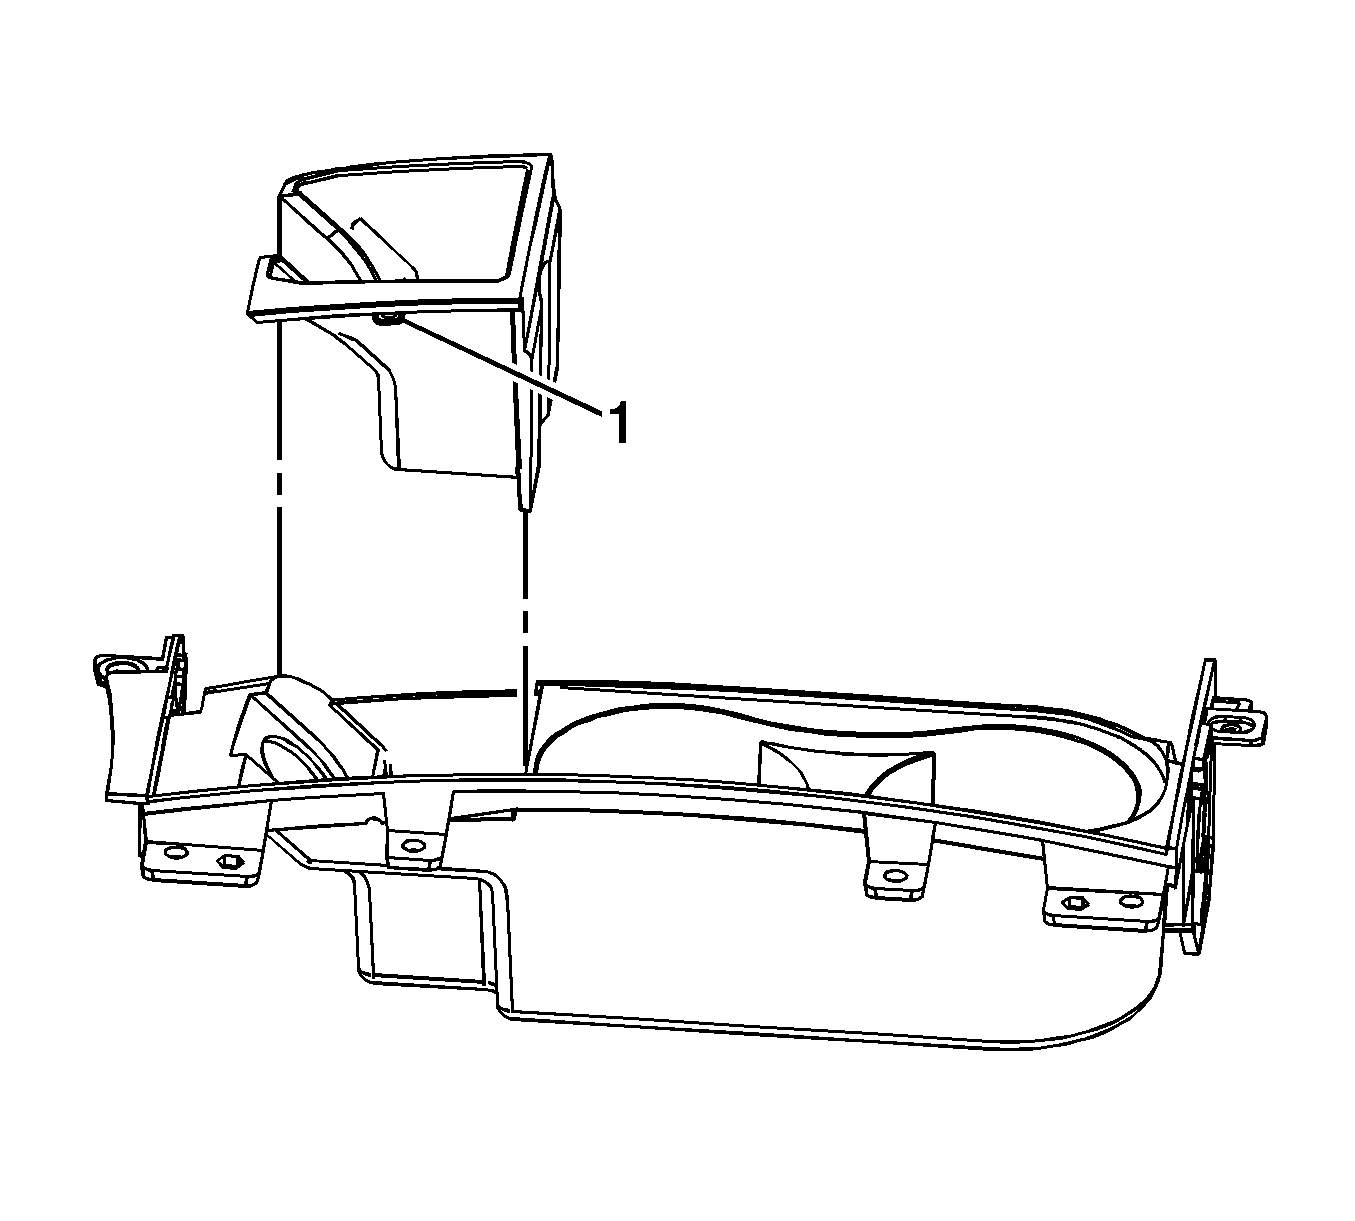
- Push inward on the tab (1) and pull up to remove the ash receptacle from the console compartment.
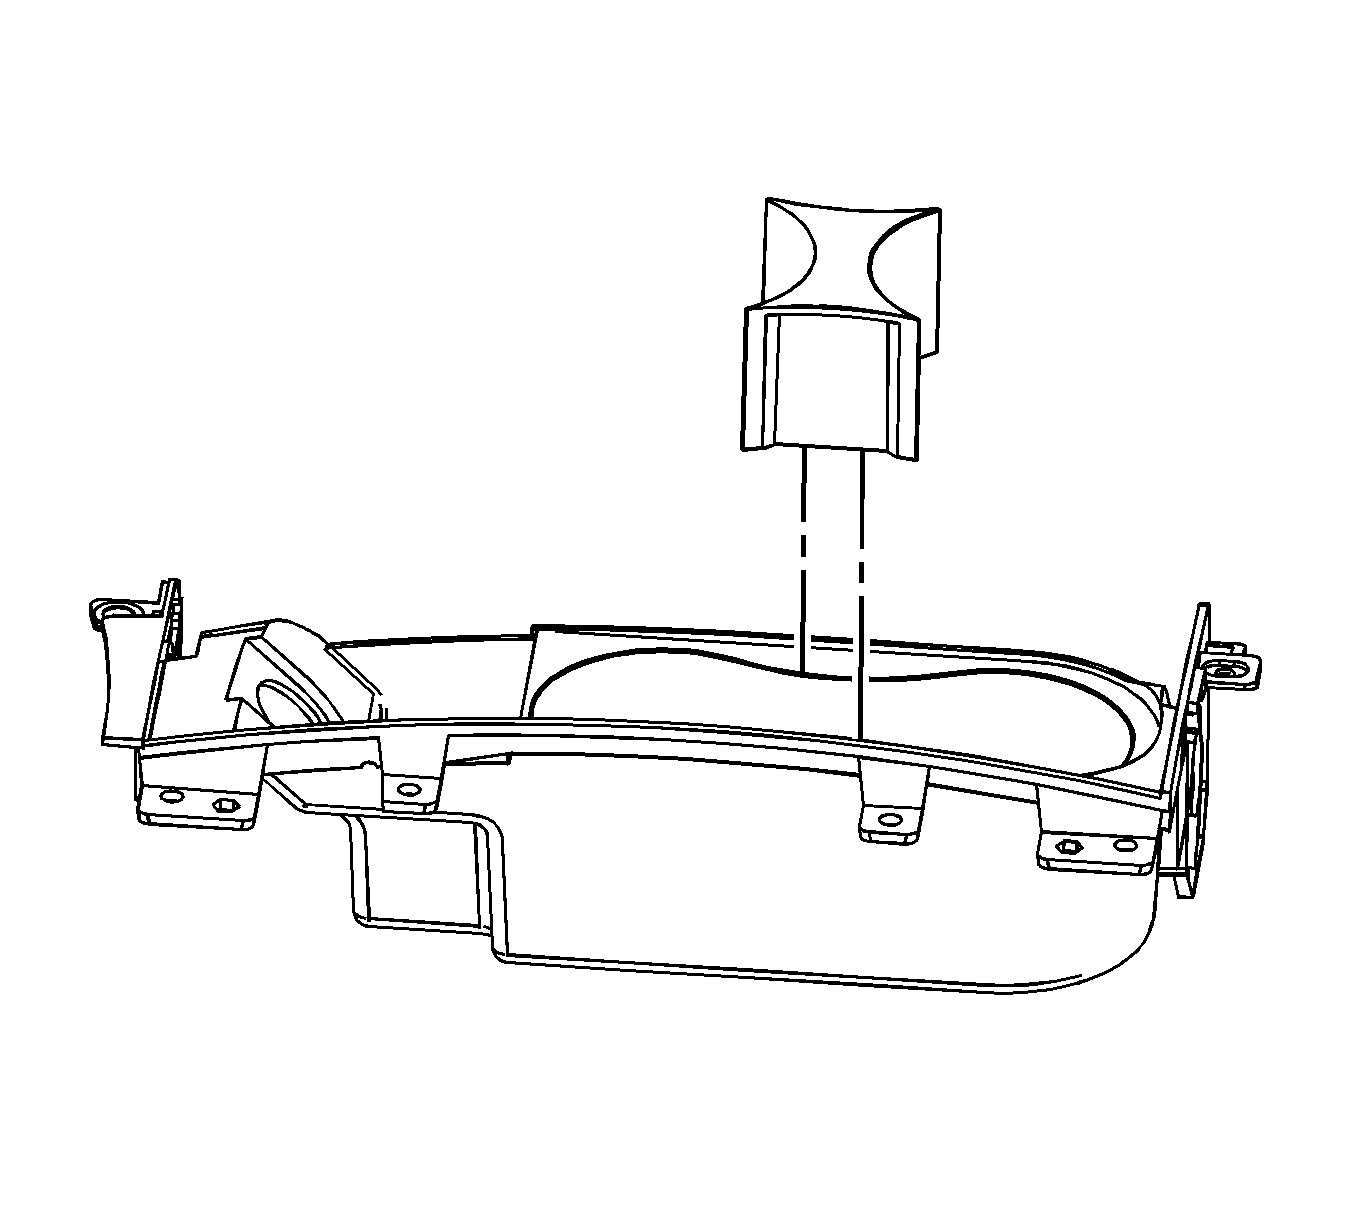
- Remove the console compartment divider.
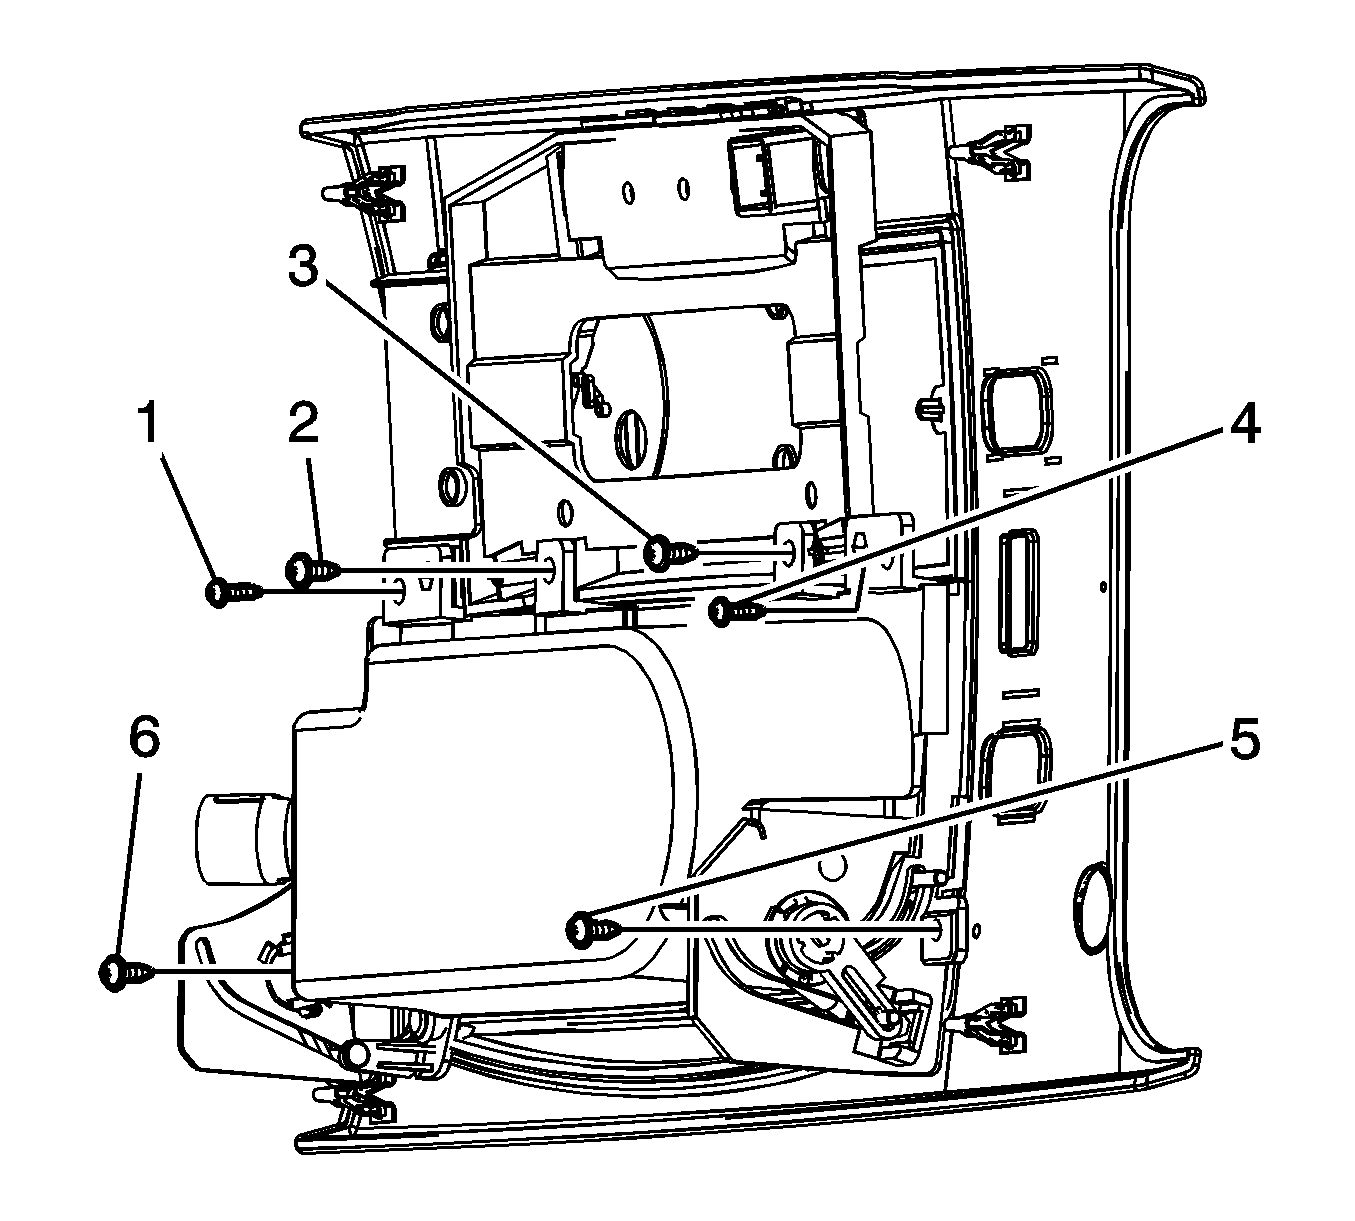
Important: There may or may not be washers/shims located between the console compartment and the upper trim plate in the screw locations (1-6). Note the location and number of shims removed from each location this will be important in the reassembly.
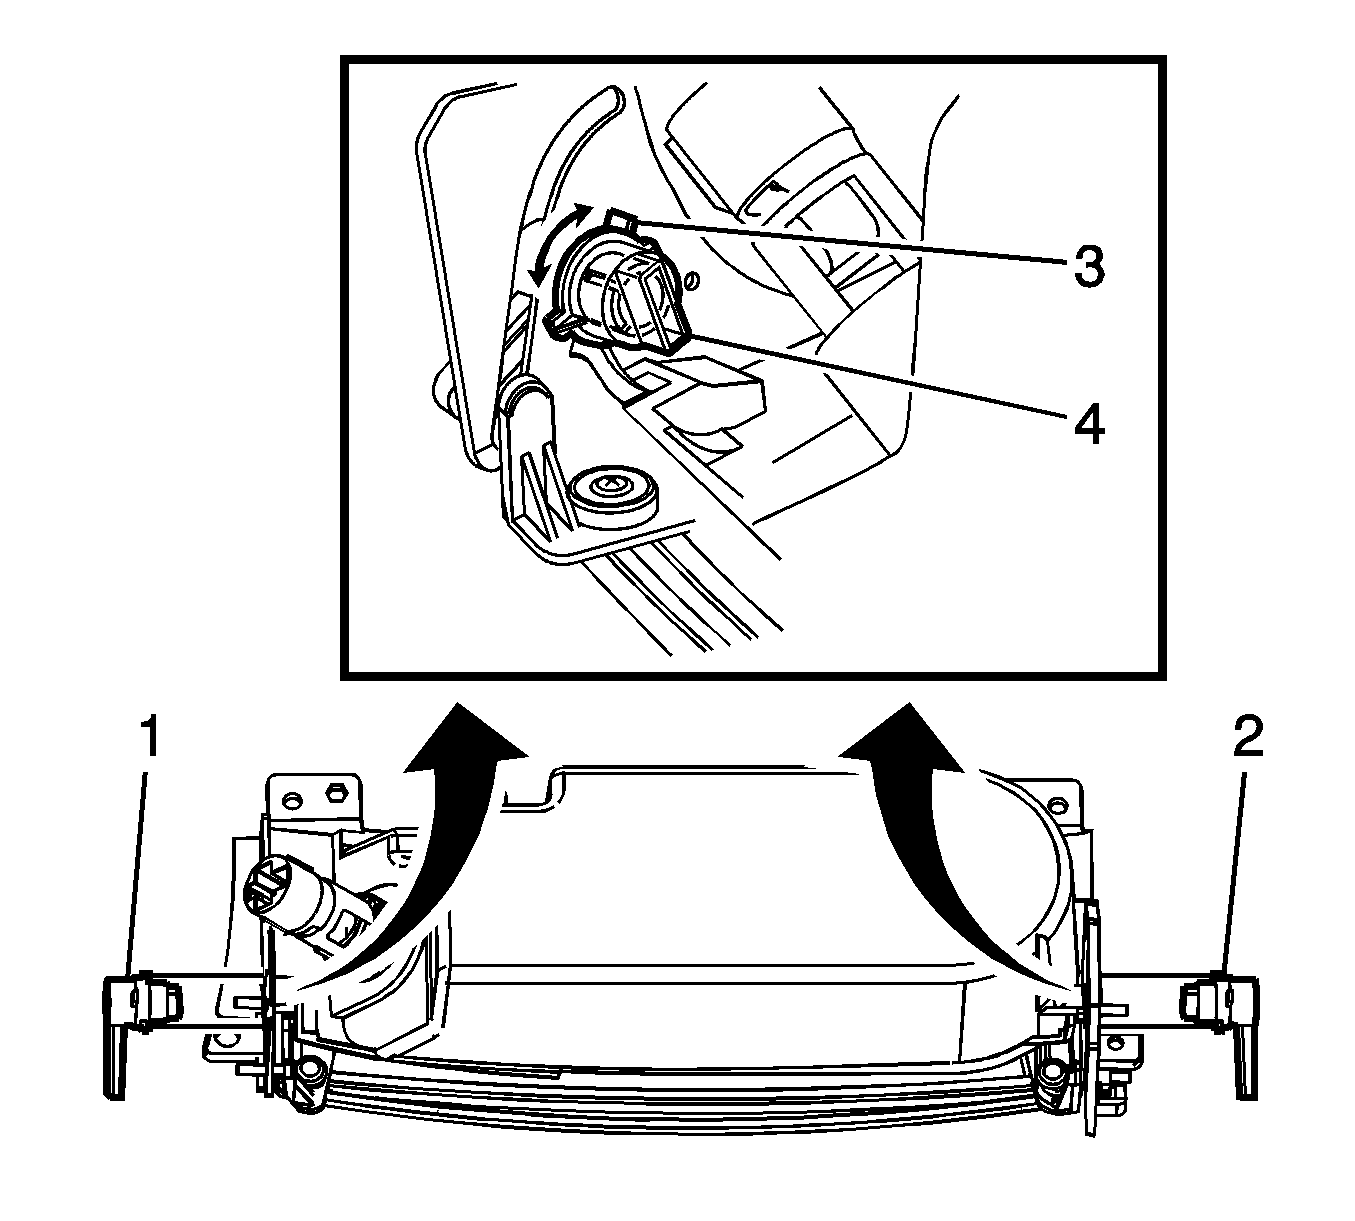
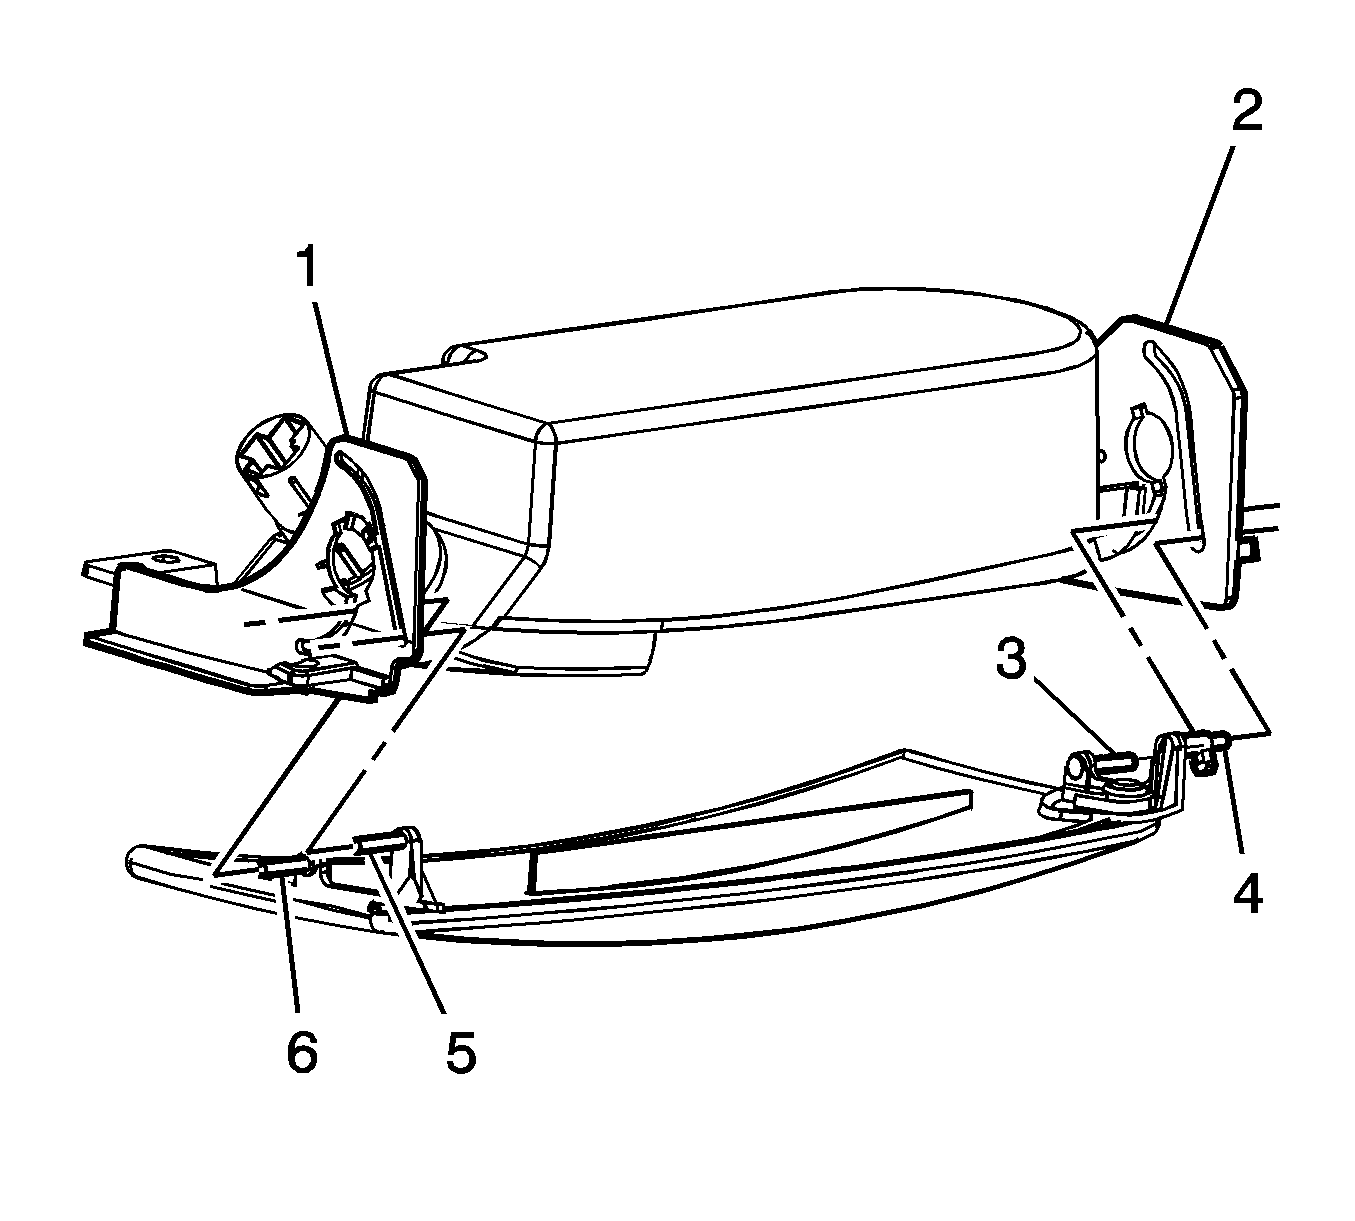
| 5.1. | Spread the compartment door guides (1, 2). |
| 5.2. | Remove the compartment door front guide pins (5, 6) from the compartment door front guide (1). |
| 5.3. | Remove the compartment door rear guide pins (3, 4) from the compartment door rear guide (2). |
Installation Procedure
- Install the console compartment divider.
- Push the ash receptacle into the console compartment until the retaining tab (1) snaps into place.
- Install the floor console cigar lighter and retainer. Refer to Cigar Lighter Receptacle or 12-Volt Accessory Power Receptacle Replacement .
- Install the console compartment door .
- Apply a small amount of Lubriplate Lubricant GM P/N 1050109 or in Canada P/N 5264008 to the door guides (1, 2) and the hinge pins (4-6).
- Install the door dampeners (1, 2).
- Install the console compartment door spring (1).
- Ensure the door opens and closes properly without binding.
- Install the screws (1-6) securing the console compartment to the console upper trim plate.
- Ensure the console compartment and door assembly is flush with the console trim plate.
- Install the console upper trim plate. Refer to Console Trim Plate Replacement .


| 4.1. | Spread the compartment door guides (1, 2). |
| 4.2. | Insert the compartment door rear guide pins (3, 4) into the compartment door rear guide (2). |
| 4.3. | Insert the compartment door front guide pins (5, 6) into the compartment door front guide (1). |


Notice: Refer to Fastener Notice in the Preface section.

Important: Install the same number of shims/washers in the locations noted in the removal procedure.
Tighten
Tighten the nuts to 2 N·m (18 lb in).
