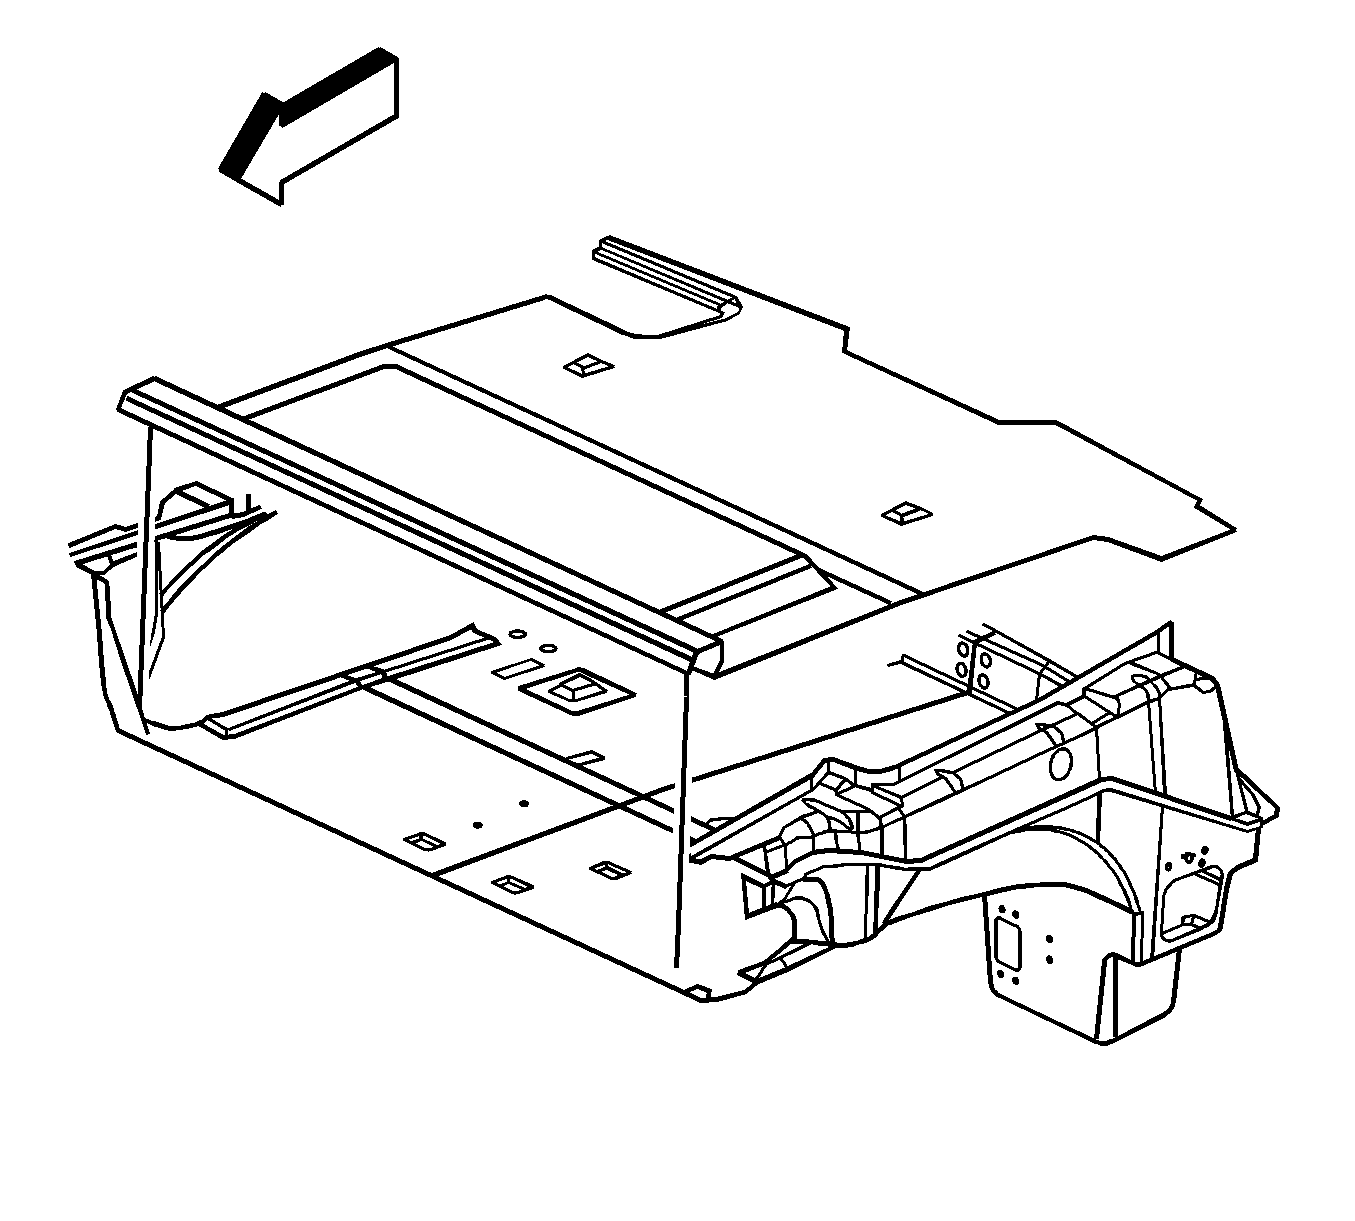
For 1990-2009 cars only
Removal Procedure
- Open the rear compartment.
- Remove the rear compartment sill plate. Refer to Rear Compartment Sill Trim Plate Replacement .
- Remove the roof lift-off panel/window latch trim. Refer to Roof Lift Off Panel/Window Latch Trim Cover Replacement .
- Remove the rear compartment partition. Refer to Rear Compartment Front Partition Replacement .
- Remove the forward floor trim plate attachments. Remove the elastic loops from the pins.
- Lift up on the center of the floor trim plate and remove either edge from the side panel.
- Remove the floor trim plate from the rear compartment.

Installation Procedure
- Position the floor trim plate into the rear compartment.
- Engage the sides of the floor trim plate, pressing the sides into place.
- Install the forward floor trim plate attachments. Attach the elastic loops to the pins.
- Install the rear compartment partition. Refer to Rear Compartment Front Partition Replacement .
- Install the roof lift-off panel/window latch trim. Refer to Roof Lift Off Panel/Window Latch Trim Cover Replacement .
- Install the rear compartment sill plate. Refer to Rear Compartment Sill Trim Plate Replacement .
- Close the rear compartment.

