For 1990-2009 cars only
Removal Procedure
The housings are adhesively retained to the backside of the fascia and must be removed prior to paint refinish operations every time the fascia is refinished due to paint bridging concerns. Adhesive tape cannot be removed and re-used with retention confidence. Thus the rear object sensor housing is considered a onetime use application, requiring that all 4 housings be replaced every time the fascia is refinished.
- Remove the rear fascia. Refer to Rear Bumper Fascia Replacement .
- Remove the rear object sensor. Refer to Rear Object Sensor Replacement .
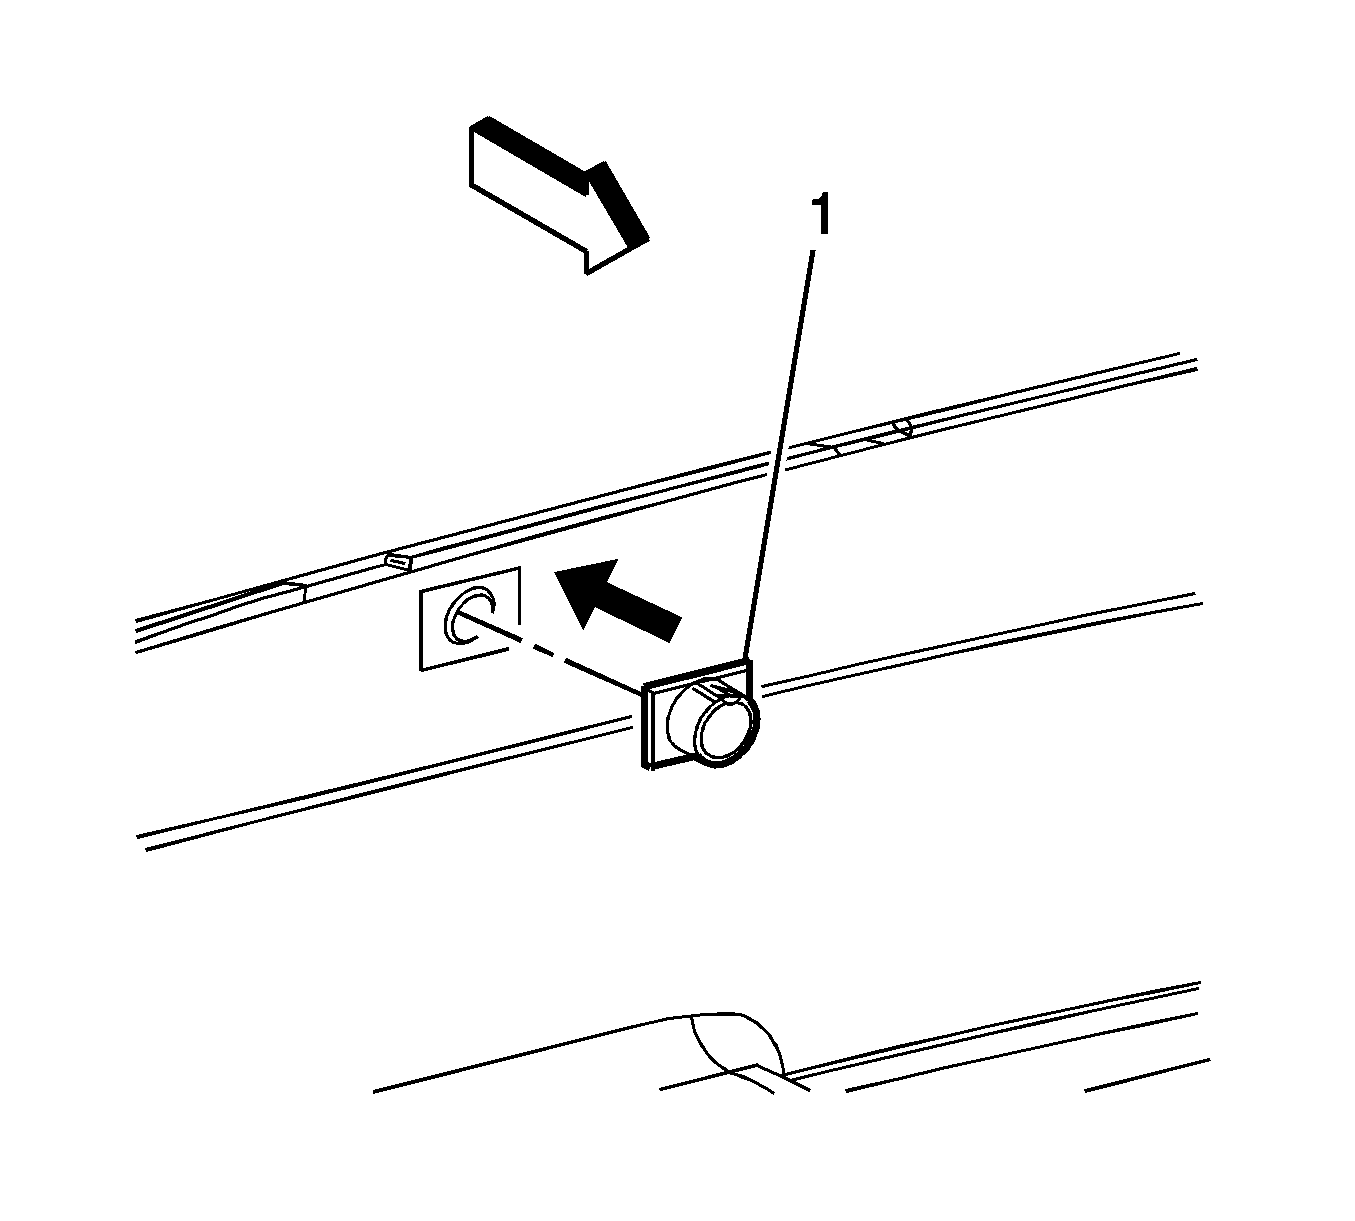
- Remove the sensor housing (1) from the fascia.
- Remove all remaining adhesive.

Installation Procedure
- Clean the sensor housing mating surface of the fascia with a lint-free rag using a naptha solvent or equivalent.
- Mating surface must be dry before applying adhesion promoter.
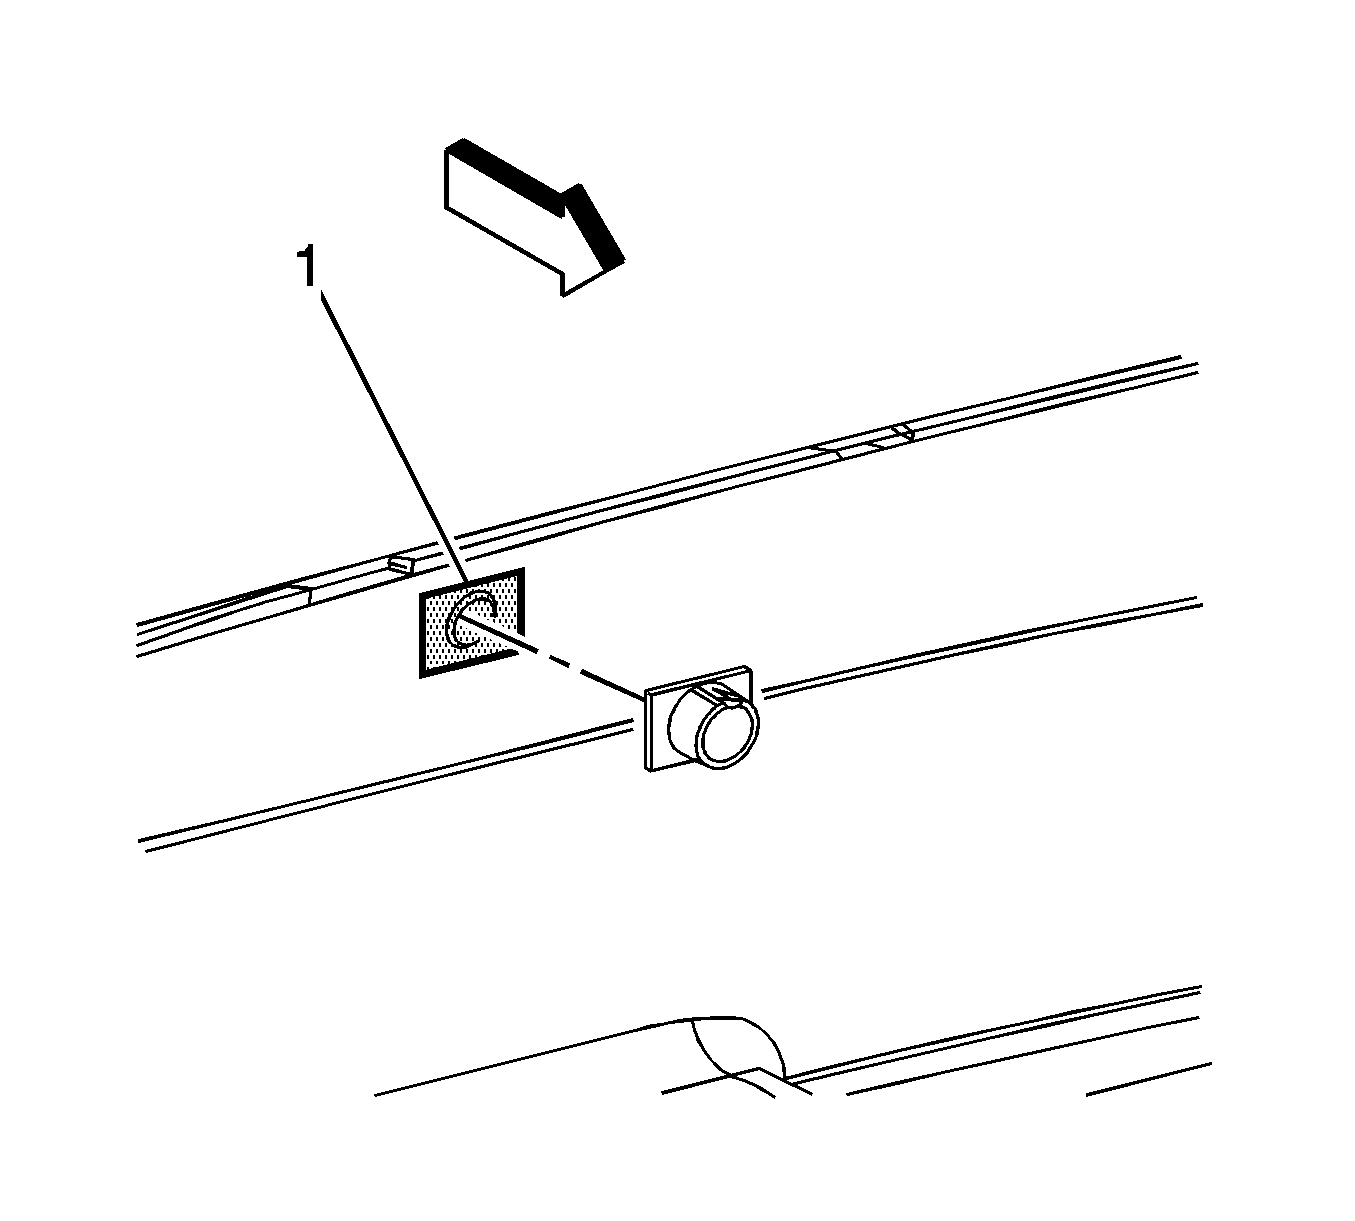
- Apply adhesion promoter 3M Products P/N 06396 or equivalent to the sensor housing mating surface (1) of the fascia.
- Remove the protective paper backing from the sensor housing.
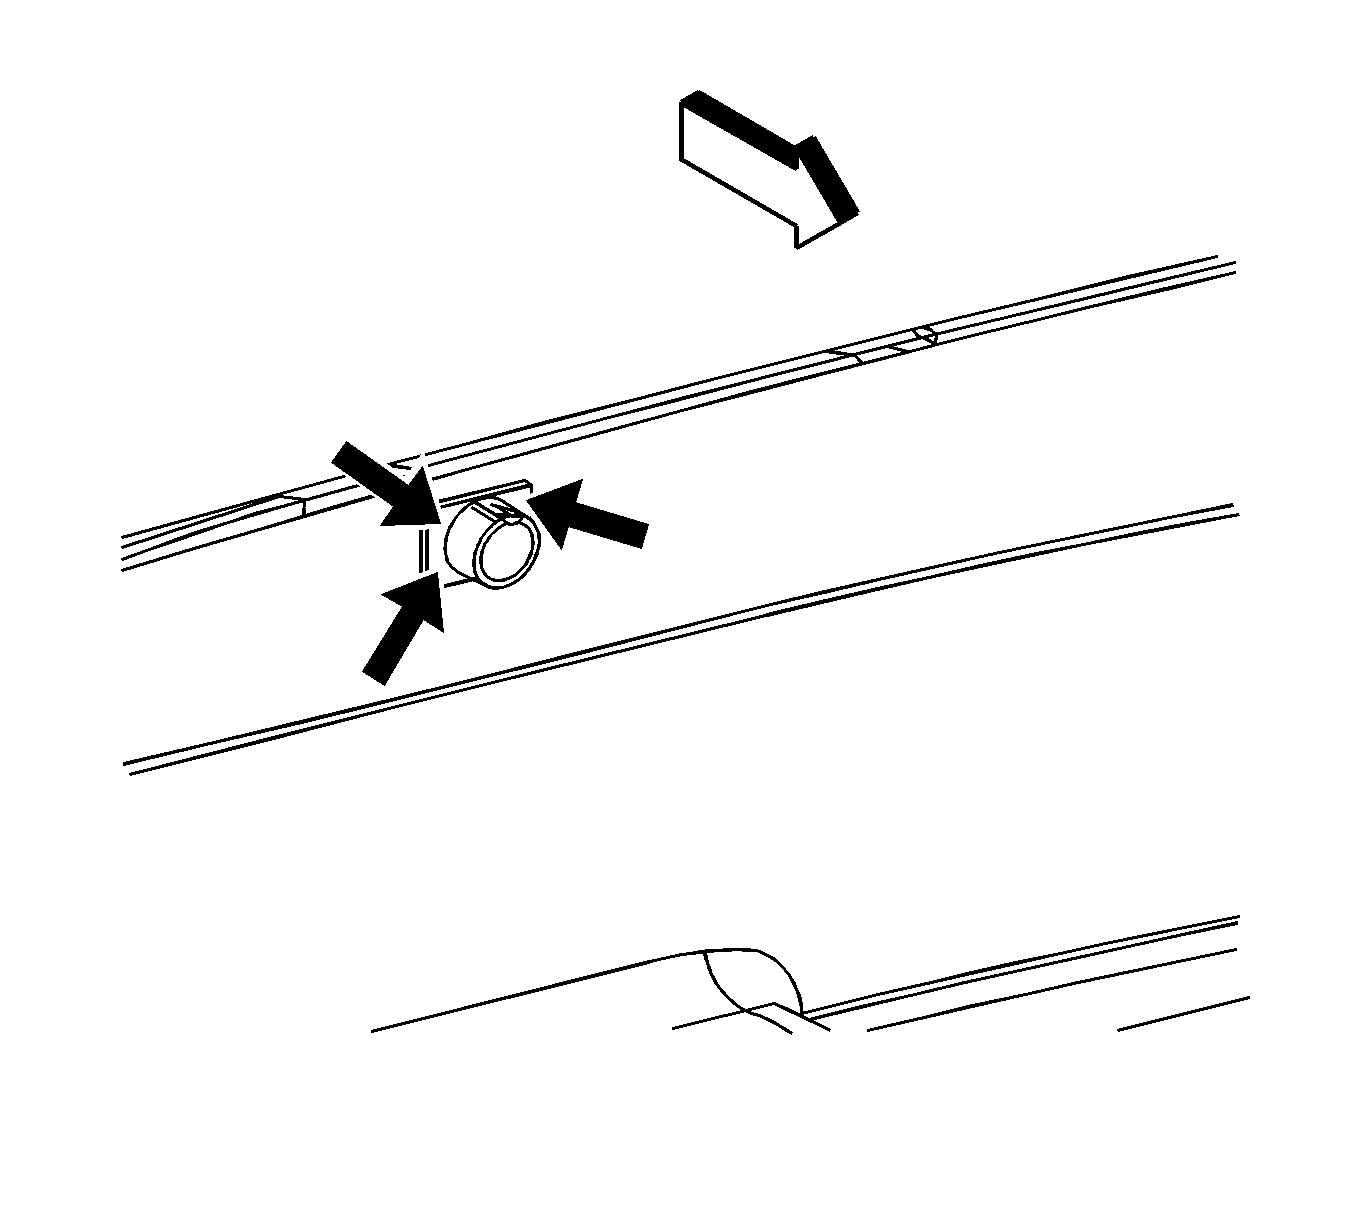
- Position the sensor housing (1) to the fascia.
- Press firmly to secure the sensor housing to the fascia.
- Install the rear object sensor. Refer to Rear Object Sensor Replacement .
- Install the rear fascia. Refer to Rear Bumper Fascia Replacement .
Important: The adhesive and mating surfaces temperature must be between 19-43°C (66-110°F).
Important: Adhesion promoter MUST be used prior to installing the new sensor housing.