For 1990-2009 cars only
Removal Procedure
- Manually open the folding top as shown in the illustration. Refer to Folding Top Manual Operation.
- Place a protective covering over the interior of the vehicle and the adjacent body panels.
- Remove the headliner. Refer to Folding Top Headlining Trim Panel Replacement.
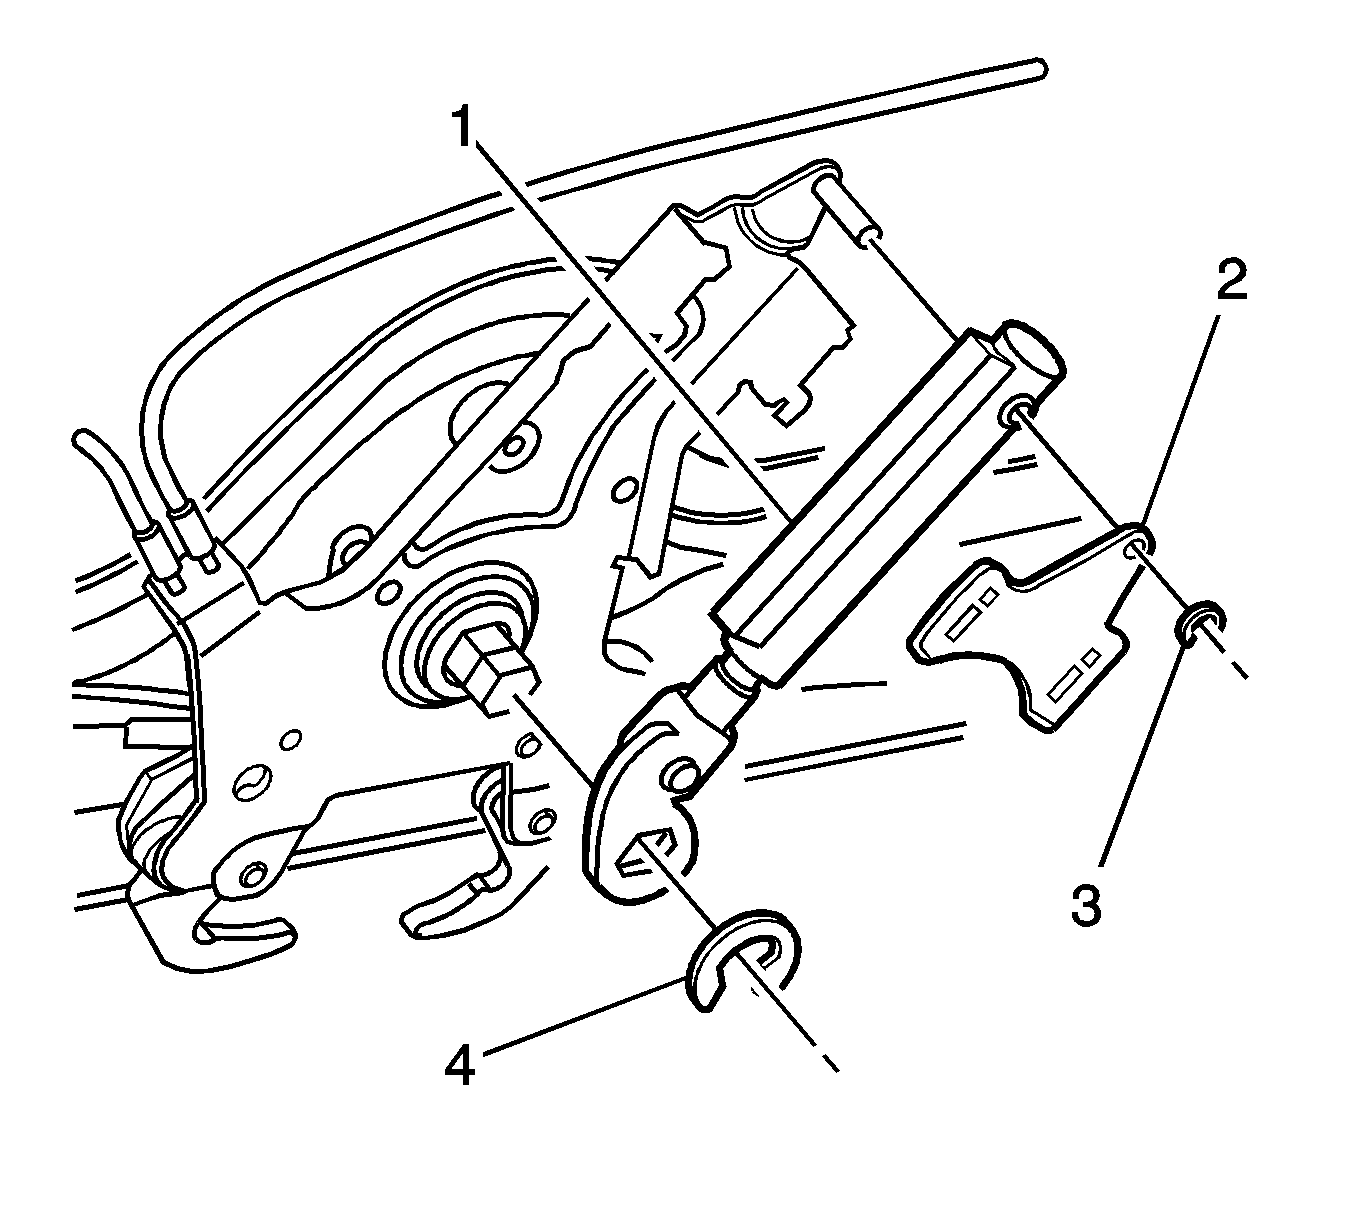
- Remove the C-clip (4) from the latch actuator shaft.
- Remove the spring clip (3) from the hydraulic cylinder mounting pin.
- Remove the retainer cover (2). Pull the retainer cover down off the mounting pin and slide forward.
- Remove the hydraulic cylinder and the actuator arm from the latch (1).
- Cut the tie wraps holding the hydraulic cylinder lines and the electrical wires to the upper roof panel.
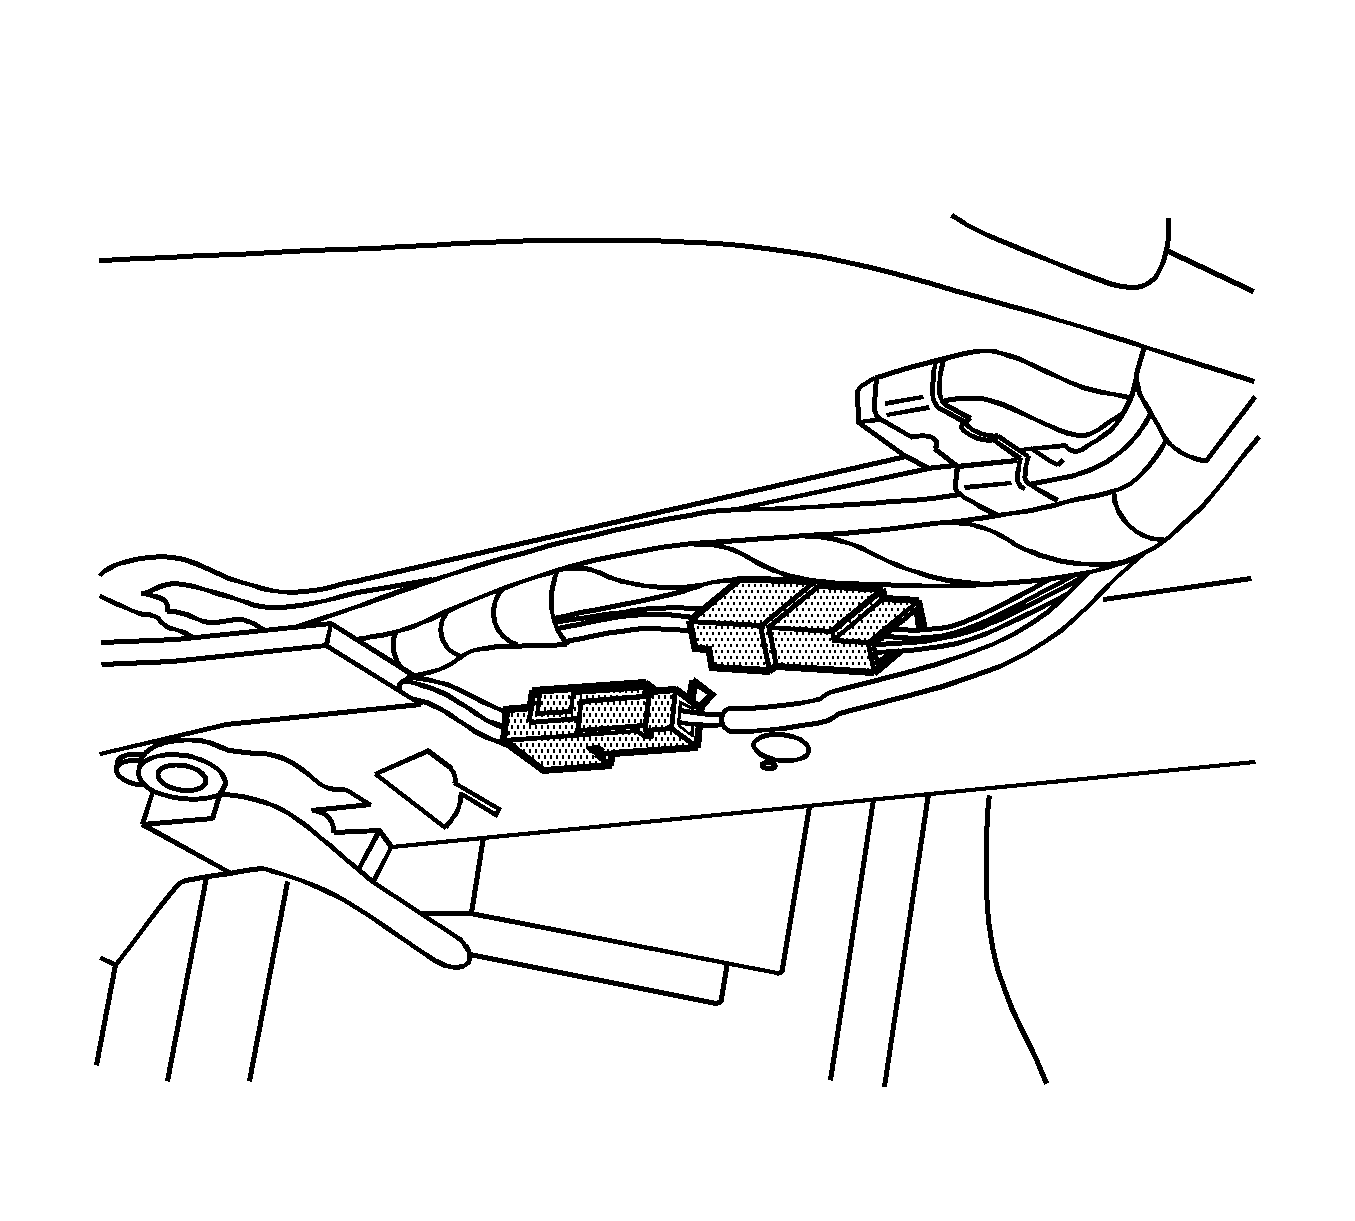
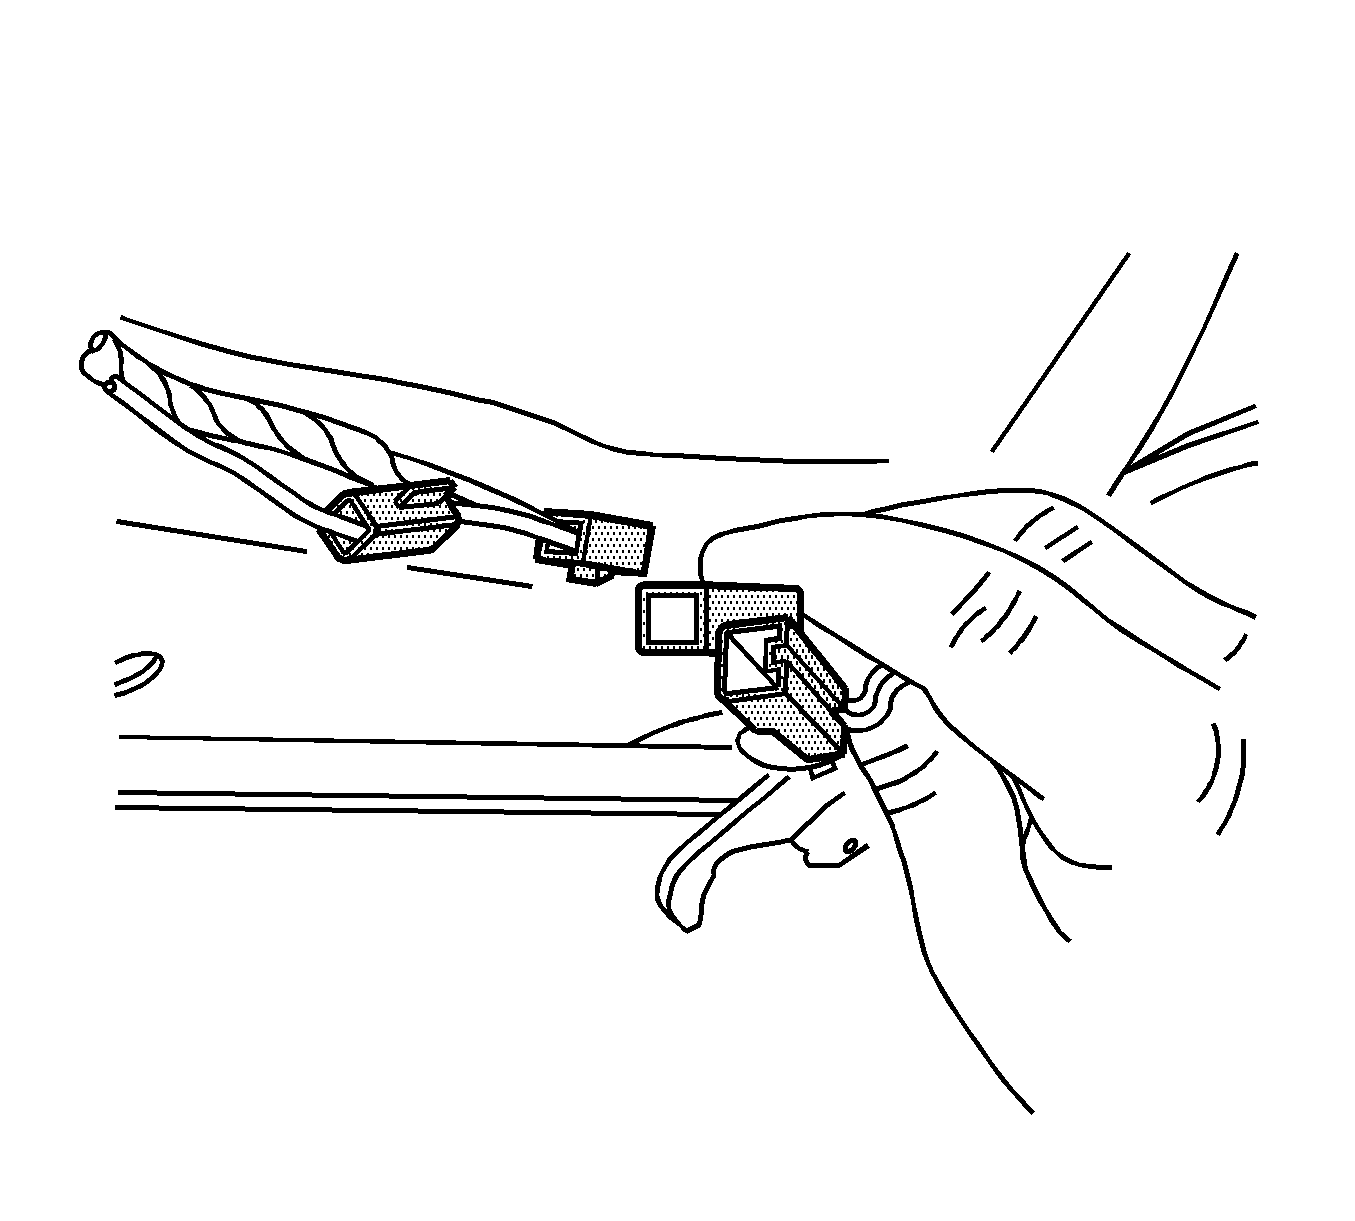
- Disconnect the electrical connectors from the position sensor switches.
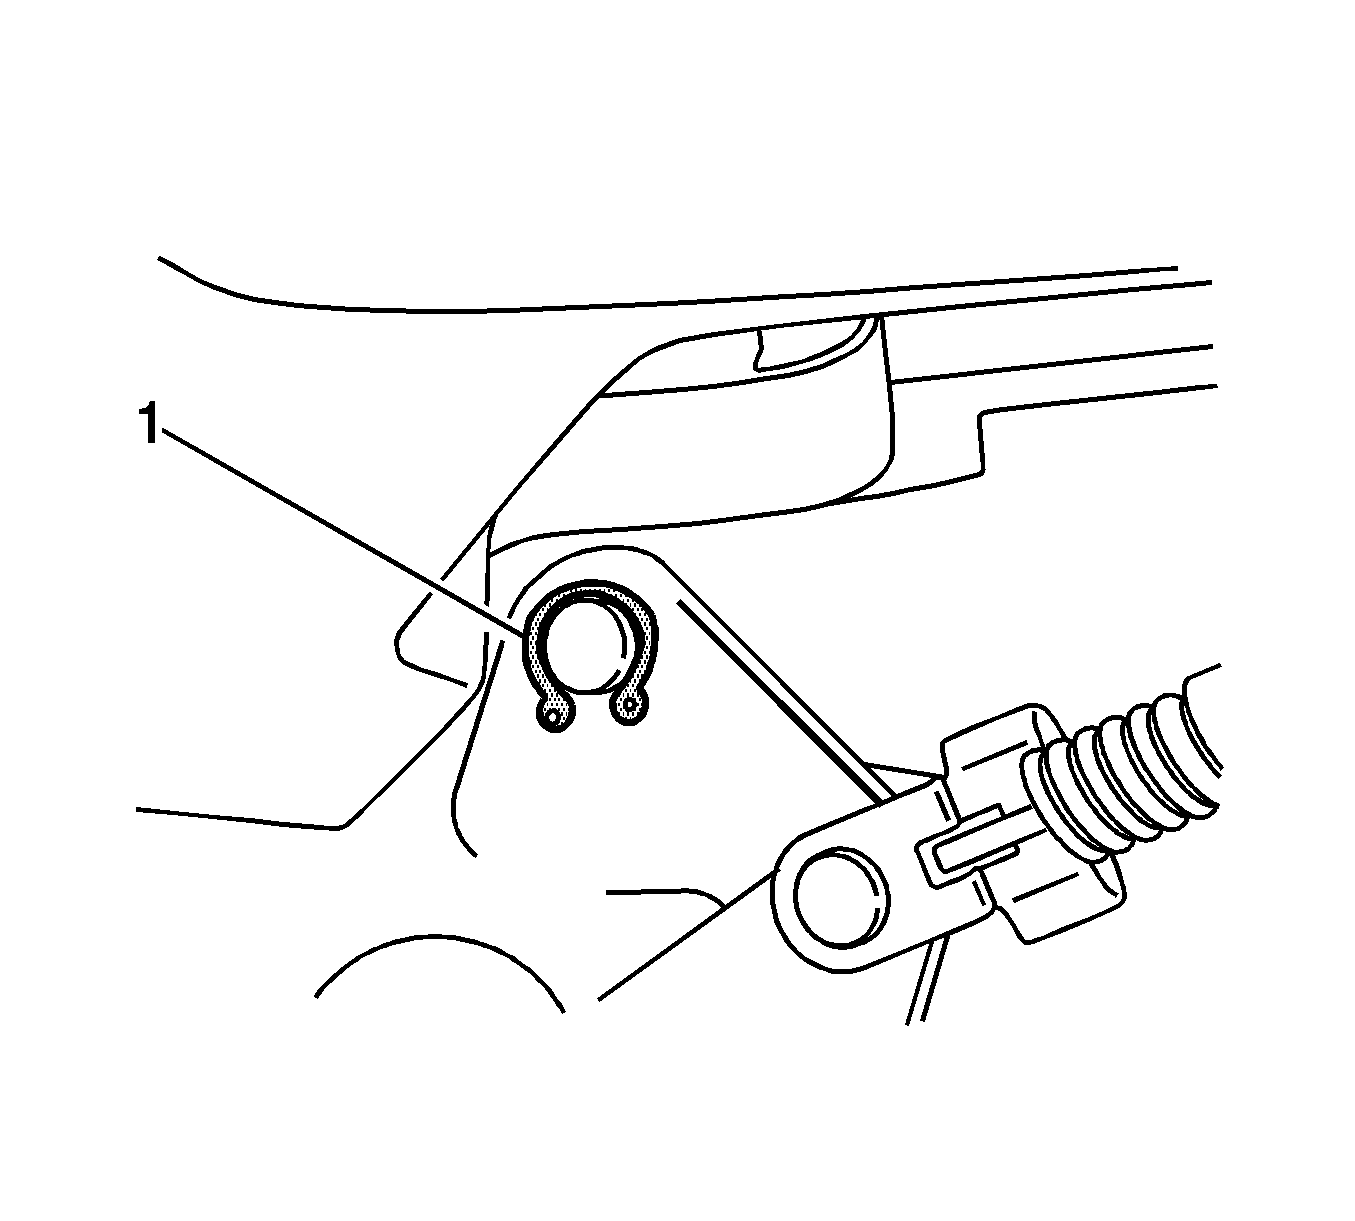
- Remove the rear latch hook snap-ring (1) from the hinge.
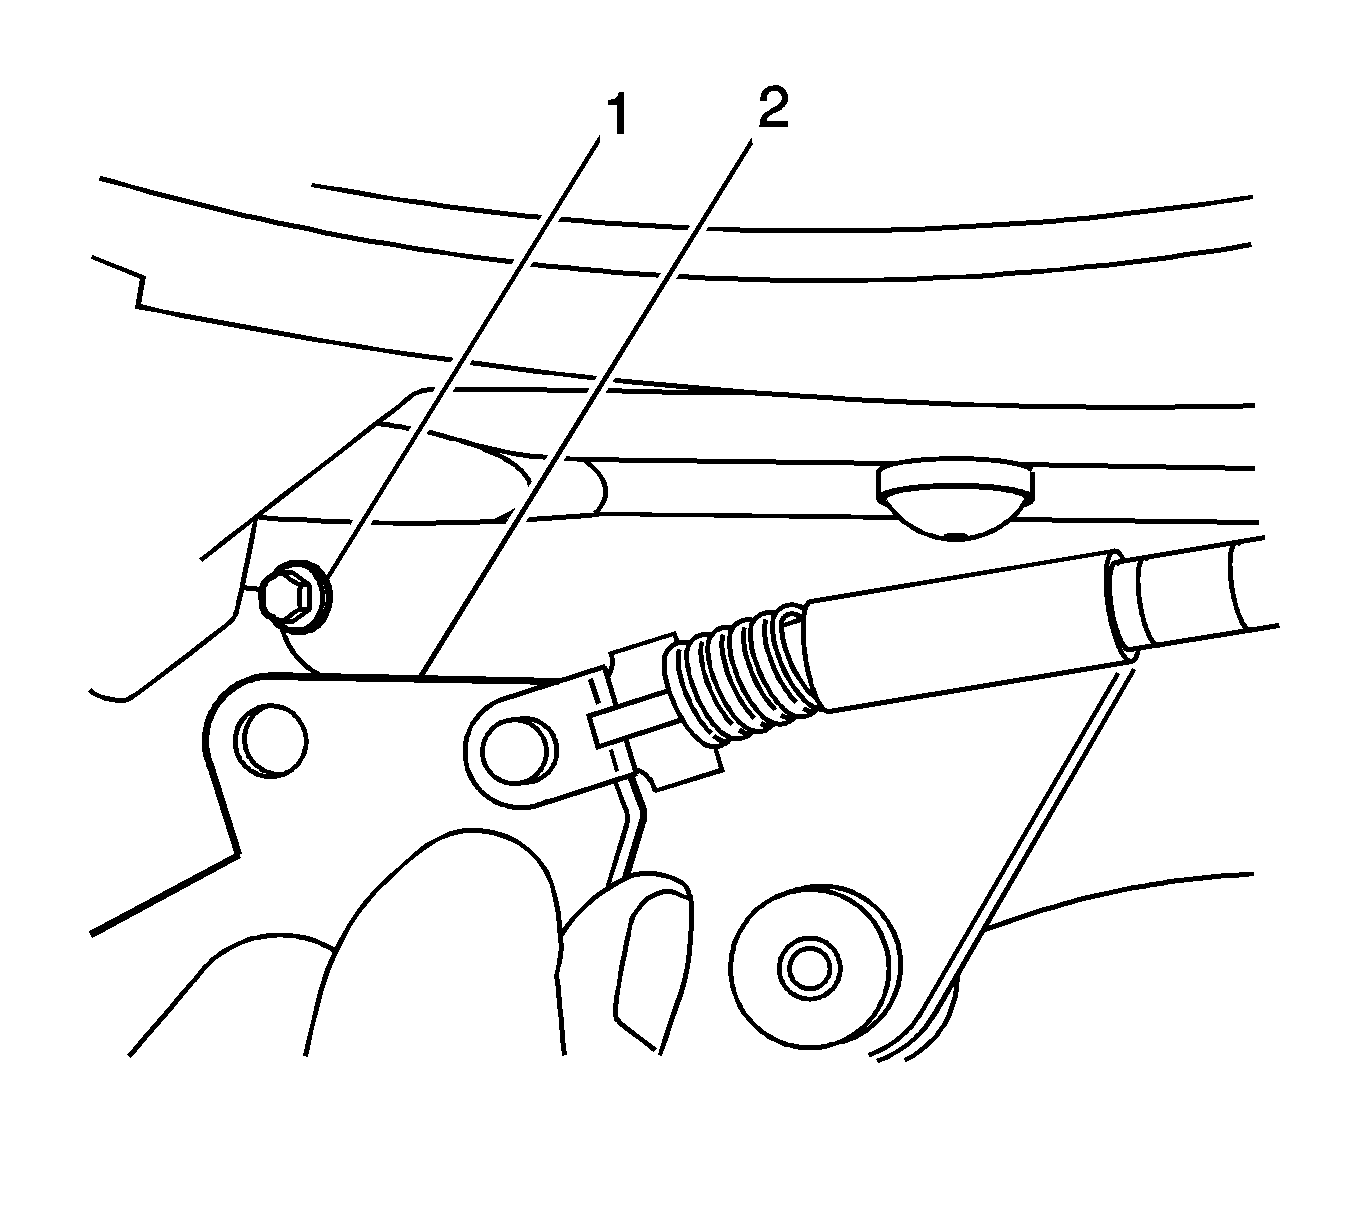
- Remove the rear latch hook and cable (2) from the hinge (1).
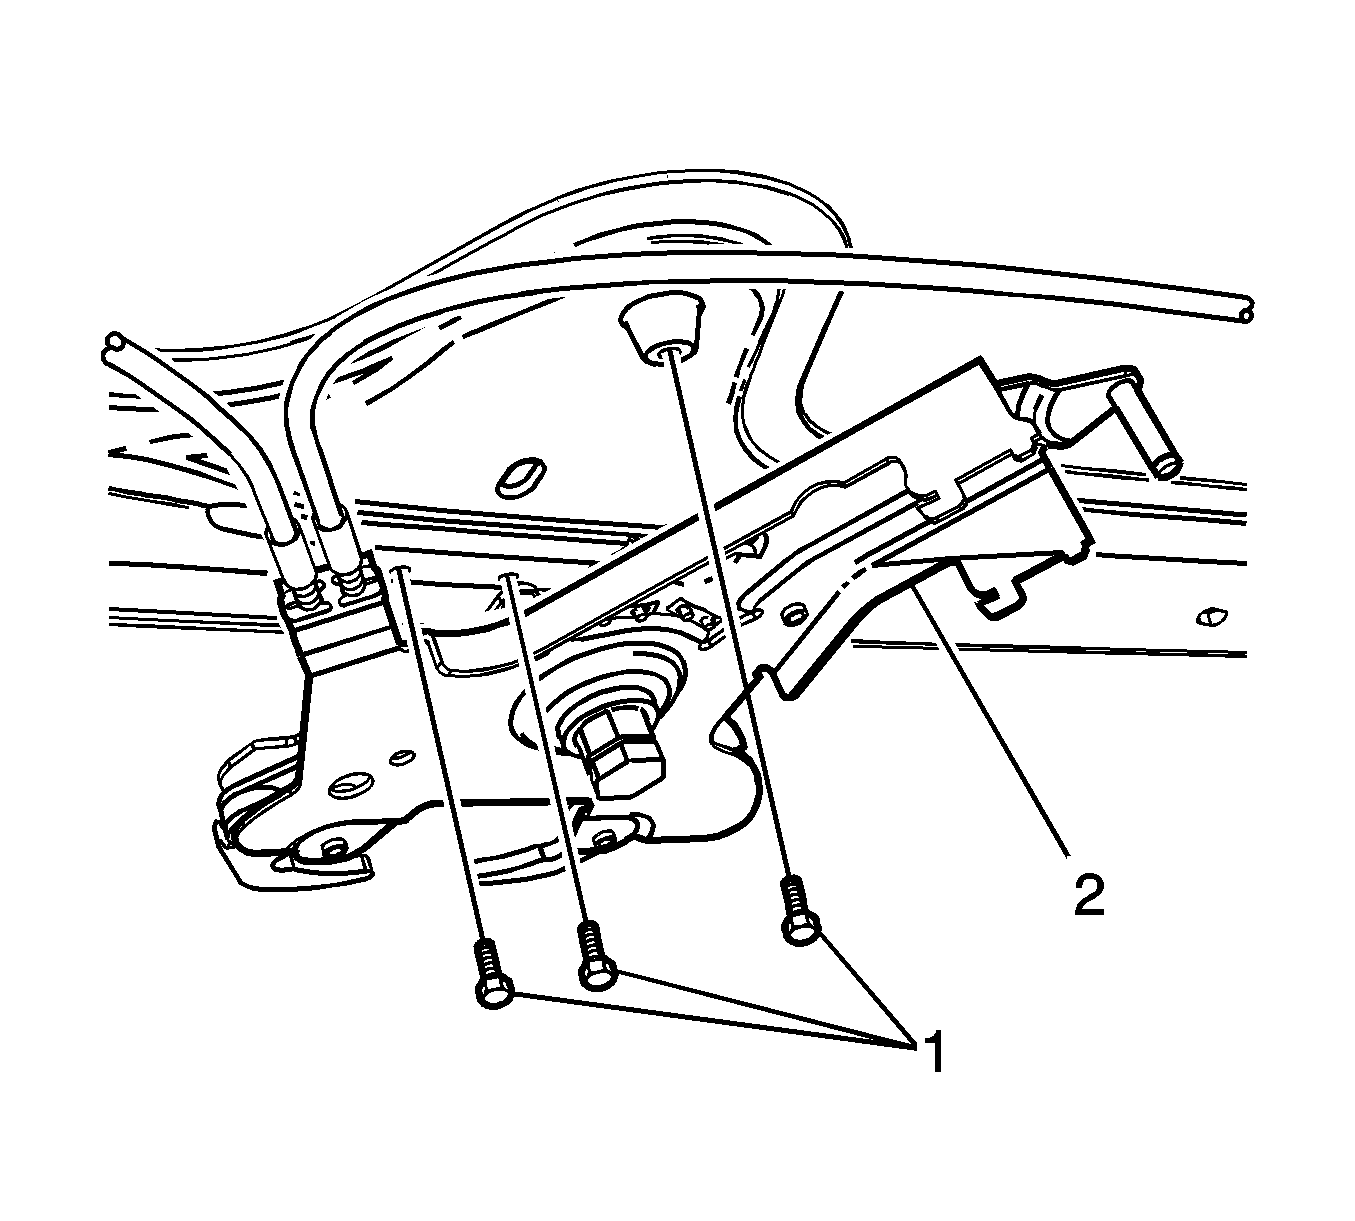
- Remove the folding top latch bolts (1).
- Remove the folding top latch (2) from the vehicle.
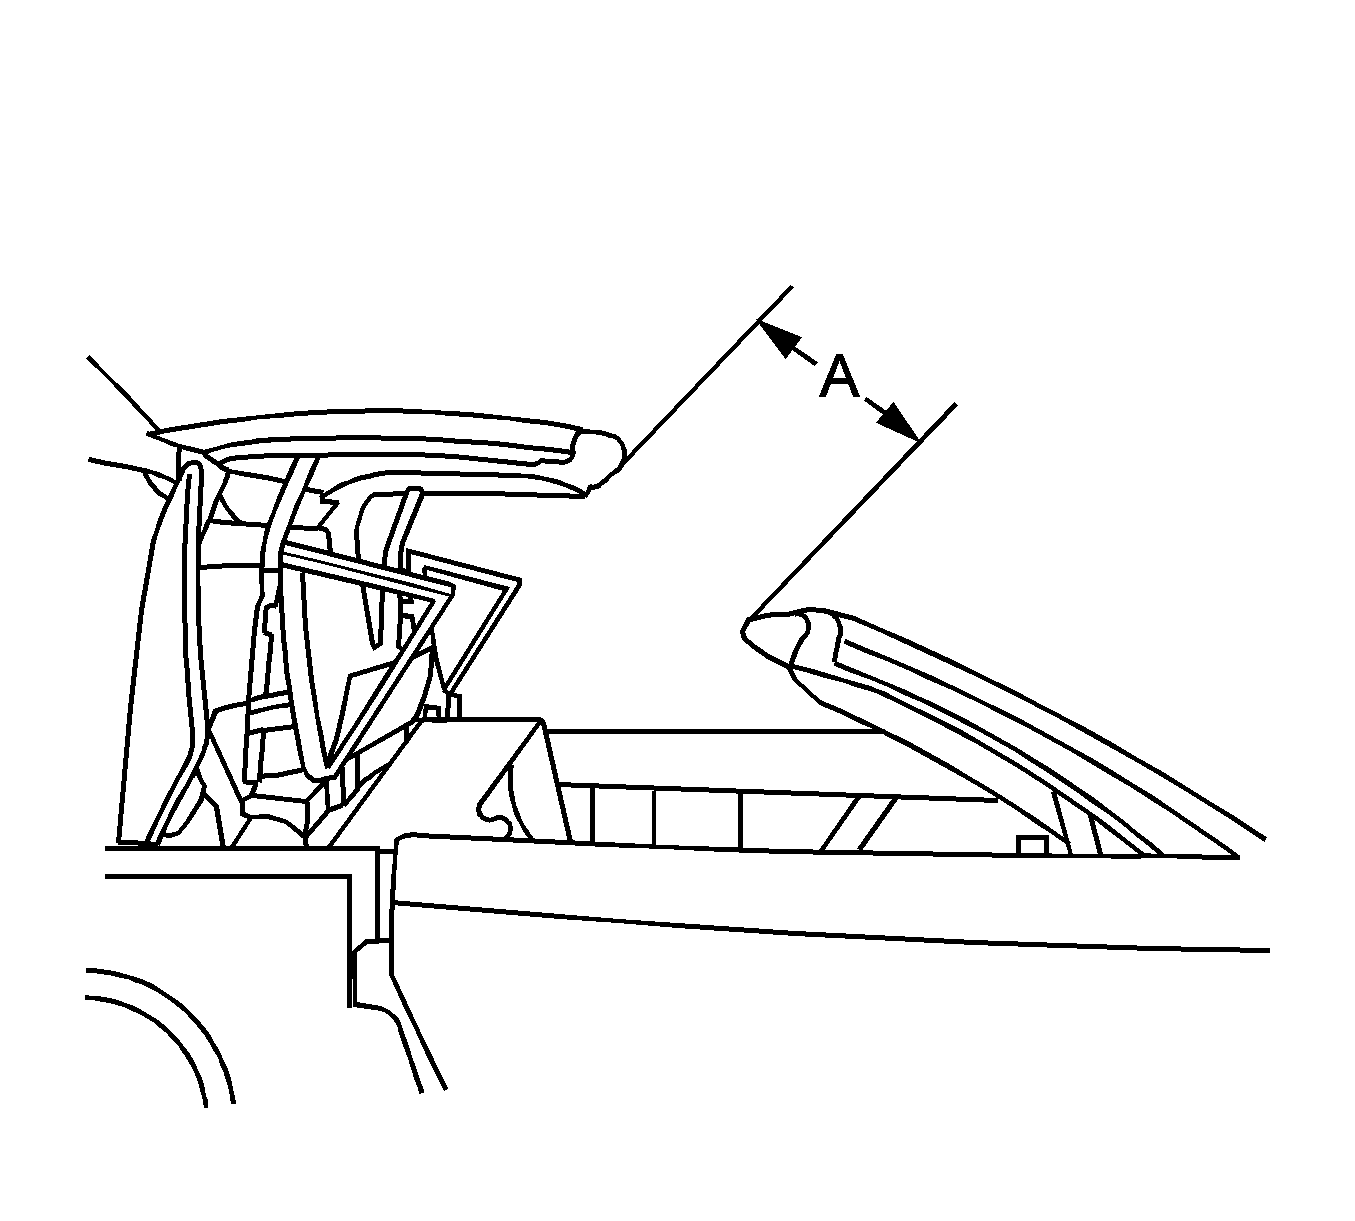
The distance (A) from the windshield header to the leading edge of the folding top panel is 400 mm (15.75 in).
Note: When removing the tie wraps, ensure that the hydraulic lines and the electrical wires are protected.
Installation Procedure
- Position the folding top latch (2) to the vehicle as rearward as possible.
- Apply LOCTITE™ Blue, GM P/N 12345382 (Canadian P/N 10953489) or equivalent to the bolts.
- Install the bolts (1) to the folding top latch and tighten to 8 N·m (71 lb in).
- Install the rear latch hook and cable (2) to the hinge (1).
- Install the rear latch hook snap-ring (1) to the hinge.
- Connect the electrical connectors to the position sensor switches.
- Install the hydraulic cylinder and the actuator arm to the latch (1).
- Install the hydraulic cylinder retainer cover (2).
- Install the spring-clip (3) to the hydraulic cylinder retainer cover.
- Install the C-clip (4) to the latch actuator shaft.
- Secure the hydraulic cylinder lines to the folding top panel with new tie wraps.
- Remove the protective covering.
- Manually close the folding top. Refer to Folding Top Manual Operation.
- Cycle the folding top under power through one complete cycle in both directions.
- Inspect the folding top for proper operation. Refer to Power Folding Top Description and Operation.
- Install the headliner. Refer to Folding Top Headlining Trim Panel Replacement.

Caution: Refer to Fastener Caution in the Preface section.


