For 1990-2009 cars only
Removal Procedure
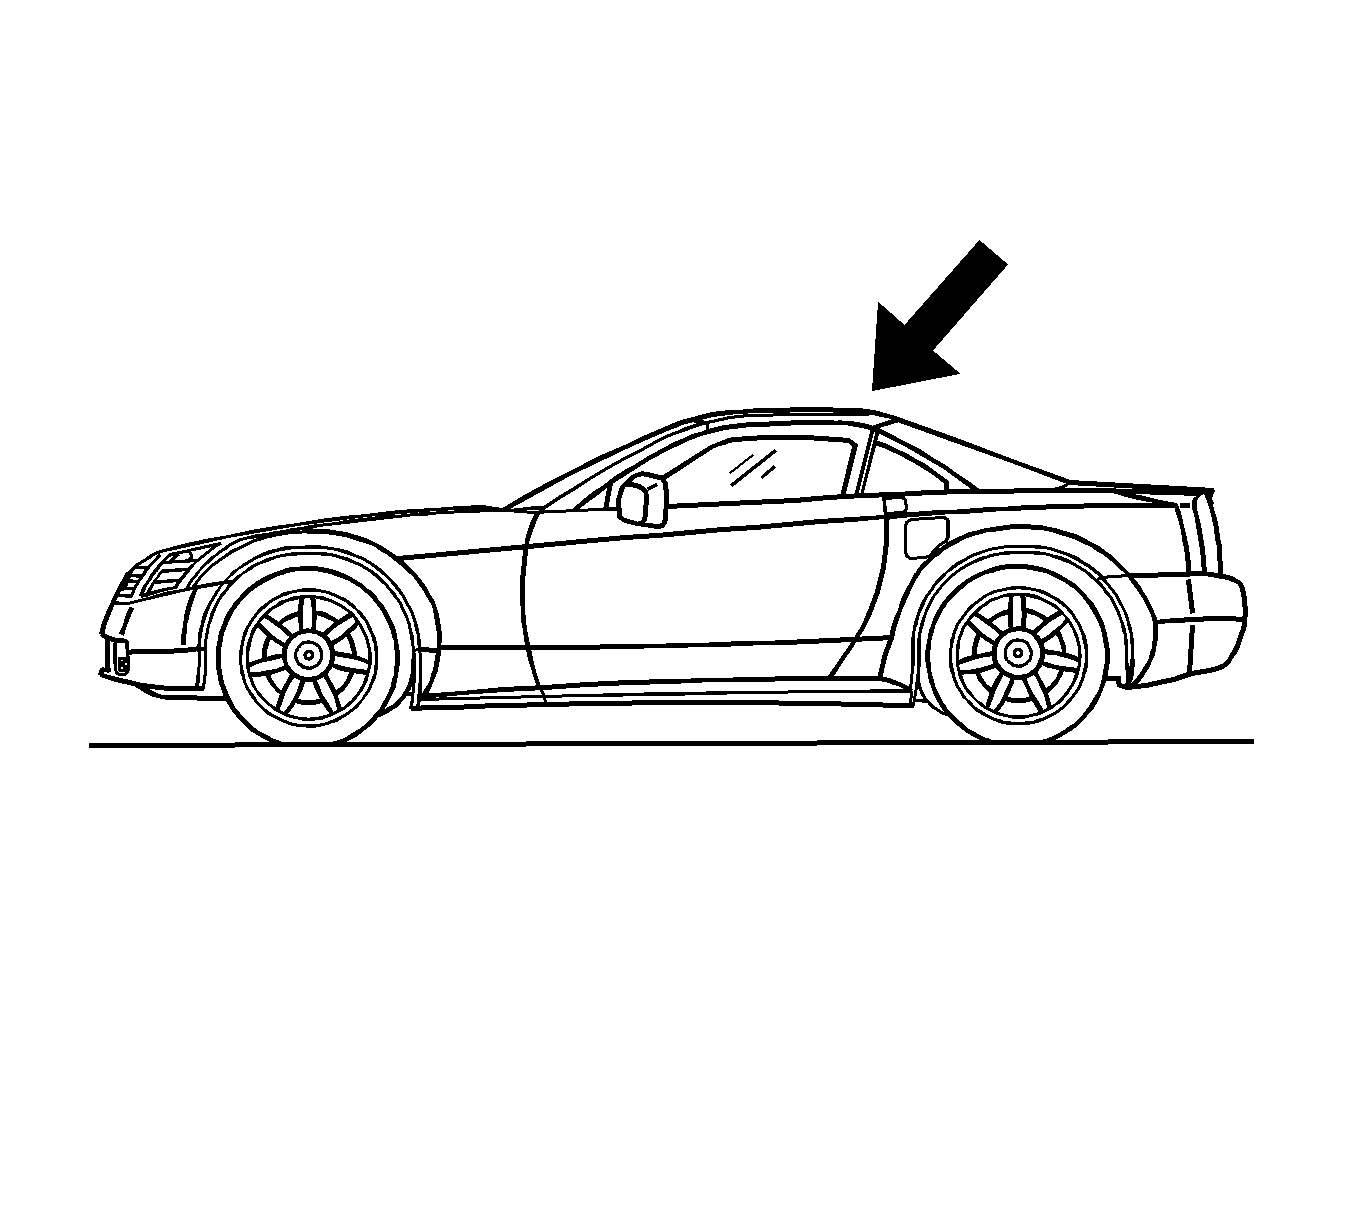
- Place the folding top in the coupe position.
- Open the rear compartment.
- Disconnect the battery. Refer to Battery Negative Cable Disconnection and Connection.
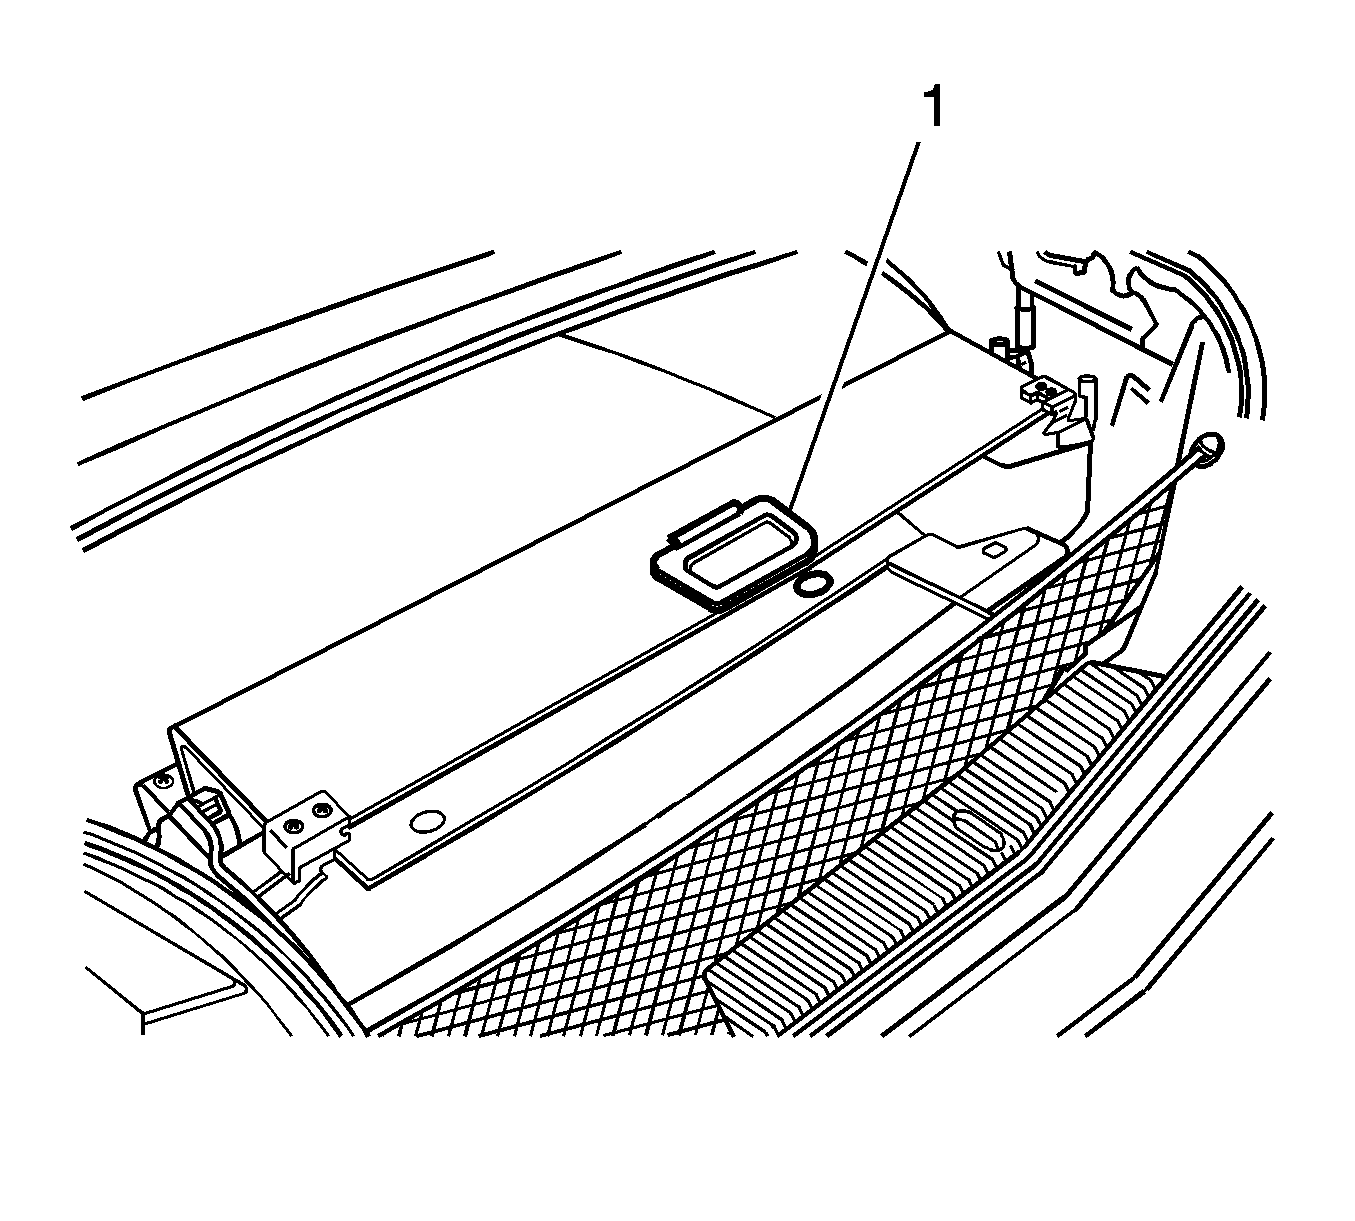
- Lower the rear compartment partition (1).
- Place a protective covering over the rear compartment interior and the adjacent body panels.
- Remove the side compartment trim. Refer to Rear Compartment Side Trim Replacement - Left Side or to Rear Compartment Side Trim Replacement - Right Side.
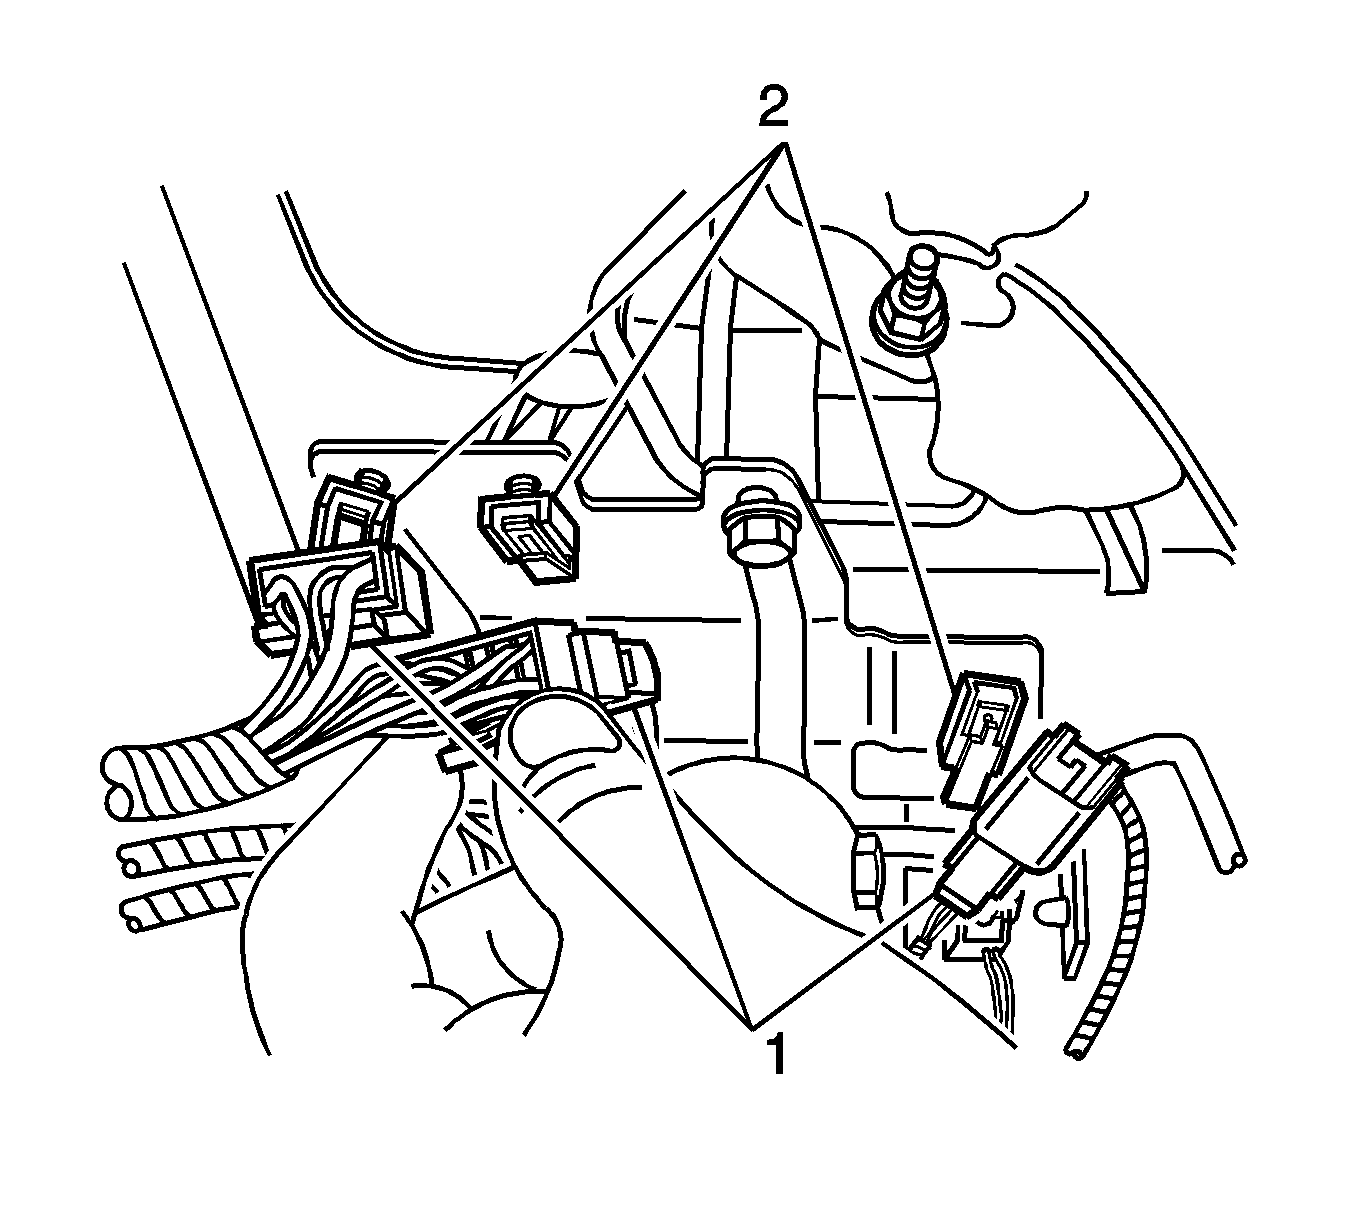
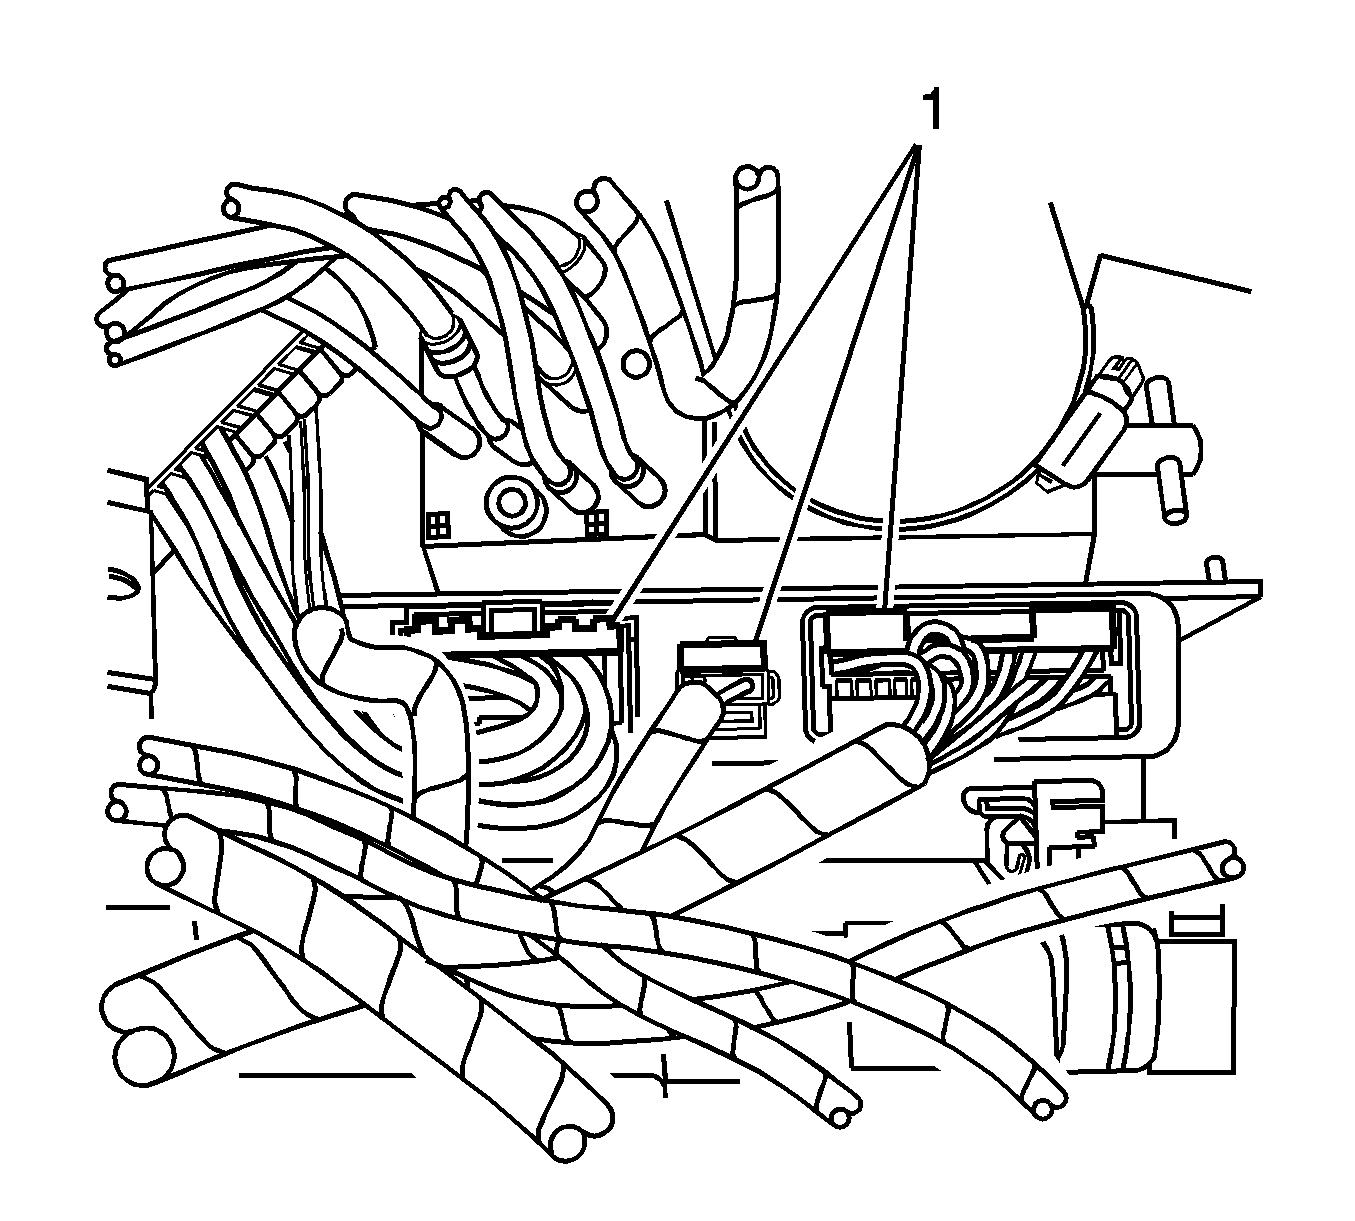
- Remove 3 electrical connectors (1) from the hydraulic pump bracket (2).
- Remove 2 electrical connectors (1) from the pump bracket (2).
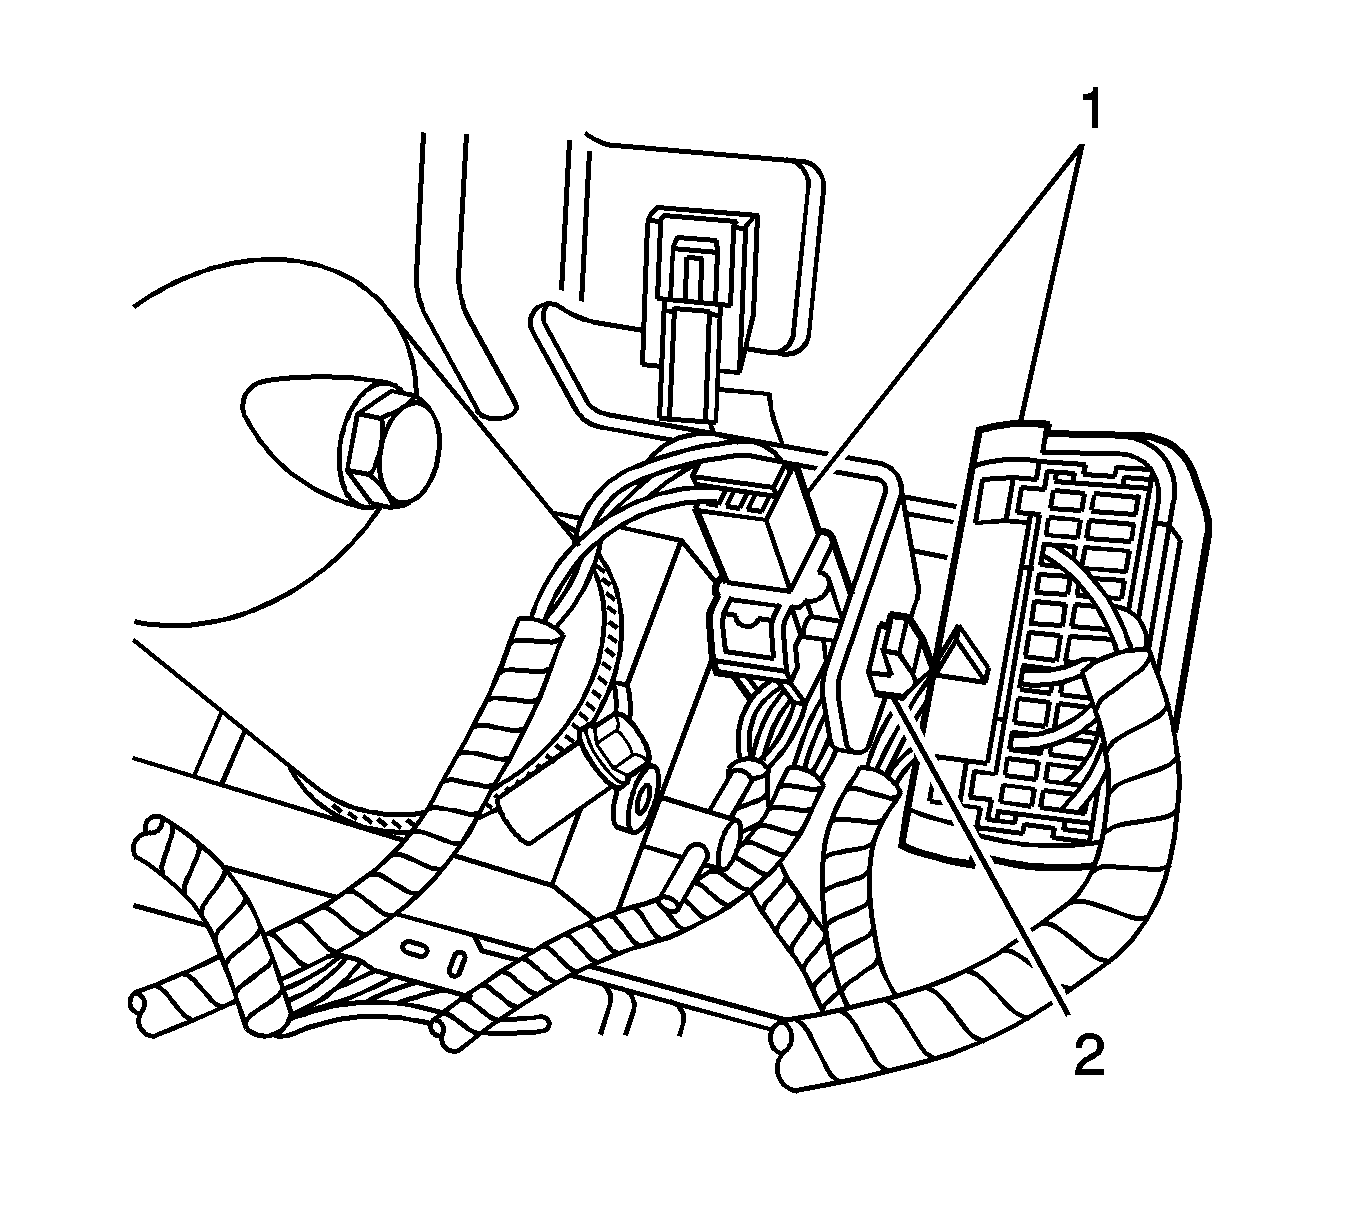
- Disconnect 3 electrical connectors (1) from the folding top control module.
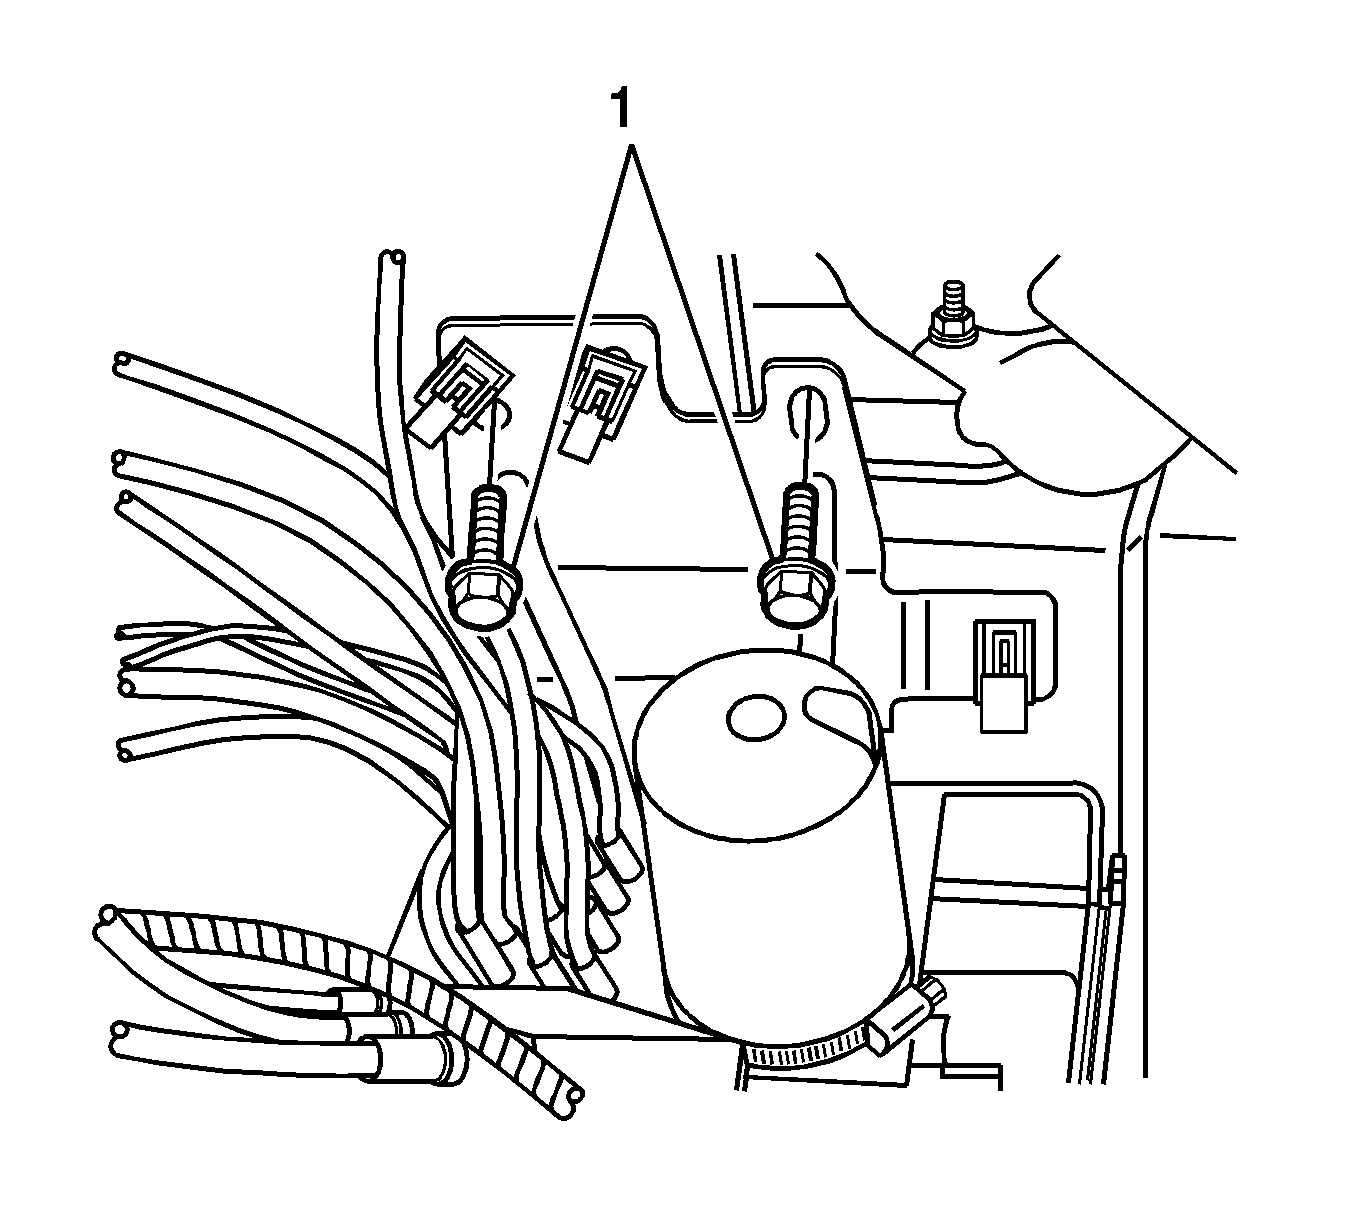
- Remove the bolts (1) from the hydraulic pump bracket.
- Lift the pump up and out of the storage compartment and set the pump in the rear compartment on the protective covering.
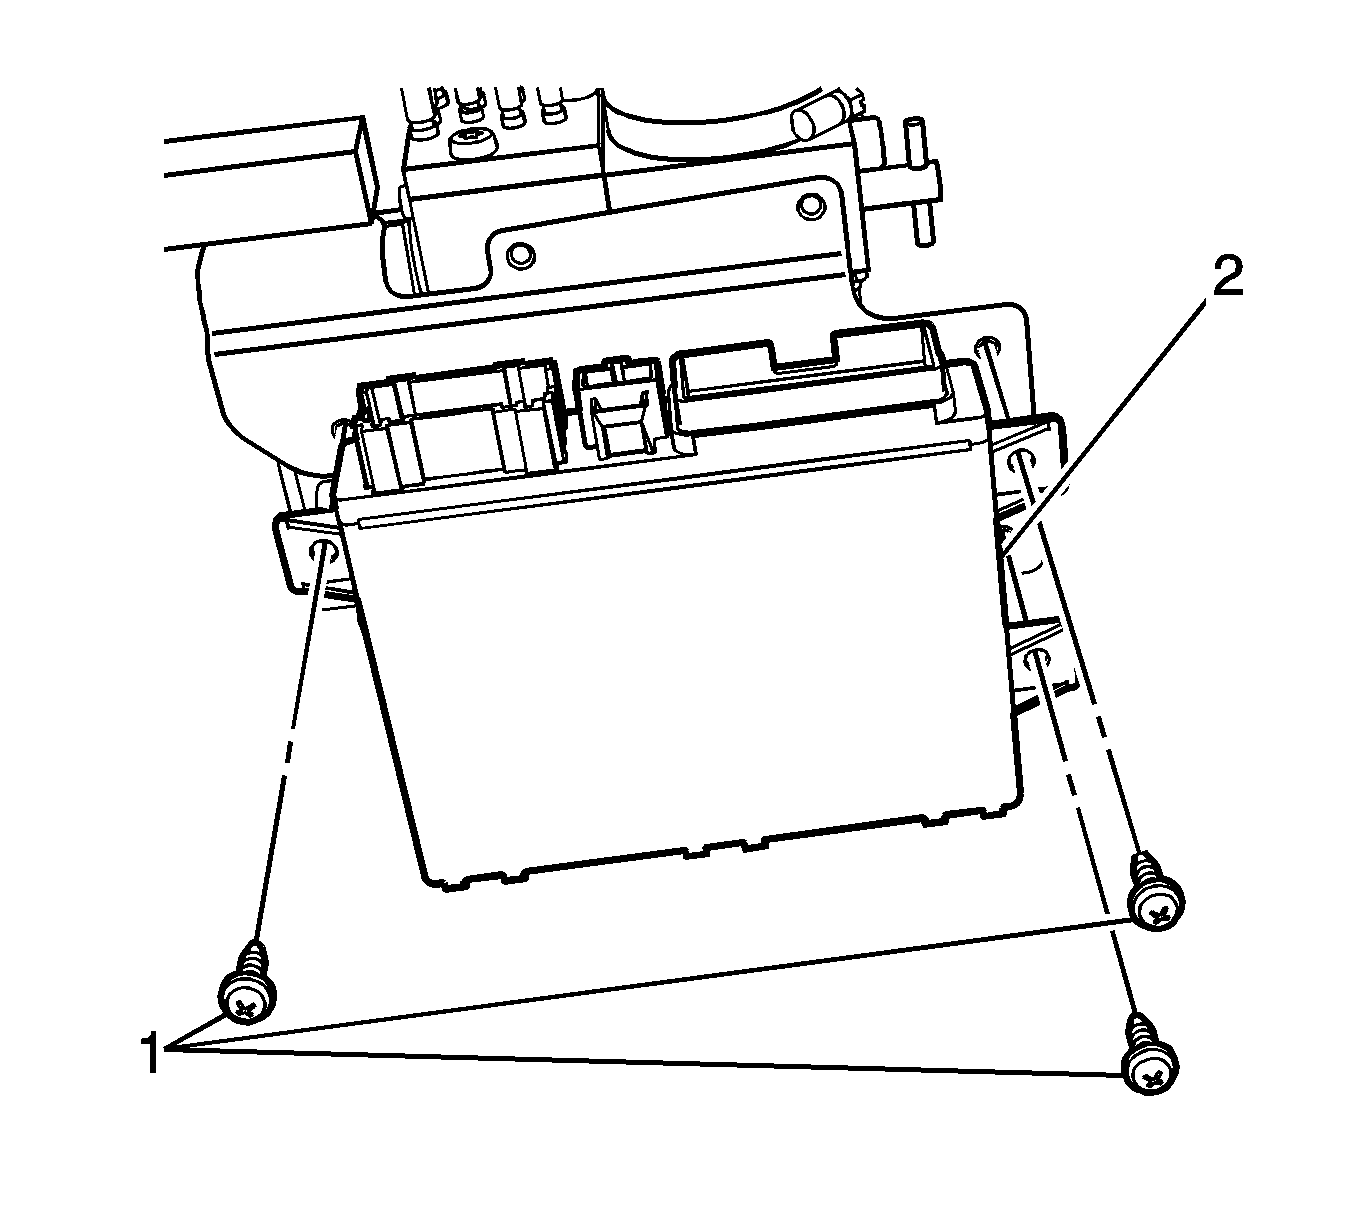
- Remove the screws (1) from the folding top control module (2).
- Remove the control module.
Installation Procedure
- Position the folding top control module (2) to the pump bracket.
- Install the screws (1) to the folding top control module and tighten to 6 N·m (53 lb in).
- Position the hydraulic pump to the mounting location.
- Apply LOCTITE™ Blue, GM P/N 12345382 (Canadian P/N 10953489) or equivalent to the bolts.
- Install the bolts (1) to the hydraulic pump bracket and tighten to 18 N·m (13 lb ft).
- Connect the 3 electrical connectors (1) to the control module.
- Install the 2 electrical connectors (1) to the pump bracket (2).
- Install the 3 electrical connectors (1) to the pump bracket (2).
- Install the side component trim. Refer to Rear Compartment Side Trim Replacement - Left Side or to Rear Compartment Side Trim Replacement - Right Side.
- Remove the protective covering.
- Raise the rear compartment partition (1).
- Connect the battery. Refer to Battery Negative Cable Disconnection and Connection.
- Close the rear compartment.
- Perform the Folding Top Learn Procedure. Refer to Power Folding Top Learn.
- Inspect the folding top for proper operation. Refer to Power Folding Top Description and Operation.
- Refer to Control Module References for programming and setup information.

Caution: Refer to Fastener Caution in the Preface section.


