Cylinder Head Replacement Left Side
Removal Procedure
- Disconnect the battery negative cable. Refer to Battery Replacement .
- Remove the engine cover. Refer to Engine Cover Replacement .
- Remove the engine cooling fan. Refer to Fan Replacement .
- Remove the air conditioning compressor, if equipped. Refer to Air Conditioning Compressor Replacement .
- Remove the nut holding the power steering pump rear bracket to the engine.
- Remove the power steering pump mounting bracket and set aside. Refer to Accessory Mounting Brackets Replacement .
- Remove the power steering pump mounting bracket stud from the cylinder head.
- Remove the intake manifold. Refer to Intake Manifold Replacement .
- Remove the exhaust manifold. Refer to Exhaust Manifold Replacement .
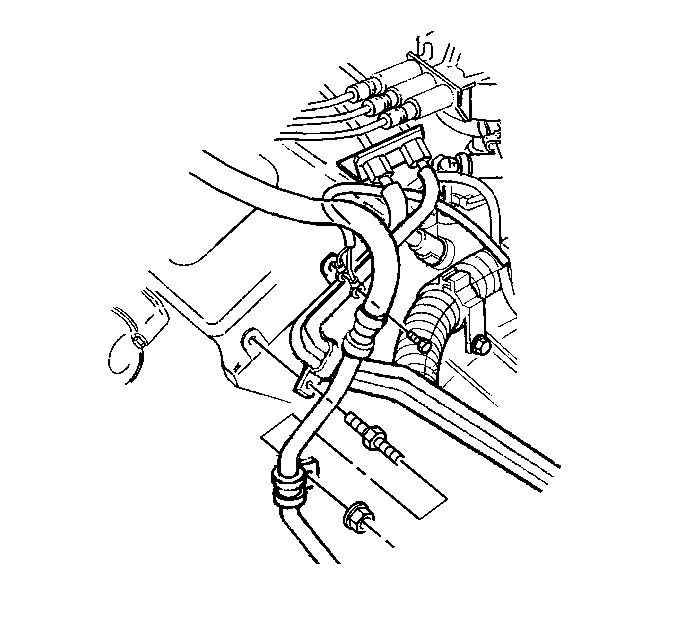
- Remove the ground wires at the rear of the left cylinder head.
- Remove the A/C pipe bracket nut, if equipped.
- Remove the fuel pipe bracket bolt at the rear of the cylinder head.
- Remove the valve pushrods. Refer to Valve Rocker Arm and Push Rod Replacement .
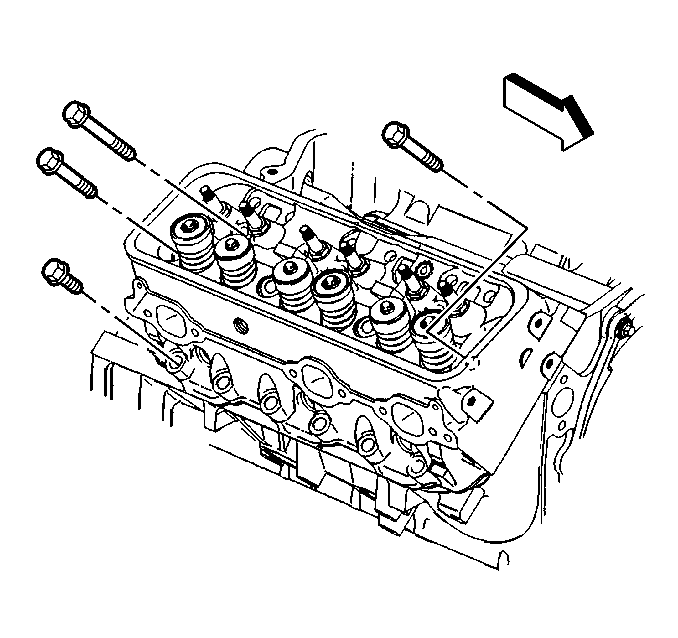
- Remove and discard the cylinder head bolts.
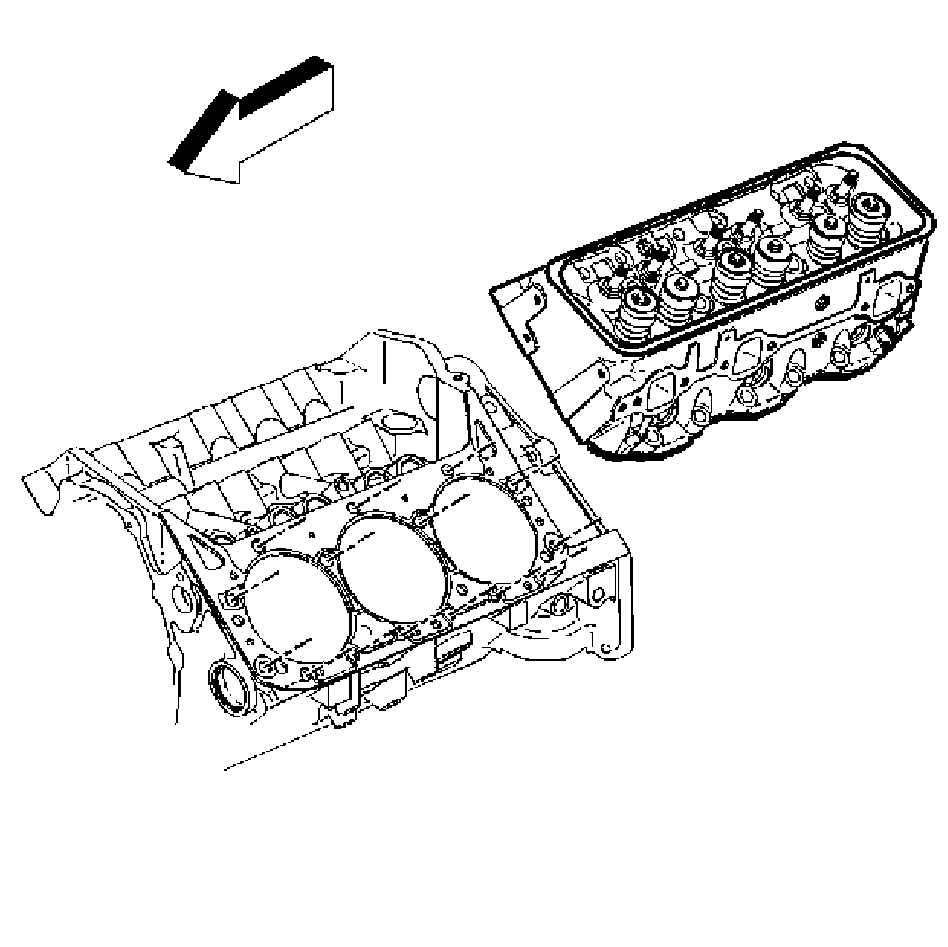
- Remove the cylinder head.
- Clean all sealing surfaces. Refer to Cylinder Head Cleaning and Inspection .
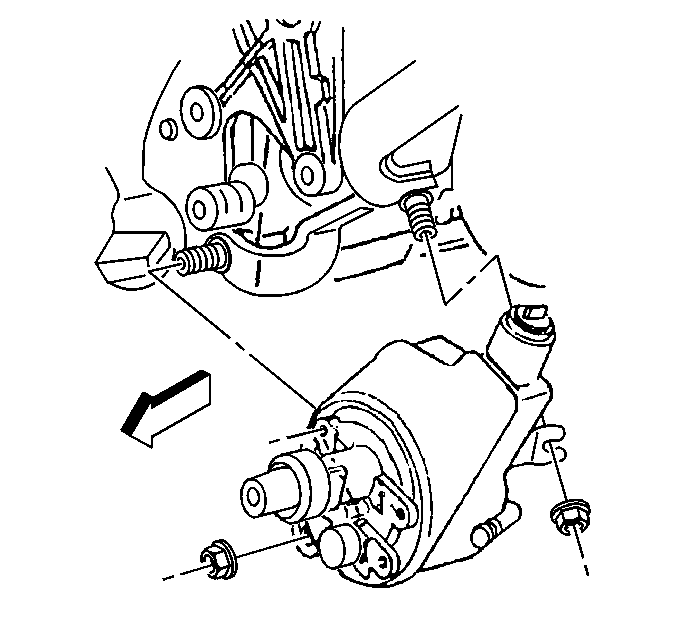
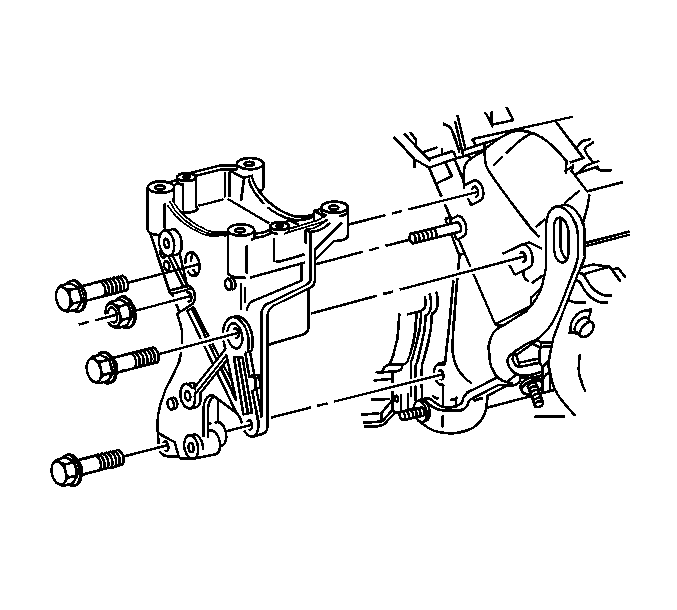
Important: The power steering pump can remain on the power steering pump mounting bracket. The pump hoses can remain attached to the pump.
Installation Procedure
- Install the cylinder head. Refer to Cylinder Head Installation .
- Install the valve pushrods. Refer to Valve Rocker Arm and Push Rod Replacement .
- Install the ground wires and bolt at the rear of the left cylinder head.
- Install the fuel pipe bracket and bolt at the rear of the cylinder head.
- Install the A/C pipe bracket and nut, if equipped.
- Install the exhaust manifold. Refer to Exhaust Manifold Replacement .
- Install the intake manifold. Refer to Intake Manifold Replacement .
- Install the stud for the power steering pump mounting bracket to the cylinder head.
- Install the power steering pump mounting bracket. Refer to Accessory Mounting Brackets Replacement .
- Install the nut holding the power steering pump rear bracket to the engine.
- Install the air conditioning compressor. Refer to Air Conditioning Compressor Replacement .
- Install the engine cooling fan. Refer to Fan Replacement .
- Connect the battery negative cable. Refer to Battery Replacement .
- Install the engine cover. Refer to Engine Cover Replacement .
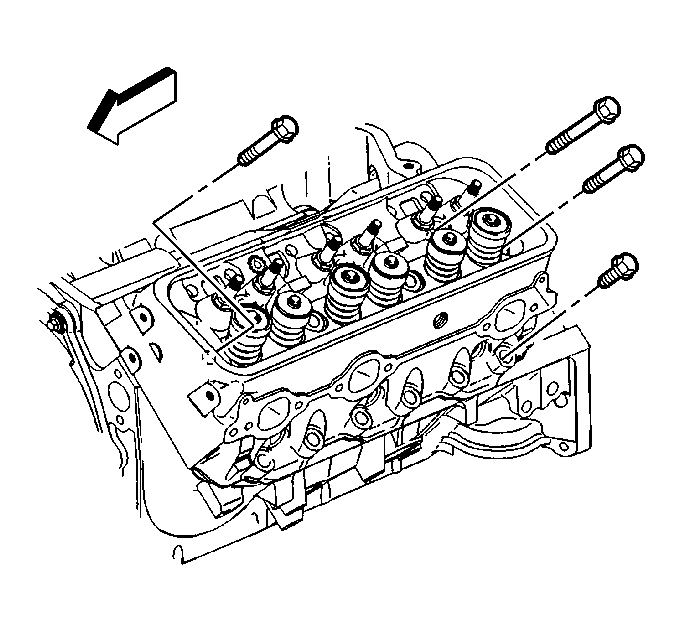
Notice: Refer to Fastener Notice in the Preface section.

Tighten
Tighten the ground wire bolt to 35 N·m (26 lb ft).
Tighten
Tighten the fuel pipe bracket bolt to 30 N·m (22 lb ft).
Tighten
Tighten the A/C pipe bracket nut to 35 N·m (26 lb ft).

Tighten
Tighten the power steering pump mounting bracket stud to 20 N·m (15 lb ft).

Tighten
Tighten the power steering pump rear bracket nut to 41 N·m (30 lb ft).
Cylinder Head Replacement Right Side
Removal Procedure
- Disconnect the battery negative cable. Refer to Battery Replacement .
- Remove the engine cover. Refer to Engine Cover Replacement .
- Remove the engine cooling fan. Refer to Fan Replacement .
- Remove the intake manifold. Refer to Intake Manifold Replacement .
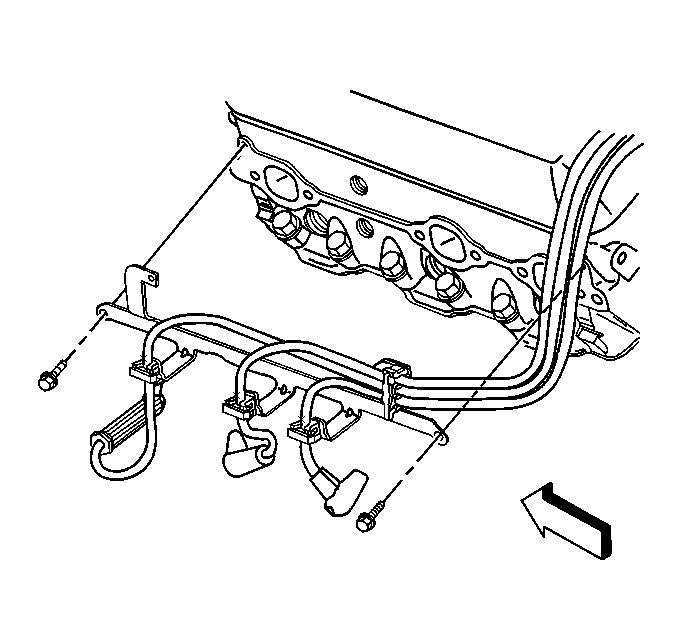
- Remove the spark plug wire harness support.
- Remove the exhaust manifold. Refer to Exhaust Manifold Replacement .
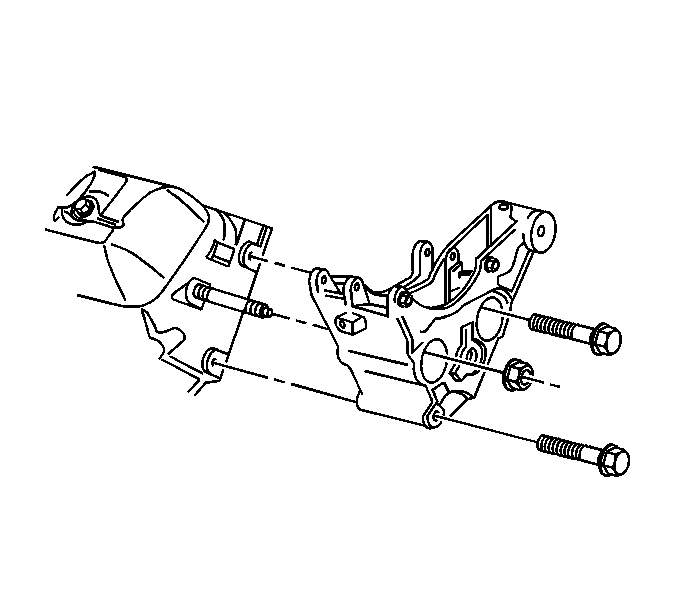
- Remove the generator mounting bracket. Refer to Accessory Mounting Brackets Replacement .
- Remove the generator mounting bracket stud from the cylinder head.
- Remove the engine wiring harness bolt from the rear of the right cylinder head.
- Remove the valve pushrods. Refer to Valve Rocker Arm and Push Rod Replacement .
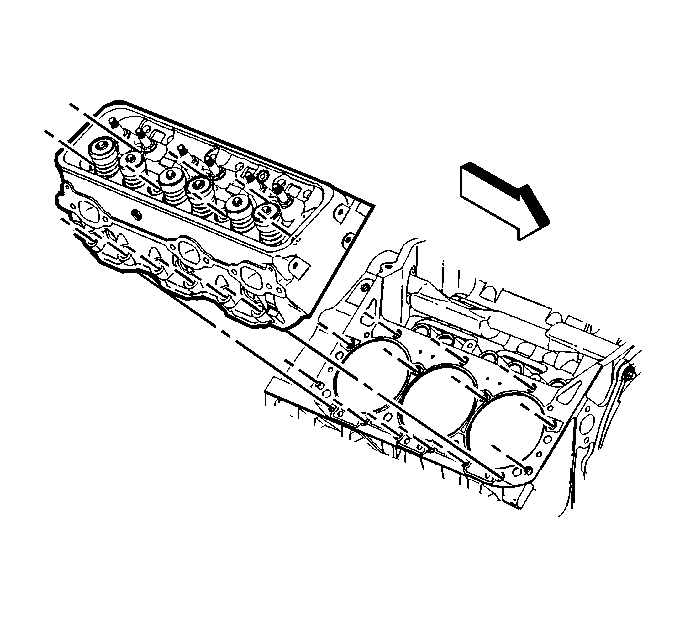
- Remove and discard the cylinder head bolts.
- Remove the cylinder head.
- Clean all sealing surfaces. Refer to Cylinder Head Cleaning and Inspection .
Installation Procedure
- Install the cylinder head. Refer to Cylinder Head Installation .
- Install the valve pushrods. Refer to Valve Rocker Arm and Push Rod Replacement .
- Install the exhaust manifold. Refer to Exhaust Manifold Replacement .
- Install the spark plug wire harness and support.
- Install the intake manifold. Refer to Intake Manifold Replacement .
- Install the stud for the generator mounting bracket.
- Install the generator mounting bracket. Refer to Accessory Mounting Brackets Replacement .
- Install the bolt holding the engine wiring harness to the rear of the right cylinder head.
- Install the engine cooling fan. Refer to Fan Replacement .
- Connect the battery negative cable. Refer to Battery Replacement .
- Install the engine cover. Refer to Engine Cover Replacement .
Notice: Refer to Fastener Notice in the Preface section.

Tighten
Tighten the spark plug wire support bolts to 12 N·m (106 lb in).

Tighten
Tighten the generator mounting bracket stud to 20 N·m (15 lb ft).
Tighten
Tighten the engine wiring harness bolt to 36 N·m (27 lb ft).
