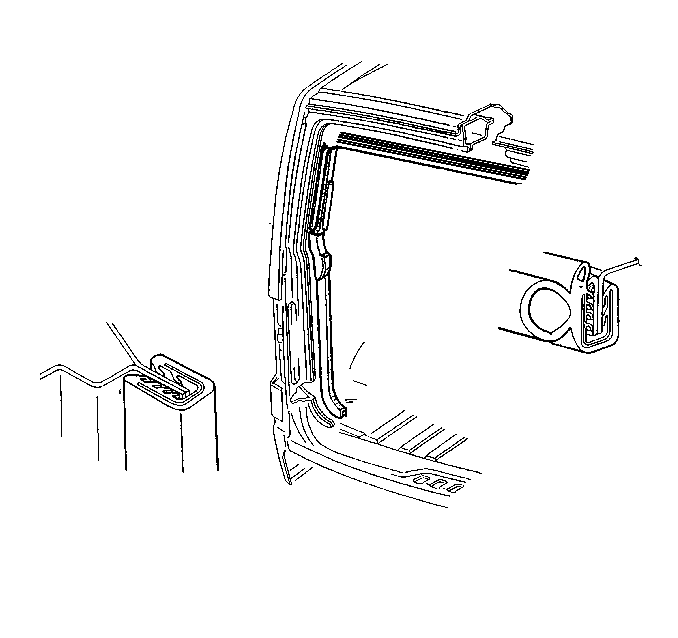
For 1990-2009 cars only
Removal Procedure
- Open the door.
- Remove the fourth pillar trim. Refer to Fourth Pillar Trim Replacement - Left Side and Fourth Pillar Trim Replacement - Right Side in Interior Trim.
- Remove the rear upper garnish molding. Refer to Rear Upper Garnish Molding Replacement in Interior Trim.
- Remove the body side trim panel. Refer to Body Side Trim Panel Replacement - Left Side and Body Side Trim Panel Replacement - Right Side in Interior Trim.
- Remove the rear trim plate. Refer to Carpet Retainer Replacement in Interior Trim.
- Pull the weatherstrip from the pinch-weld flange. Start at the upper right corner.

Installation Procedure
- Install the weatherstrip at the top right corner. Seat the weatherstrip onto the pinch-weld flange.
- Position and install the weatherstrip by hand.
- Using a rubber mallet during the final installation may be required in the thick flange areas and in each corner.
- Install the rear trim plate. Refer to Carpet Retainer Replacement in Interior Trim.
- Install the body side trim panel. Refer to Body Side Trim Panel Replacement - Left Side and Body Side Trim Panel Replacement - Right Side in Interior Trim.
- Install the rear upper garnish molding. Refer to Rear Upper Garnish Molding Replacement in Interior Trim.
- Install the fourth pillar trim. Refer to Fourth Pillar Trim Replacement - Left Side and Fourth Pillar Trim Replacement - Right Side in Interior Trim.
- Close the door.

Important: The weatherstrip attaches to the pinch-weld flange in 6 areas. The weatherstrip length distributes equally around the door opening.
