For 1990-2009 cars only
Removal Procedure
- Remove the swing-out window latch. Refer to Swing Out Window Replacement in Stationary Windows.
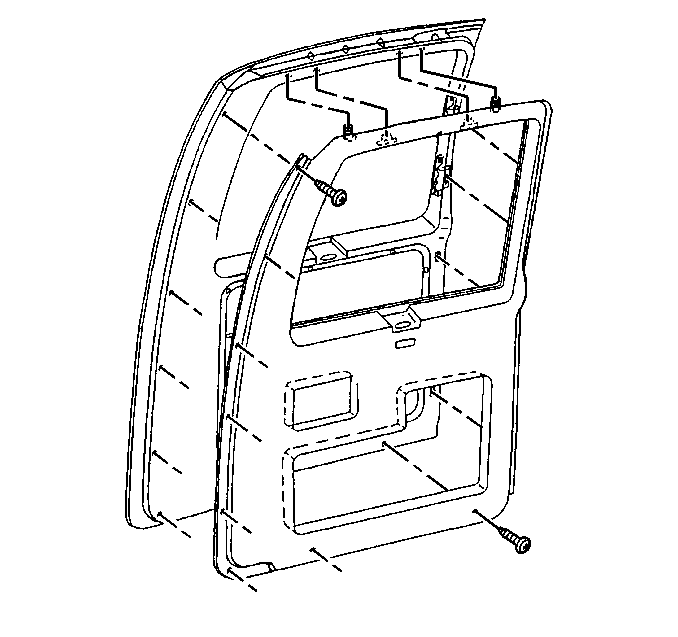
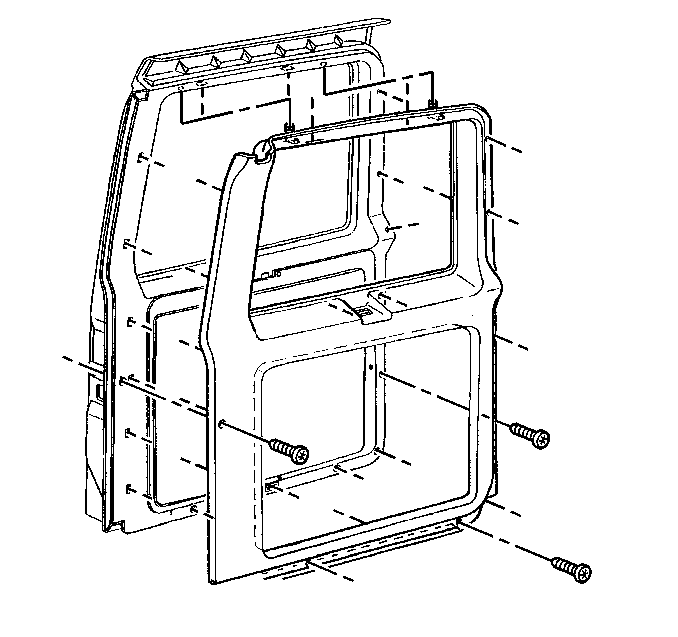
- Remove the screws that retain the right molding on the sides and the bottom.
- Remove the screws that retain the left molding on the sides and the bottom.
- Remove the molding from the door in the area of the retainers.


There are 2 retainers on top, one in the center of the panel, and 6 around the outside edge.
Installation Procedure
- Install the left molding to the door:
- Install the right molding to the door:
- Install the screws that retain the panel to the door.
- Install the swing-out window latch. Refer to Swing Out Window Replacement in Stationary Windows.
- Ensure that the weatherstrip fits into the corner and matches the corner of the radius of the body flange.
- Ensure that the weatherstrip is seated completely onto the flange in all areas, resulting in a smooth, vinyl trim around the entire door opening.
- Ensure that there is no distortion or excessive spreading of the carrier as a result of hitting the carrier improperly with the rubber mallet.
- Lubricate the weatherstrip with GM Weatherstrip Silicone Lubricant P/N 12345579 or equivalent.

| 1.1. | Place the retainers into the holes. |
| 1.2. | Press on the panel at the retainer locations until the retainers are fully seated. |

| 2.1. | Place the retainers into the holes. |
| 2.2. | Press on the panel at the retainer locations until the retainers are fully seated. |
Notice: Refer to Fastener Notice in the Preface section.
Tighten
Tighten the screws that retain the panel to the door to 2 N·m
(18 lb in).
Important: When using the rubber mallet, the weatherstrip must be hit square to the flange. Otherwise, an undesirable spreading of the carrier will occur, resulting in reduced retention.
