Notice: Broken or deteriorated mounts can cause misalignment and destruction
of certain drive train components. When a single mount breaks, the remaining
mounts are subjected to abnormally high stresses.
- Raise the vehicle. Refer to
Lifting and Jacking the Vehicle
in General Information.
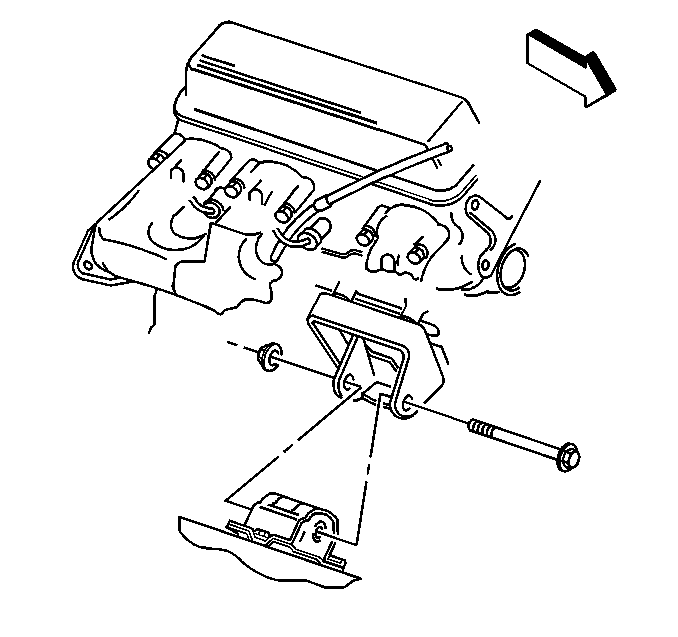
- Inspect for loose or missing bolts at the following locations:
| • | The engine mount bracket to the engine |
| • | The engine mount to the engine bracket through-bolts |
| • | The engine mount to frame bracket bolts |
- Replace loose or missing bolts. Refer to
Engine Mount Replacement
.
Notice: When raising or supporting the engine for any reason, do
not use a jack under the oil pan, any sheet metal, or the crankshaft pulley.
Lifting the engine in an unapproved manner may cause component damage.
- In order to access the square tab on the left side of the engine remove
the oil filter adapter. Refer to
Oil Filter Adapter Replacement
.
- In order to access the square tab on the right side of the engine
remove the starter. Refer to
Starter Motor Replacement
in Engine Electrical.
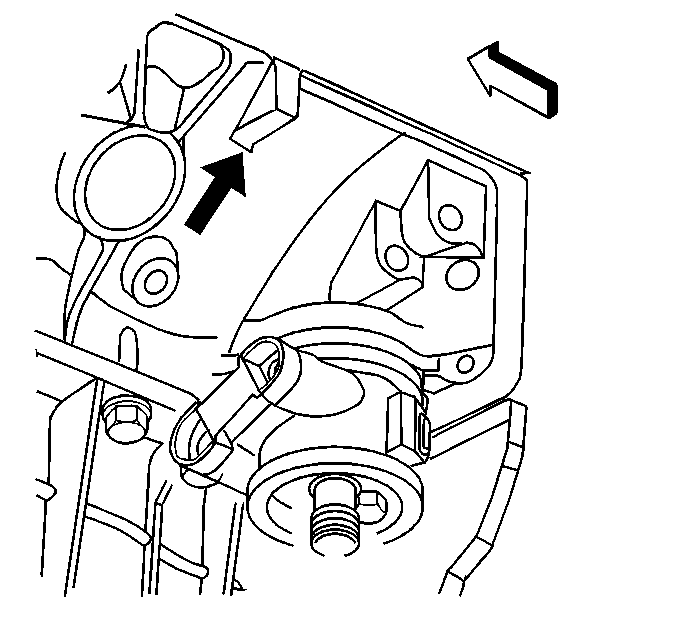
- Using a jack on the square tab at the rear of the engine block
(left side shown ) raise the engine in order to complete the following tasks:
| • | Remove weight from the engine mount. |
| • | Place a slight tension on the rubber cushion. |
| • | Observe the engine mount while raising the engine. |
- Replace the engine mount if the following conditions exist:
| • | Heat check cracks cover the hard rubber surface. |
| • | The rubber cushion is separated from the metal plate of the engine
mount. |
| • | There is a split through the rubber cushion. |
- Replace the starter, if removed. Refer to
Starter Motor Replacement
in Engine Electrical.
- Replace the oil filter adapter, if removed. Refer to
Oil Filter Adapter Replacement
.
- Lower the vehicle.
