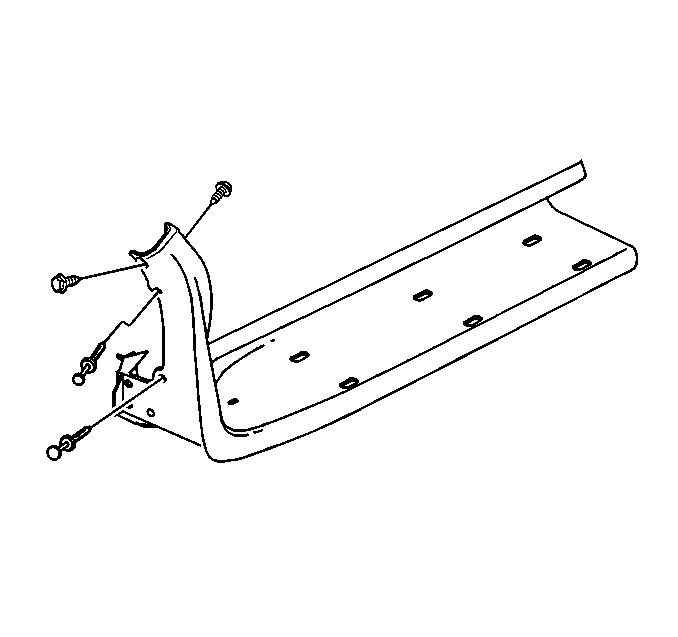
- Install the assist step
support bracket.
Notice: Use the correct fastener in the correct location. Replacement fasteners
must be the correct part number for that application. Fasteners requiring
replacement or fasteners requiring the use of thread locking compound or sealant
are identified in the service procedure. Do not use paints, lubricants, or
corrosion inhibitors on fasteners or fastener joint surfaces unless specified.
These coatings affect fastener torque and joint clamping force and may damage
the fastener. Use the correct tightening sequence and specifications when
installing fasteners in order to avoid damage to parts and systems.
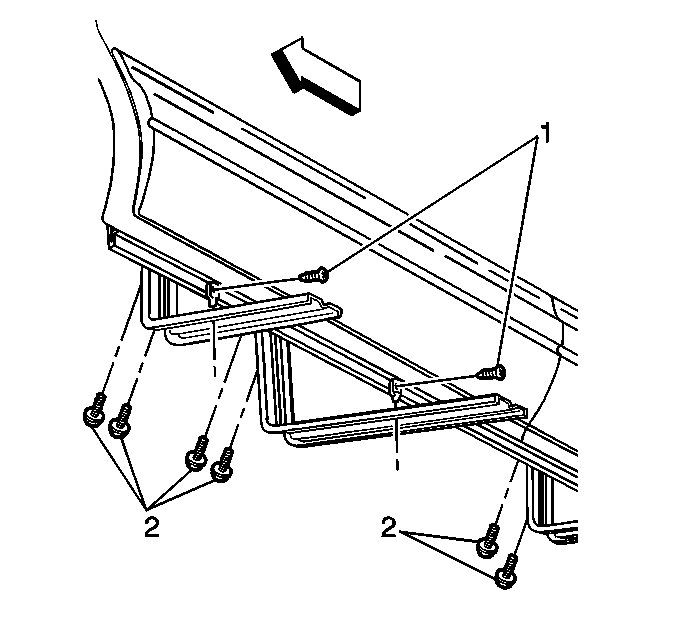
- Install the assist step support bracket bolts (2) to the underbody
.
Tighten
Tighten the assist step support bracket bolts (2) to the underbody to
25 N·m (18 lb ft).
- Install the nut and bolt (1) to the assist step support bracket
and to the pinchweld flange.
Tighten
Tighten the nut and bolt (1) to the assist step support bracket and
to the pinchweld flange to 10 N·m (89 lb in).
- Use the following procedure when installing the assist step:
| 4.1. | Check the fit to the step well and the door opening. |
| 4.2. | Check the height and the alignment to rocker panel. |
| 4.3. | Check the alignment to the cladding and to the body. |
| 4.4. | Check the gaps between the wheel well moldings. |
| 4.5. | Check the lower edge of the assist step to ensure a even gap along
the door edge and the body. |
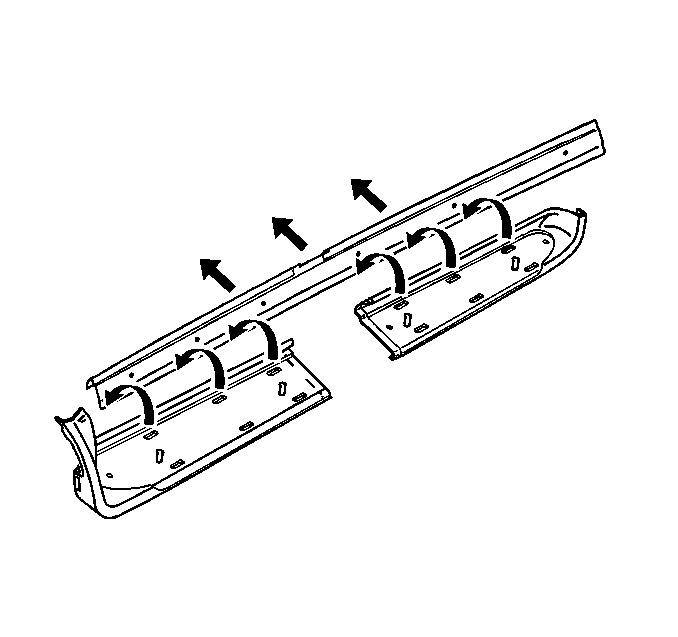
| 4.6. | Install the front section of the assist step to fit over the rear
section. |
Align both sections before installing the nuts to the
assist step pad.
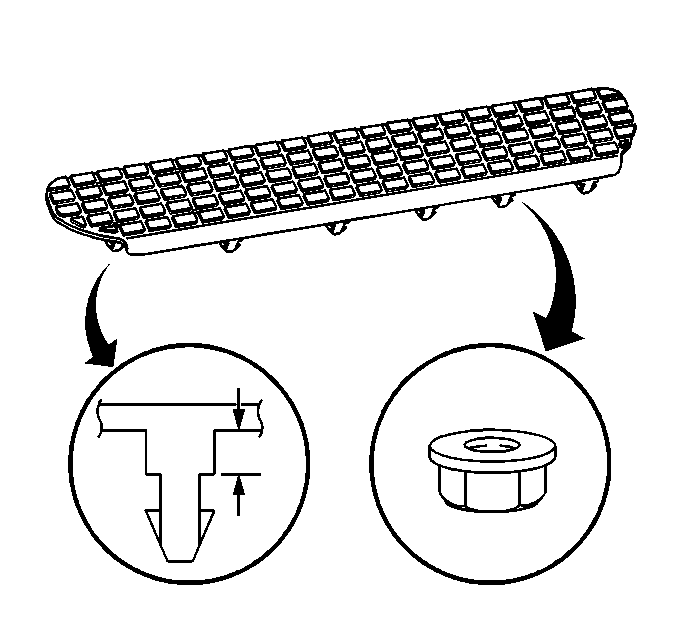
- Install the assist step pad to assist step.
Align
the assist step pad to the assist step and press downward until fully seated.
- Install the nuts to the assist step pad by hand.
Tighten
Tighten the nuts to the assist step pad to 2 N·m (18 lb in).
- Install the nut to the front lower corner of the assist step.
Tighten
Tighten the nut to the front lower corner of the assist step to 10 N·m
(89 lb in).
- Lower the vehicle to a suitable height.
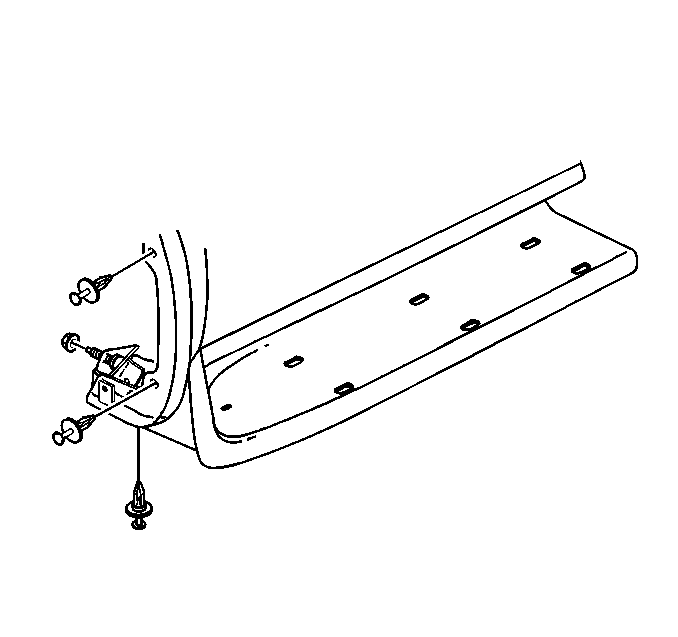
- Install the push clips
to the front edge of the assist step.
- Install the screws to
the front edge of the assist step. Open the door to expose the inner screw.
Tighten
Tighten the screws to the upper and inner edges of the assist step to
2 N·m (18 lb in).
- Lower the vehicle.