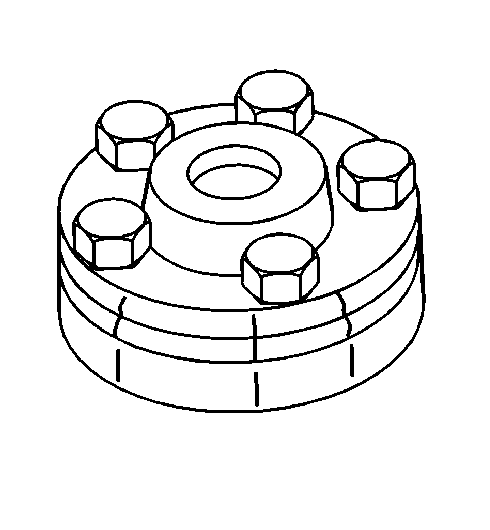
Tools Required
| • | J 39144
Composite
Rotor Mounting Adapter |
Important: Do NOT refinish the brake rotors in order to correct any of the following
complaints:
| • | Brake noise (growl/squeal) |
| • | Premature brake lining wear |
| • | Cosmetic or superficial corrosion of the rotor braking surface |
| • | Severe scoring of the rotor braking surface (groove depth in excess
of 1.5 mm (0.060 in) |
| • | Brake pulsation caused by the following: |
| - | Brake rotor thickness variation in excess of 0.025 mm (0.001 in) |
| - | Corrosion or pitting of the rotor braking surface that is deeper than
the rotor braking surface |
The following brake lathes are approved and achieve satisfactory results.
| • | Accu Turn® (off-vehicle) |
Notice: Do not allow the brake components to hang from the flexible
brake hoses. Damage to the brake hoses could result.
- Remove and support the brake caliper.
- Make a mark on the brake rotor in order to identify the relationship
to the hub.
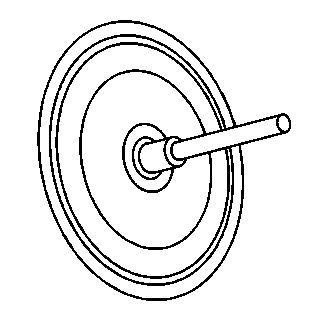
Notice: Whenever the brake rotor has been separated from the wheel bearing flange,
clean any rust or foreign material from the mating surface of the rotor and
flange with the J 42450 hub cleaning kit. Failure to do
this may result in increased lateral runout of the rotor and brake pulsation.
- Remove the brake rotor.
- Use the
J 42450-A
in order to clean the wheel bearing/hub.
- Use a micrometer in order to measure the thinnest point of the
brake rotor. If the thinnest point of the brake rotor exceeds the brake rotor
minimum thickness, do NOT refinish the brake rotor. Replace the brake
rotor.
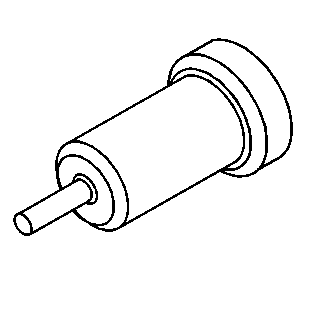
- Use the
J 41013
(or equivalent) in order to thoroughly clean the rust from the rotor/hub flange
and from the rotor/wheel mating surfaces.
- Install the brake rotor.
| • | If you use the Accu Turn® (off-vehicle) brake lathe, install
the brake rotor to the brake lathe. If you are machining a composite rotor,
use the
J 39144
. Refer
to the brake lathe manufacturer's operating instructions. |
| • | If you use the Pro-Cut® (on-vehicle) brake lathe, install
the brake rotor to the vehicle. Align the brake rotor to the hub using the
marks made during the removal procedure. |
- Refinish the brake rotor. Refer to the brake lathe manufacturer's
operating instructions.
Important: Failure to obtain the best possible rotor finish may cause the vehicle
to stop with difficulty.
- After machining the rotor, use 120 grit aluminum oxide sandpaper
and a non-directional rotor finisher (if available) in order to create a non-directional
braking surface.
- Clean the braking surfaces with denatured alcohol or with a suitable
brake cleaner.
- If you use the Accu Turn® (off-vehicle) brake lathe, remove
the brake rotor from the brake lathe and install the brake rotor to the vehicle.
Align the brake rotor to the hub using the marks made during the removal
procedure.
- Install the brake caliper.
Notice: Improperly tightened wheel bolts or nuts can lead to brake pulsation and rotor damage. In order to
avoid expensive brake repairs, evenly tighten the wheel bolts or nuts to the proper torque specification.
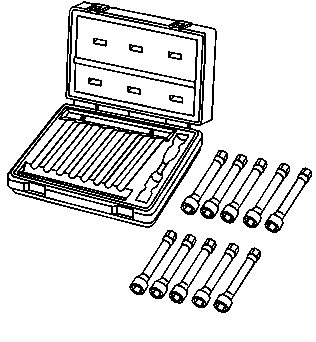
- Use the applicable torque socket from the
J 39544-KIT
or a torque wrench in order to install
the wheel to the correct specification.
