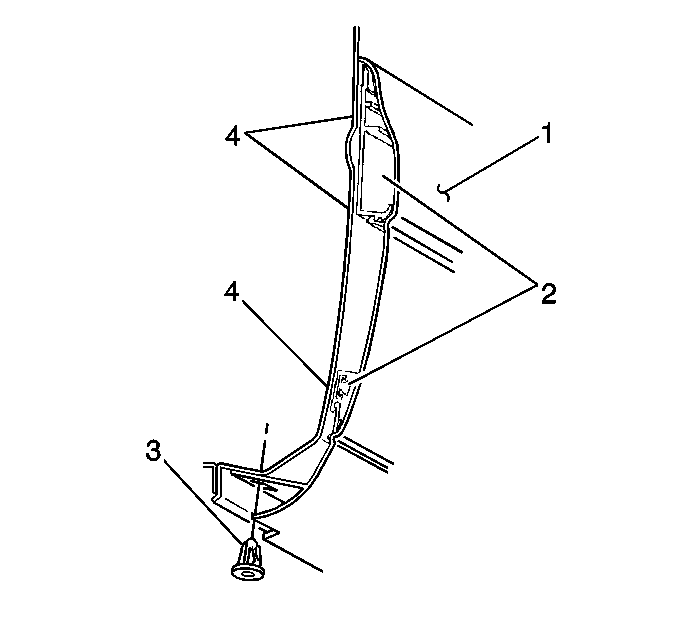
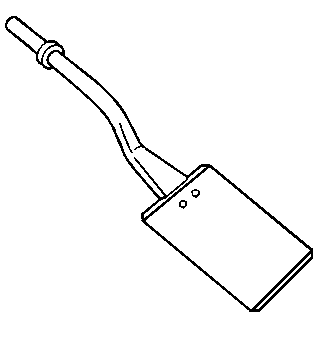
Attach body cladding to the body with a varying combination of the following items:
| • | Double-sided adhesive tape (1) |
| • | Plastic retainers (4) |
| • | Screws (2) |
In order to ensure a good replacement of new or old adhesive retained cladding, ensure that the panel surface temperature is approximately 24-41°C (80-105°F), and the panel surface is clean and free of any wax or oily film. If you will be painting the cladding, do not bake the cladding. Doing this will distort the part, making it useless.
Ensure that the replacement screws on the rear side door have a head no taller than the original screws. If screws with a taller head are used, they can cause damage to the body due to physical interference when the door is opened.
General procedures are listed below in order to remove adhesive retained to the cladding, and in order to replace the adhesive retained to the cladding. Refer to Cladding Replacement specific component replacement procedures.
Removal Procedure
Tools Required
J 41409 Body Molding Removal Tool
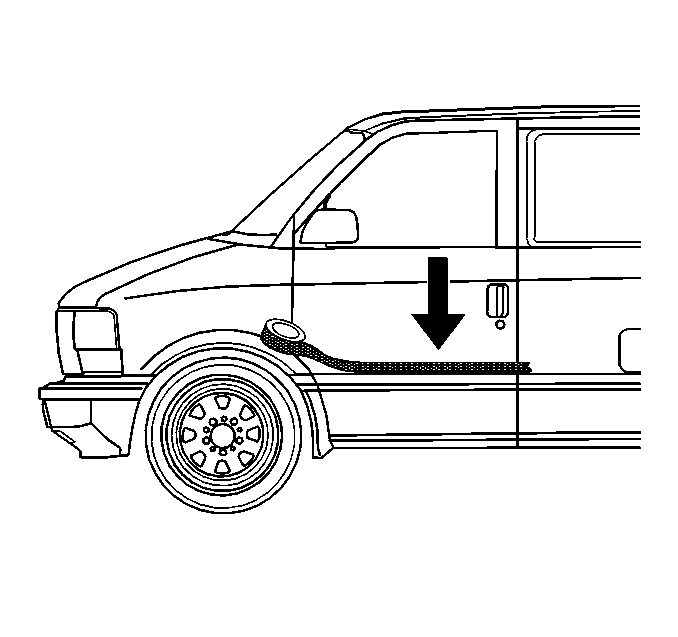
- Apply masking tape to the body side border of the cladding in order to protect the body from scratches. The tape will also aid in aligning the cladding during installation.
- Remove all of the mechanical fasteners. Refer to the Cladding Replacement procedure below that is specific to the cladding location.
- Use the J 41409 or a 0.8 mm (0.03 in) fishing line in order to cut through the adhesive material.
Installation Procedure
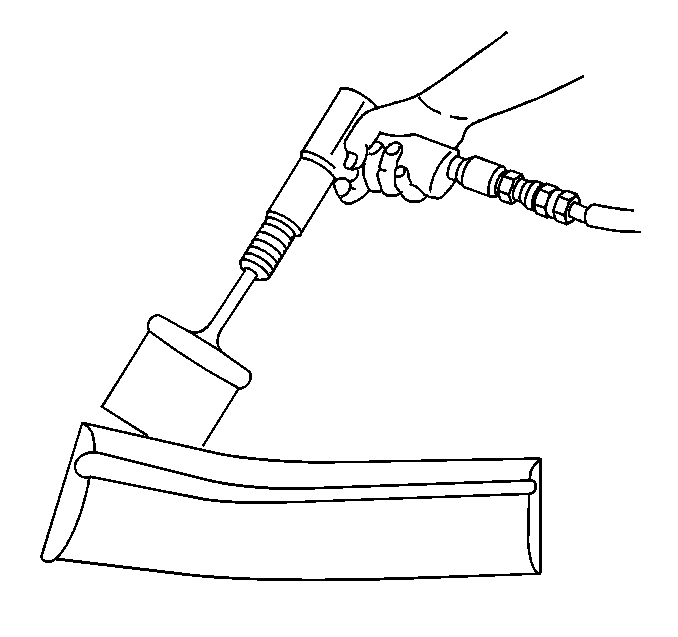
- Use a general purpose adhesive remover or an adhesive removal disc (3M part number 7502 or equivalent) attached to a drill in order to remove all traces of adhesive from the body panel.
- Clean the affected panel area with wax and grease remover, and wipe with isopropyl alcohol.
- Mark the proper position of the cladding with masking tape. Use the adjacent cladding as a guide.
- Warm the body panel with a heat gun or a heat lamp to 24-41°C (80-105°F).
- Make a trial fitting of the piece to the vehicle, checking the alignment and all the gaps and the clearances. Do this before you remove the plastic backing.
- Once you are satisfied with the trial fit, peel the backing from all of the tape.
- Hand roll the cladding to the body in order to ensure proper adhesion. A shop towel rolled into a ball and held in the palm of your fist will aid in applying a consistent, evenly distributed pressure to the panel.

A 2-3 inch square rubber or felt block may also be used in order to aid in the removal of old adhesive.
Important: Do not distort the part while you are installing it. The part may take a temporary set to the distorted shape and appear to have the proper adhesion, but the part will spring back to its original shape and cause a loss of adhesion.
Set the top row of tape first, and work down the panel to the other rows of tape.
Important: Once the cladding is set into place, do not attempt to remove the panel. This will destroy the adhesive strips and could lead to part distortion and damage.
