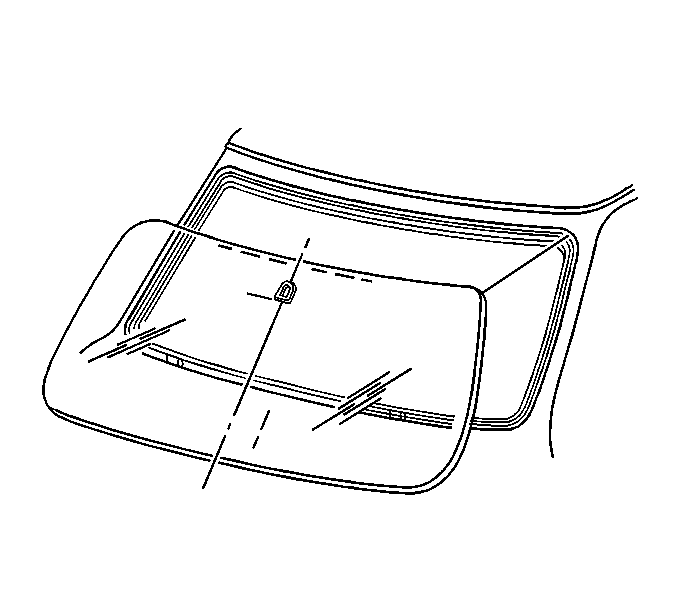
- Determine the location of the rearview mirror support:
| 1.1. | Use a wax pencil in order to draw a centerline on the windshield
from the roof panel to the windshield base. |
| 1.2. | Draw a line intersecting the centerline 86.75 mm (3.41 in)
from the top of the windshield at the blackout line. |
The base of the rearview mirror support will be located at the intersection
of these lines.
- Use a window cleaning solution and a paper towel in order to clean
the inside of the windshield surface within 3 in of the intersecting
lines until the area is completely clean and dry.
- Remove the rearview mirror support from the inside rearview mirror.
| 3.1. | Sand the bonding surface of the rearview mirror support with no. 320
or no. 360 fine grit emery cloth or sandpaper. |
If you reuse the rearview mirror support, remove all traces of the factory
installed adhesive.
| 3.2. | Wipe the sanded mirror support with a clean, alcohol-saturated
paper towel. |
| 3.3. | Allow the mirror to dry. |
- Apply Loctite Minute-Bond Adhesive 312, or equivalent to
the rearview mirror support. Follow the manufacturer's instructions.
- Position the bottom of the rearview mirror support at the premarked
line. The rounded edge of the support should face upward.

- Press the rearview mirror
support against the window for 30-60 seconds with a steady pressure.
- Allow the adhesive to dry for 5 minutes.
- Clean the following components with an alcohol moistened paper
towel:
| • | Excess adhesive from around the mirror support |
| • | Clean the wax marks from the windshield |

