For 1990-2009 cars only
Removal Procedure
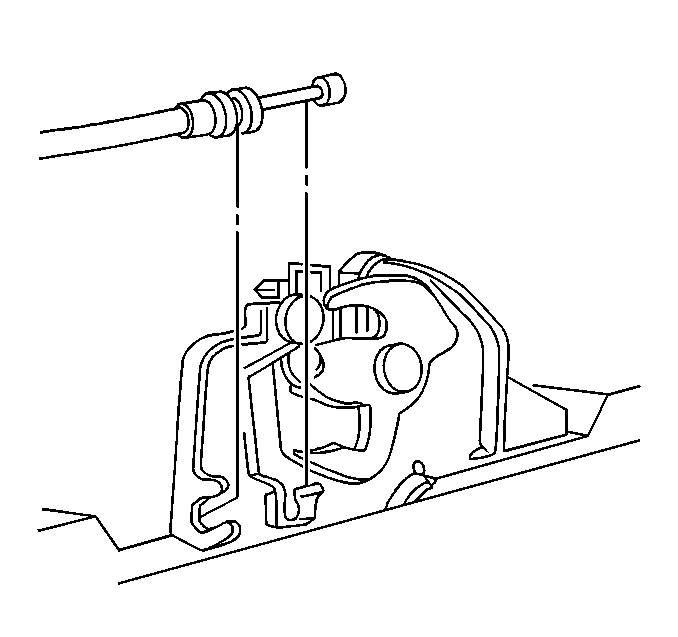
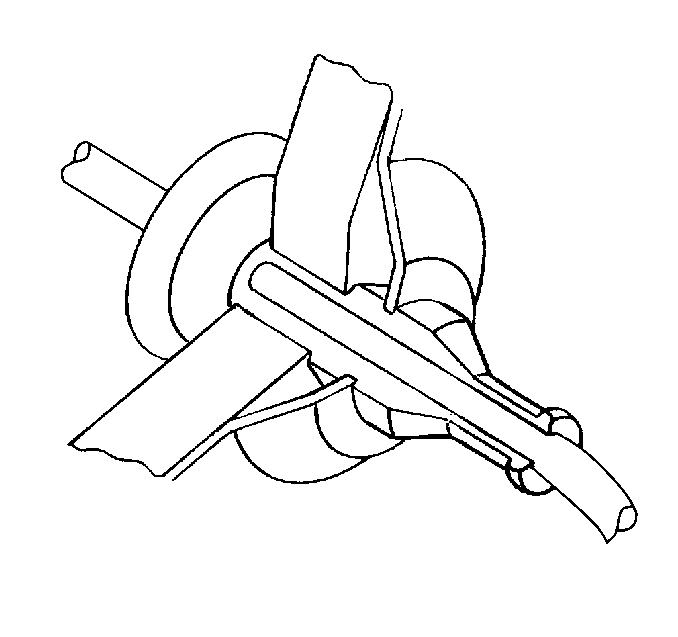
- Disconnect the cable from the primary latch with the following procedure:
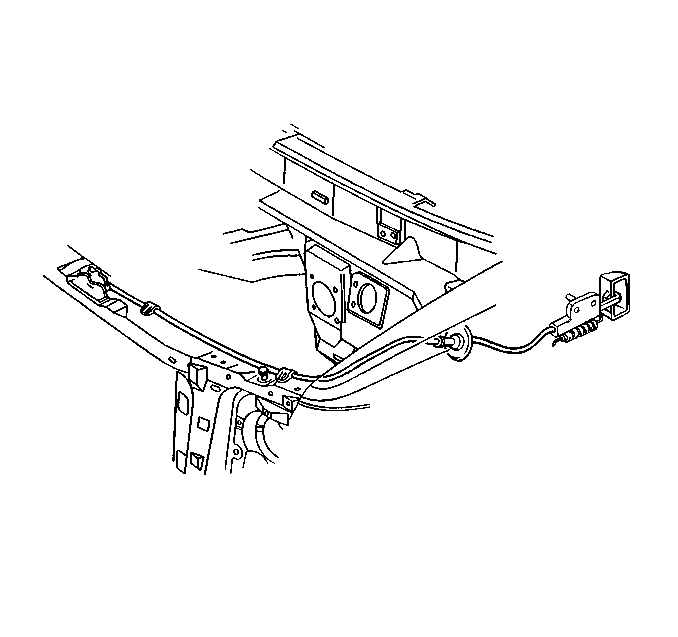
- Remove the cable from the fasteners on the radiator support.
- Remove the cable grommet from the cowl by gently pulling on the grommet.
- Disconnect the cable from the cowl.
- Remove the left cowl side trim panel. Refer to Cowl Side Trim Panel Replacement .
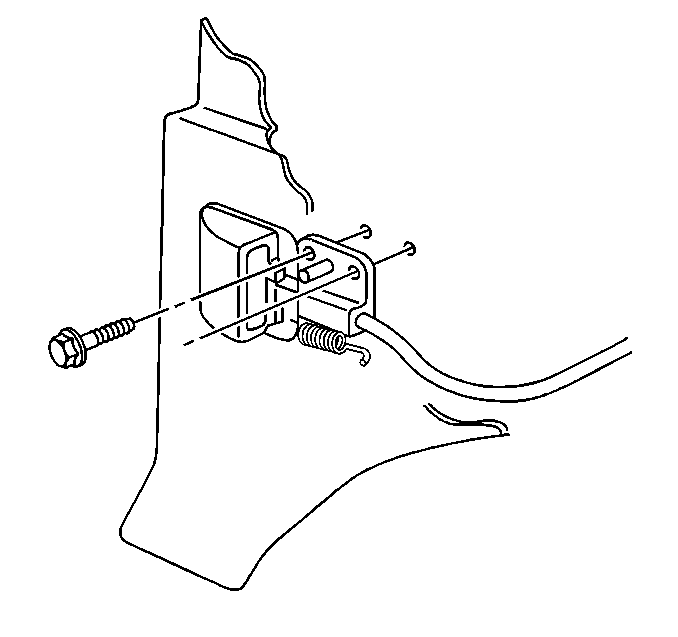
- Pull the cable through the cowl in order to remove the screws that retain the cable assembly to the cowl side panel.

| 1.1. | Use a suitable tool to pry the cable clip open to allow removal of the cable. |
| 1.2. | Pry the cable housing from the latch. |


Installation Procedure
- Route the cable through the front of the cowl.
- Install the screws that retain the cable to cowl side panel.
- Install the left cowl side trim panel. Refer to Cowl Side Trim Panel Replacement .
- Pull the cable assembly from the front of the cowl until the grommet is seated.
- Connect the cable to the fasteners in the radiator support.
- Use a suitable tool in order to clamp the cable clip and connect the cable to the primary latch.
- Verify that the hood is operating correctly.

Notice: Refer to Fastener Notice in the Preface section.

Tighten
Tighten the screws to 2 N·m (18 lb in).


