Removal Procedure
Notice: Any new rotor must have the protective coating removed from the friction surfaces before being placed in service. Remove the protective coating using denatured alcohol or an equivalent brake cleaner, and wipe the surface clean with clean cloths. Do not use gasoline, kerosene, or other oil base solvents which may leave an oily residue. This residue is damaging to the brake lining and is flammable.
- Raise the vehicle. Refer to Lifting and Jacking the Vehicle in General Information.
- Remove the tire and wheel assembly. Refer to Tire and Wheel Removal and Installation in Tires and Wheels.
- Remove the brake caliper. Refer to Brake Caliper Replacement .
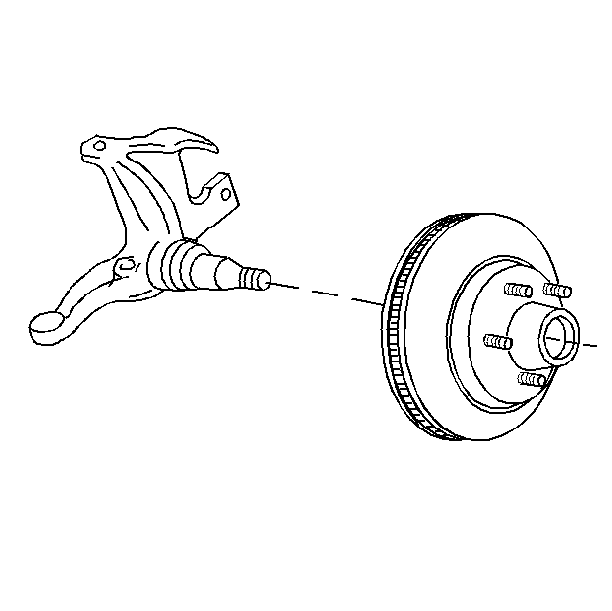
- Remove the rotor (RWD only). Refer to Front Wheel Hub, Bearing, and Seal Replacement in Front Suspension.
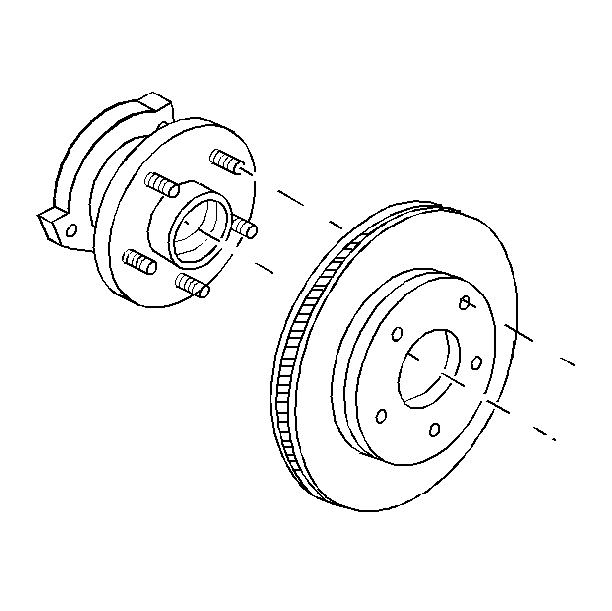
- Remove the rotor (A4WD only).
- Inspect all of the parts. Replace any damaged or corroded parts.
Notice: Support the brake caliper with heavy mechanic wire, or equivalent, whenever it is separated from its mount and the hydraulic flexible brake hose is still connected. Failure to support the caliper in this manner will cause the flexible brake hose to bear the weight of the caliper, which may cause damage to the brake hose and in turn may cause a brake fluid leak.


Installation Procedure
- Install the rotor to the hub and bearing assembly (A4WD only).
- Install the rotor to the steering knuckle (RWD only). Refer to Front Wheel Hub, Bearing, and Seal Replacement in Front Suspension.
- Install the brake caliper. Refer to Brake Caliper Replacement .
- Install the tire and wheel assembly. Refer to Tire and Wheel Removal and Installation in Tires and Wheels.
- Lower the vehicle.


Important: Before moving the vehicle, pump the brake pedal until it is firm. Check the brake fluid level in the master cylinder after pumping the brakes.
