- If reusing the fasteners, apply threadlock GM P/N 12345493 or equivalent to the threads of the valve rocker arm ball studs.
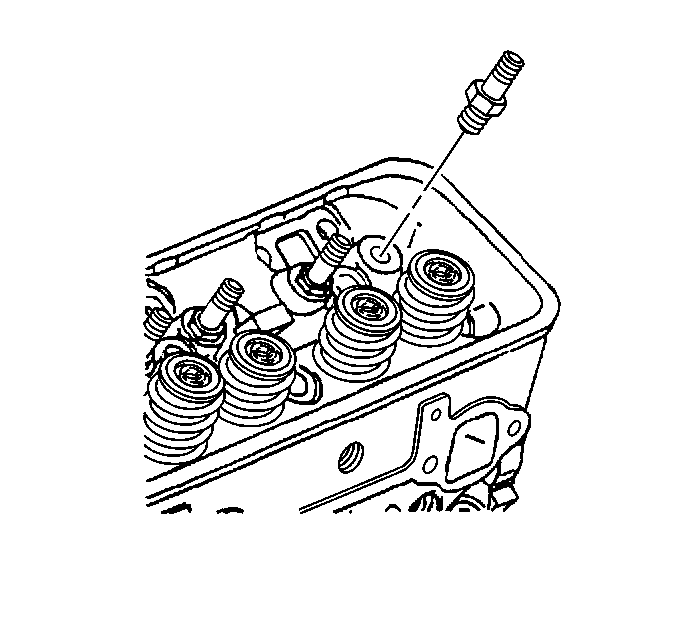
- Install the valve rocker arm ball studs.
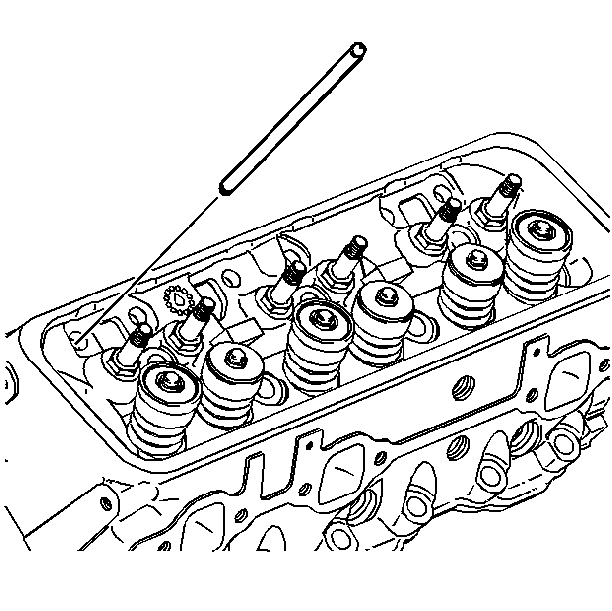
- Install the valve pushrods.
- Apply prelube GM P/N 12345501 or equivalent to the valve rocker arm and valve rocker arm ball bearing surfaces.
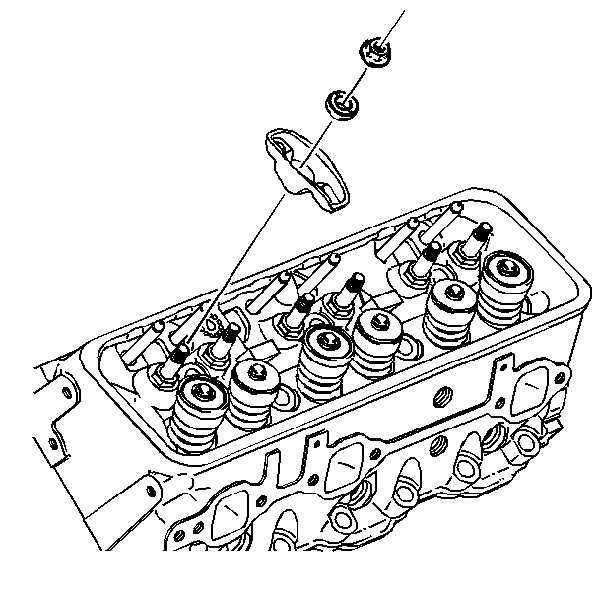
- Install the valve rocker arms.
- Install the valve rocker arm balls.
- Install the valve rocker arm nuts.
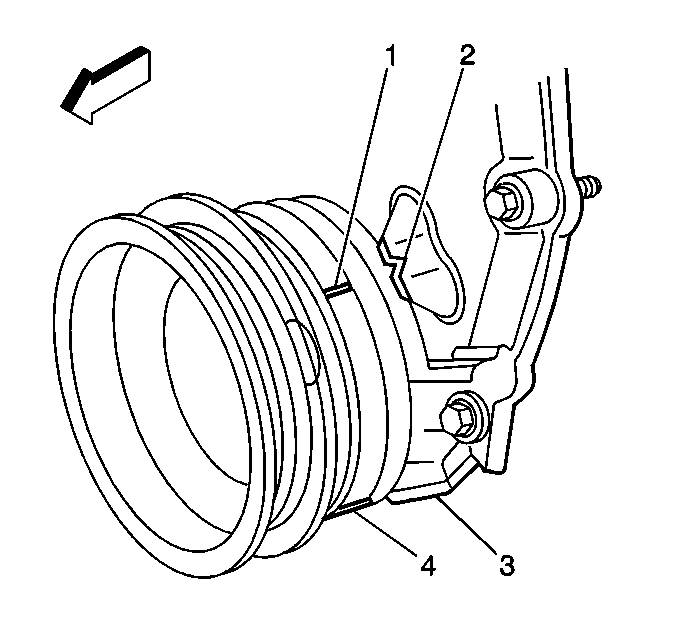
- Rotate the crankshaft balancer to position the crankshaft balancer alignment mark (1) 57-63 degrees clockwise or counterclockwise from the engine front cover alignment tab (2).
- Tighten the valve rocker arm nuts.

Notice: Use the correct fastener in the correct location. Replacement fasteners must be the correct part number for that application. Fasteners requiring replacement or fasteners requiring the use of thread locking compound or sealant are identified in the service procedure. Do not use paints, lubricants, or corrosion inhibitors on fasteners or fastener joint surfaces unless specified. These coatings affect fastener torque and joint clamping force and may damage the fastener. Use the correct tightening sequence and specifications when installing fasteners in order to avoid damage to parts and systems.
Important: Be sure to keep parts in order. Parts must be reinstalled into their original location and position.
Tighten
Tighten the valve rocker arm ball studs to 47 N·m (35 lb ft).

Important: Be sure that the valve pushrods seat in the valve lifter sockets.

Important: Once the valve rocker arm nuts are installed and properly torqued, no additional valve lash adjustment is required.

Tighten
Tighten valve rocker arm nuts to 25 N·m (18 lb ft).
