For 1990-2009 cars only
Removal Procedure
- Disconnect the battery negative cable. Refer to Battery Negative Cable Disconnection and Connection in Engine Electrical.
- Remove the oil level indicator.
- Raise the vehicle. Refer to Lifting and Jacking the Vehicle in General Information.
- Remove the oil pan drain plug and drain the engine oil into a suitable container.
- Remove the oil filter.
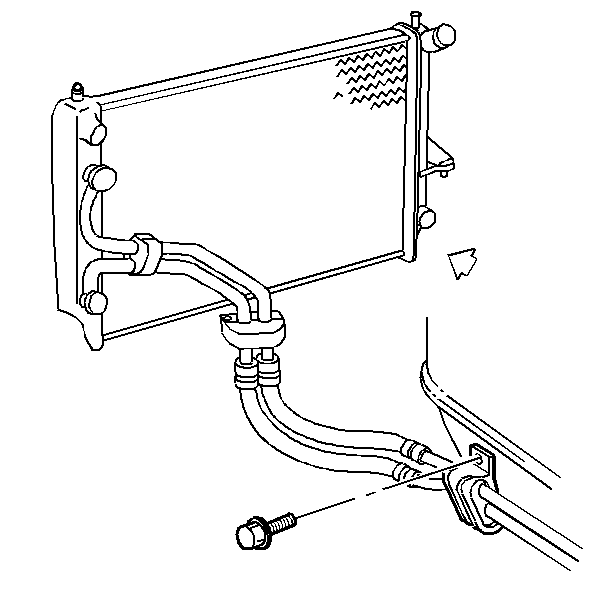
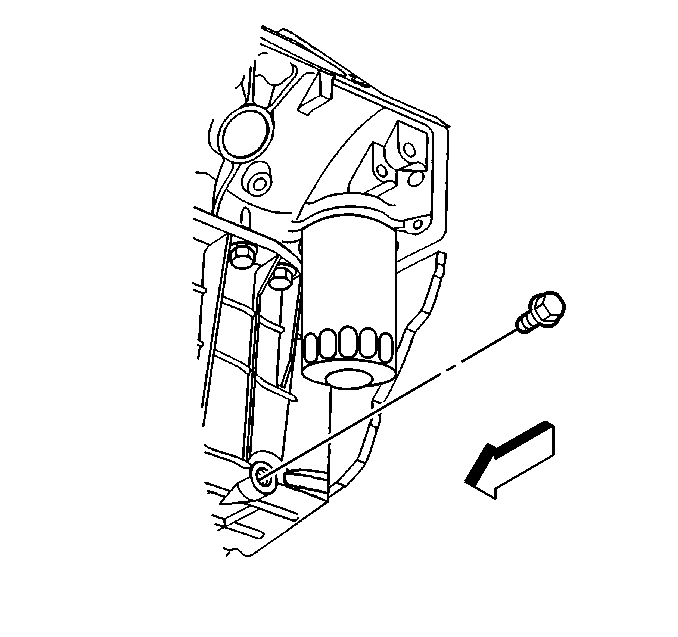
- Remove the bolt holding the oil cooler pipes bracket to the oil pan.
- Remove the oil filter adapter. Refer to Oil Filter Adapter Replacement .
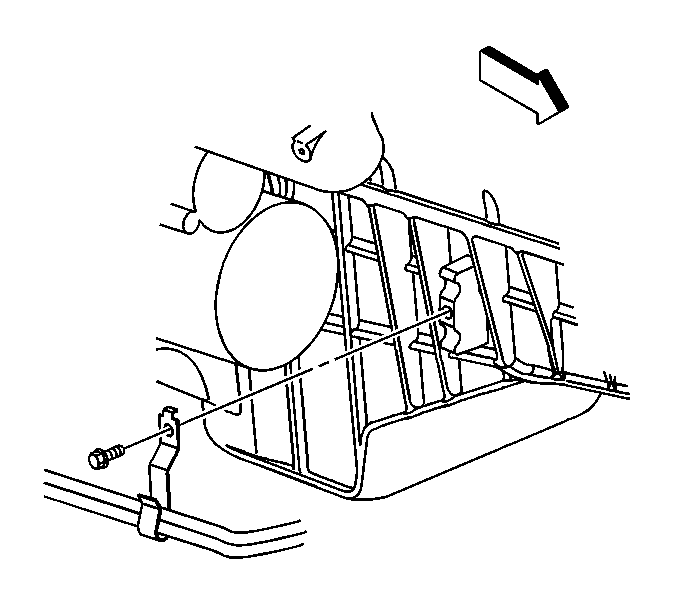
- Remove the bolt holding the bracket for the starter wiring harness and the transmission cooler pipes.
- Remove the crankcase position (CKP) sensor wiring harness from the retainer.
- Remove the starter. Refer to Starter Motor Replacement in Engine Electrical.
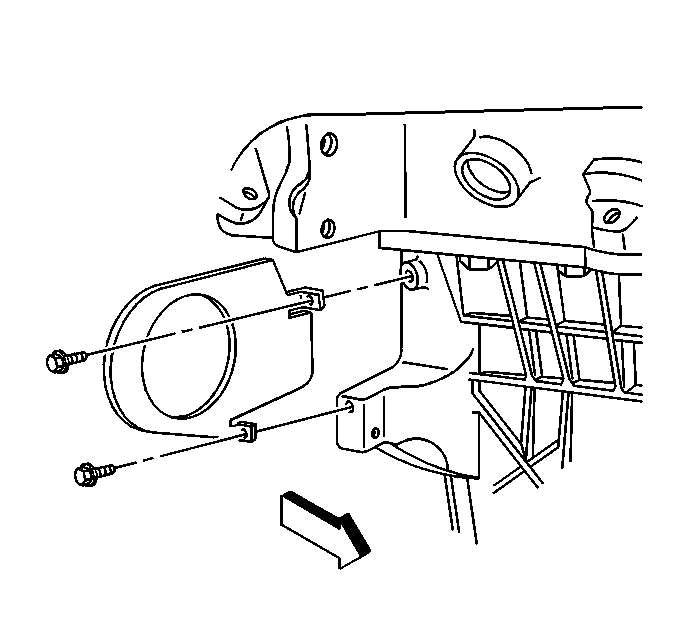
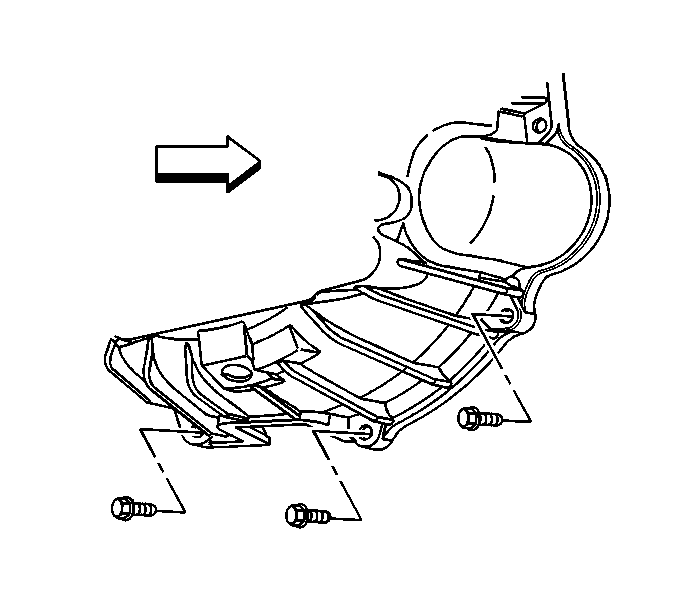
- Remove the transmission cover.
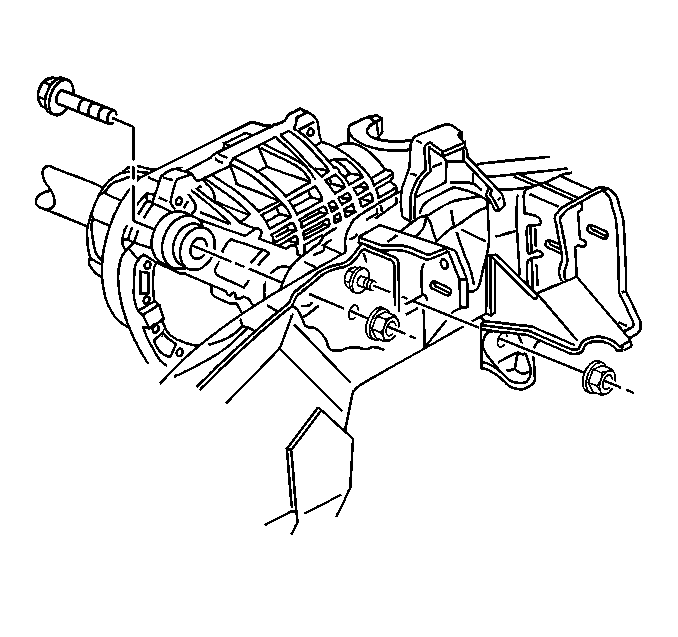
- Remove the inner axle shaft housing support bracket to the frame nuts and the washers (AWD only).
- Remove the front differential carrier upper and lower mounting nuts and bolts (AWD only).
- Lower the front differential carrier assembly only enough for removal of the oil pan.
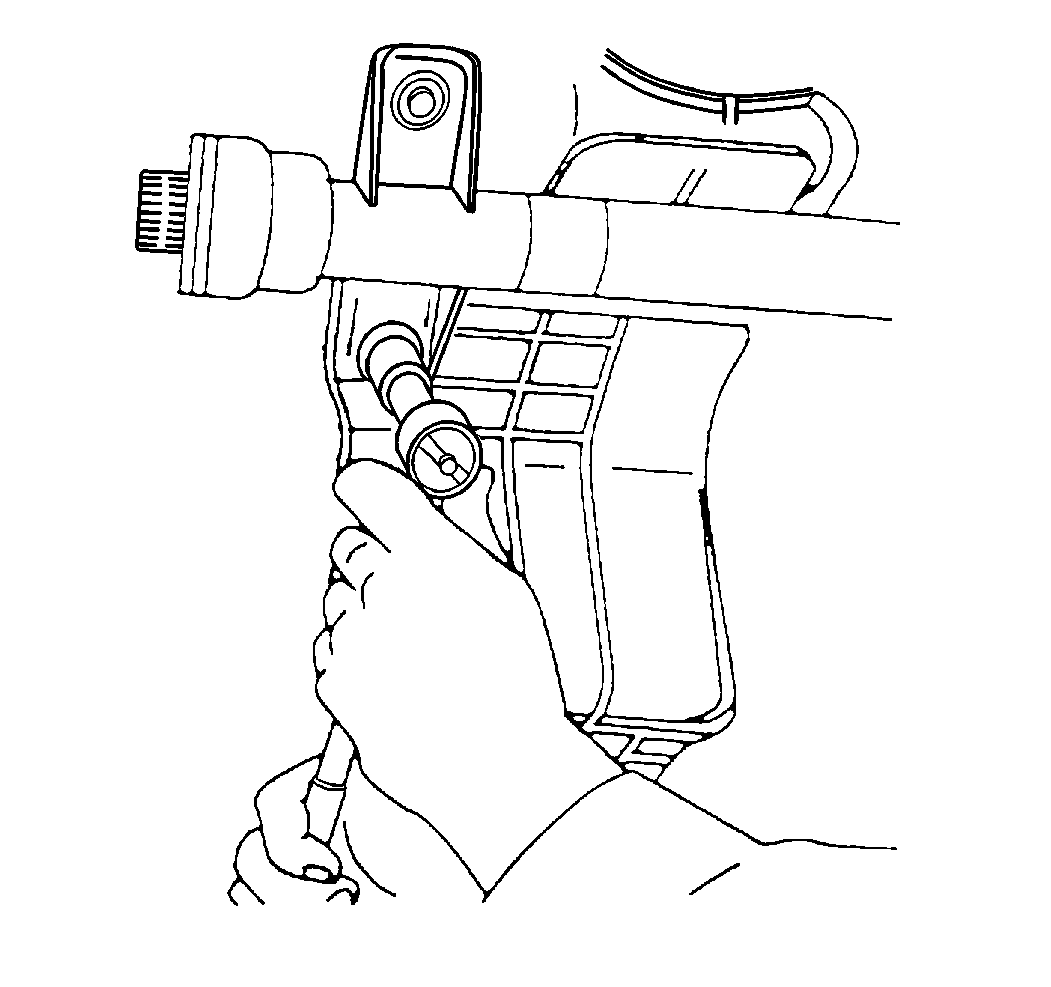
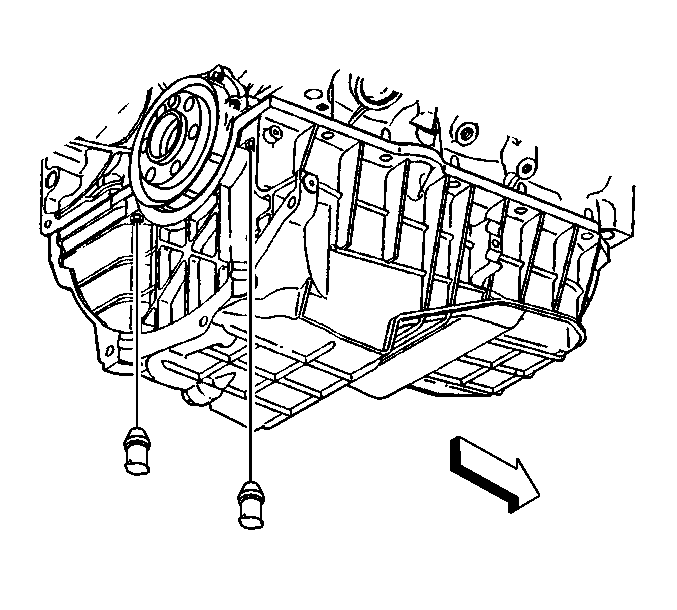
- Remove the access plugs for the oil pan rear nuts.
- Remove the transmission to oil pan bolts.
- Remove the oil pan from the engine. Refer to Oil Pan Removal .
- Clean all sealing surfaces on the engine and the oil pan. Refer to Oil Pan Cleaning and Inspection .
Important: Make sure NOT to break the cover rails.
Installation Procedure
- Install the oil pan to the engine. Refer to Oil Pan Installation .
- Install the transmission to oil pan bolts and nuts.
- Install the access plugs for the oil pan rear nuts.
- Position the front differential carrier assembly.
- Install the carrier upper and lower mounting bolts and nuts (AWD only). Refer to Differential Carrier Assembly Replacement in Front Drive Axle.
- Install the inner axle shaft housing support bracket to frame washers and nuts (AWD only). Refer to Differential Carrier Assembly Replacement in Front Drive Axle.
- Install the transmission cover.
- Install the starter motor. Refer to Starter Motor Replacement in Engine Electrical.
- Install the bolt holding the bracket for the starter wiring harness and the transmission cooler pipes.
- Install the CKP sensor wiring harness in the retainer.
- Install the oil filter adapter. Refer to Oil Filter Adapter Replacement .
- Install the oil cooler pipes bracket bolt.
- Install the oil filter. Refer to Engine Oil and Oil Filter Replacement .
- Install the oil pan drain plug.
- Lower the vehicle.
- Fill the crankcase with engine oil. Refer to Engine Oil and Oil Filter Replacement .
- Connect the battery negative cable. Refer to Battery Negative Cable Disconnection and Connection in Engine Electrical.

Notice: Any time the transmission and the engine oil pan are off of the engine at the same time, install the transmission before the oil pan. This is to allow for the proper oil pan alignment. Failure to achieve the correct oil pan alignment can result in transmission failure.
Notice: Refer to Fastener Notice in the Preface section.
Tighten
Tighten the bolts to 47 N·m (35 lb ft).


Tighten
Tighten the bolts to 12 N·m (106 lb in).

Tighten
Tighten the bolts to 10 N·m (89 lb in).

Tighten
Tighten the bolts to 10 N·m (89 lb in).
Tighten
Tighten the oil pan drain plug to 25 N·m (18 lb ft).
