For 1990-2009 cars only
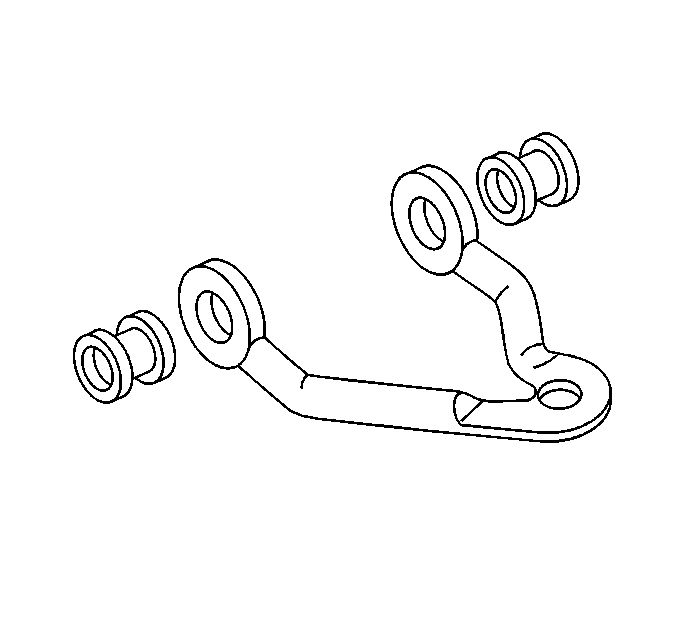
Upper Control Arm Bushings Replacement AWD
Removal Procedure
- Remove the upper control arm from the vehicle. Refer to Upper Control Arm Replacement .
- Remove the upper control arm bushings from the upper control arm.
Installation Procedure
- Install the upper control arm bushings into the upper control arm.
- Install the upper control arm to the vehicle. Refer to Upper Control Arm Replacement .
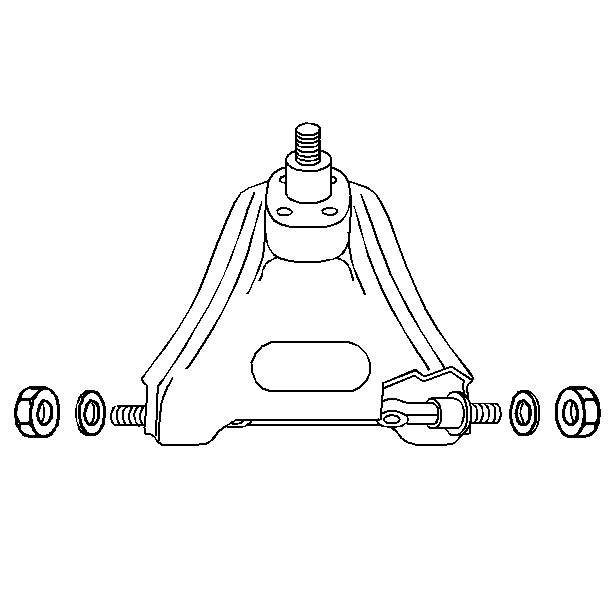
Upper Control Arm Bushings Replacement RWD
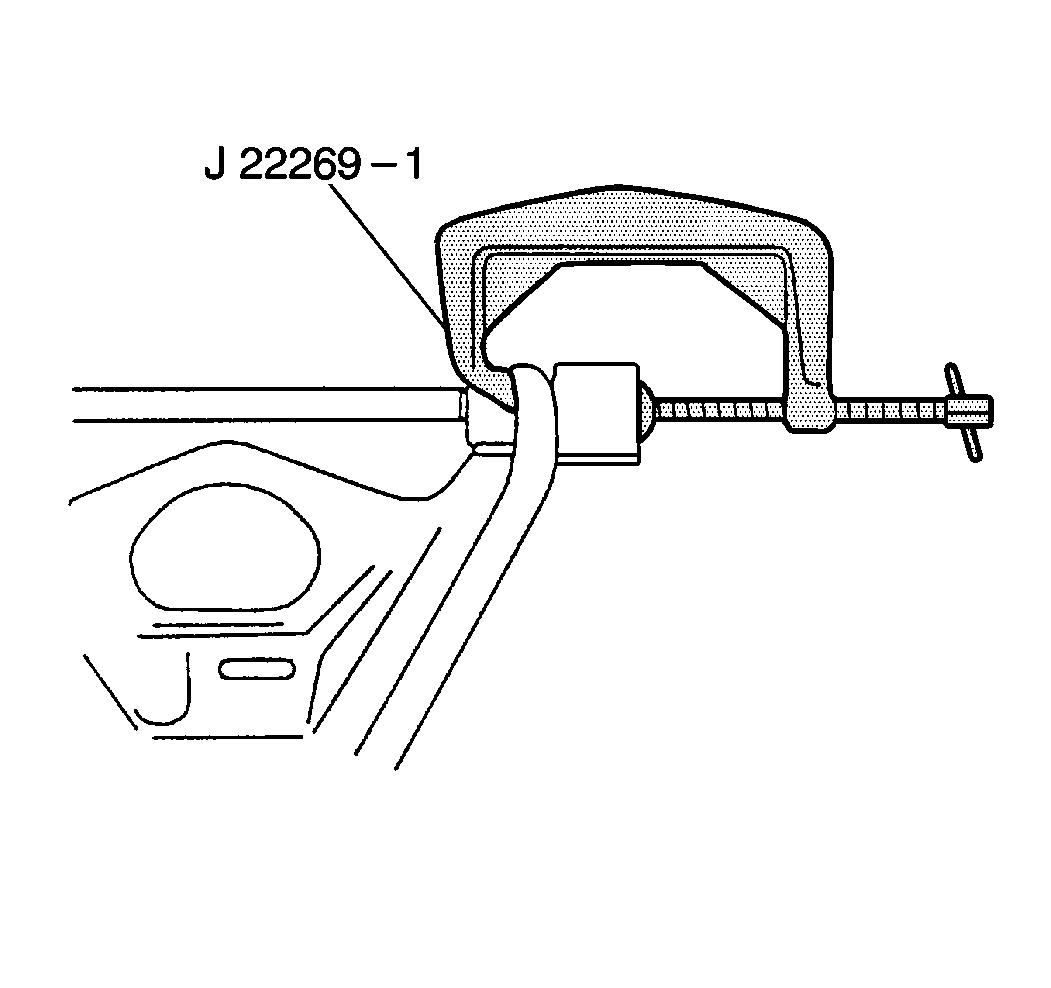
Tools Required
J 22269-01 Accumulator and Servo Piston Remover
Removal Procedure
- Remove the upper control arm. Refer to Upper Control Arm Replacement .
- Mount the upper control arm in a vise.
- Remove the upper control arm shaft nuts and the retainers.
- Remove the upper control arm bushings. Use the J 22269-01 , a slotted washer, and a short piece of pipe slightly larger than the bushing.
- Remove the upper control arm shaft from the upper control arm.
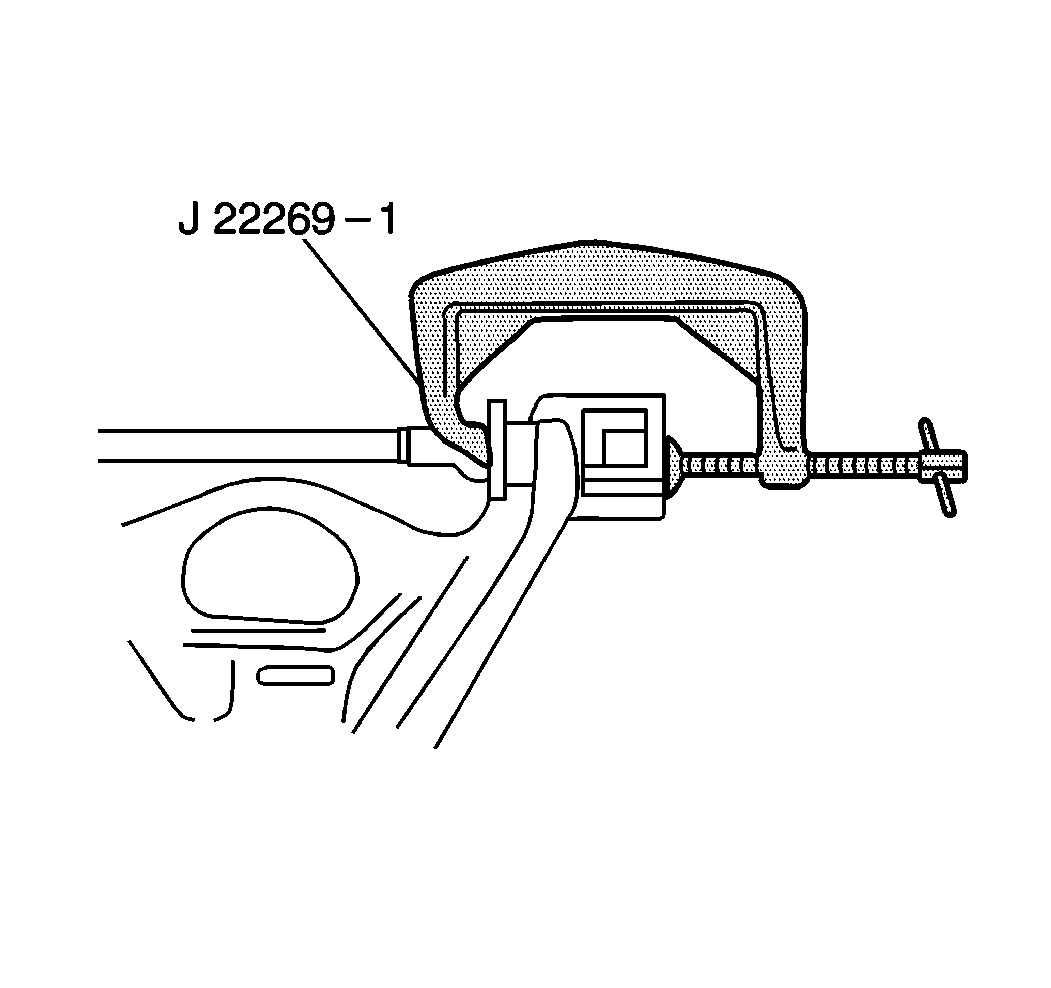

Installation Procedure
- Install the upper control arm shaft into the upper control arm.
- Install the upper control arm bushings into the upper control arm. Use the J 22269-01 and a short piece of pipe that is the same outer diameter as the rubber bushing.
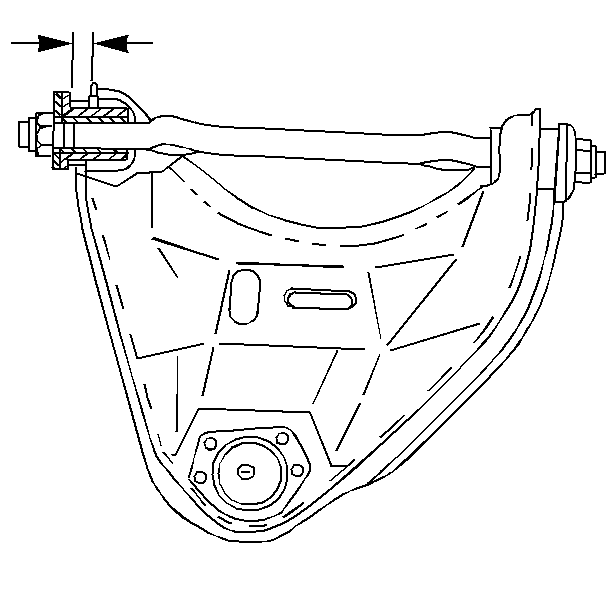
- Tighten theJ 22269-01 until the bushing is positioned on the shaft and the control arm as shown. The measurement should be 12.8-13.8 mm (0.48-0.52 in) on both ends.
- Install the upper control arm shaft retainers and the retaining nuts.
- Install the upper control arm to the vehicle. Refer to Upper Control Arm Replacement .
Notice: Use the correct fastener in the correct location. Replacement fasteners must be the correct part number for that application. Fasteners requiring replacement or fasteners requiring the use of thread locking compound or sealant are identified in the service procedure. Do not use paints, lubricants, or corrosion inhibitors on fasteners or fastener joint surfaces unless specified. These coatings affect fastener torque and joint clamping force and may damage the fastener. Use the correct tightening sequence and specifications when installing fasteners in order to avoid damage to parts and systems.
Tighten
Tighten the upper control arm shaft retaining nuts to 115 N·m (85 lb ft).
