For 1990-2009 cars only
Tools Required
| • | J 37668-A J Seal Installer |
| • | J 45380 Transfer Case Rear Bushing Remover and Installer |
Removal Procedure
- Raise the vehicle. Refer to Lifting and Jacking the Vehicle in General Information.
- Remove the rear propeller shaft. Refer to Rear Propeller Shaft Replacement in Propeller Shaft.
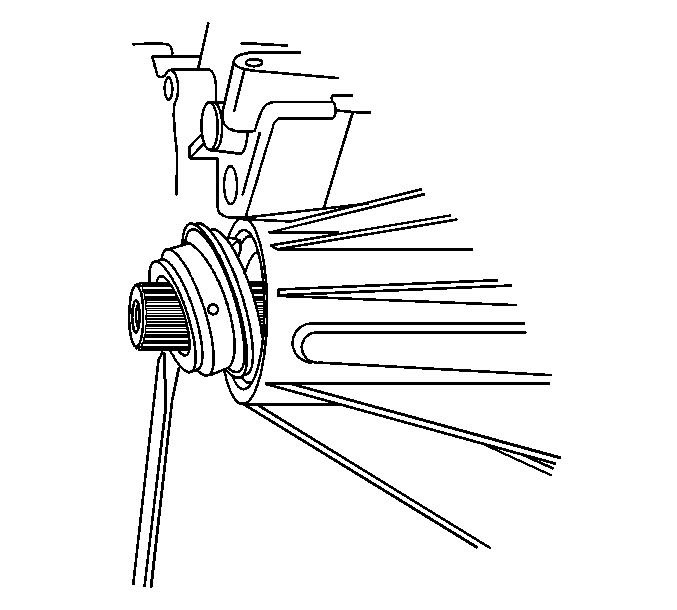
- Remove the transfer case rear output shaft seal.
- Inspect the rear output shaft seal bushing for scoring or wear.
- Remove the rear output shaft bushing if required, using the J 45380 .

Notice: Do not damage the sealing surfaces of the transfer cases or the shafts when prying the seals for removal. Damaging the sealing surface may cause leakage or require replacement of the damaged component.

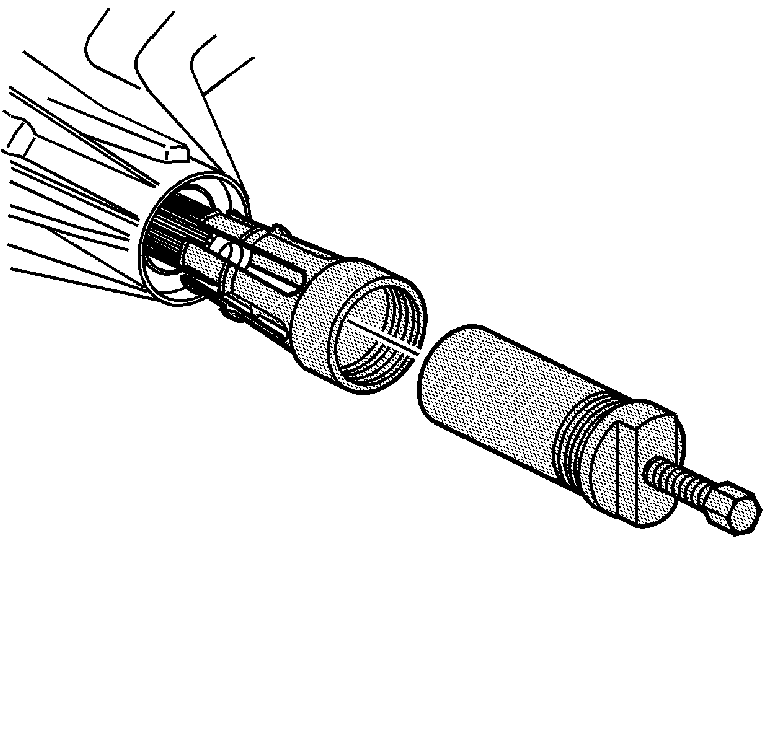
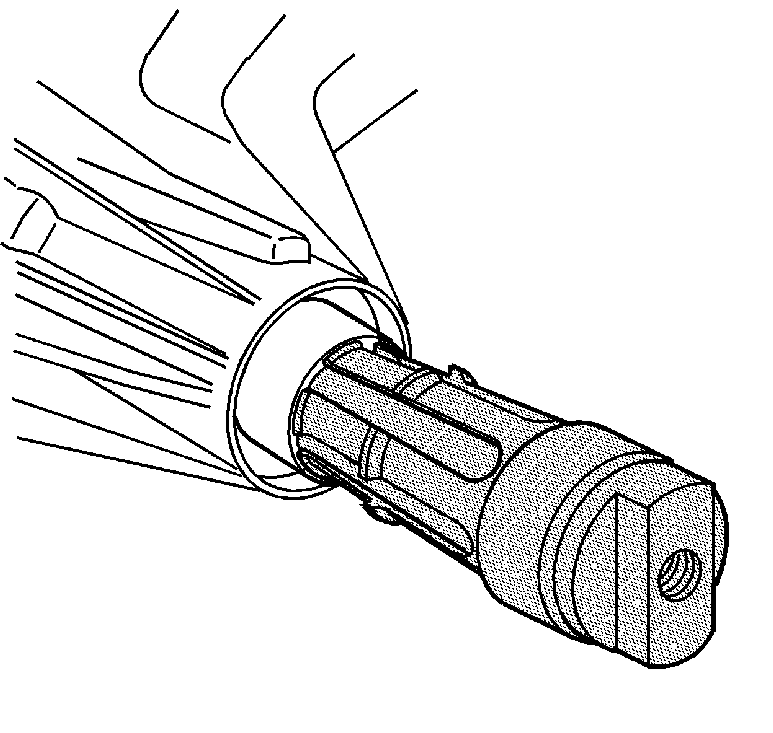
| • | Install the finger section of the J 45380 in front of the bushing. |
| • | Install the tube and forcing screw to the finger section. Ensure the forcing screw is backed out. |
| • | Using a wrench on the forcing screw, remove the rear output shaft bushing. |
Installation Procedure
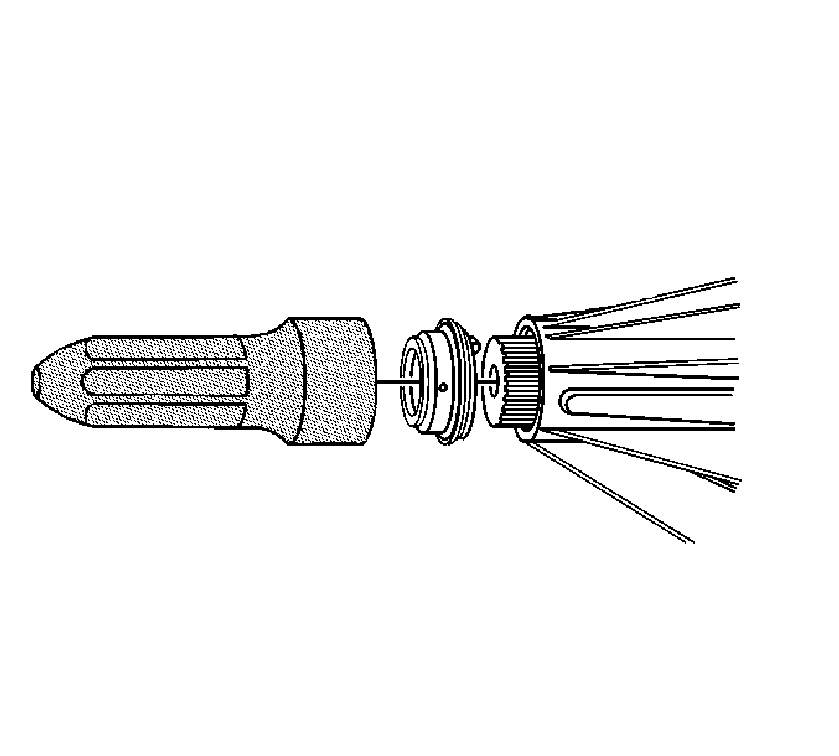
- Install a NEW rear output shaft bushing, if required, using the J 45380 .
- Using the J 37668-A , install the transfer case rear output shaft seal.
- Install the rear propeller shaft. Refer to Rear Propeller Shaft Replacement in Propeller Shaft.
- Check the transfer case fluid level. Refer to Transfer Case Fluid Replacement .
- Lower the vehicle. Refer to Lifting and Jacking the Vehicle in General Information.

| • | Install the bushing or the finger section of the J 45380 . |
| • | Install the finger section to the main body of the J 45380 . |
| • | Position the bushing and tool to the case. |
| • | Using a hammer and the J 45380 , install the bushing. |

Important: Ensure the drain hole on the boot of the rear output shaft seal is facing down toward the ground.
