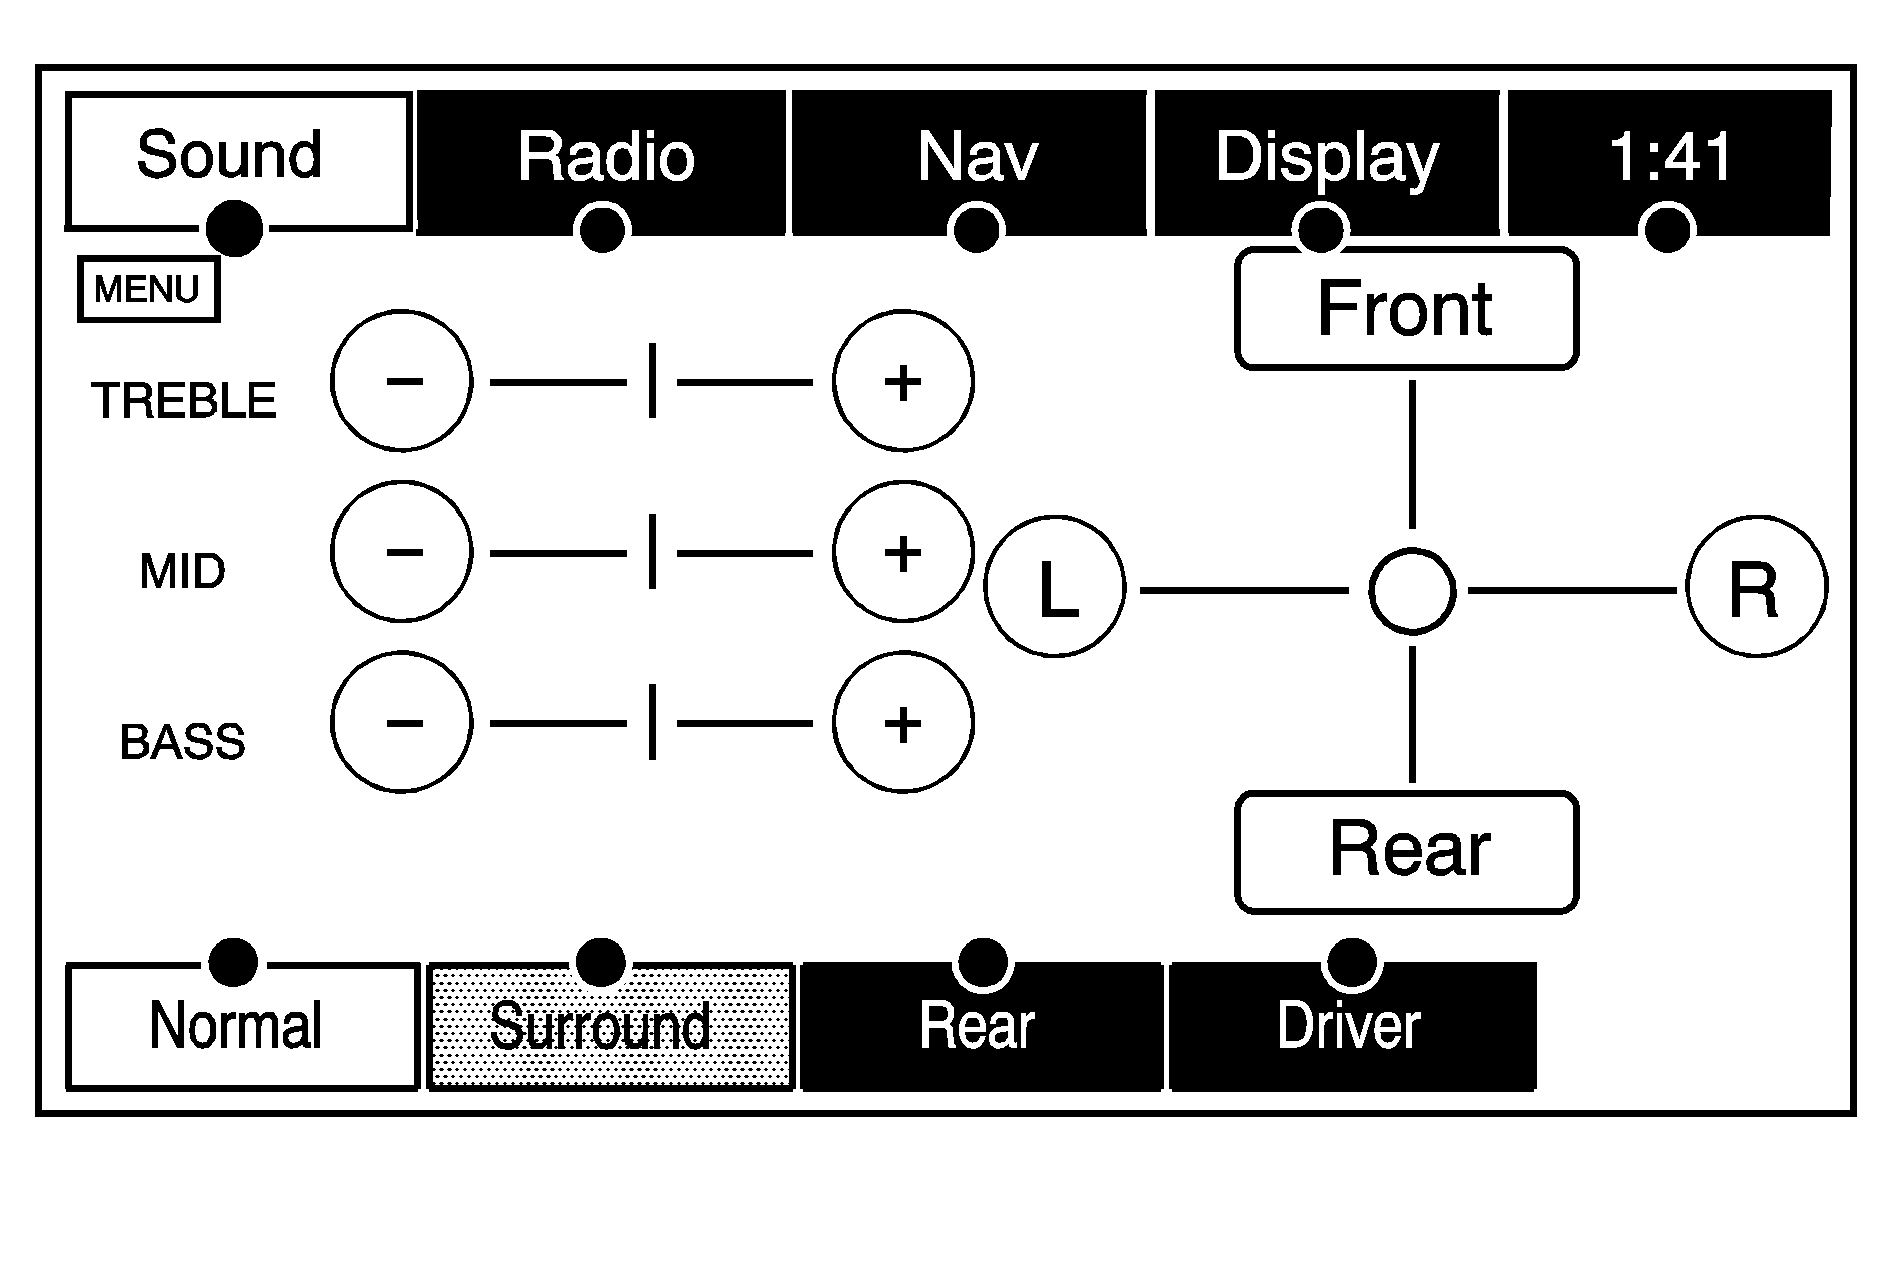
Press the MENU hard key to adjust several of your system's features and preferences. The last selected menu screen will be the screen that displays; Sound, Radio, Nav (navigation), Display or Time.
Sound
Press the MENU key to enter the Menu options, then press the MENU key repeatedly until Sound is selected or touch the Sound screen button to make speaker and equalization or DSP (Digital Signal Processing) adjustments. See Navigation Audio System for more information.
Radio
Press the MENU key to enter the Menu options, then press the MENU key repeatedly until Radio is selected or touch the Radio screen button to make changes for radio information displayed, preset pages, XM™ categories, and Automatic Volume Control or Bose® AudioPilot®. See Navigation Audio System for more information.
Nav (Navigation)
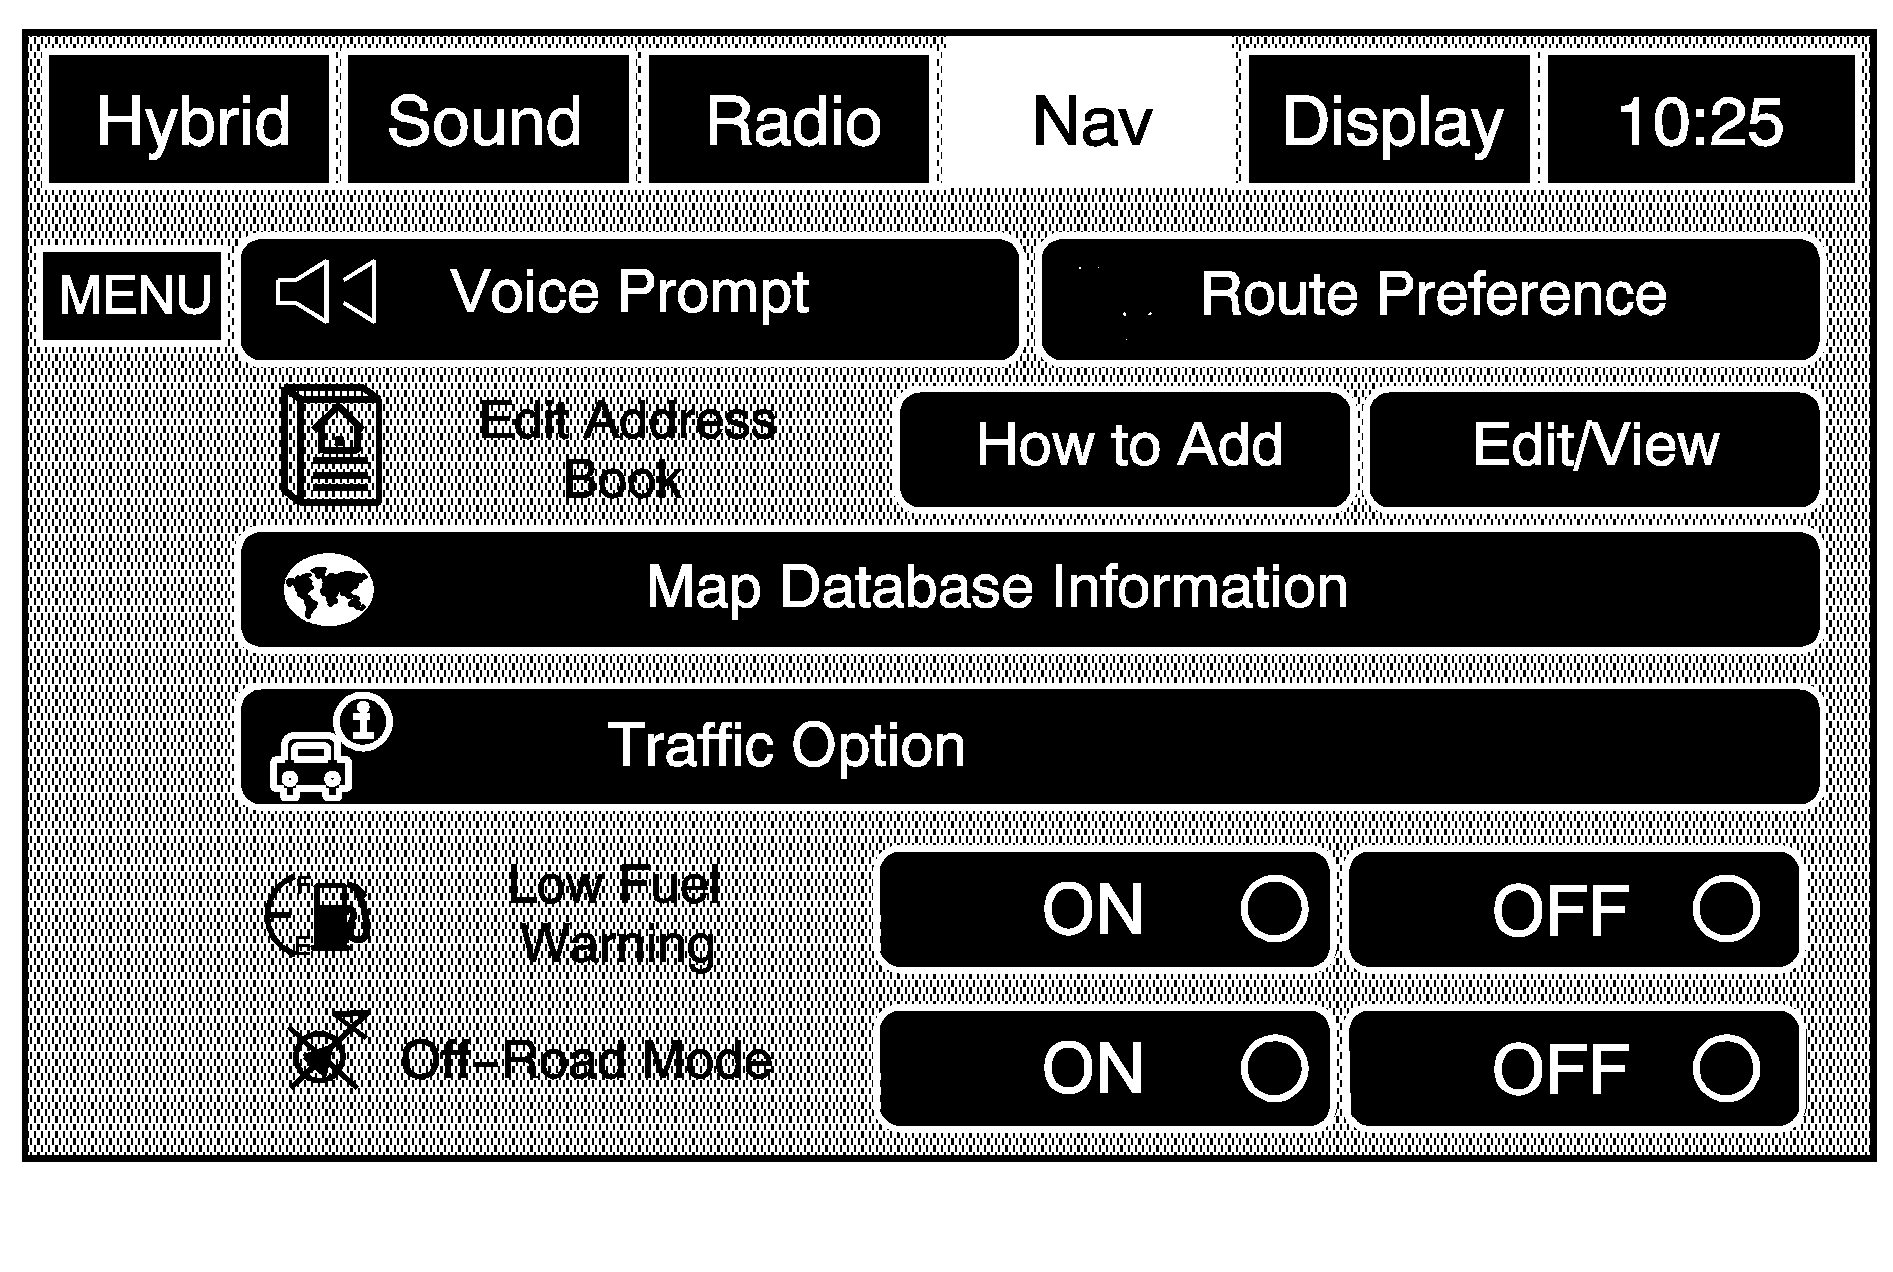
Press the MENU key to enter the Menu options, then press the MENU key repeatedly until Nav is selected or touch the Nav screen button.
Voice Prompt
Voice Prompt: Touch the Voice Prompt screen button to change the volume of the voice prompts or to turn the voice prompts on and off.Voice Prompt Volume: Touch the + (plus) or - (minus) screen buttons to increase or to decrease the volume of the voice prompts.
Turn voice turn instruction: Touch the ON or OFF screen buttons to turn voice instructions on and off while traveling on a planned route.
Route Preference
Touch the Route Preference screen button to change route options when the system calculates a route.
Allow highway: This feature allows the system to use major roads when calculating a planned route.Allow toll road: This feature allows the system to use toll roads when calculating a planned route.
Allow ferry: This feature allows the system to use ferries when calculating a planned route.
Allow time and seasonal restricted road: This feature allows the system to use time restricted and seasonal roads when calculating a planned route.
Edit Address Book -- How to Add
To add an address to the address book, see "Adding Destinations to the Address Book" under Destination.
Edit Address Book -- Edit/View
To edit the name of an address book:
- Select the MENU hard key.
- Select the NAV screen button.
- Select the Edit/View Address Book screen button.
- Select the Address book entry.
- Touch the Name screen button and use the alpha keyboard to edit or add the name.
- Touch the OK screen button to save your changes.
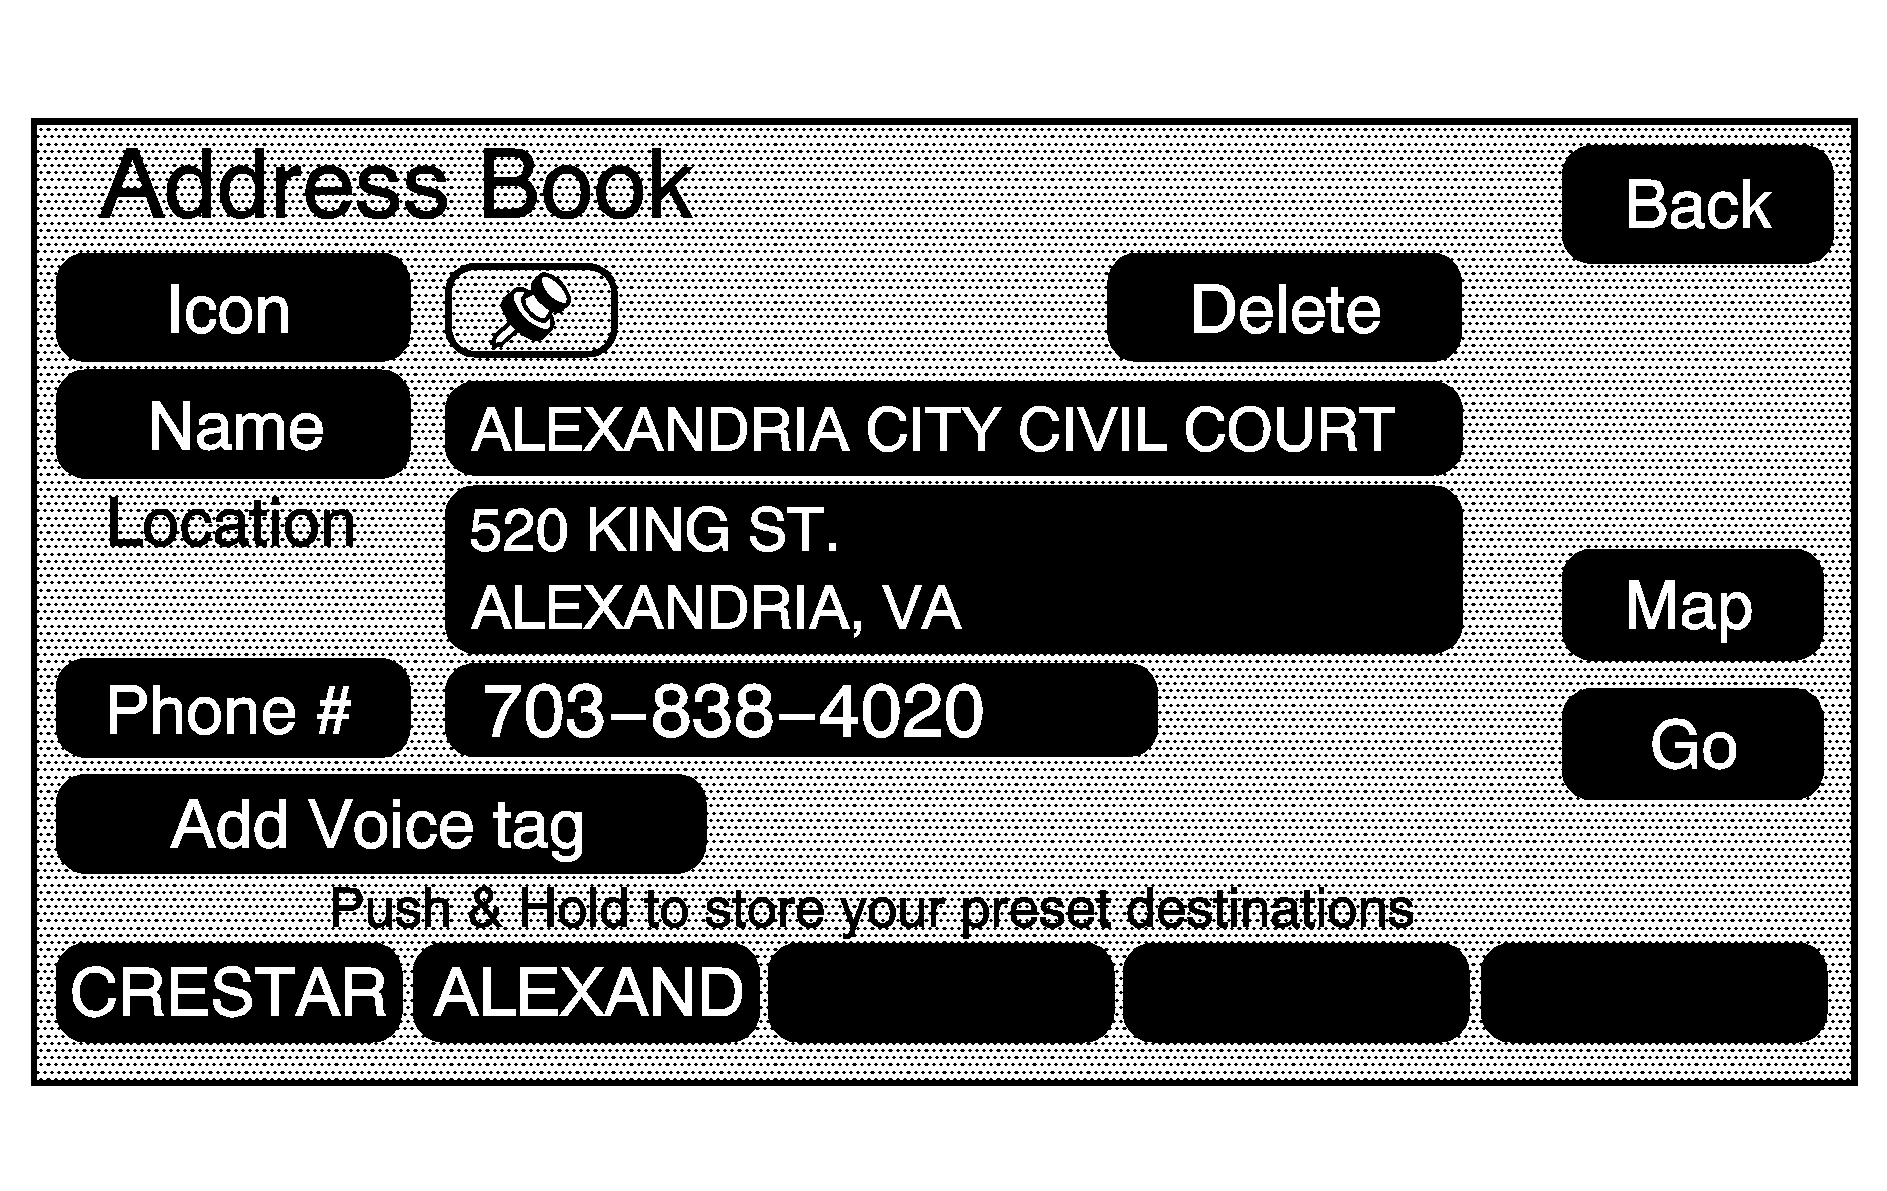
To add or change the phone number of an address book entry:
- Select the MENU hard key.
- Select the NAV screen button.
- Select the Edit/View Address Book screen button.
- Select the address book entry to change.
- Touch the Phone # screen button and use the numeric keyboard to input or change the phone number.
- Touch the OK screen button to save your changes.
To change the map icon of an address book entry:
- Select the MENU hard key.
- Select the NAV screen button.
- Select the Edit/View Address Book screen button.
- Select the address book entry to change.
- Select the Icon screen button.
- Select an icon from the list.
To add a voice tag to an address book entry:
- Select the MENU hard key.
- Select the NAV screen button.
- Select the Edit/View Address Book screen button.
- Select the Add Voice tag screen button.
- The system will ask for you to state the name. You will have five seconds to state the name. The system will respond back with the name.
To delete an address book entry:
- Select the MENU hard key.
- Select the NAV screen button.
- Select the Edit/View Address Book screen button.
- Select the address book entry to delete.
- Press the Delete screen button to delete the address book entry.
To delete the entire address book:
- Select the MENU hard key.
- Select the NAV screen button.
- Select the Edit/View Address Book screen button.
- Select the address book entry to delete.
- Press and hold the Delete screen button until the delete all address book entries pop-up confirmation displays. Select Yes to delete; select No to cancel the operation.
Map Database Information
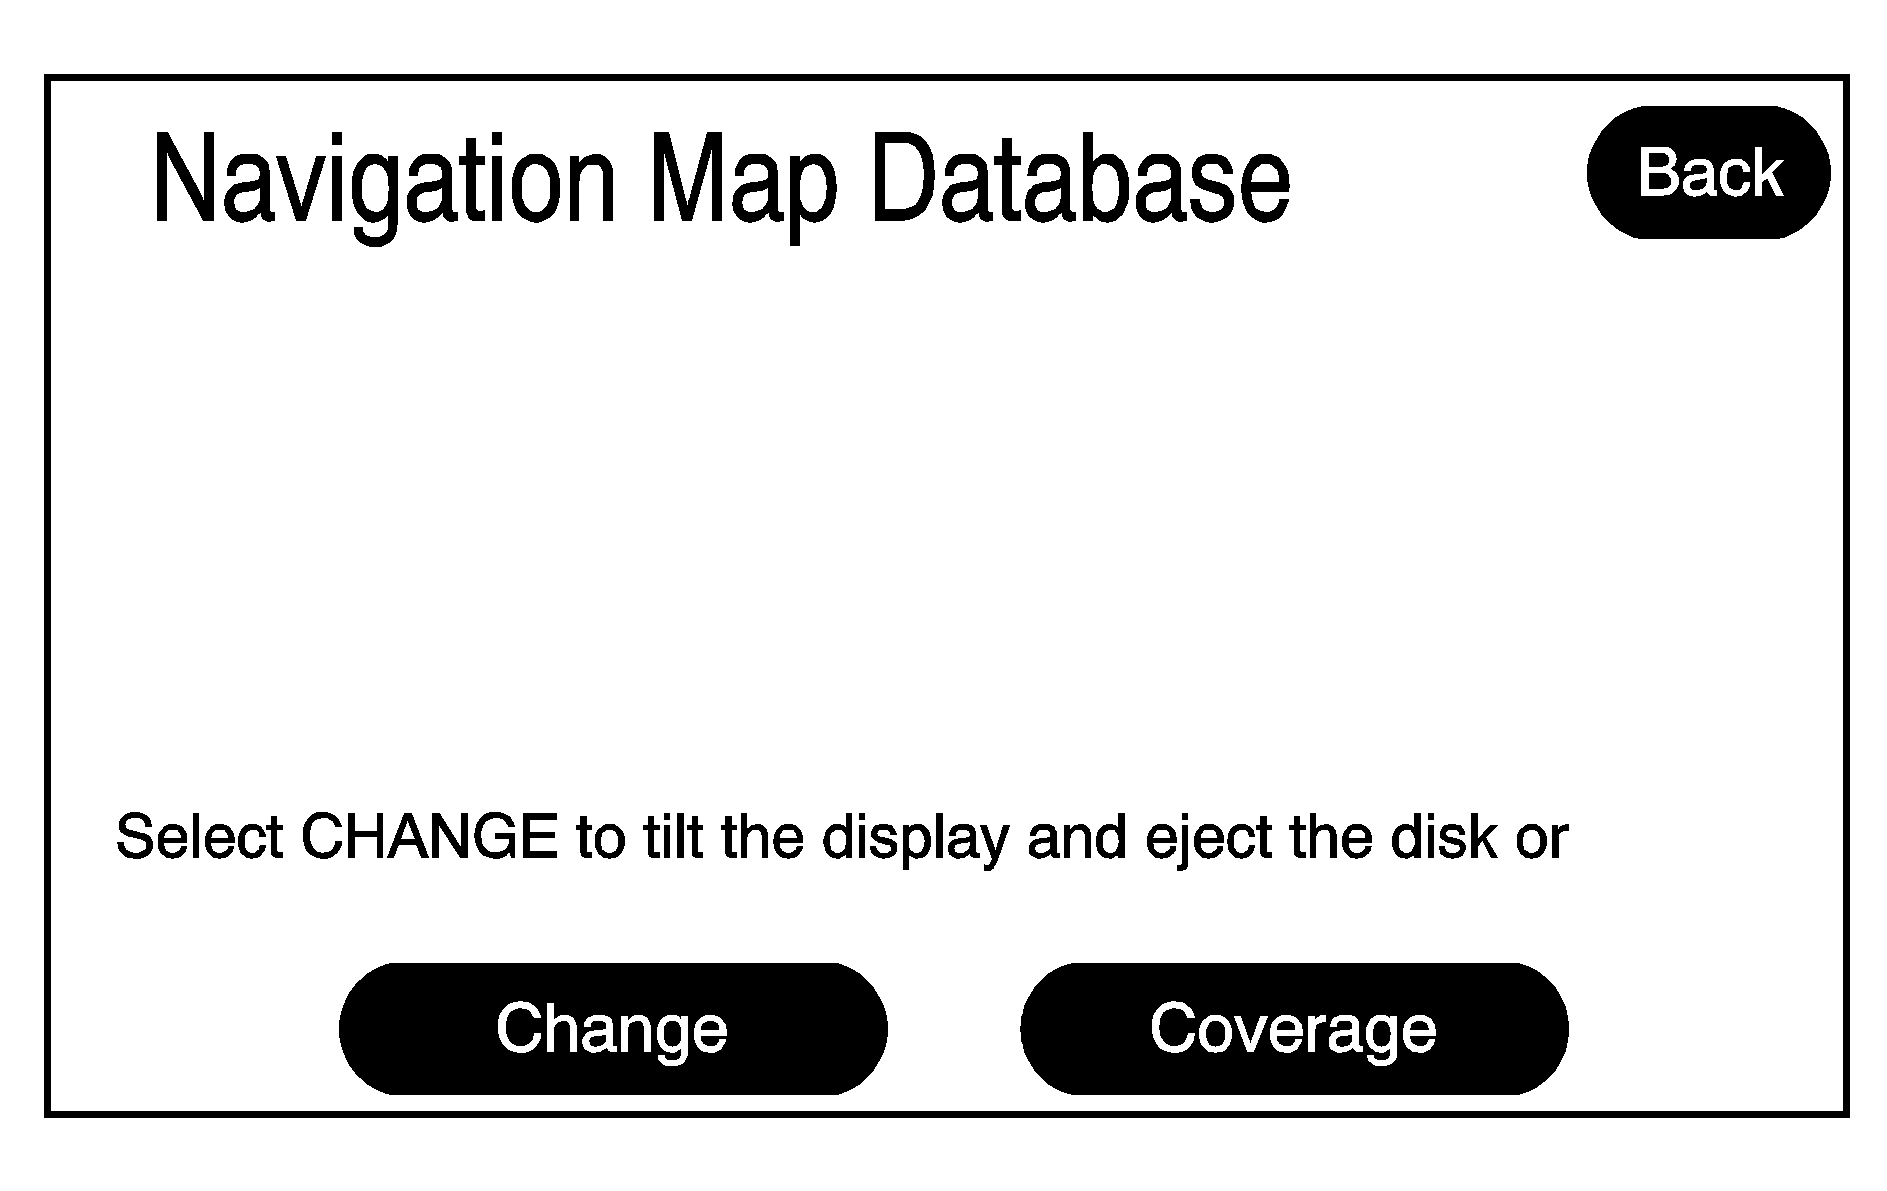
Touch the Map Database Information screen button to change the map DVD and to view the coverage areas of the map DVD.
Change: Touch this screen button to eject or change the map DVD. The screen will tilt, exposing the map DVD slot and, if loaded, the map DVD will eject. Pull the map DVD out. Insert the map DVD partway into the slot. The system will pull it in.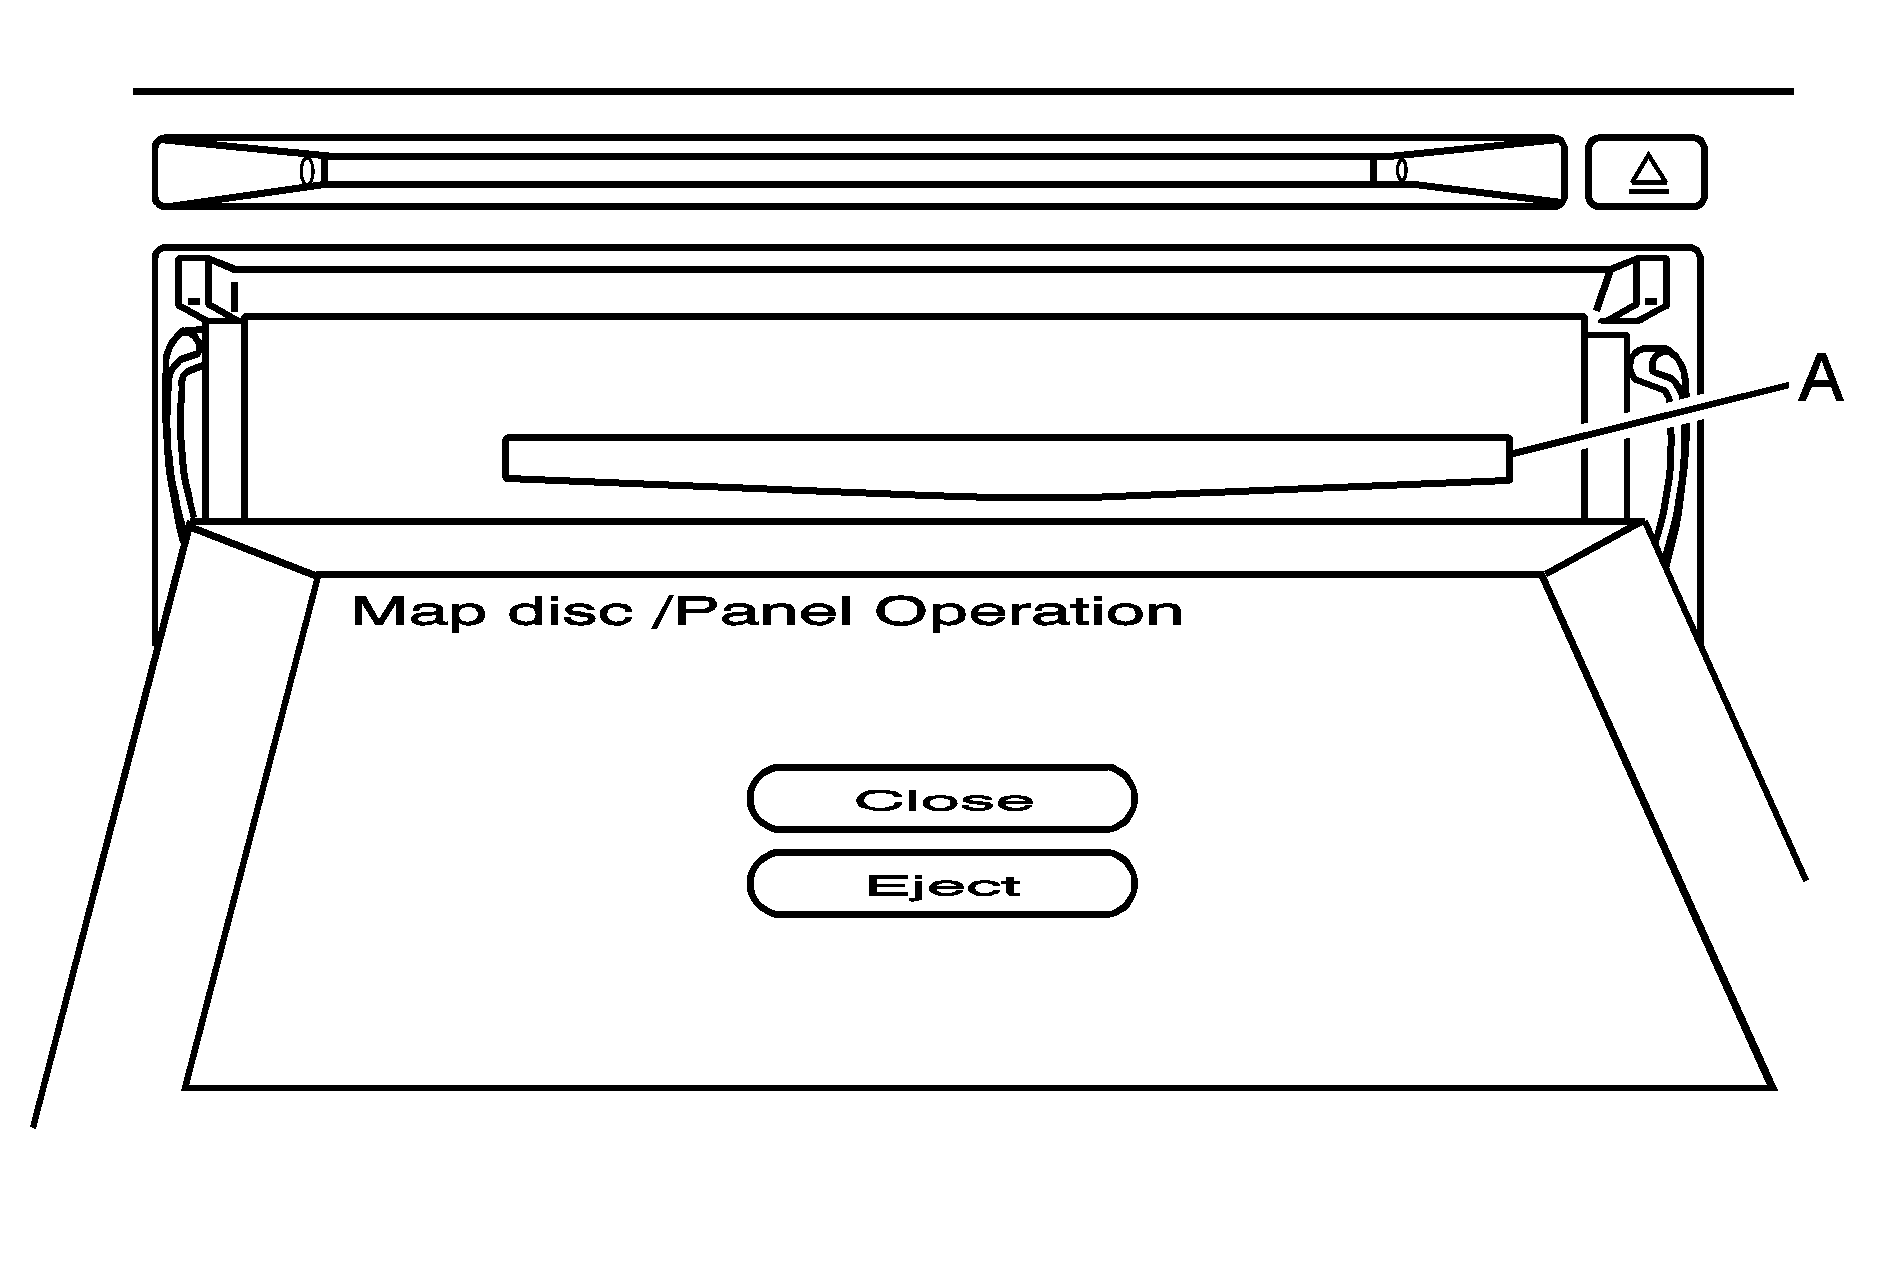
Map DVD Slot
Once the map DVD is loaded touch the Close screen button. The screen will close.
Once the screen is closed touch the OK screen button to proceed to the navigation system. See Getting Started.
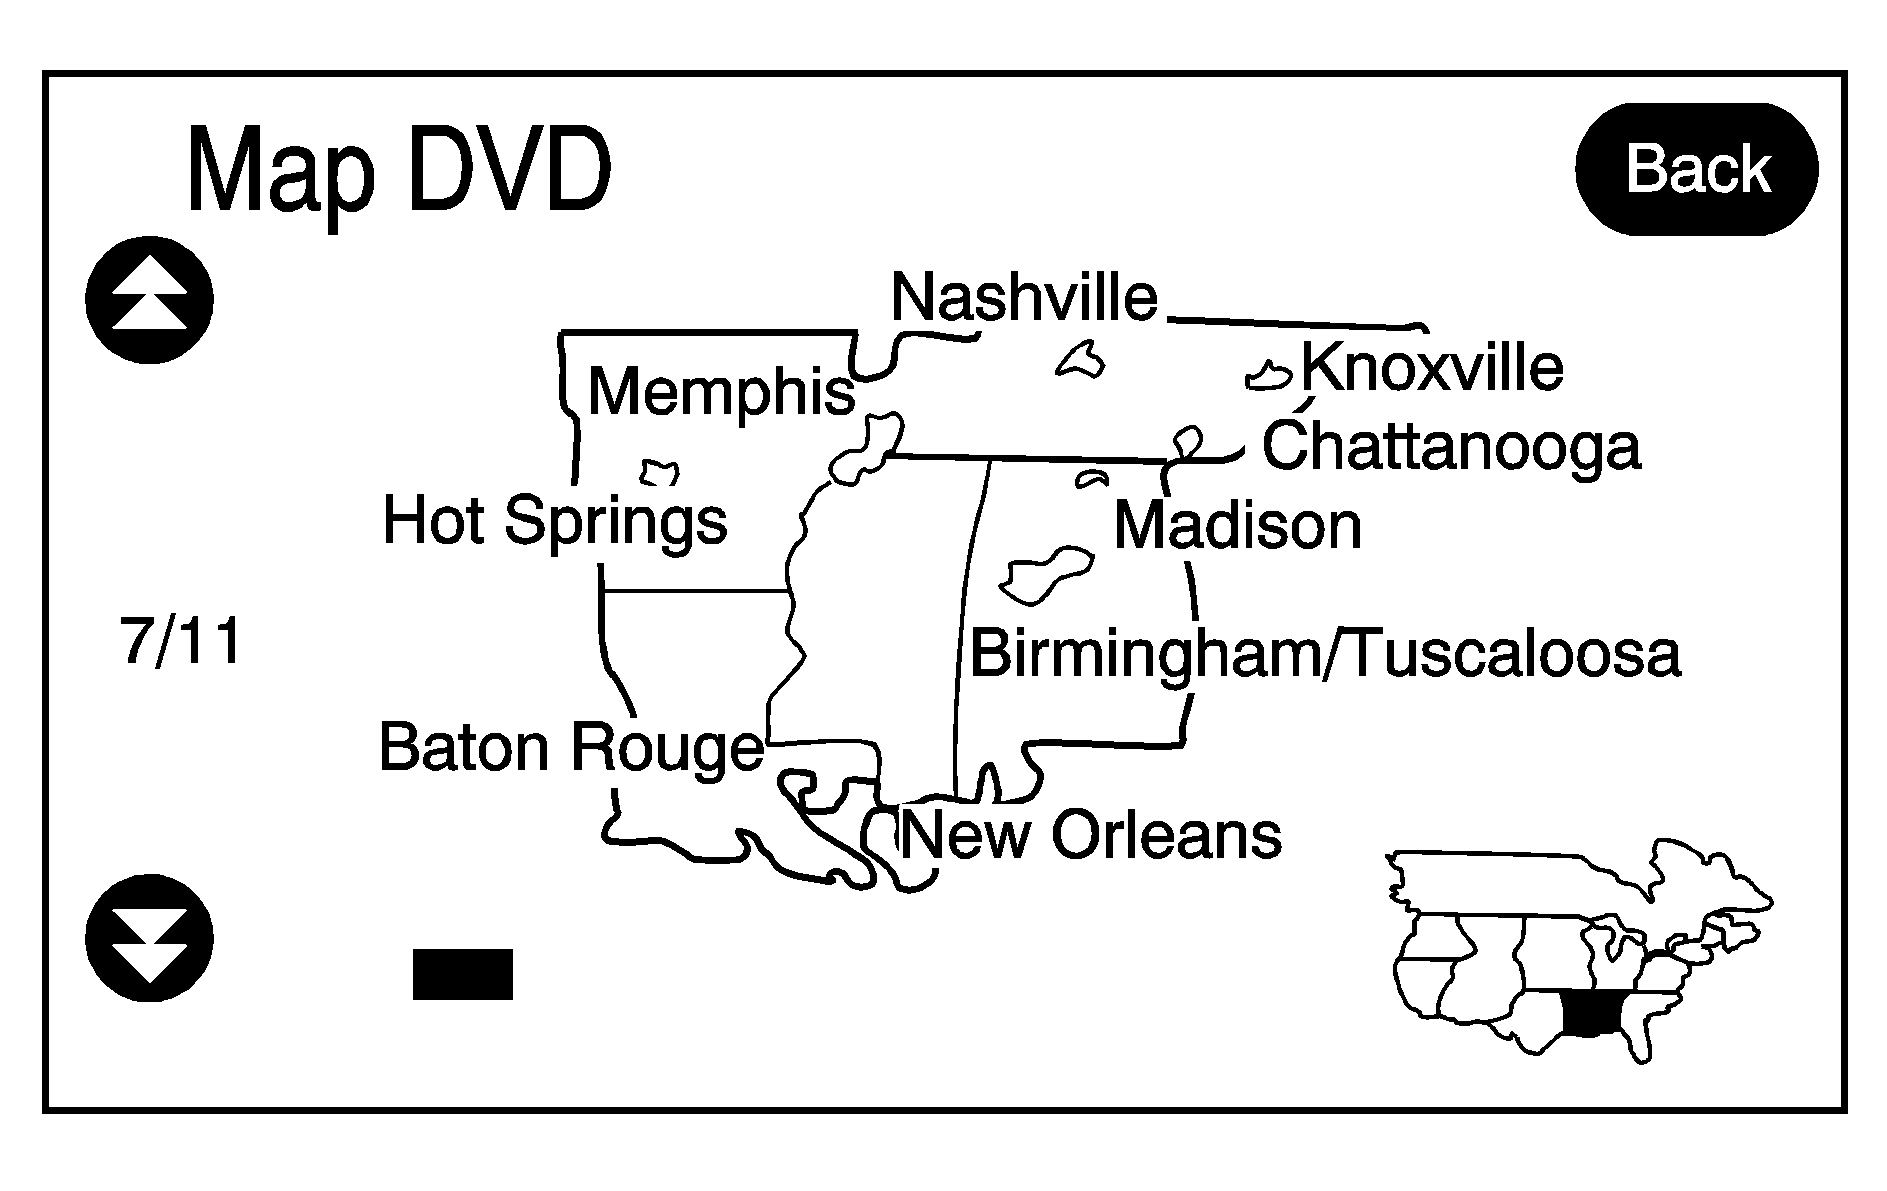
Coverage: Touch this screen button to view the areas covered by the map DVD. Touch the up and down arrow screen buttons to view each region of the map DVD. The screen will display the major cities for the selected region.
XM NavTraffic™ (USA and Canada)
The vehicle's navigation system may have an XM NavTraffic™ receiver. XM NavTraffic™ is a subscription service provided via XM™ Satellite Radio. XM NavTraffic™ provides real-time traffic information fully integrated to the navigation system to display current traffic conditions for a driver’s chosen route and surrounding area. XM NavTraffic™ allows drivers to make the most informed, timesaving routing decisions.
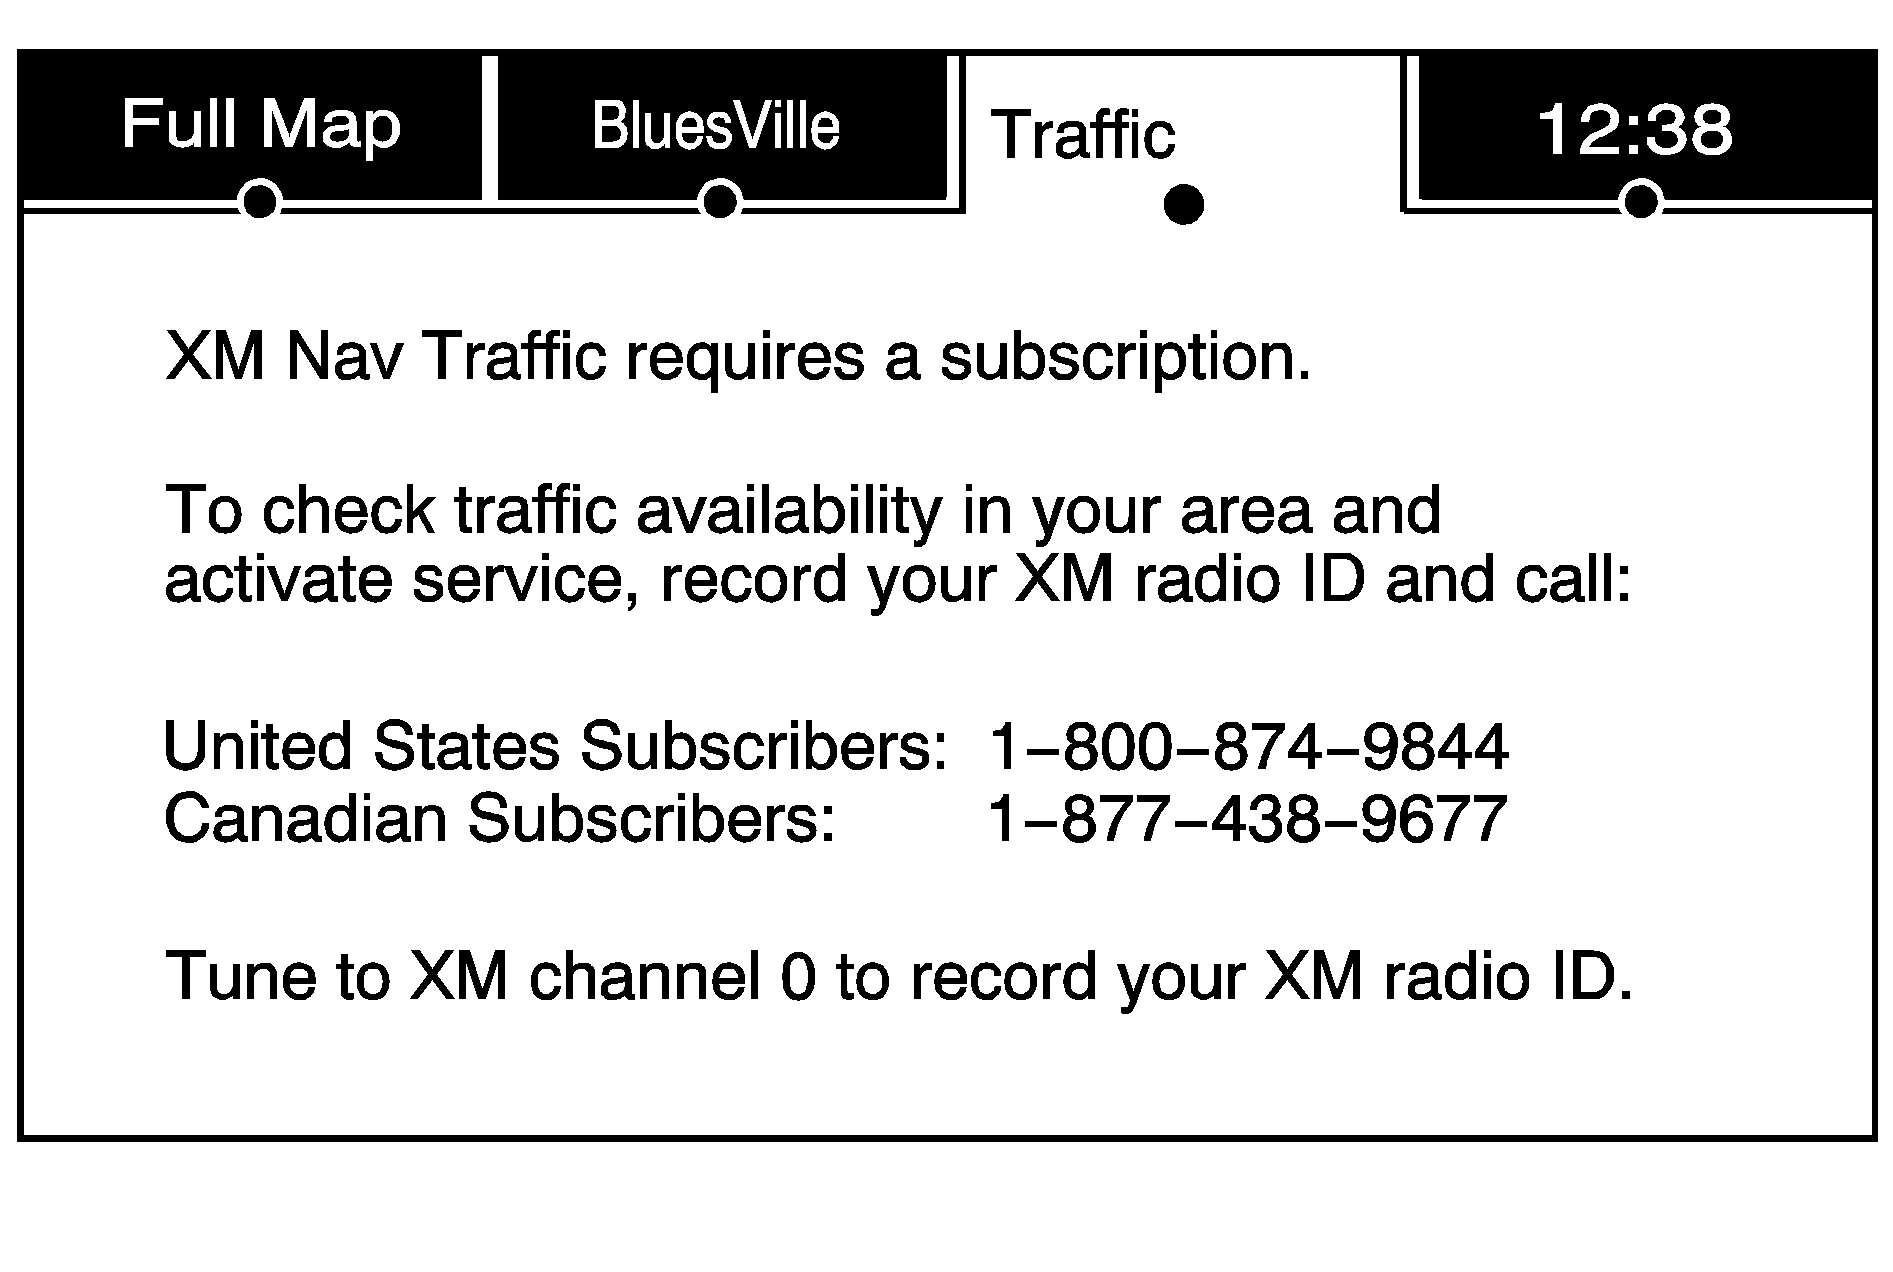
If the Traffic touch screen button is pressed or if an attempt is made to turn on the traffic display in the Navigation Setup Menu without a subscription, a warning screen displays indicating that XM traffic is not activated.
Three types of traffic information for major roadways are displayed on the navigation system:
| • | Unscheduled traffic incident data, such as accidents and disabled vehicles |
| • | Scheduled traffic incident data, such as road construction and road closures |
| • | Traffic flow information (rate of speed data) |
Traffic information is delivered to the vehicle by the XM™ Radio satellites. XM NavTraffic™ makes it possible for the navigation system to provide continuously updated traffic information personalized for a driver’s needs.
XM NavTraffic™ currently broadcasts the traffic information for many markets nationally, and the service may be available in more cities in the future. visit xmnavtraffic.com for more details on local coverage.
A service fee is required in order to receive the XM NavTraffic™ service.
Turning XM NavTraffic™ On and Off
To turn traffic on or off:
- Press the Menu hard key, then press the Menu key repeatedly until Nav is selected or press the Nav screen button.
- Touch the Traffic Options button.
- Touch the Traffic button. This button is highlighted when it is active.
Selecting Alert for Approaching Traffic Events enables the system to show a pop-up screen that notifies of possible traffic issues ahead.
When this feature is highlighted, while traveling on a route, accidents located on the route are indicated and can be avoided.
Traffic Icon
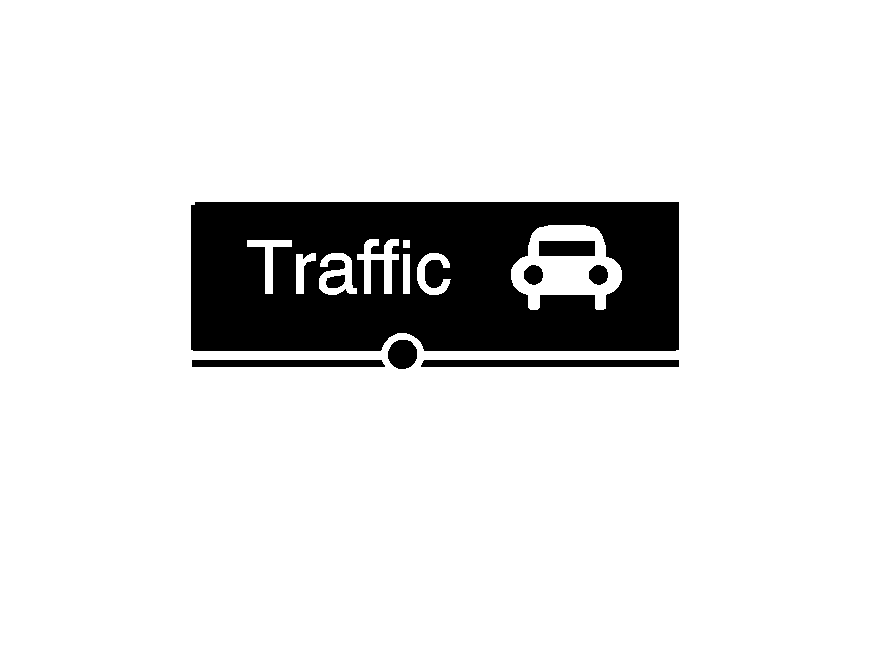
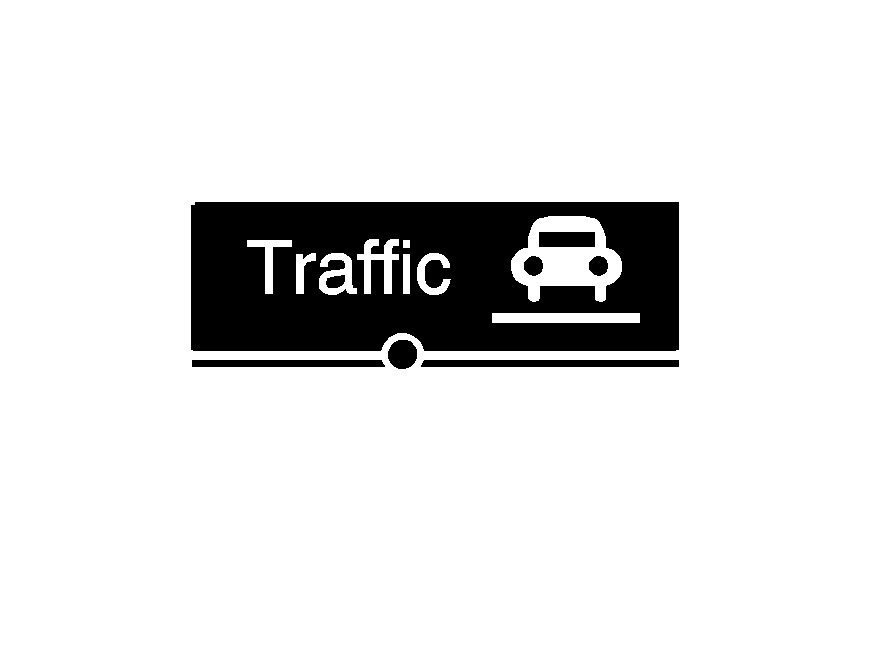
The Traffic Icon appears on the Traffic Tab, next to the word Traffic, when traffic is found in the local area.
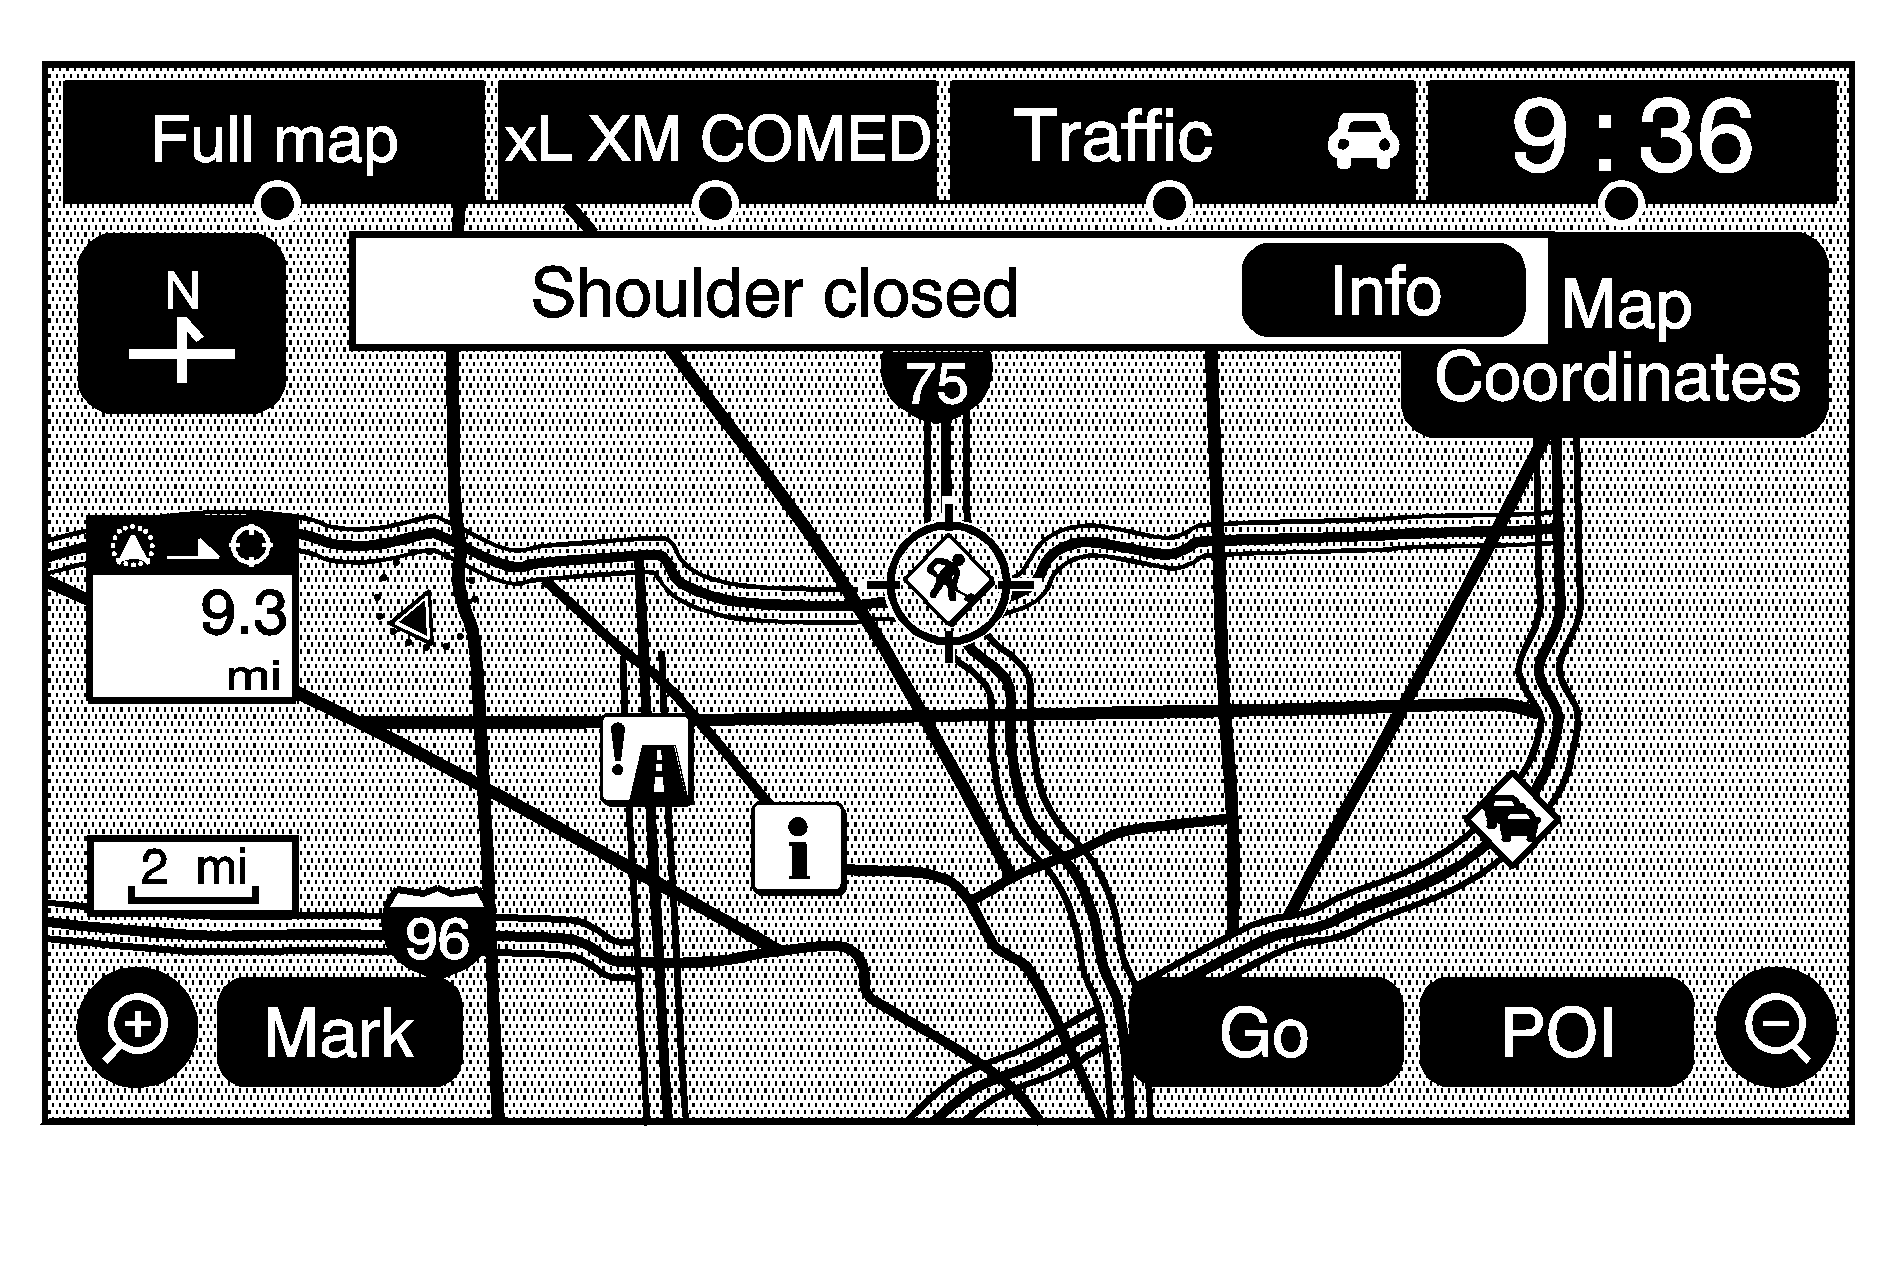
The Traffic Icon has three different condition displays. These are:
Condition | Traffic Status Icon | ||||||
|---|---|---|---|---|---|---|---|
|
| ||||||
Traffic events are in the area, but none are on route. |
| ||||||
Traffic events are on route. |
|
Locations and Information of Traffic Conditions
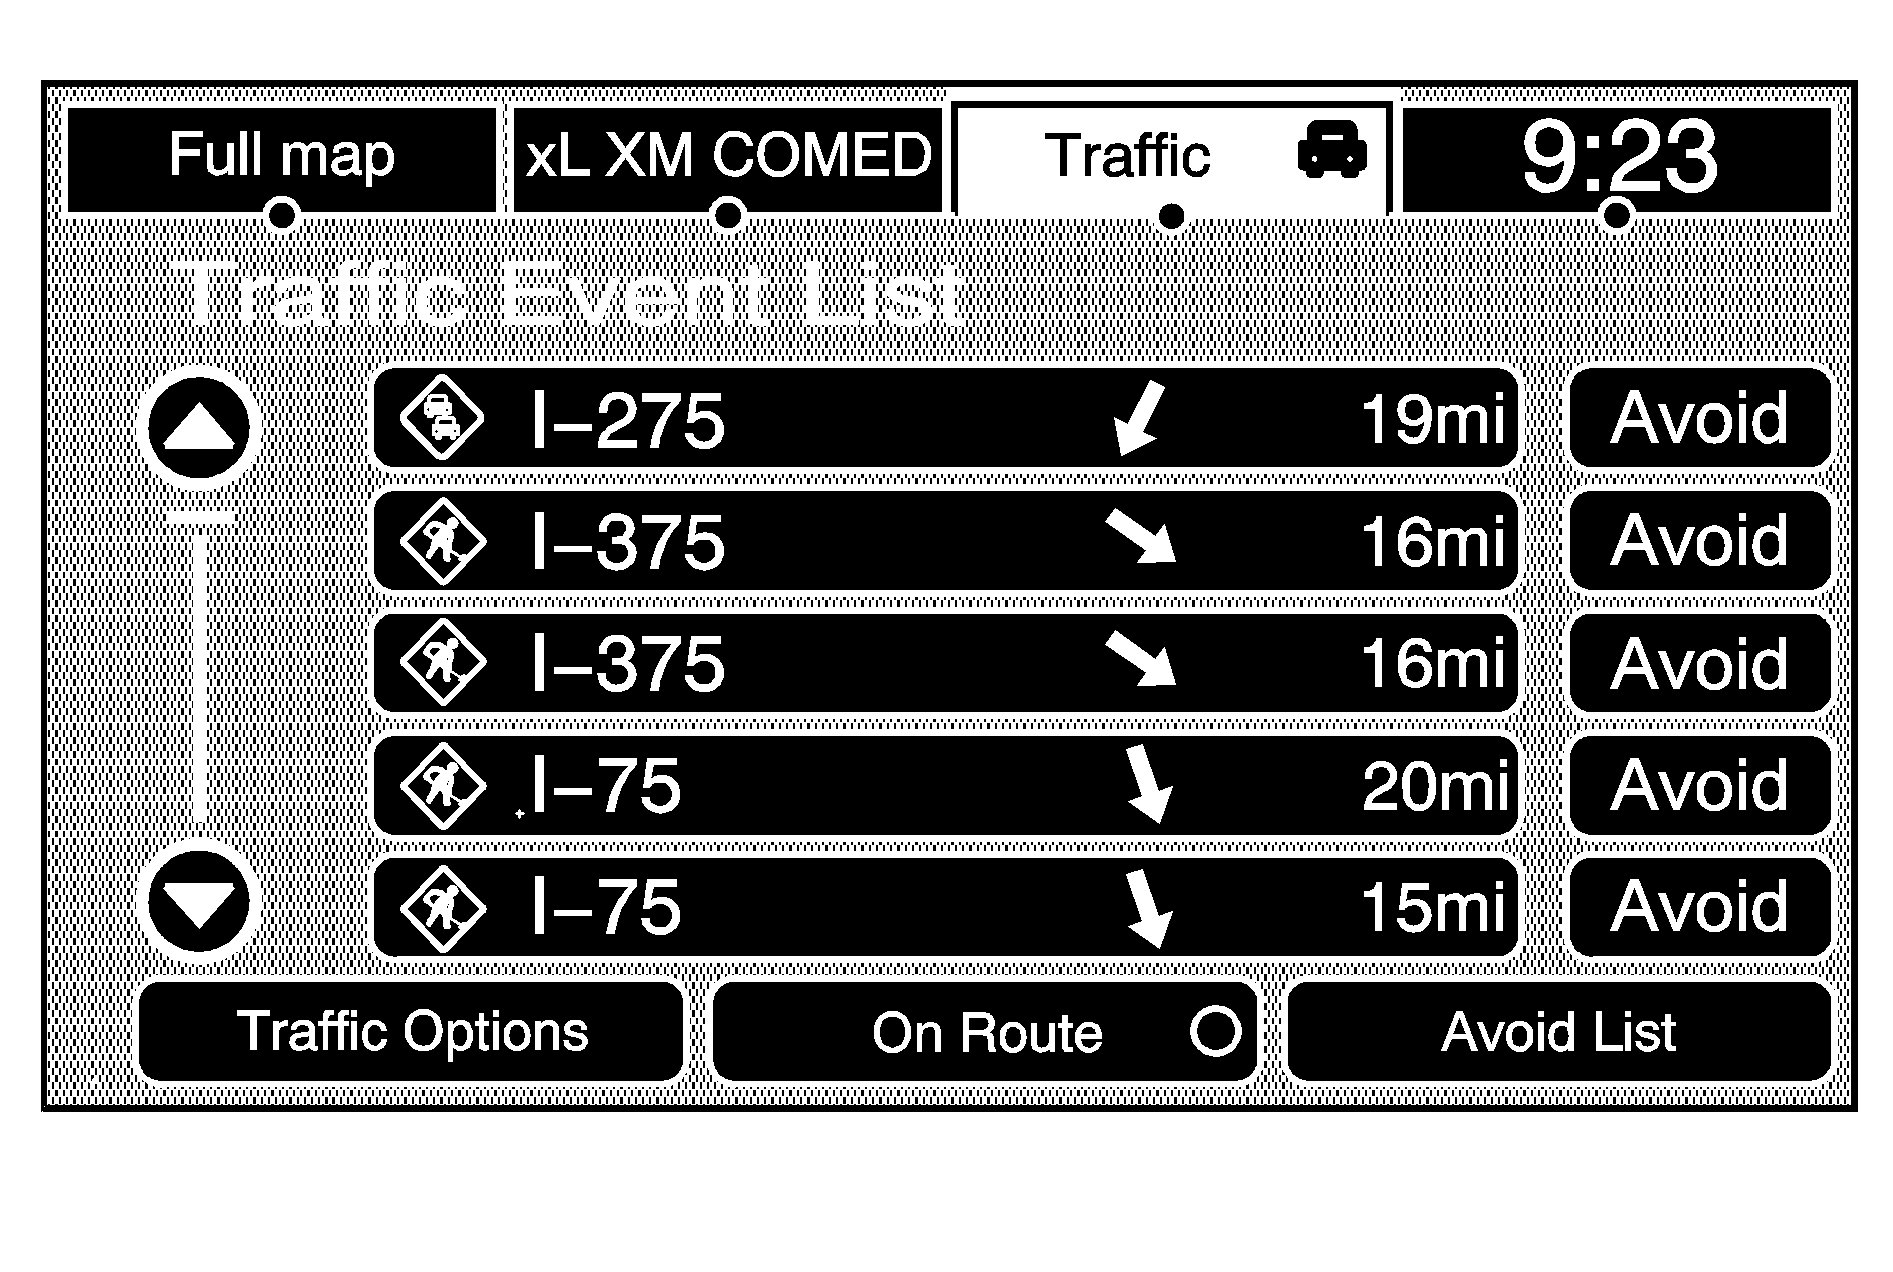
The system may take some time to sort the information. The list of traffic conditions display in the order of distance from the vehicle, at a minimum of approximately 16 mi (25 km). If traveling on a planned route, the list can be filtered to see traffic conditions along the planned route. Not all traffic conditions may be listed.
To view the traffic condition location and information on the map:
- Press the NAV key, then press the NAV key repeatedly until Traffic is selected, or touch the Traffic screen button. A list of traffic conditions with the direction and distance from the vehicle's current position displays.
- Select a traffic condition to get more detailed information of the event.
Options
Select the Options screen button. A Traffic Options menu displays. Select the desired traffic related option.
Traffic: Select to enable or disable the traffic function.Show Traffic ICONS: Select to display traffic icons on the map screen. This function allows which traffic information displays.
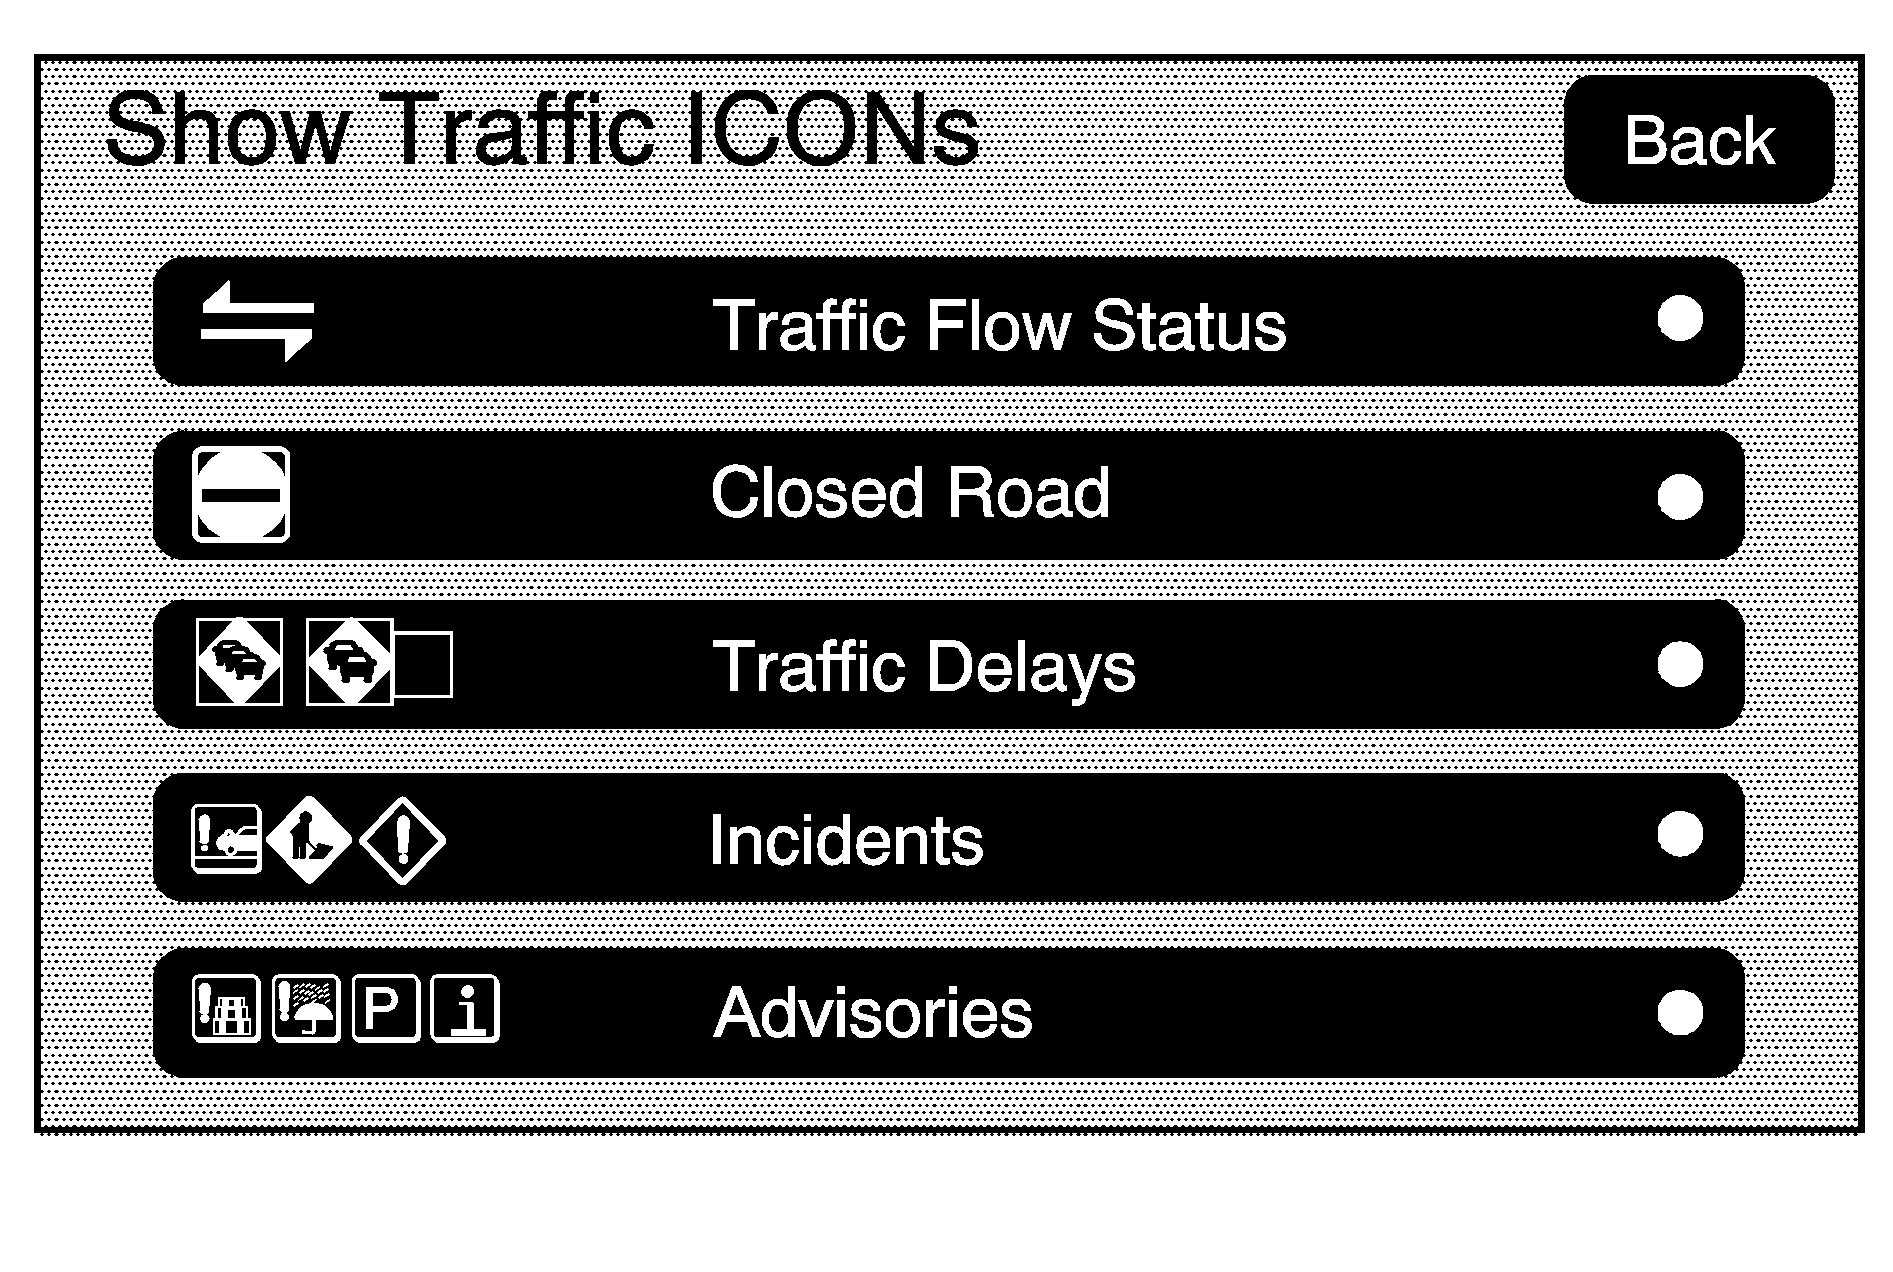
Traffic Flow Status -- This touch screen button is used to enable or disable the green, yellow, red and orange arrows shown beside the roads and used to show the traffic flow or extent of a traffic event.
| • | Black indicates a closed road segment |
| • | Red indicates significantly impaired traffic flow with average speed less than 25 mph. |
| • | Yellow indicates slightly impaired traffic flow with average speed between 25 and 45 mph. |
| • | Green indicates normal traffic flow with average speed above 45 mph. |
Traffic flow data arrows display on the map when scaled up to eight miles.
Closed Road, Traffic Delays, Incidents, and Advisories -- These four touch screen buttons are used to turn on and to show traffic event ICONS that appear on the map screens.
Traffic Event Display Categories
The following are traffic condition categories and symbols that can appear on the display:
Category 1, Road Closure:
(Road Closed): Road and/or ramps closed.Category 2, Traffic Delayed:
/ (Stopped/Slow Traffic): Traffic stopped, stop and go traffic, delayed and congested traffic.Category 3, Incidents:
(Alert): Object in the roadway, disabled vehicle, or dangerous road conditions.(Accident): Roadway obstructed due to accident.
(Road Works): Delayed traffic due to construction.
Category 4, Advisories:
(Road Condition): Delayed or stopped traffic, lane blocked or closed due to a road condition.(Weather): Heavy rain, snow, or fog weather condition.
(Parking): Available parking area.
(Information): Special event, general information, or warning.
Alert for Approaching Traffic Events: When On, if an approaching traffic event is within the alert range, one of two traffic alert pop-up screens display:
| • | With no route planned, while on expressways, Approaching Traffic Event without Avoid screen displays. |
| • | With route planned, Traffic Event on Route screen displays. |
If the Alert for Approaching Traffic Events is Off, the alert pop-up screen does not display and no voice announcement when approaching traffic.
On-Route
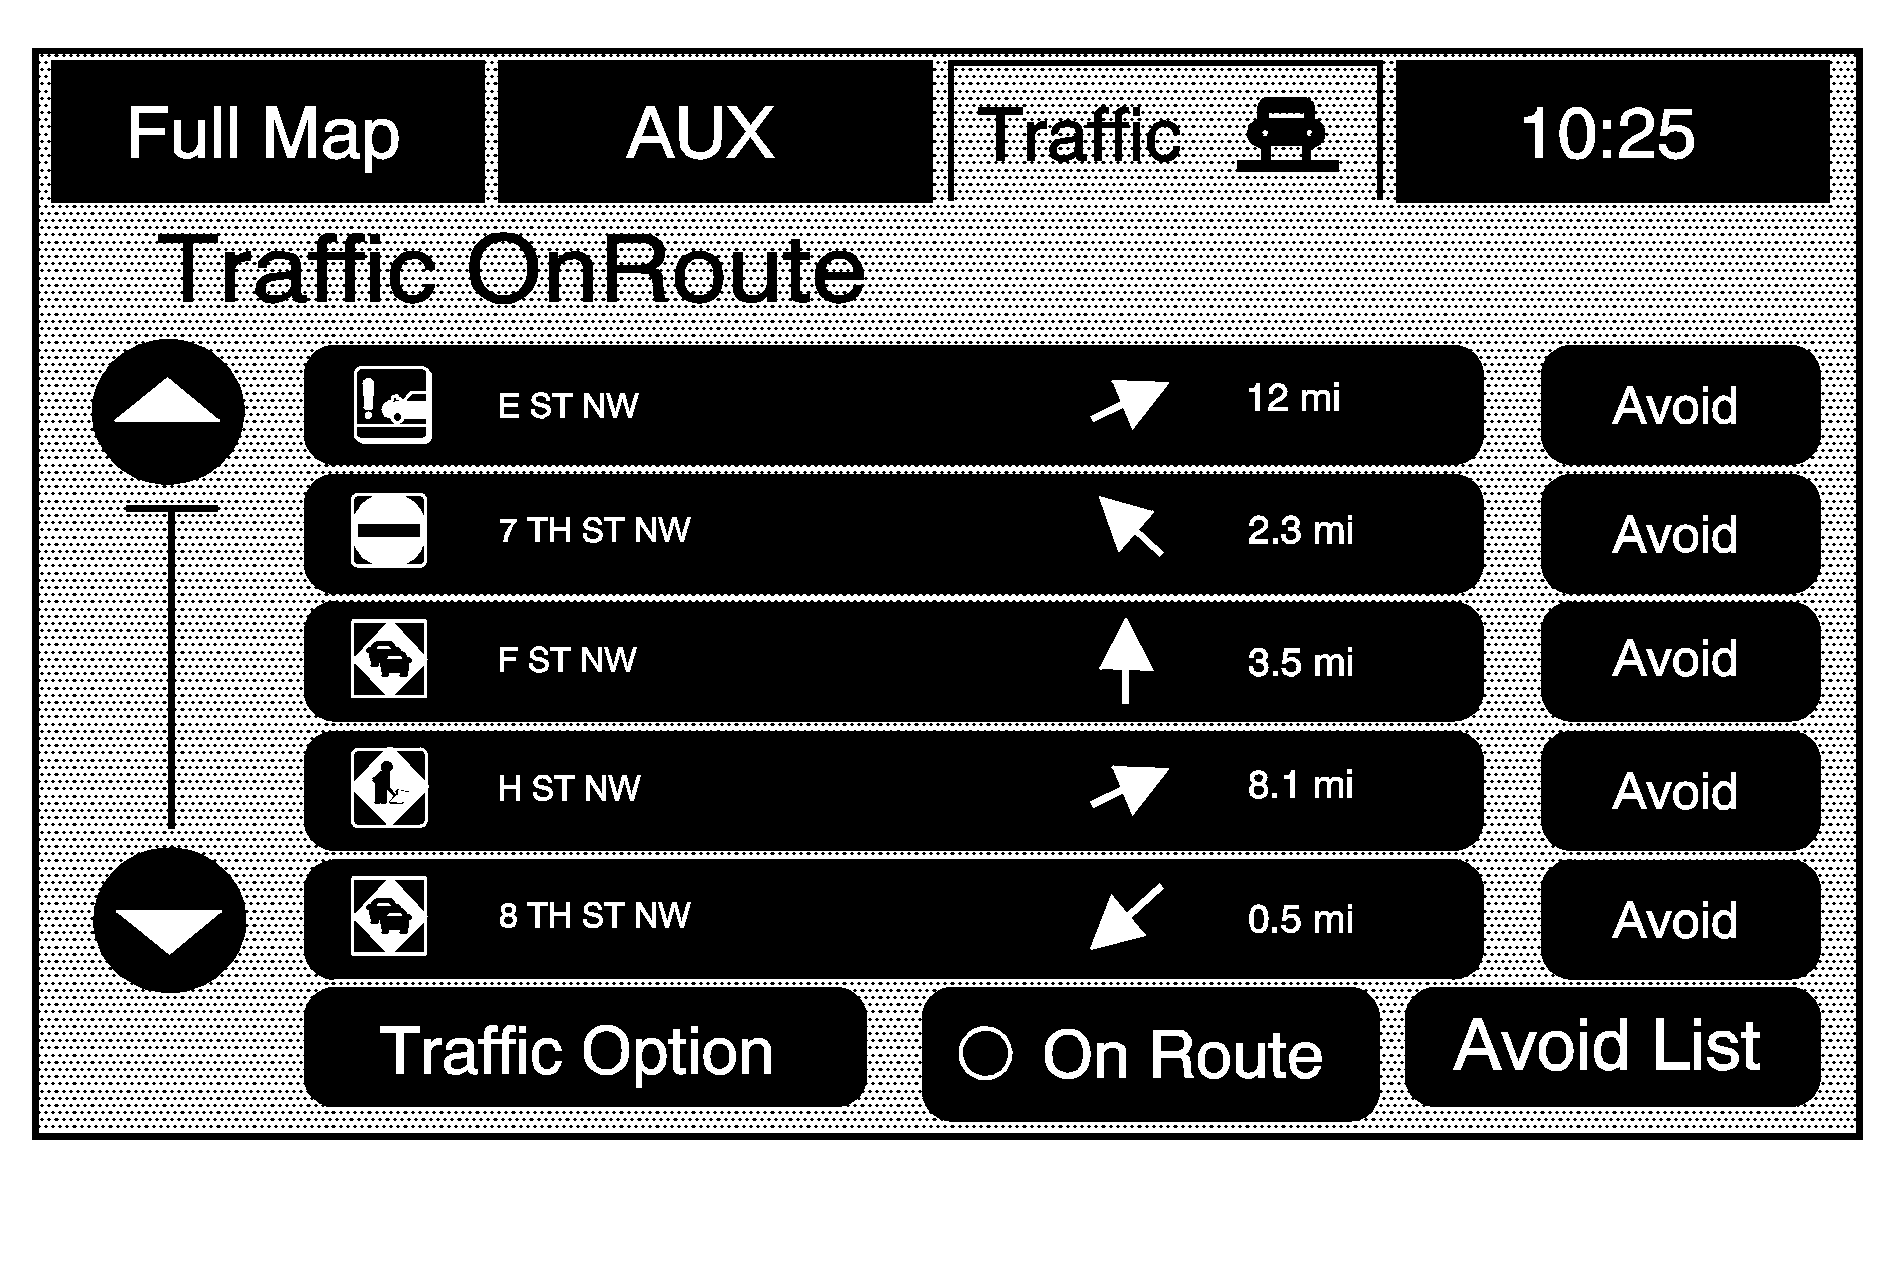
Select the On Route touch screen button to display all events ahead on the current active route. If no traffic events have been reported on route, this list will be empty.
Avoid List
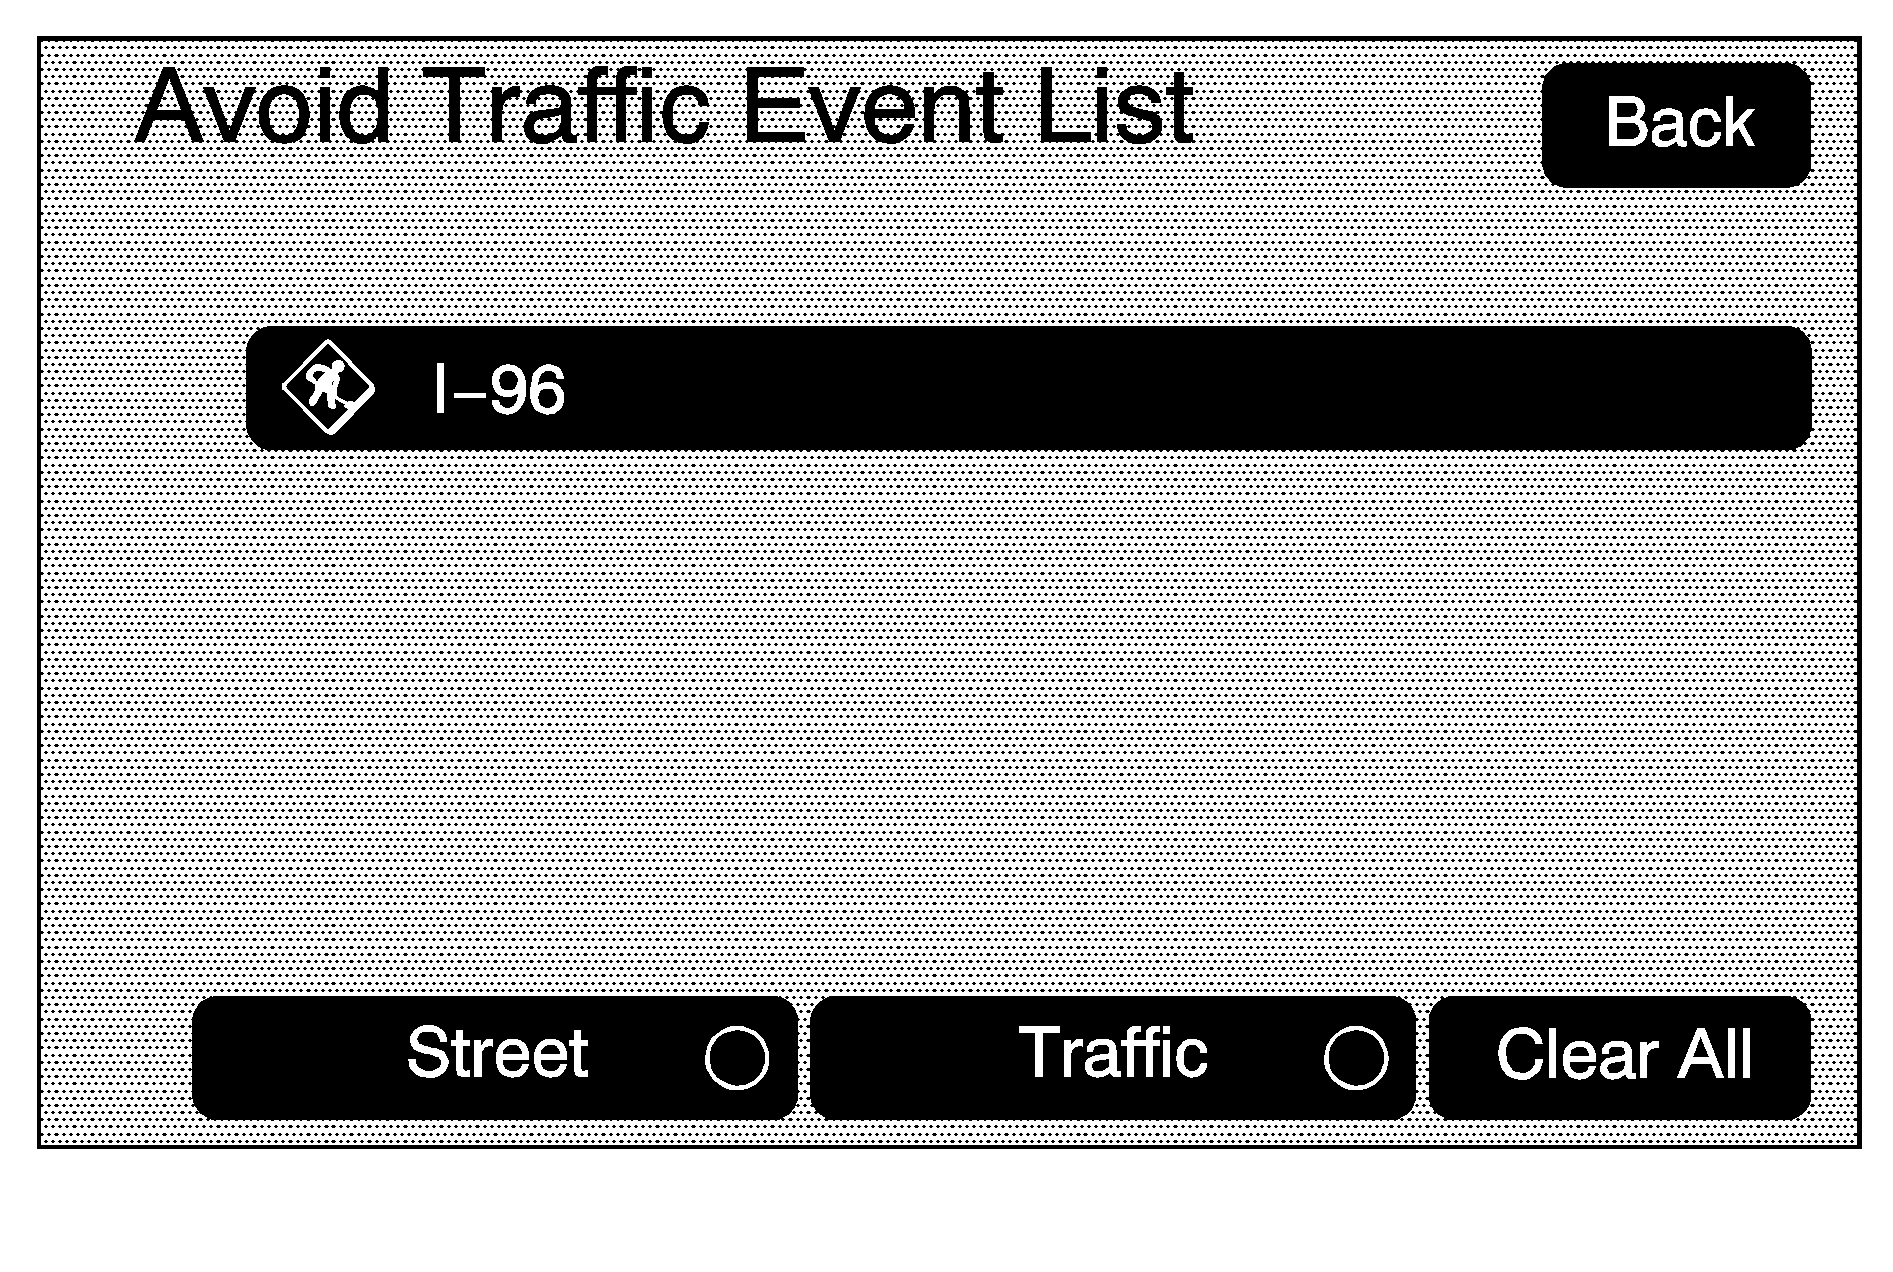
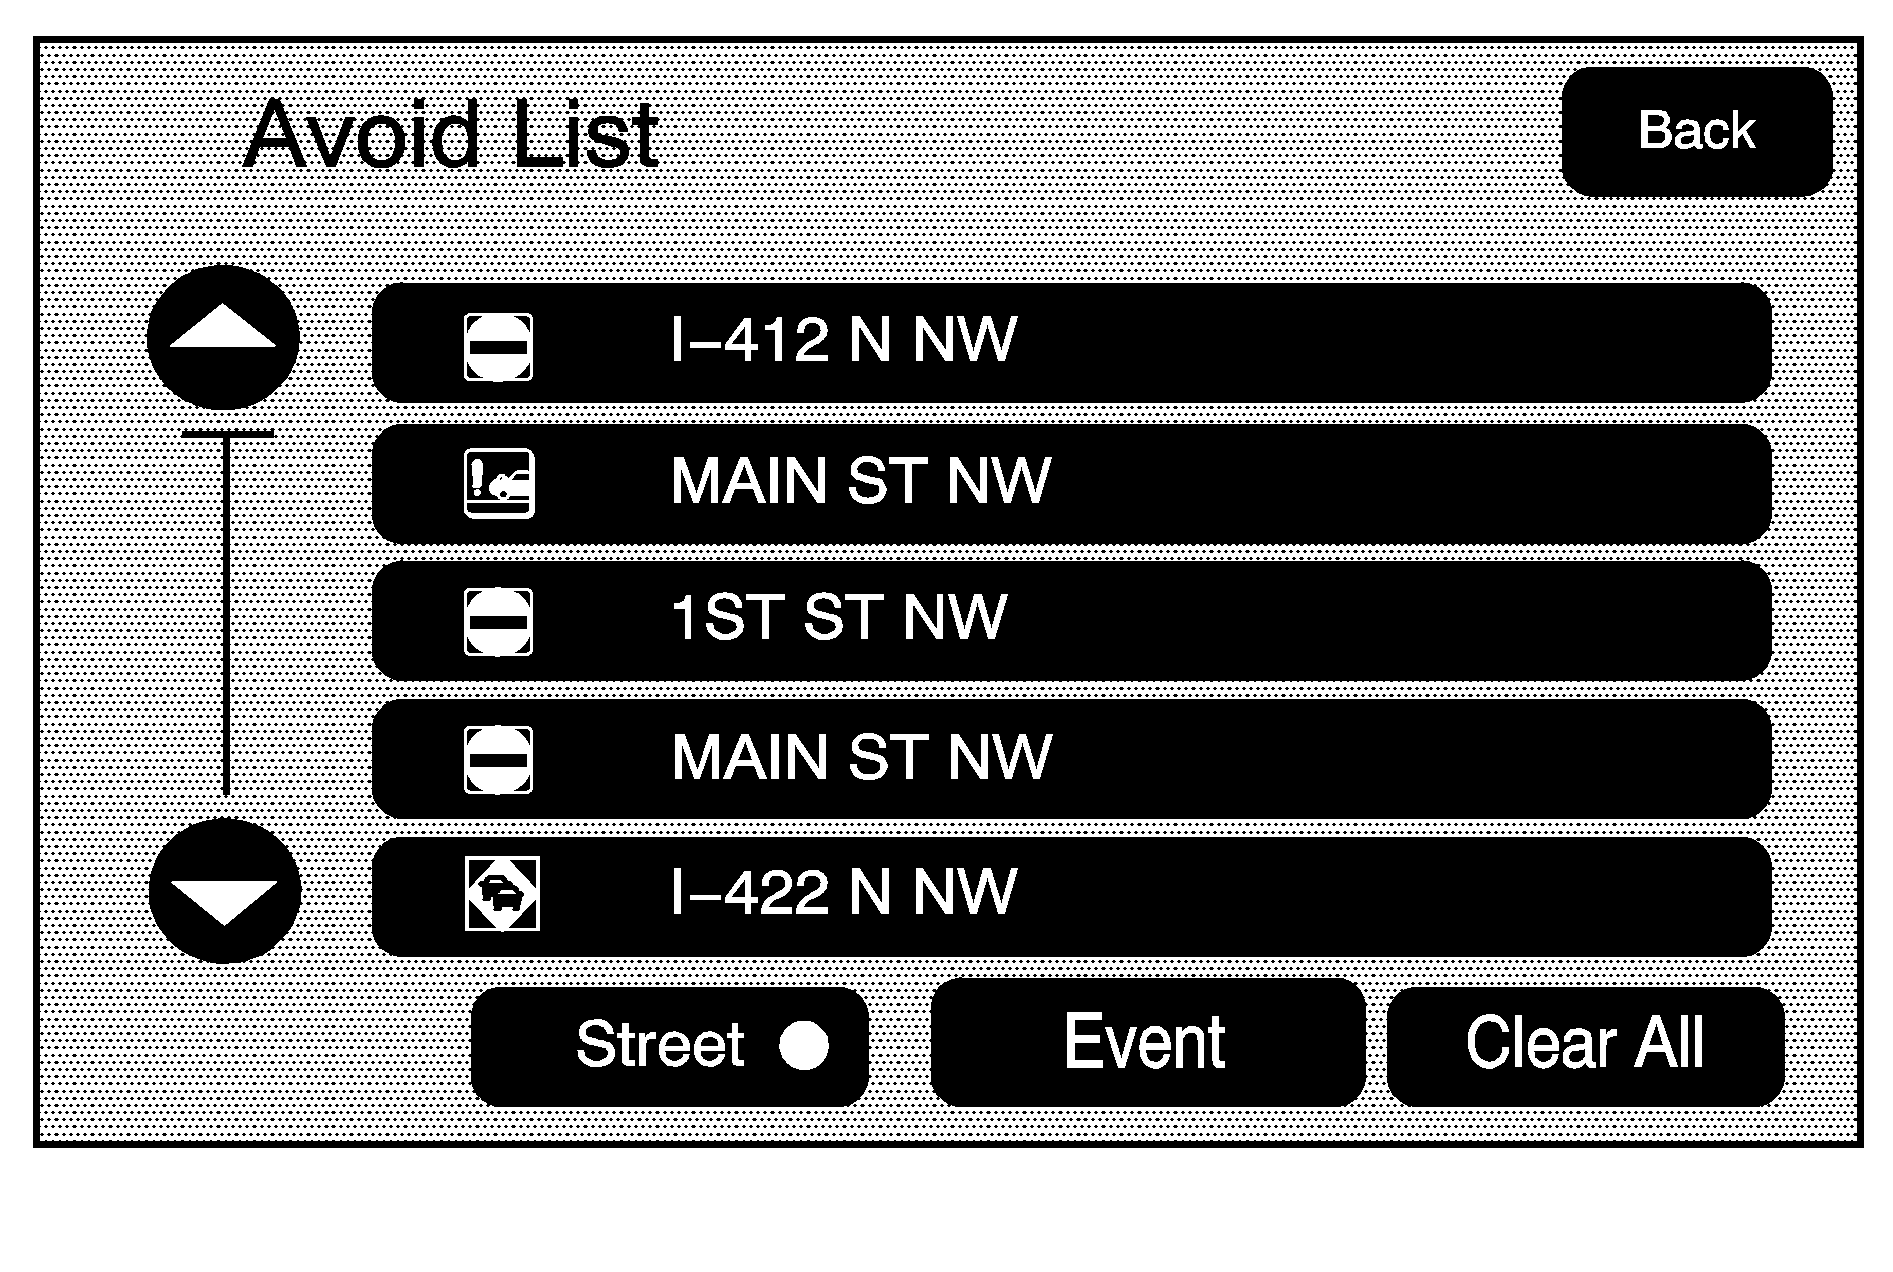
Press to show previously avoided incidences. Select an incidence to cancel it from being on the avoided list.
Scrolling to Traffic Events on the Map
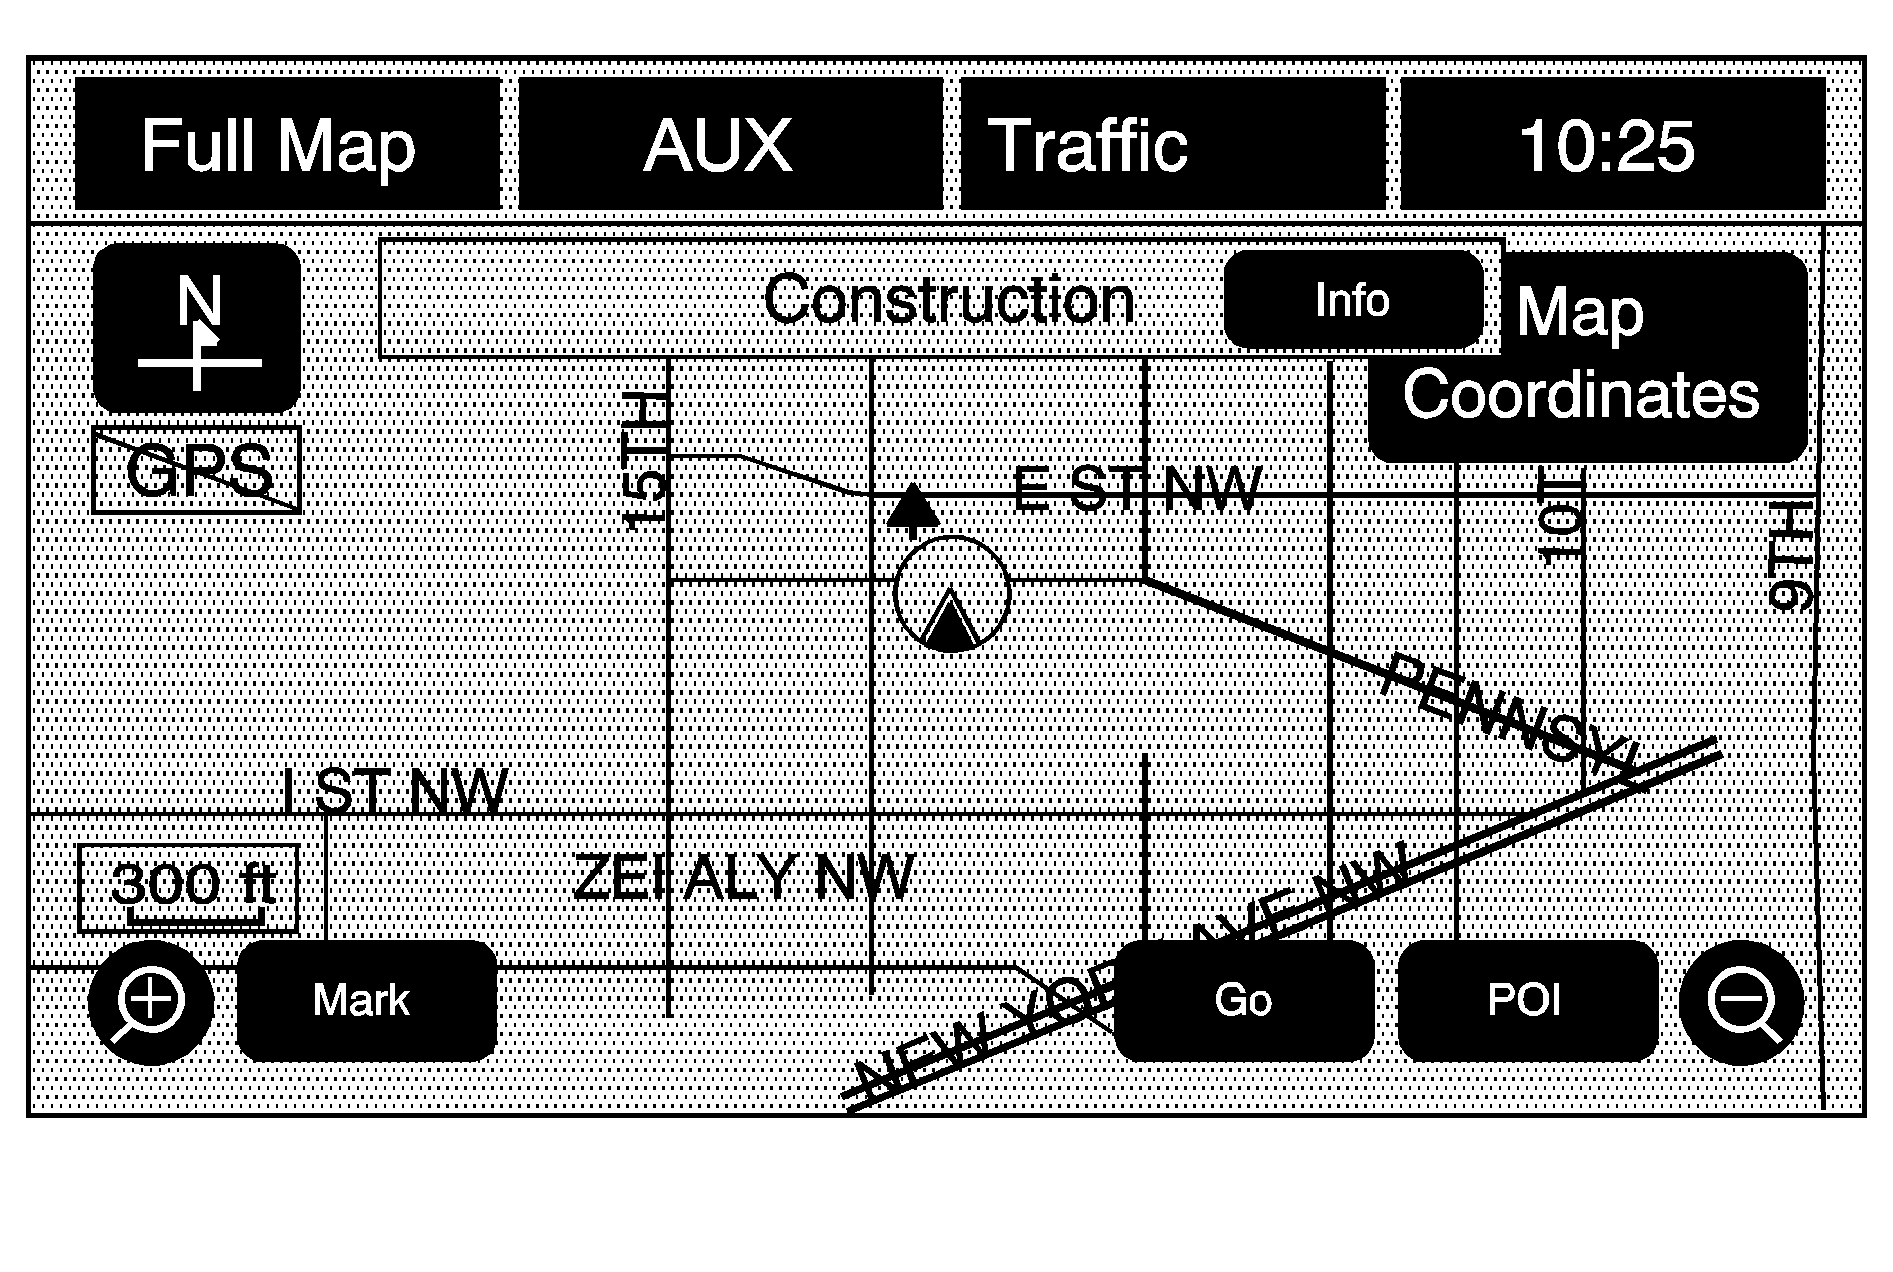
While scrolling the map, traffic condition icons may appear. To receive information about the traffic condition, place the cross hairs over the traffic condition icon. After selecting the INFO (information) screen button, the type of traffic condition, the street name, and a description of the traffic condition displays. See "Scrolling the Map" under Maps for more information.
Press the NAV hard key to return to the normal full map screen.
Detailed Traffic Event Screens
There are different types of detailed traffic event screens. Each screen is a variance of the one shown on the Traffic Event Screen.
Traffic Event Screen
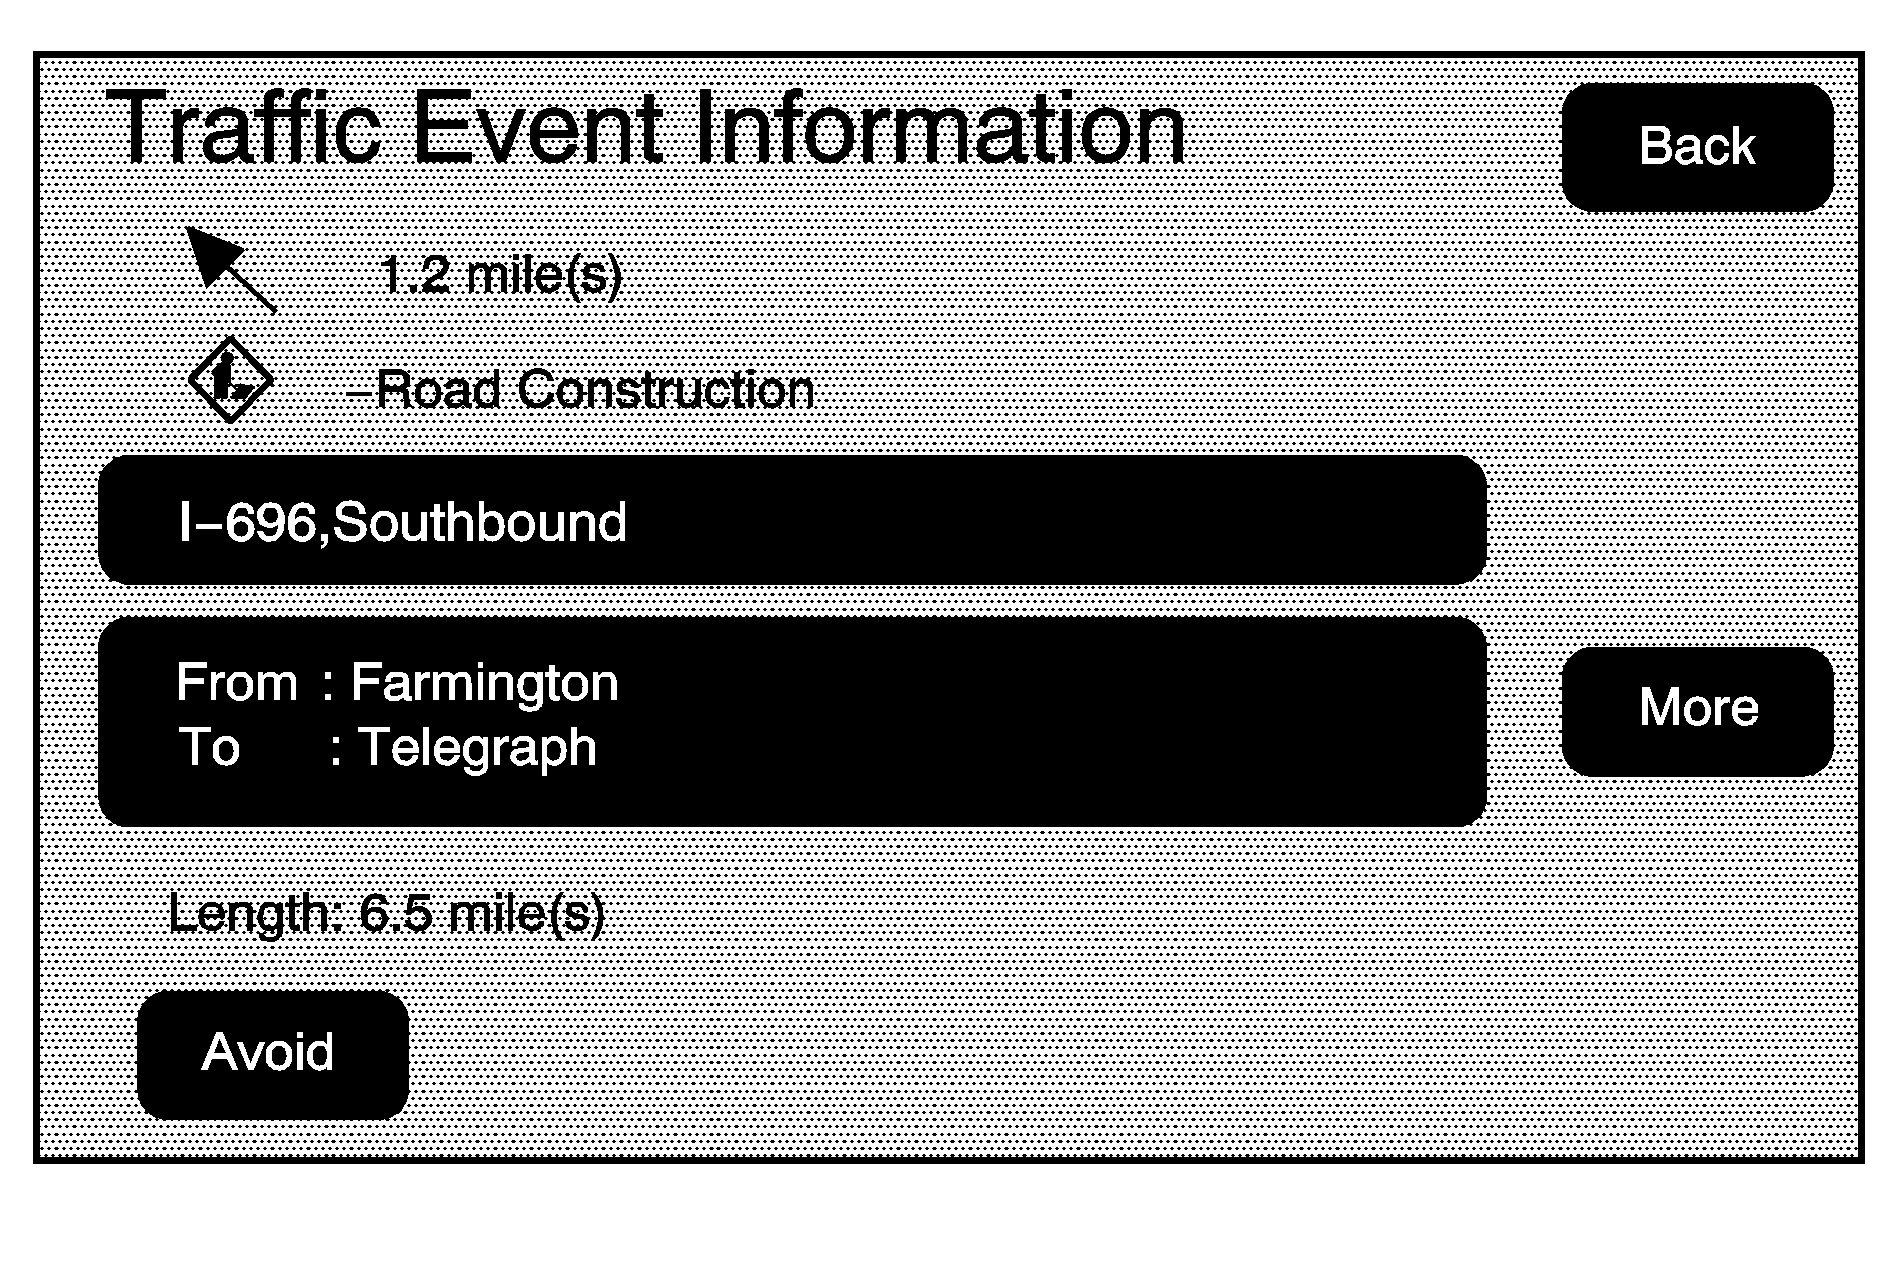
The Traffic Event screen can be displayed by:
| • | Scrolling to an event on the map and then pressing INFO. |
| • | Selecting a traffic event listed on the Traffic Event List screen. |
| • | Selecting a traffic event listed on the Traffic On Route Screen. |
Back, Map, More, and Avoid
These buttons have common functions across all three Detailed Traffic Event screens.
Back: Press to return to the previous screen.Map: Press to show the related traffic event on the map. If selected, the Map Traffic Event Icon screen displays.
More: Press to display more of the traffic event description.
Avoid: This button is used to avoid the location of an event on the route. If selected, a new route is calculated and the related traffic event is avoided. After the new route has been calculated, the navigation system goes to the full map screen and shows the new route. The Avoid button is only available if the route ahead and in the Traffic On Route List.
Traffic Voice Prompts
The traffic voice prompts are part of the current navigation voice prompts. If the navigation voice prompts are turned off, all traffic prompts are also turned off.
If the voice prompts are on, whenever an Alert for Approaching Traffic is displayed, the system gives the related voice prompt. The content of the voice prompt depends on actual traffic event data.
The RPT (Repeat) hard key is for navigation traffic maneuvers only. It is not used to repeat traffic prompts. During a traffic voice prompt, if RPT is pressed, the current prompt playback cancels.
Anything that cancels the Alert for Approaching Traffic, also cancels the related voice prompt.
Traffic prompts are disabled during OnStar® or Voice Recognition activity.
Display
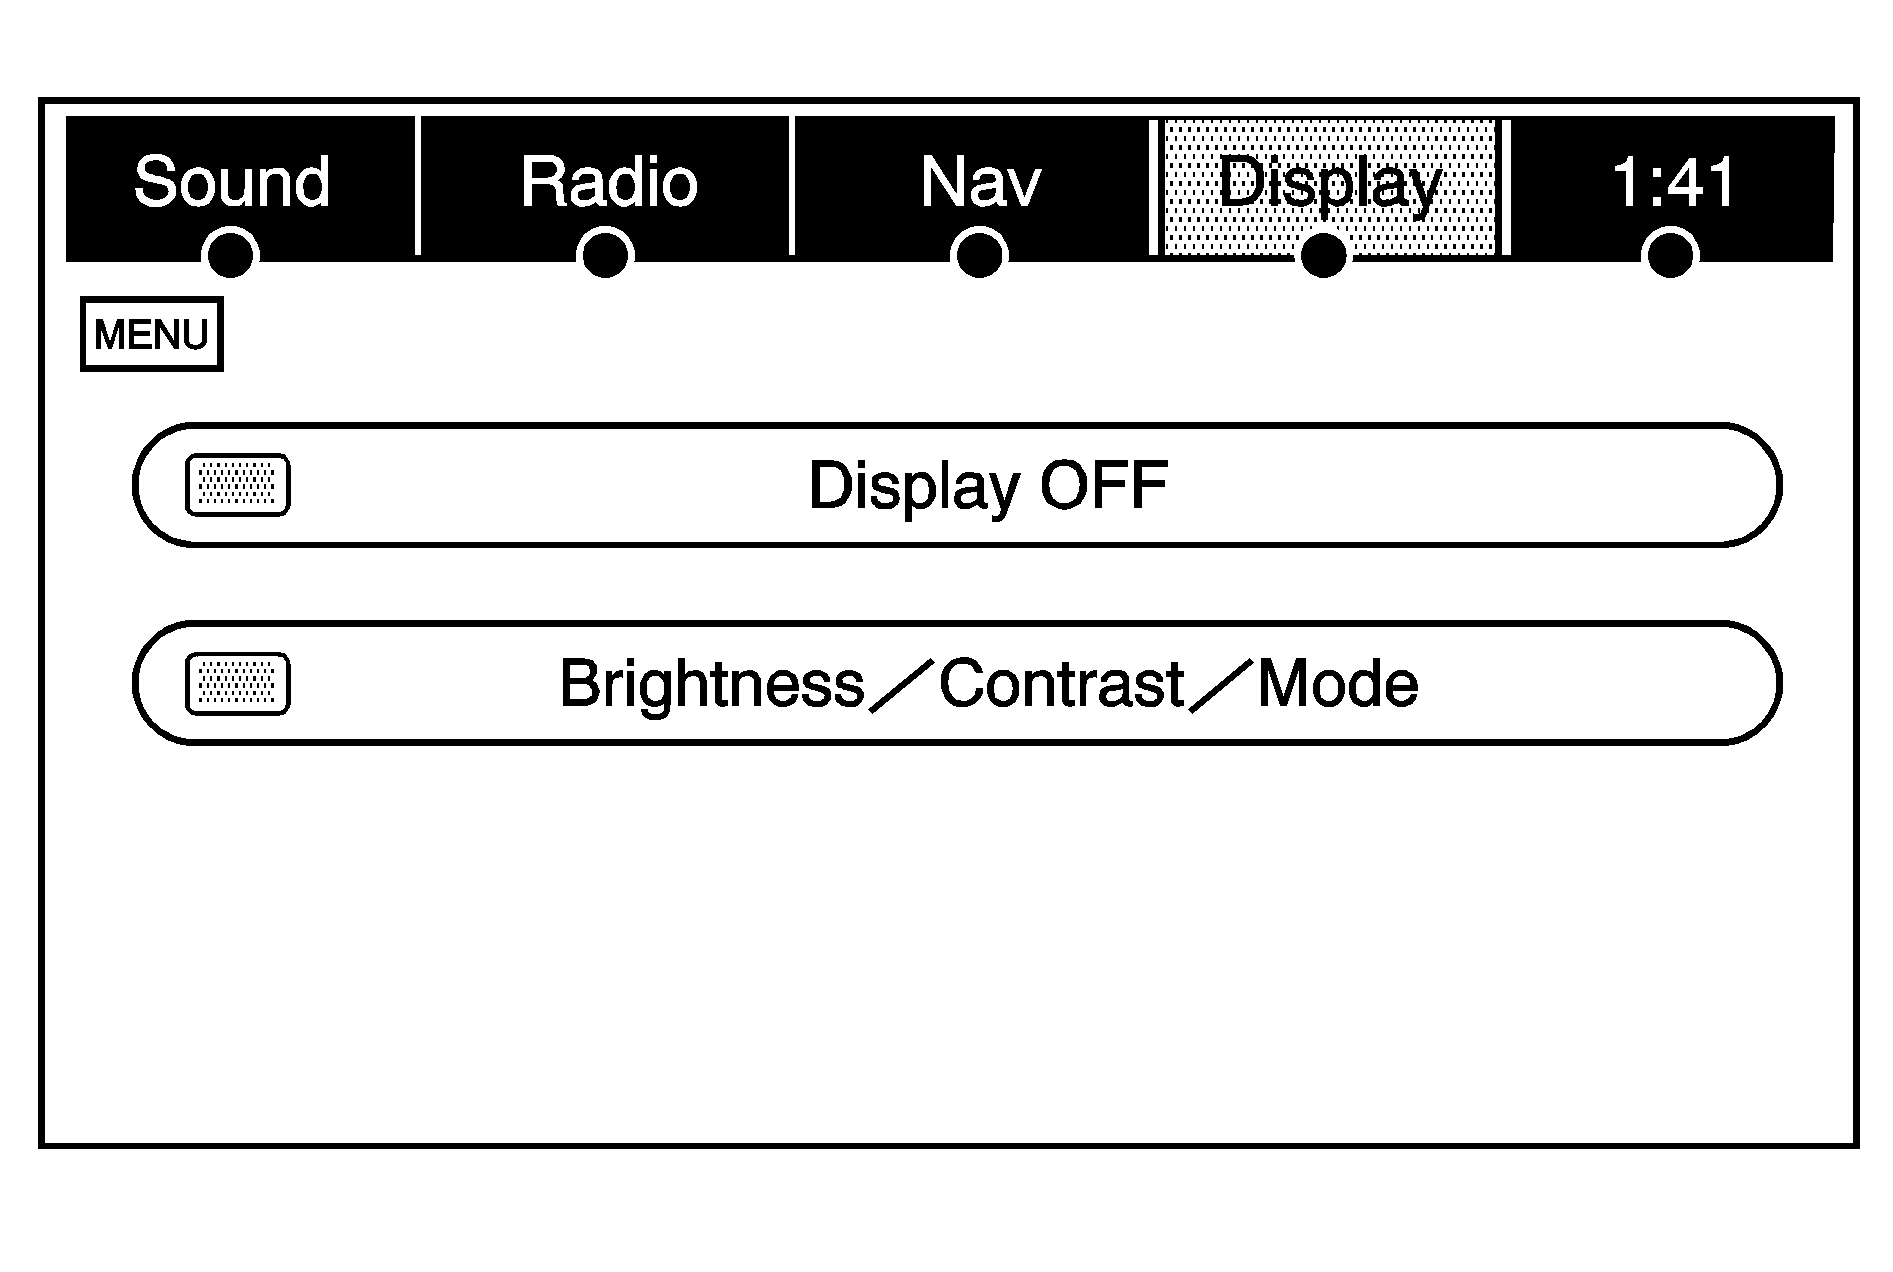
Press the MENU key to enter the Menu options, then press the MENU key repeatedly until Display is selected or touch the Display screen button.
Display Off
Touch this screen button to turn the display off. Press any hard key to view the display.
Brightness/Contrast/Mode
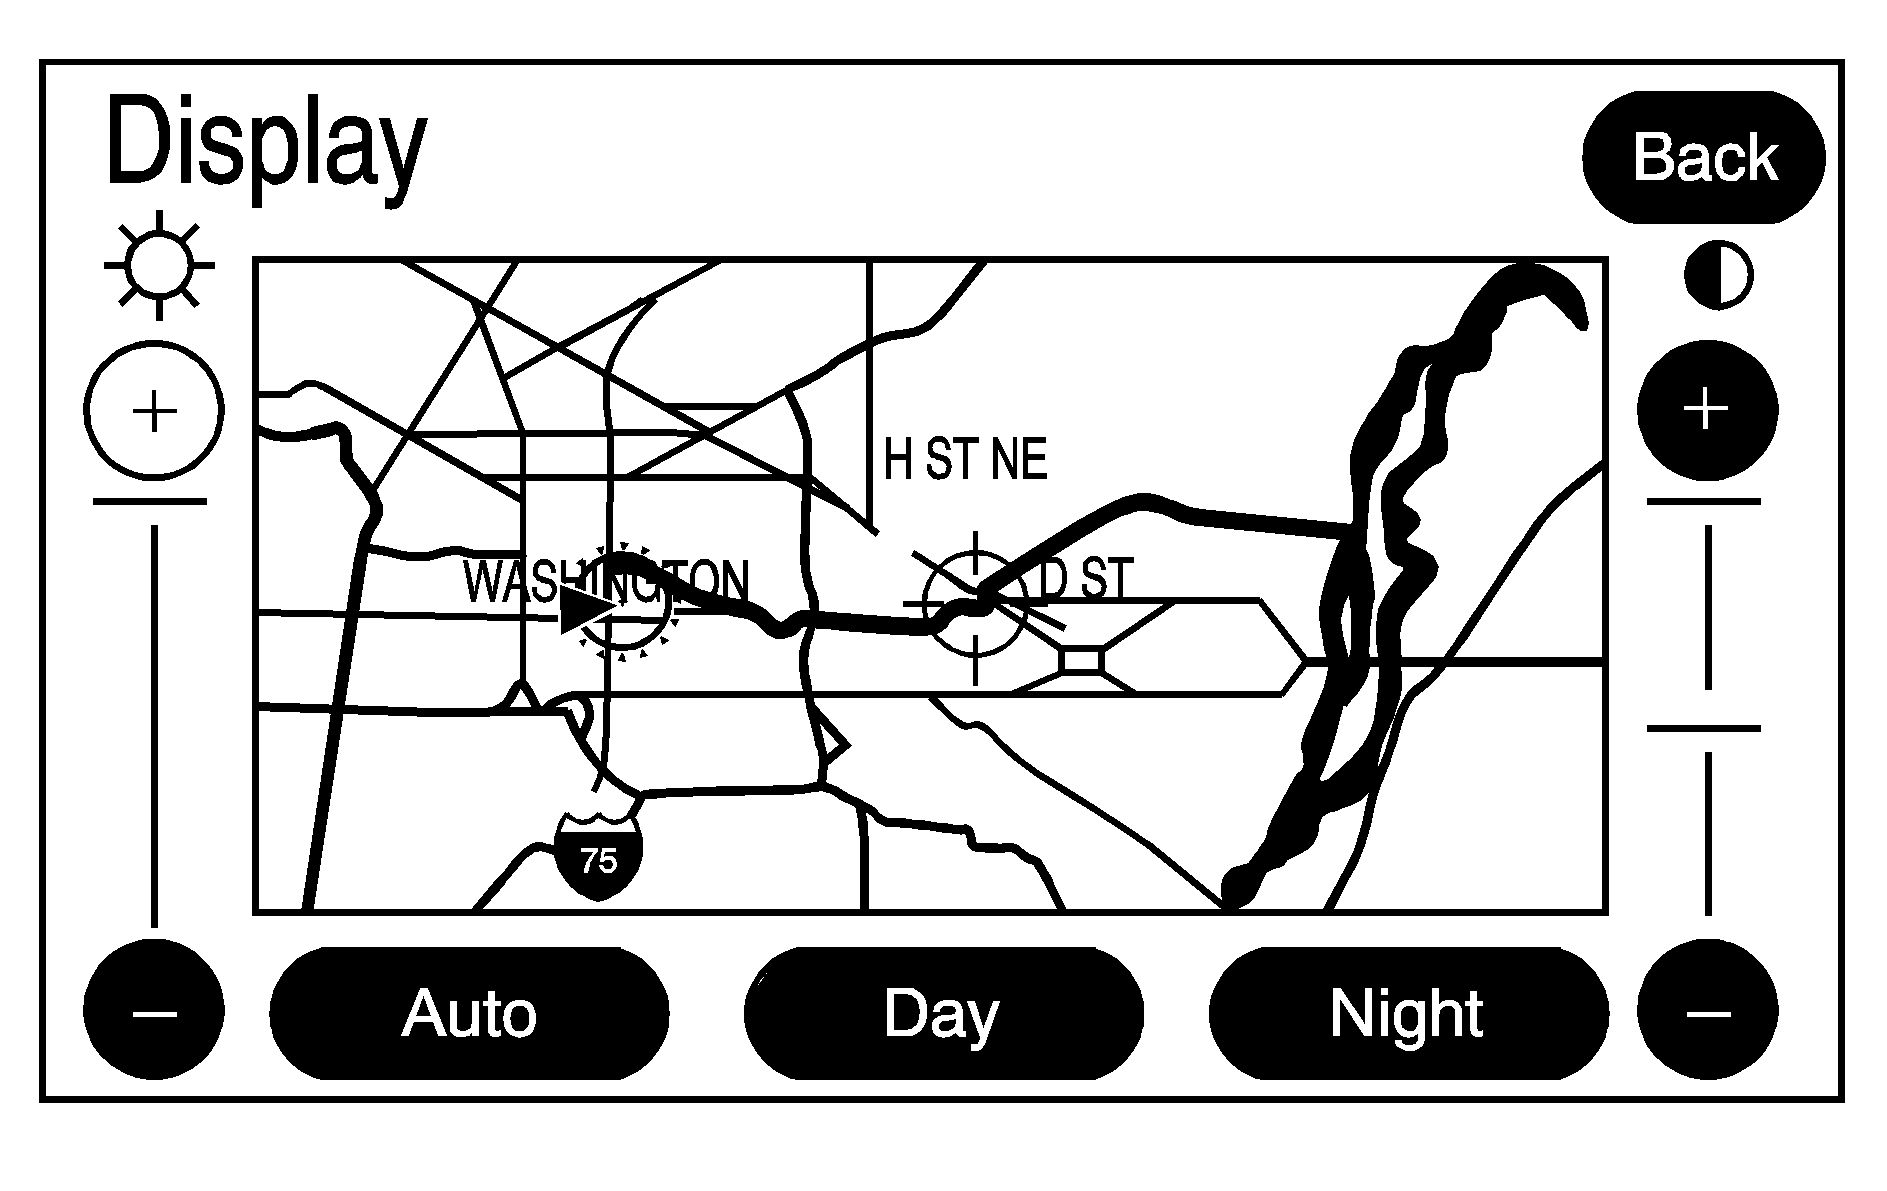
Touch this screen button to change the brightness, contrast, and mode of the display.
(Brightness): Touch the + (plus) or - (minus) screen buttons to increase or decrease the brightness of the screen.(Contrast): Touch the + (plus) or - (minus) screen buttons to increase or decrease the contrast of the screen.
Auto (Automatic): Touch this screen button for the system to automatically adjust the screen background depending on exterior lighting conditions. At night, the brightness can be adjusted with the vehicle dimming knob near the headlamp switch.
Night: Touch this screen button and the system will make the map background darker.
Day: Touch this screen button and the system will make the map background brighter.
Setting the Clock
Press the MENU key to enter the menu options, then press the MENU key repeatedly until the time is selected or touch the time screen button, then press the Set screen button.
Hours: Press the - (minus) or + (plus) signs to decrease or increase the hours.Minutes: Press the - (minus) or + (plus) signs to decrease or increase the minutes.
12/24 Format: Select the 12 screen button for standard time; select the 24 screen button for military time.
