For 1990-2009 cars only
Removal Procedure
- Disconnect the negative battery cable.
- Discharge and recover the refrigerant. Refer to Refrigerant Recovery and Recharging .
- Remove the radiator. Refer to Cooling System Draining and Filling .
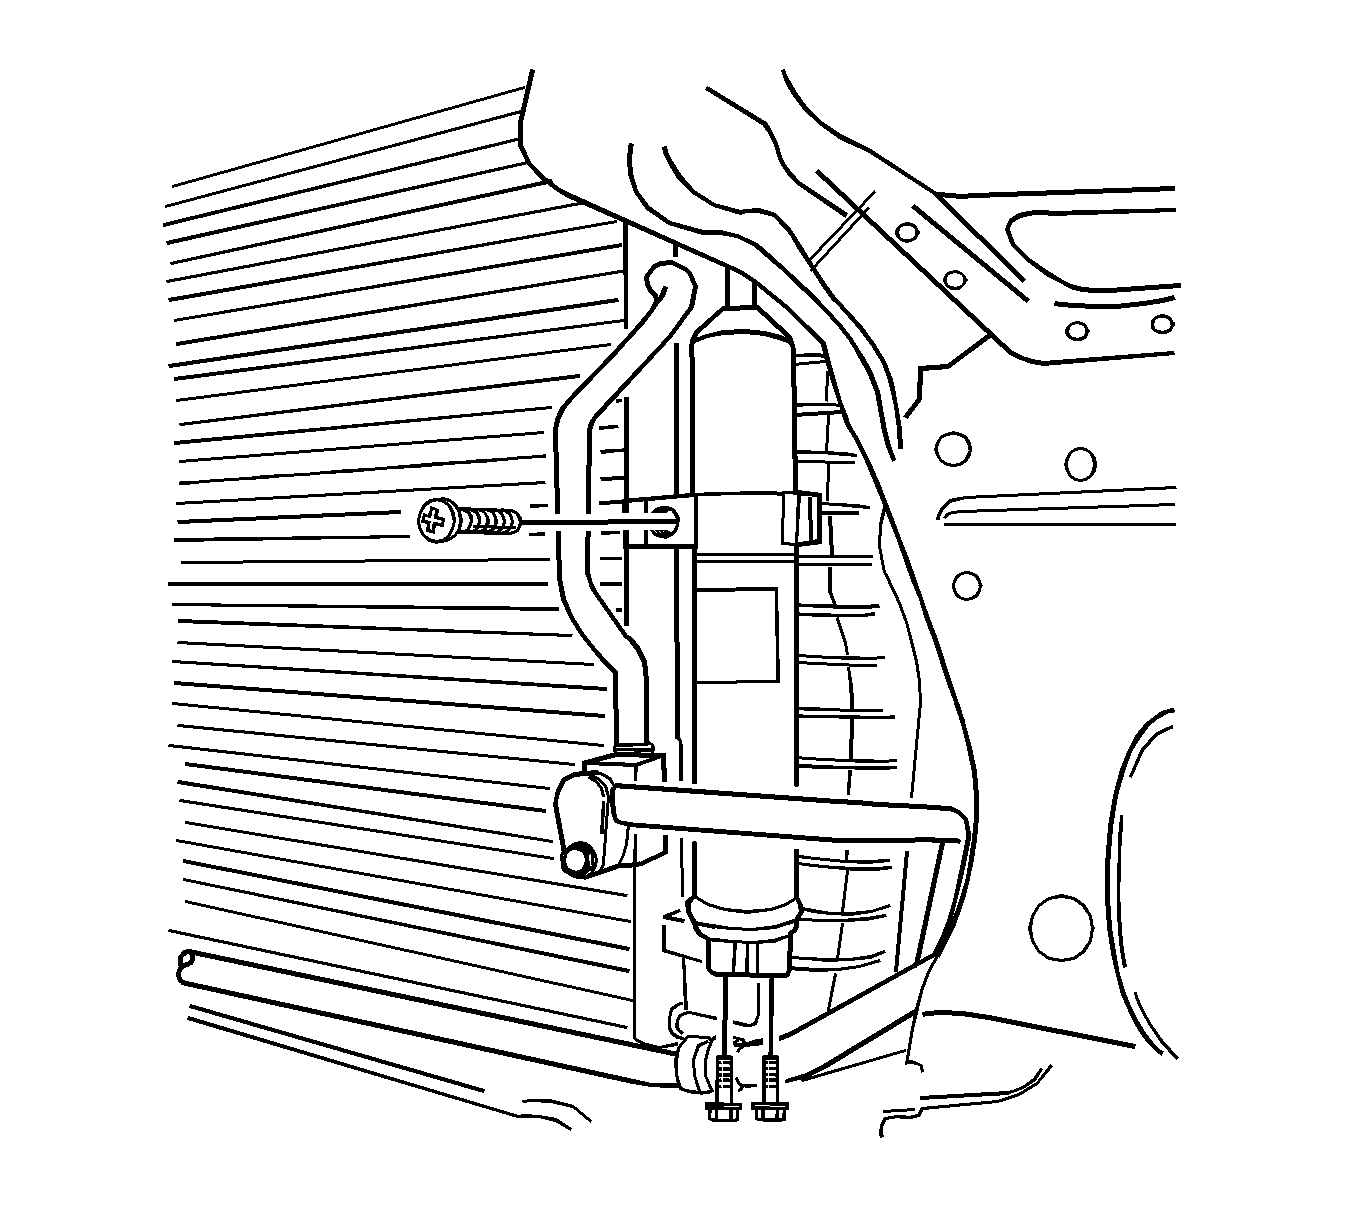
- Remove the bolt that secures the liquid evaporator pipe connector block.
- Remove the receiver-dryer.
- Cap all the openings to prevent contamination.
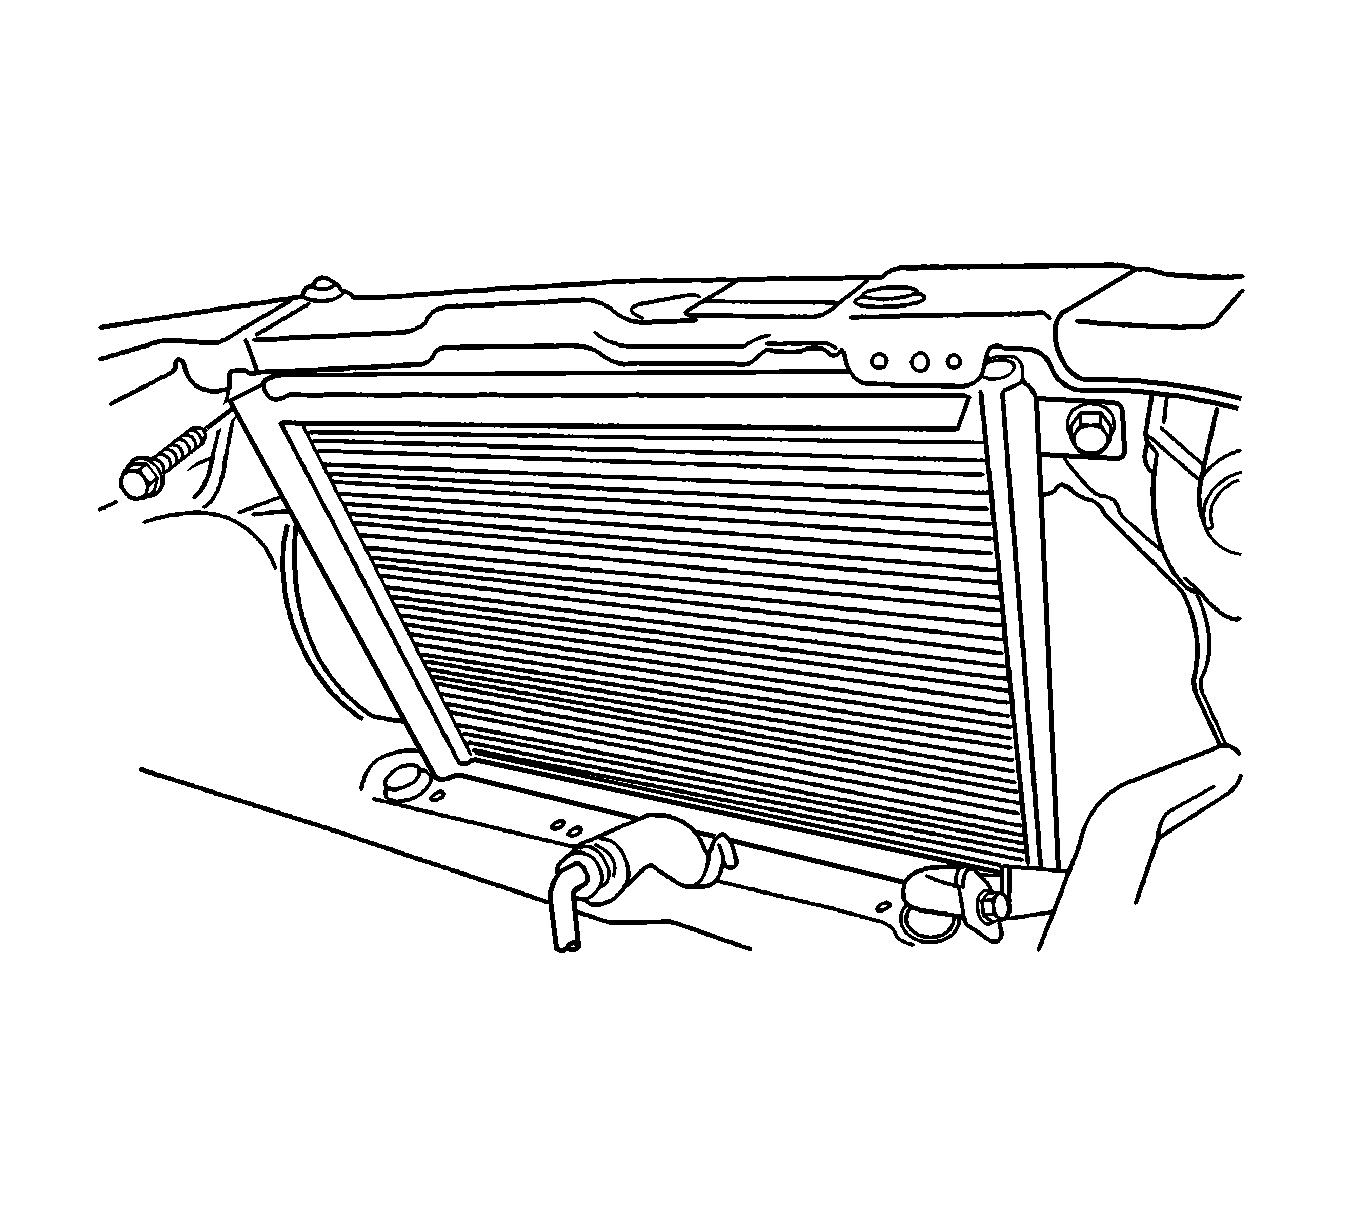
- Remove the upper condenser mount nuts and the washers.
- Move the condenser to the rear, away from the radiator mount support.
- Lift the condenser up and out of the engine compartment.
Caution: Refer to Battery Disconnect Caution in the Preface section.


Installation Procedure
- Install new O-rings onto the receiver-dryer tube fittings.
- Ensure that the condenser rubber mounts are in place.
- Install the condenser into the vehicle. The lower mount shock protectors must fit into the holes provided.
- Move the condenser forward into the radiator support mount holes.
- Install the receiver-dryer.
- Tighten the band clamp bolt.
- Install the receiver-dryer to the condenser pipe connector block with the nut.
- Install the liquid pipe connector block to condenser retaining bolt.
- Install the refrigerant discharge hose connector block bolt at the condenser.
- Install the radiator. Refer to Cooling System Draining and Filling .
- Connect the negative battery cable.
- Evacuate and recharge the A/C system. Refer to Refrigerant Recovery and Recharging .

Notice: Refer to Fastener Notice in the Preface section.
Tighten
Tighten the liquid condenser pipe connector block-to-receiver-dryer nut to 10 N·m (89 lb in).
Tighten
Tighten the liquid pipe connector block to condenser retaining bolt to 14 N·m (124 lb in).
Tighten
Tighten the refrigerant discharge hose connector block bolt to 16 N·m (12 lb ft).

