For 1990-2009 cars only
Instrument Panel Assembly Replacement North America
Removal Procedure
- Disconnect the negative battery cable.
- Remove the driver's air bag module from the steering wheel, if equipped. Refer to Inflatable Restraint Steering Wheel Module Replacement in SIR.
- Remove the steering wheel from the steering column. Refer to Steering Wheel Replacement in Steering Wheel and Column.
- Remove the steering column trim cover. Refer to Steering Column Replacement in Steering Wheel and Column.
- Remove the signal lamp switch and the wiper switch. Refer to Turn Signal Multifunction Switch Replacement in Steering Wheel and Column and Windshield Wiper and Washer Switch Replacement in Wiper/Washers.
- Remove the windshield pillar garnish moldings. Refer to Windshield Pillar Garnish Molding Replacement in Interior Trim.
- Remove the instrument cluster assembly. Refer to Instrument Cluster Replacement .
- Remove the side cover.
- Remove the instrument panel lower cover.
- Remove the instrument panel center upper, lower cover.
- Remove the cigar lighter and ashtray.
- Remove the cupholder.
- Remove the A/C controller from the instrument. Refer to Heater and Air Conditioning Control Replacement in HVAC Systems - Manual.
- Remove the audio system from the instrument panel. Refer to Radio Replacement in Entertainment.
- Remove the digital clock.
- Remove the glove box assembly from the instrument panel. Refer to Instrument Panel Storage Compartment Replacement .
- Remove the passenger's air bag module from the instrument panel, if equipped. Refer to Inflatable Restraint Instrument Panel Module Replacement in SIR.
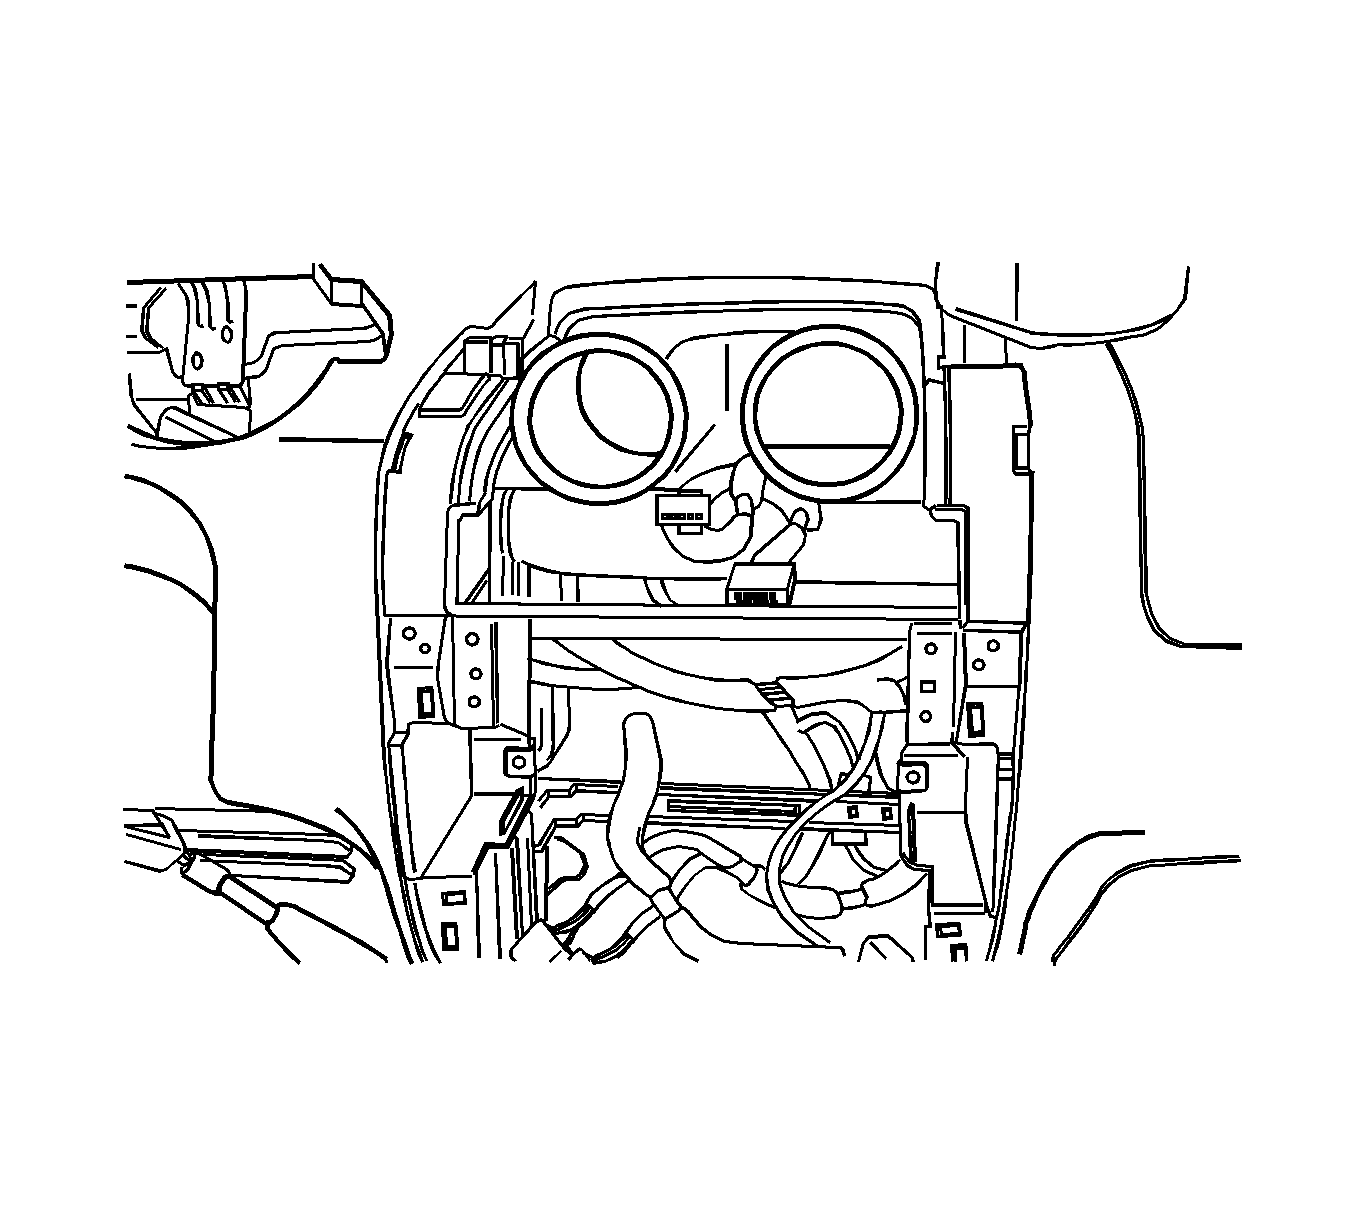
- Disconnect the ALDL connector.
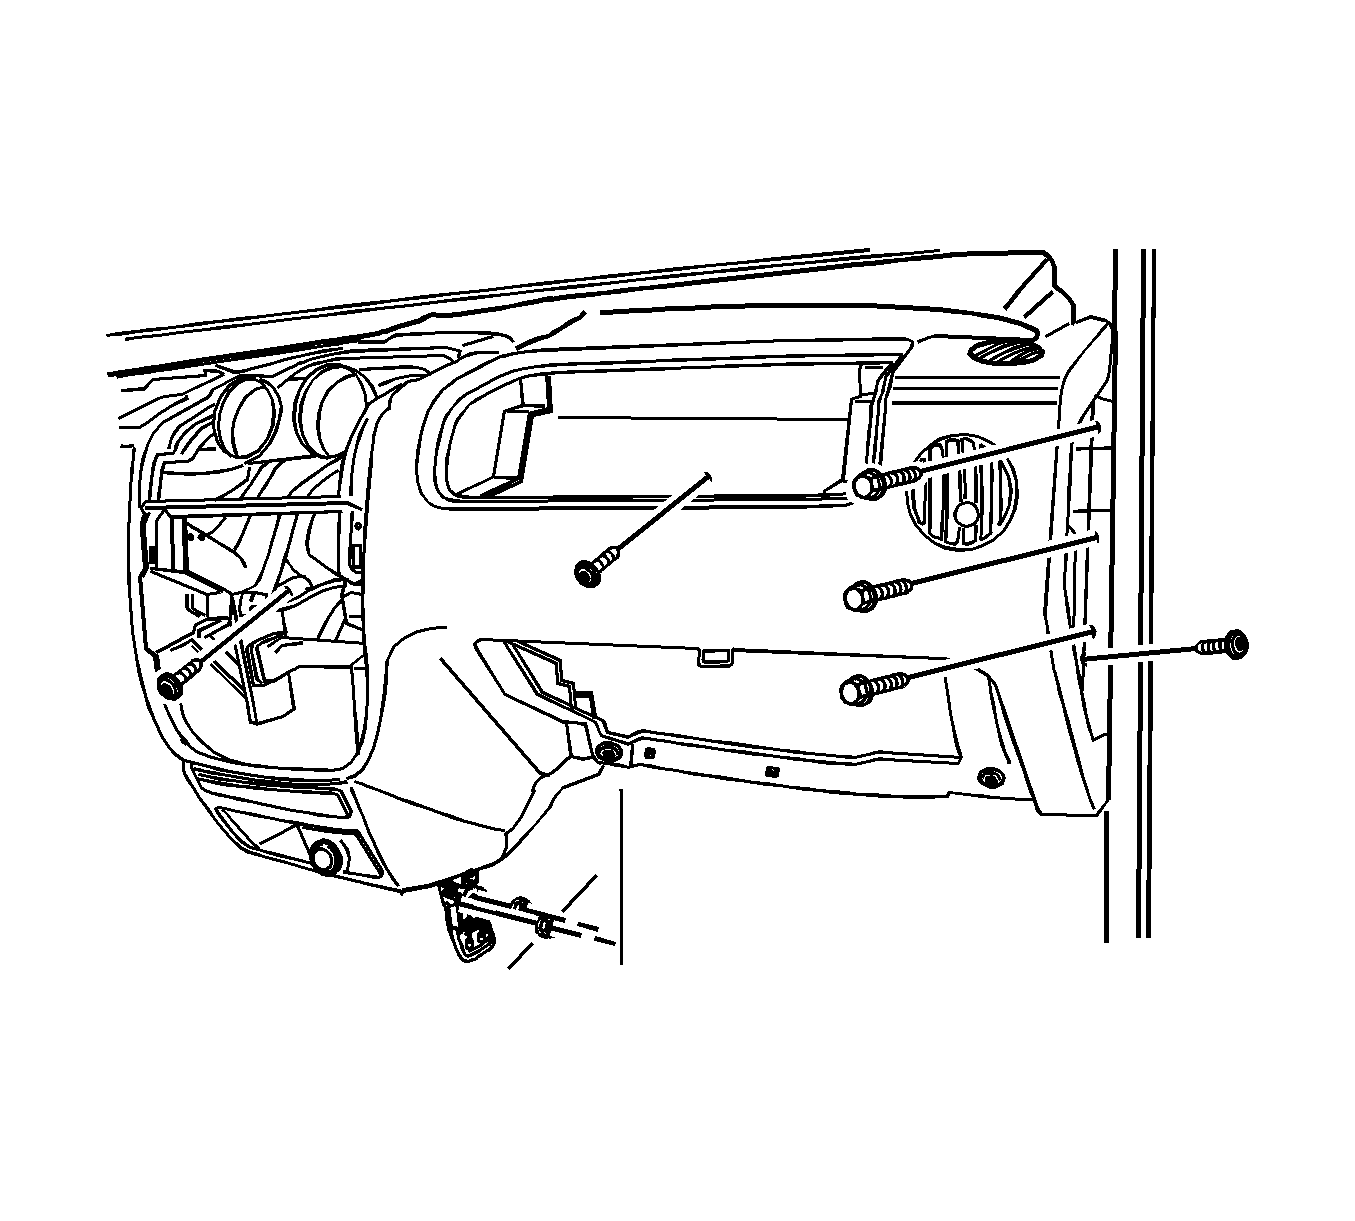
- Remove the instrument panel bolts behind the heating, ventilation, and air conditioning (HVAC) controls.
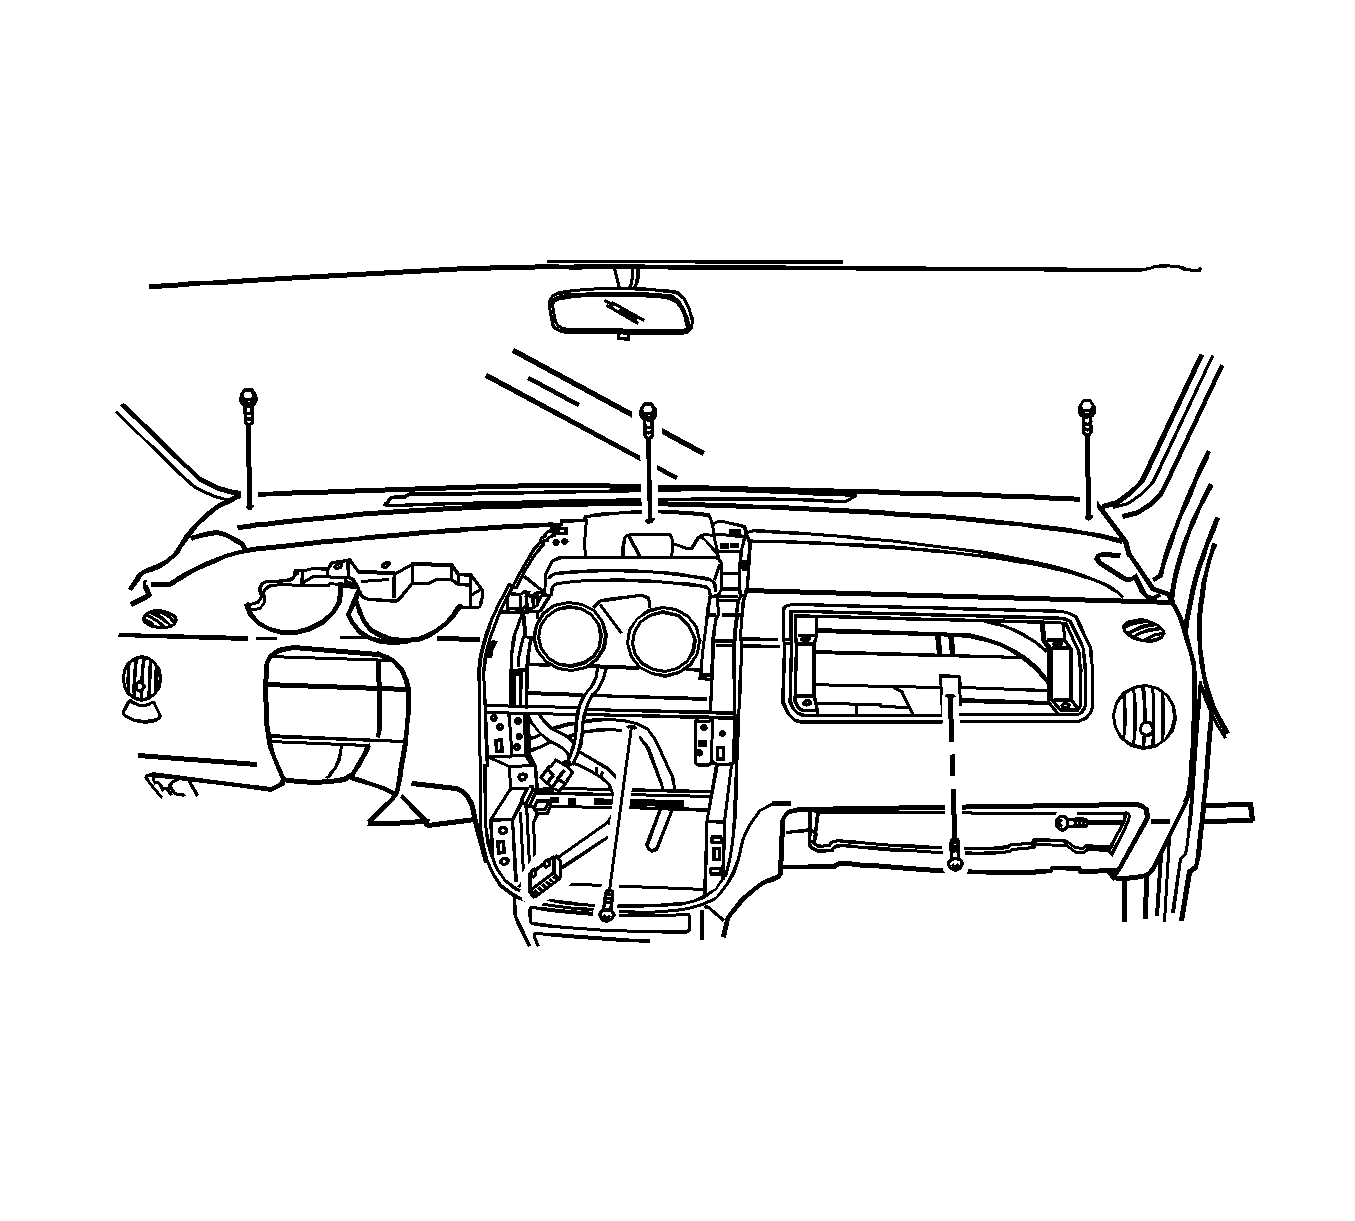
- Remove the instrument panel bolts above the steering column.
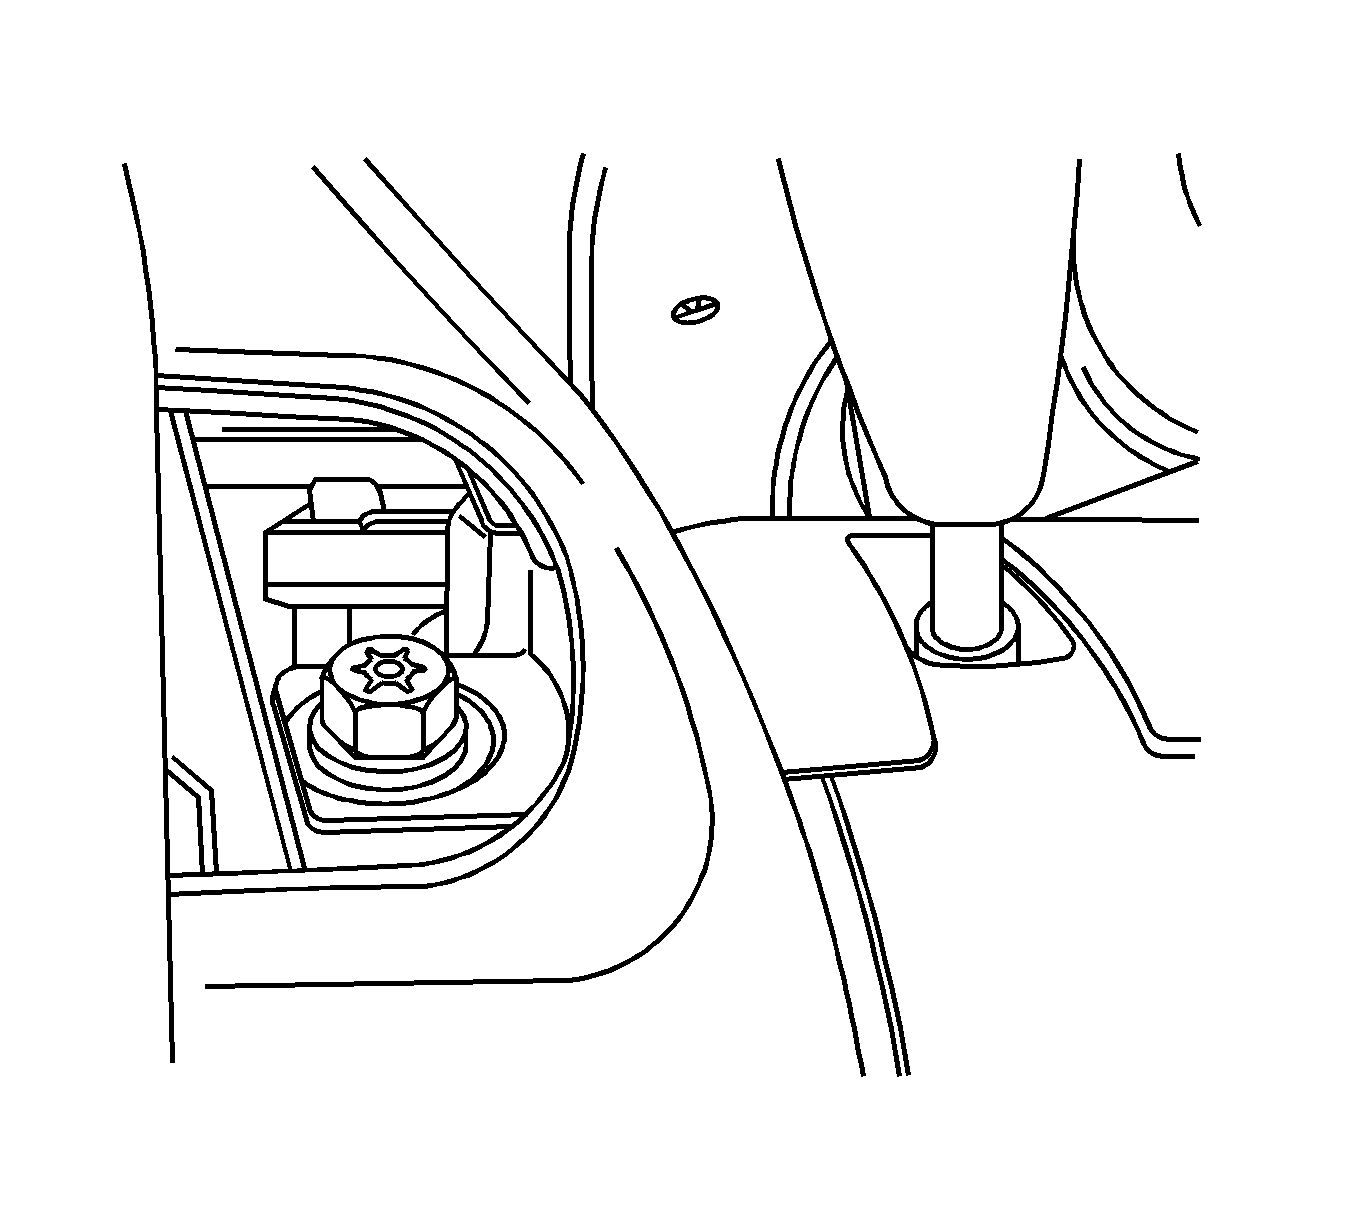
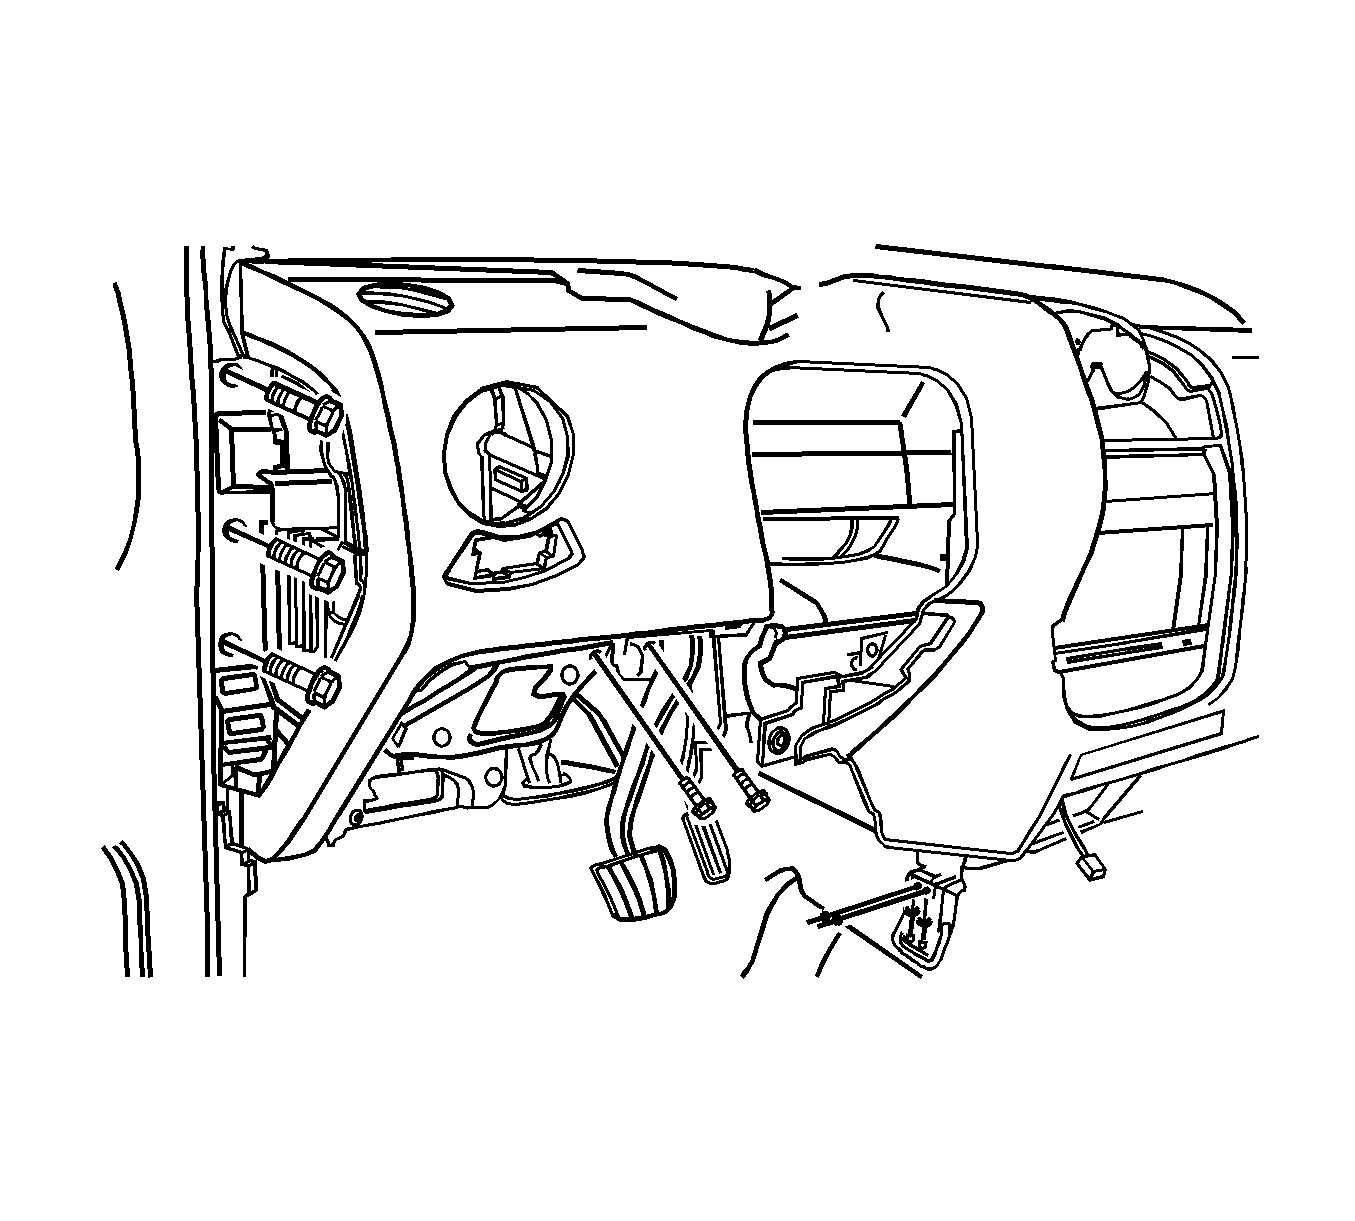
- Remove the instrument panel bolts from the ends of the instrument panel.
- Remove the instrument panel end screws.
- Remove the tie-bar retaining bolts.
- Remove the instrument panel from the vehicle.
Caution: Refer to Battery Disconnect Caution in the Preface section.
Installation Procedure
- Install the instrument panel assembly with the bolts and screws.
- Connect ALDL connector with the screws.
- Install the passenger's air bag module to the instrument panel. Refer to Inflatable Restraint Instrument Panel Module Replacement in SIR.
- Install glove box assembly from the instrument panel. Refer to Instrument Panel Storage Compartment Replacement .
- Install the digital clock.
- Install the audio system from the instrument panel. Refer to Radio Replacement in Entertainment.
- Install the A/C controller from the instrument. Refer to Heater and Air Conditioning Control Replacement in HVAC Systems - Manual.
- Install the cupholder.
- Install the cigar lighter and ashtray.
- Install the instrument panel center upper, lower cover.
- Install the instrument panel lower cover.
- Install the side cover.
- Install the instrument cluster assembly. Refer to Instrument Cluster Replacement .
- Install the windshield pillar garnish molding. Refer to Windshield Pillar Garnish Molding Replacement in Interior Trim.
- Install the signal lamp switch and the wiper switch. Refer to Turn Signal Multifunction Switch Replacement in Steering Wheel and Column for signal, and refer to Windshield Wiper and Washer Switch Replacement in Wiper/Washer.
- Install the steering column trim cover. Refer to Steering Column Replacement in Steering Wheel and Column.
- Install the steering wheel to the steering column. Refer to Steering Wheel Replacement in Steering Wheel and Column.
- Install the driver's air bag module from the steering wheel, if equipped. Refer to Inflatable Restraint Steering Wheel Module Replacement in SIR.
- Connect the negative battery cable.
Notice: Refer to Fastener Notice in the Preface section.

Tighten
Tighten the instrument panel bolts to 20 N·m (15 lb ft).

Tighten
Tighten the instrument panel bolts behind the HVAC controls to 4 N·m
(35 lb in).

Instrument Panel Assembly Replacement European and Non-European
Removal Procedure
- Disconnect the negative battery cable.
- Remove the driver's air bag module from the steering wheel, if equipped. Refer to Inflatable Restraint Steering Wheel Module Replacement in SIR.
- Remove the steering wheel from the steering column. Refer to Steering Wheel Replacement in Steering Wheel and Column.
- Remove the steering column trim cover. Refer to Steering Column Replacement in Steering Wheel and Column.
- Remove the signal lamp switch and the wiper switch. Refer to Turn Signal Multifunction Switch Replacement in Steering Wheel and Column and Windshield Wiper and Washer Switch Replacement in Wiper/Washers.
- Remove the windshield pillar garnish moldings. Refer to Windshield Pillar Garnish Molding Replacement in Interior Trim.
- Remove the instrument cluster assembly. Refer to Instrument Cluster Replacement .
- Remove the side cover.
- Remove the instrument panel lower cover.
- Remove the instrument panel center upper, lower cover.
- Remove the cigar lighter and ashtray.
- Remove the cupholder.
- Remove the A/C controller from the instrument. Refer to Heater and Air Conditioning Control Replacement in HVAC Systems - Manual.
- Remove the audio system from the instrument panel. Refer to Radio Replacement in Entertainment.
- Remove the digital clock.
- Remove the glove box assembly from the instrument panel. Refer to Instrument Panel Storage Compartment Replacement.
- Remove the passenger's air bag module from the instrument panel, if equipped. Refer to Inflatable Restraint Instrument Panel Module Replacement in SIR.
- Disconnect the ALDL connector.
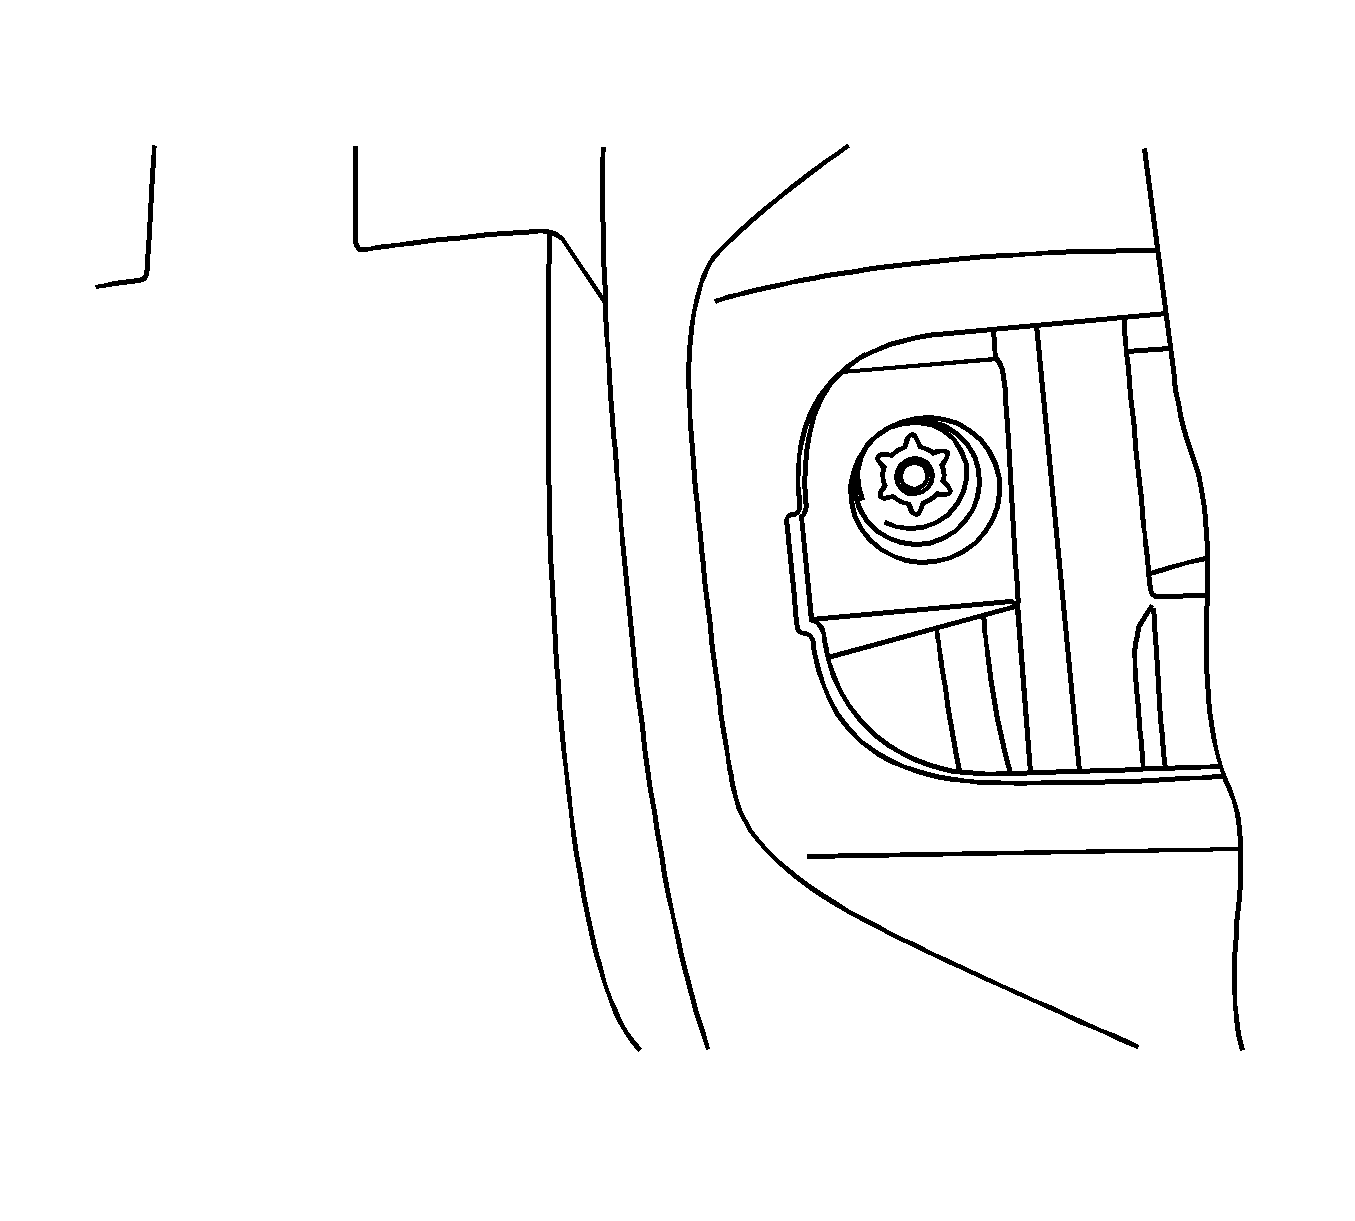
- Remove the instrument panel bolts behind the heating, ventilation, and air conditioning (HVAC) controls.
- Remove the instrument panel bolts above the steering column.
- Remove the instrument panel bolts from the ends of the instrument panel.
- Remove the instrument panel end screws.
- Remove the tie-bar retaining bolts.
- Remove the instrument panel from the vehicle.
Caution: Refer to Battery Disconnect Caution in the Preface section.


Installation Procedure
- Install the instrument panel assembly with the bolts and screws.
- Connect ALDL connector with the screws.
- Install the passenger's air bag module to the instrument panel. Refer to Inflatable Restraint Instrument Panel Module Replacement in SIR.
- Install glove box assembly from the instrument panel. Refer to Instrument Panel Storage Compartment Replacement.
- Install the digital clock.
- Install the audio system from the instrument panel. Refer to Radio Replacement in Entertainment.
- Install the A/C controller from the instrument. Refer to Heater and Air Conditioning Control Replacement in HVAC Systems - Manual.
- Install the cupholder.
- Install the cigar lighter and ashtray.
- Install the instrument panel center upper, lower cover.
- Install the instrument panel lower cover.
- Install the side cover.
- Install the instrument cluster assembly. Refer to Instrument Cluster Replacement .
- Install the windshield pillar garnish molding. Refer to Windshield Pillar Garnish Molding Replacement in Interior Trim.
- Install the signal lamp switch and the wiper switch. Refer to Turn Signal Multifunction Switch Replacement in Steering Wheel and Column for signal, and refer to Windshield Wiper and Washer Switch Replacement in Wiper/Washer.
- Install the steering column trim cover. Refer to Steering Column Replacement in Steering Wheel and Column.
- Install the steering wheel to the steering column. Refer to Steering Wheel Replacement in Steering Wheel and Column.
- Install the driver's air bag module from the steering wheel, if equipped. Refer to Inflatable Restraint Steering Wheel Module Replacement in SIR.
- Connect the negative battery cable.
Notice: Refer to Fastener Notice in the Preface section.

Tighten
Tighten the instrument panel bolts to 20 N·m (15 lb ft).

Tighten
Tighten the instrument panel bolts behind the HVAC controls to 4 N·m
(35 lb in).

