For 1990-2009 cars only
- Disconnect the negative battery cable.
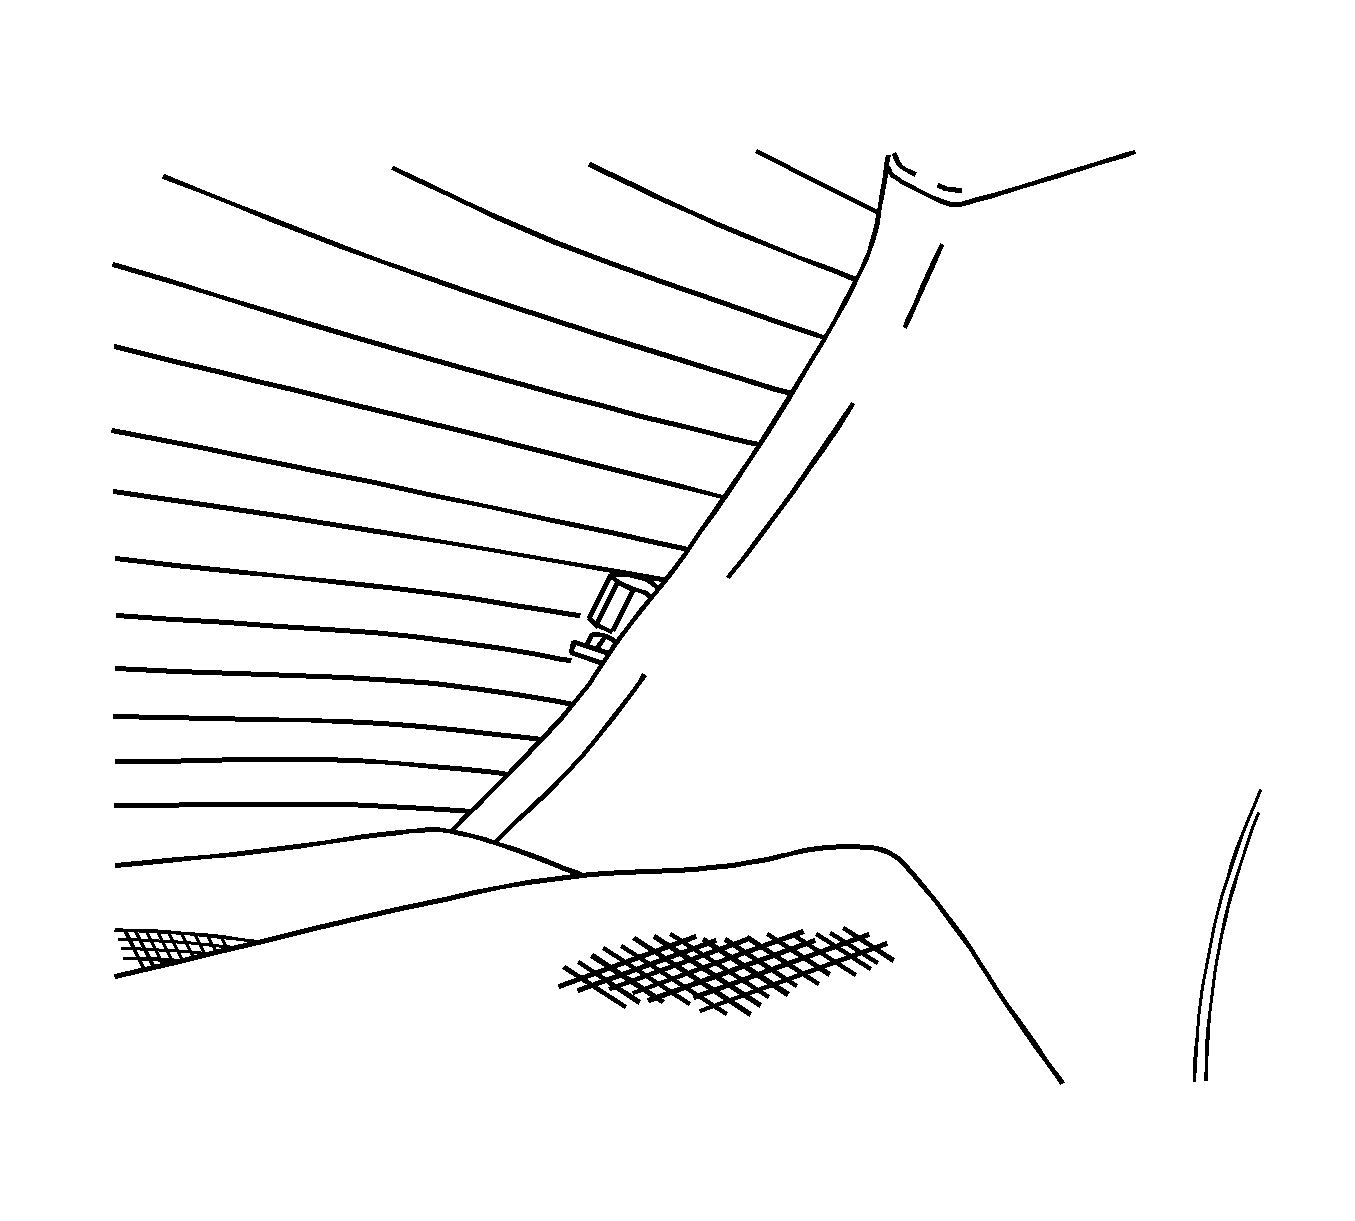
- Disconnect the rear window defogger electrical connectors, left side electrical connector shown, right side electrical connector similar.
- Inspect the rear window defogger grid lines
- Mark the grid line break on the outside of the glass with a wax pencil or a crayon.
- Use steel wool to buff the grid lines that are to be repaired. Wipe the lines clean using a cloth dampened with alcohol. Buff and clean about 6 mm (0.25 in) beyond each side of the break in the grid line.
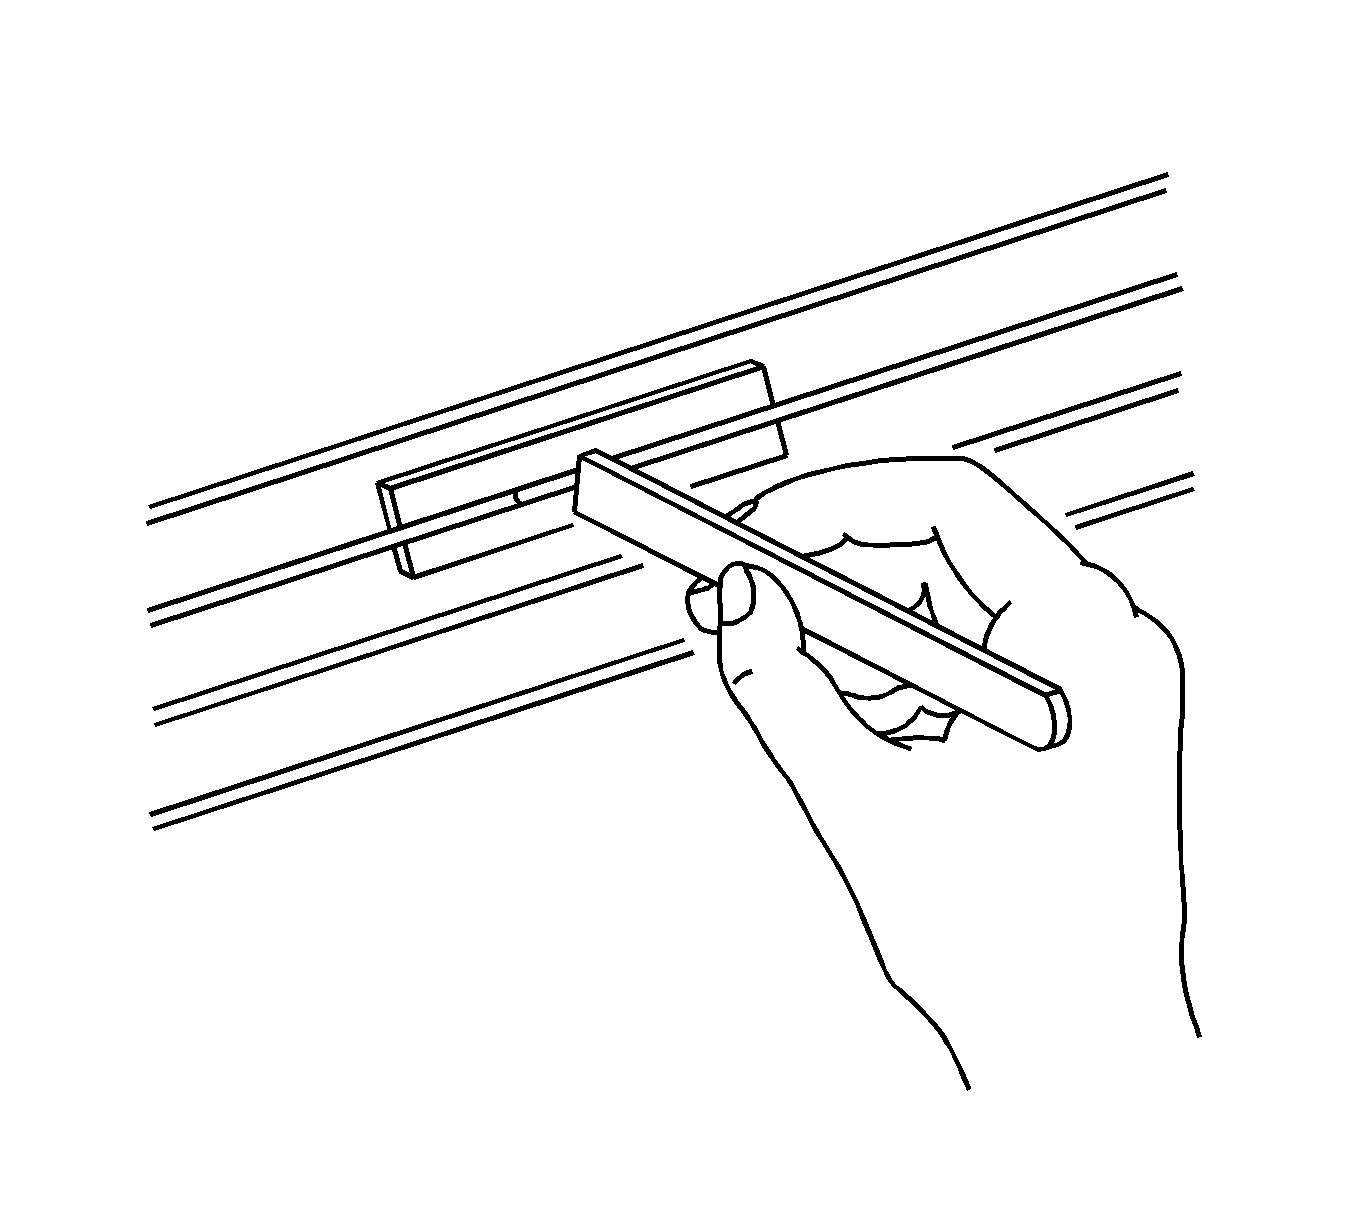
- Attach a grid line repair decal or 2 strips of tape above and below the repair areas.
- Apply the grid repair material to the repair area using a small wooden stick or a spatula. The grid repair material should be at room temperature.
- Carefully remove the decal or the tape.
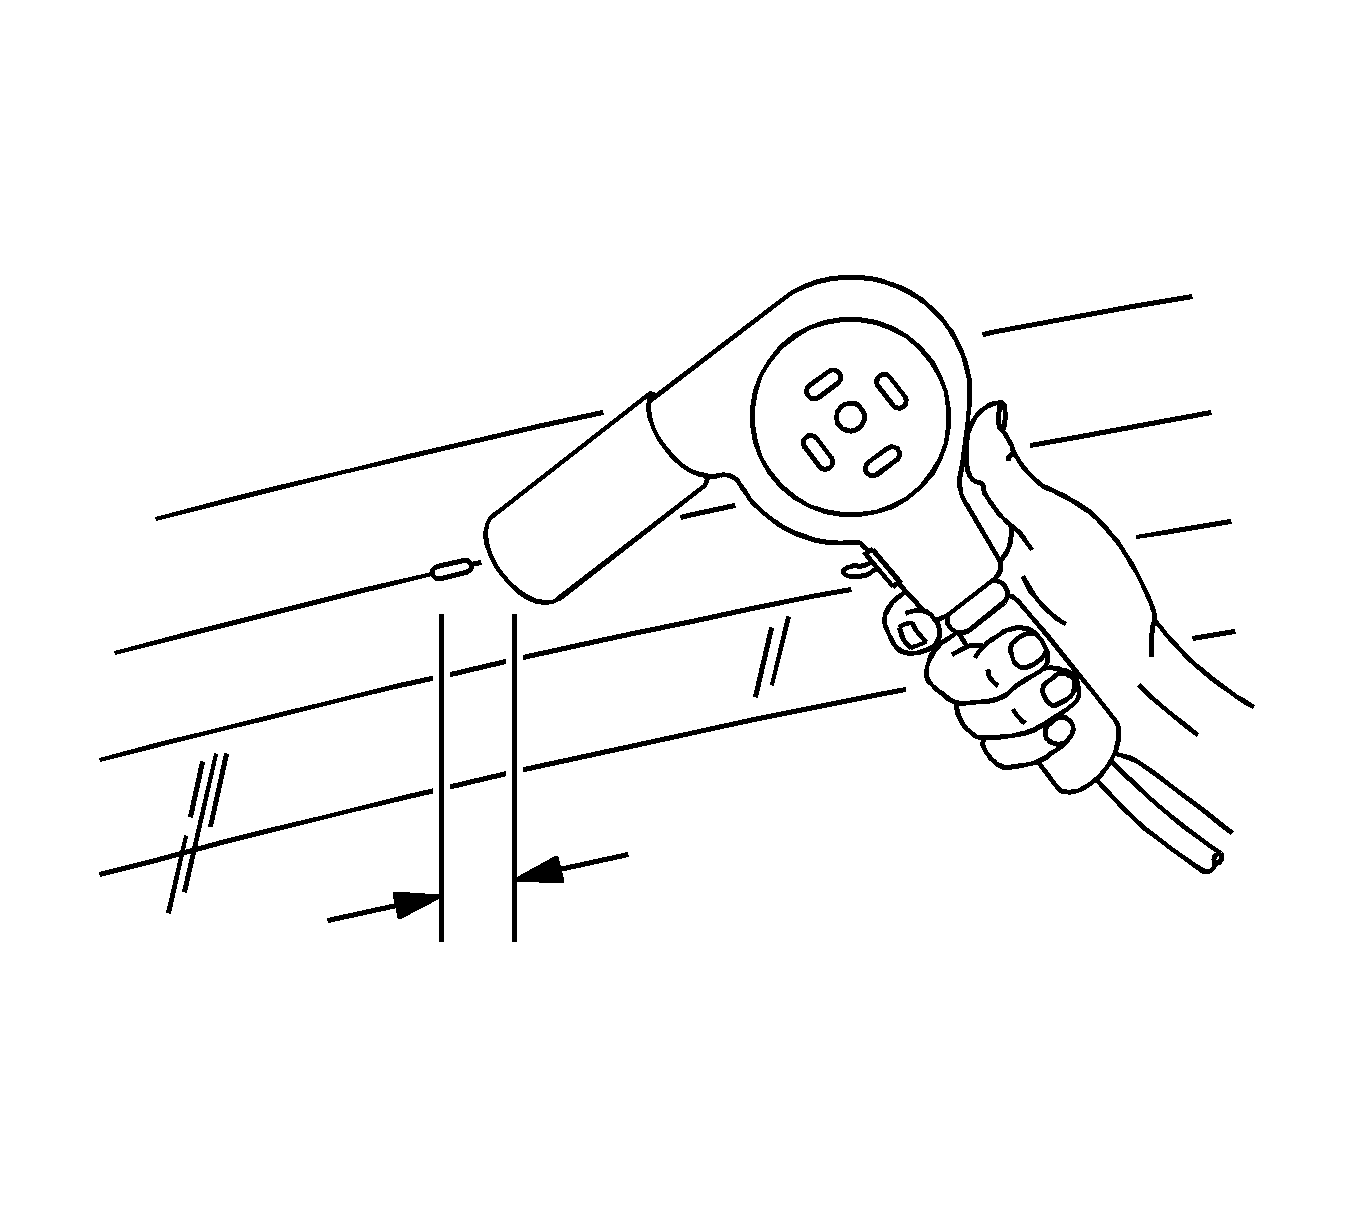
- Heat the repair area for 1-2 minutes.
- Hold the heat gun nozzle 25 mm (1 in) from the surface. A minimum temperature of 149°C (300°F) is required.
- Inspect the grid line repair area. If the repair appears discolored, apply a coating of tincture of iodine to the area using a pipe cleaner or a line brush. Allow the iodine to dry for about 30 seconds. Carefully wipe off the excess iodine with lint-free cloth.
- Connect the rear window defogger electrical connectors.
- Test the operation of the rear window defogger in order to verify that the repair was successful.
Notice: Refer to Avoid Damage to Grid Lines Notice in the Preface section.
Caution: Refer to Battery Disconnect Caution in the Preface section.


| • | A repair decal or tape must be used in order to control the width of the repair areas. |
| • | If a decal is used, the die-cut metered slot must be the same width as the grid line. |

Notice: The grid line repair material must be cured with heat. To avoid heat damage to the interior trim, protect the trim near the repair area where heat is to be applied.
Caution: Refer to Repair Material Curing Caution in the Preface section.
