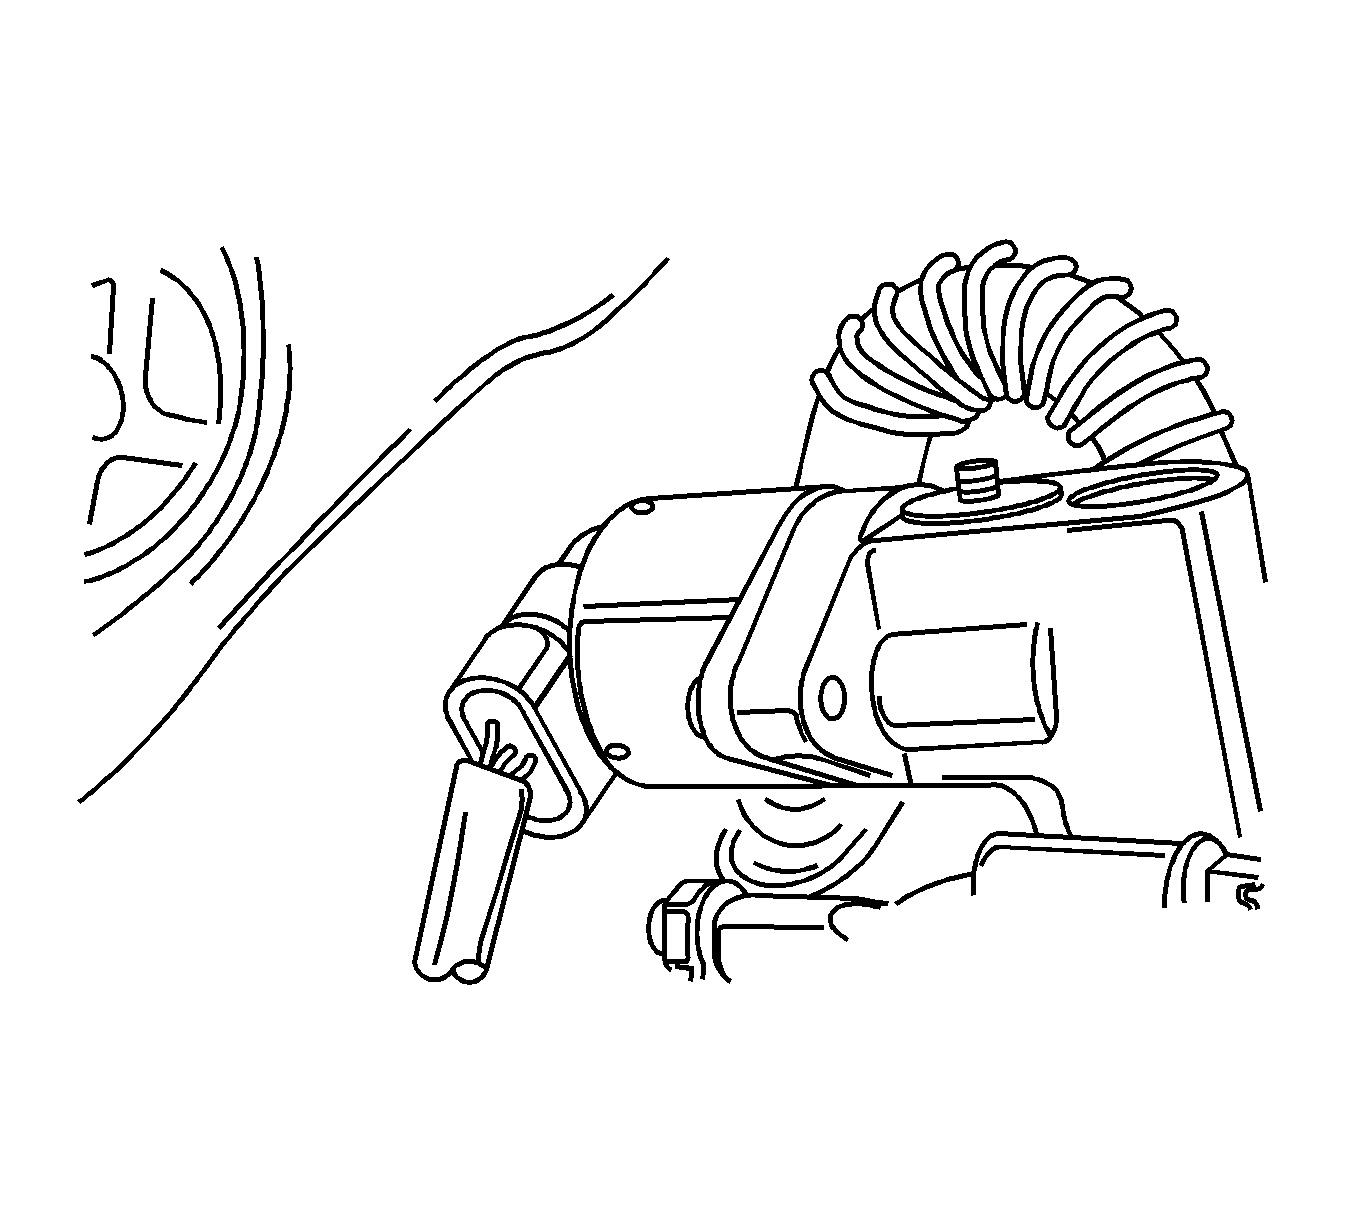
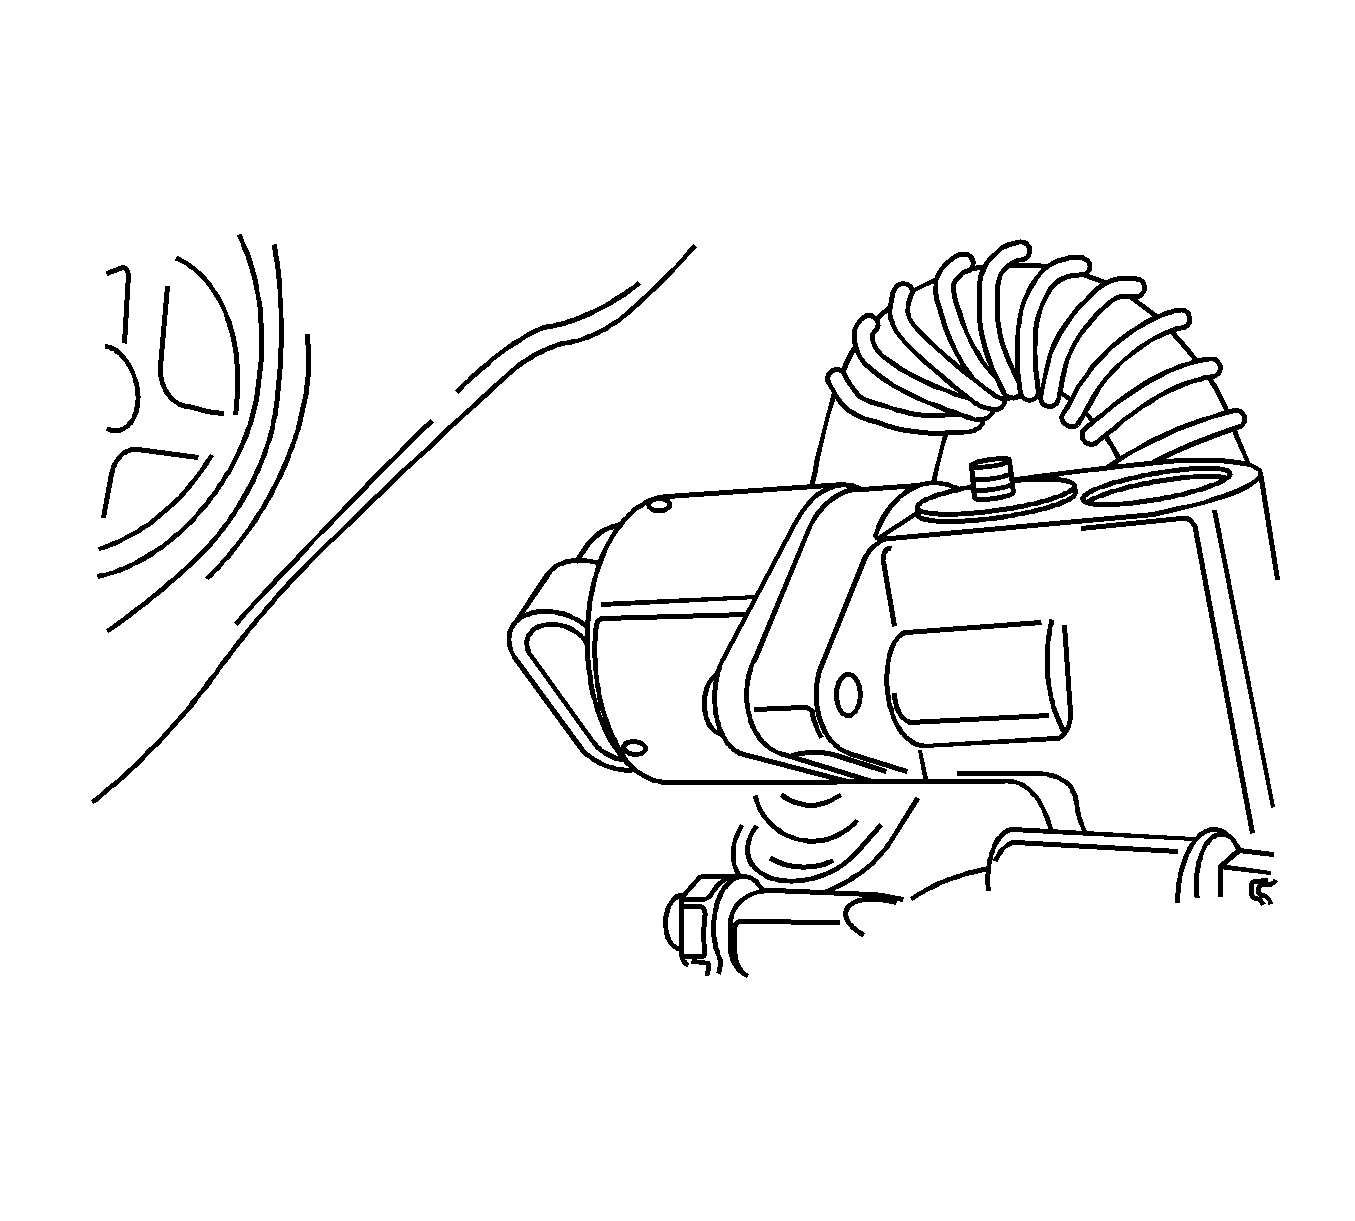
Removal Procedure
- Disconnect the negative battery cable.
- Disconnect the idle air control (IAC) valve connector.
- Remove the IAC valve retaining bolts.
- Remove the IAC valve.
- Clean the IAC valve O-ring seal area, the pintle valve seat, and the air passage with a suitable fuel system cleaner. Do not use methyl ethyl ketone.
Warning: Refer to Battery Disconnect Warning in the Preface section.

Caution:
• Do Not push or pull on the IAC valve pintle on IAC valves that have been in service. The force required to move the pintle may damage the threads on the worm drive. • Do Not soak the IAC valve in any liquid cleaner or solvent, as damage may result.
Installation Procedure
- Lubricate a new O-ring with engine oil. Install the new O-ring onto the valve.
- Install the IAC valve into the throttle body.
- Install the IAC valve retaining bolts.
- Connect the IAC valve connector.
- Connect the negative battery cable.
- Perform the idle learn procedure. Refer to Idle Learn.

Note: If installing a new IAC valve, be sure to replace it with an identical part. The IAC valve pintle shape and diameter are designed for the specific application. Measure the distance between the tip of the IAC valve pintle and the mounting flange. If the distance is greater than 28 mm (1.1 in), use finger pressure to slowly retract the pintle.
The force required to retract the pintle will not damage the IAC valve. The purpose of the 28 mm (1.1 in) setting is to prevent the IAC pintle from bottoming out on the pintle seat. This 28 mm (1.1 in) setting is also an adequate setting for controlled idle on a restart.Caution: Refer to Fastener Caution in the Preface section.

Tighten
Tighten the idle air control valve retaining bolts to 3 N·m (27 lb in).
