For 1990-2009 cars only
Wheel Drive Shaft Inner Joint and Boot Replacement Automatic
Tools Required
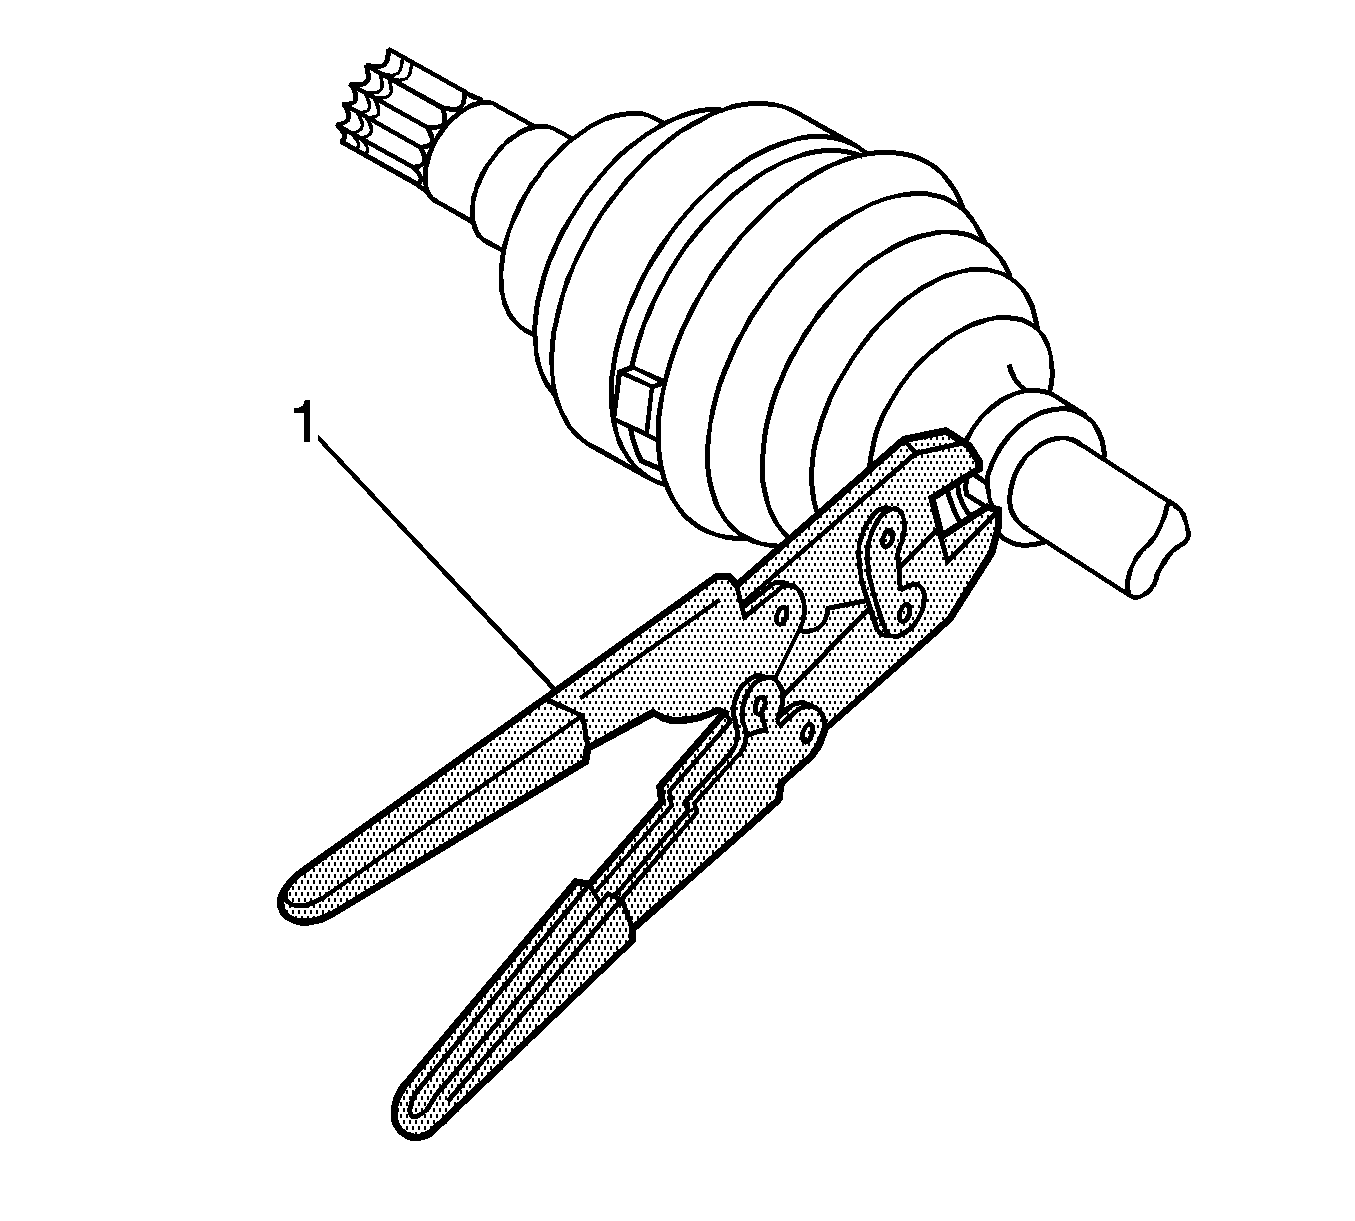
| • | J 35566 Seal Clamp Pliers |
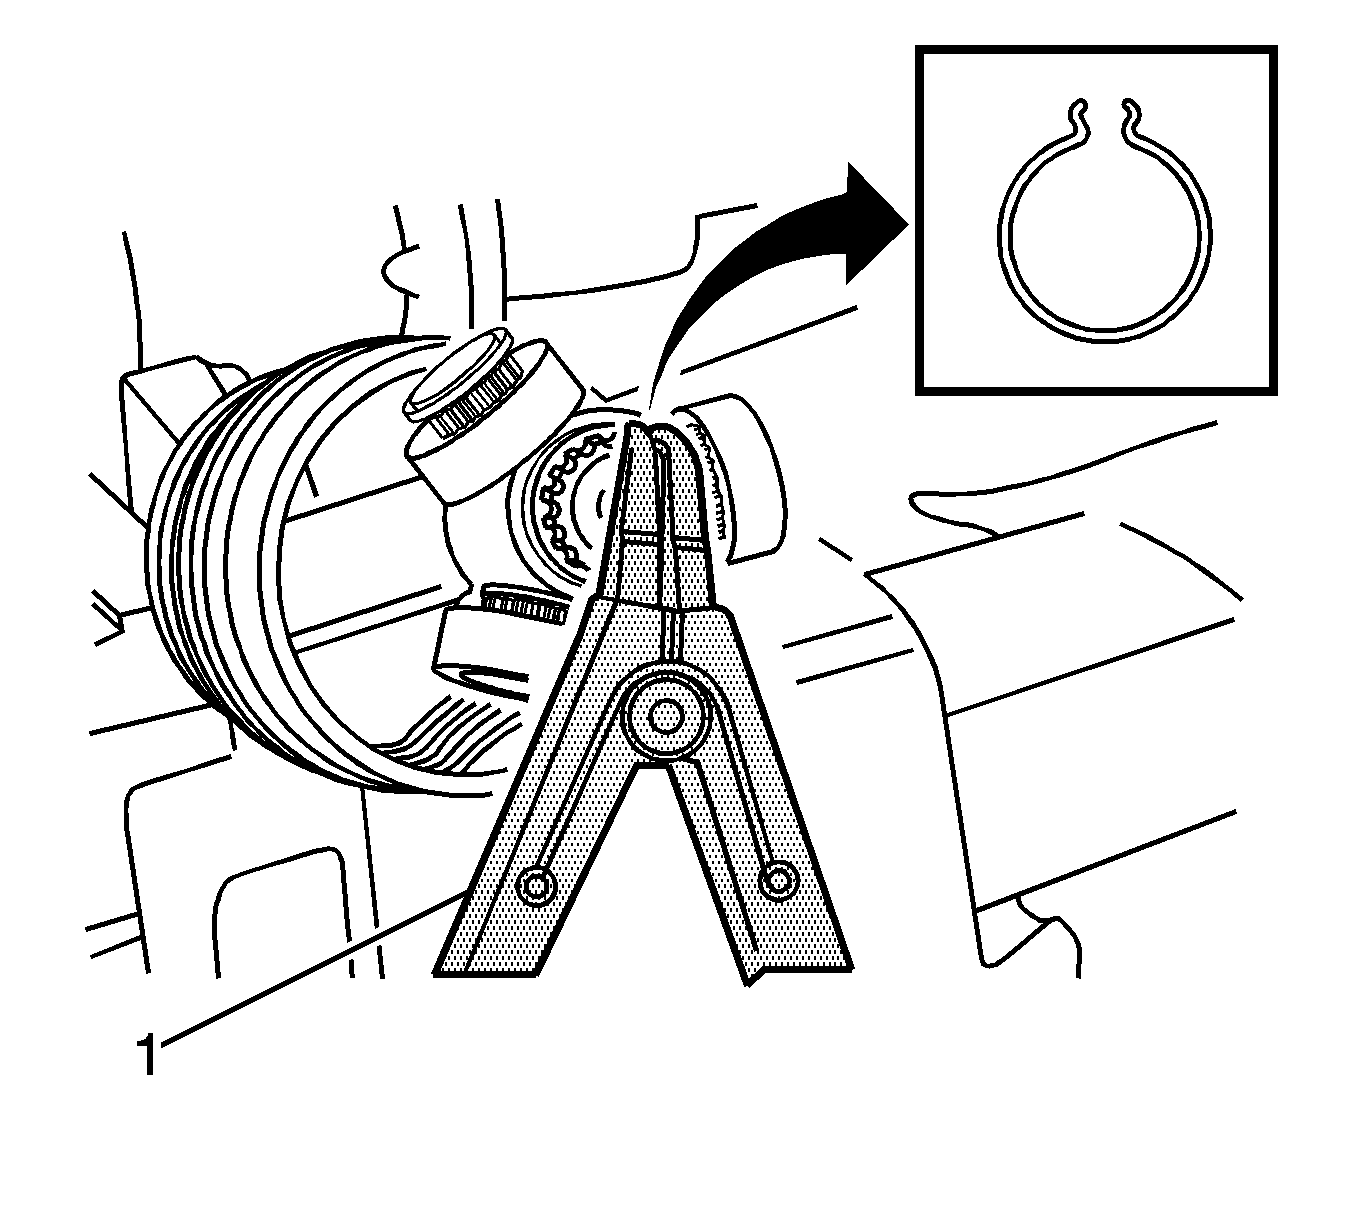
| • | J 8059 Snap Ring Pliers |
Removal Procedure
- Remove the drive axle from the vehicle. Refer to Front Drive Axle Inner Shaft and Inner Shaft Housing Replacement.
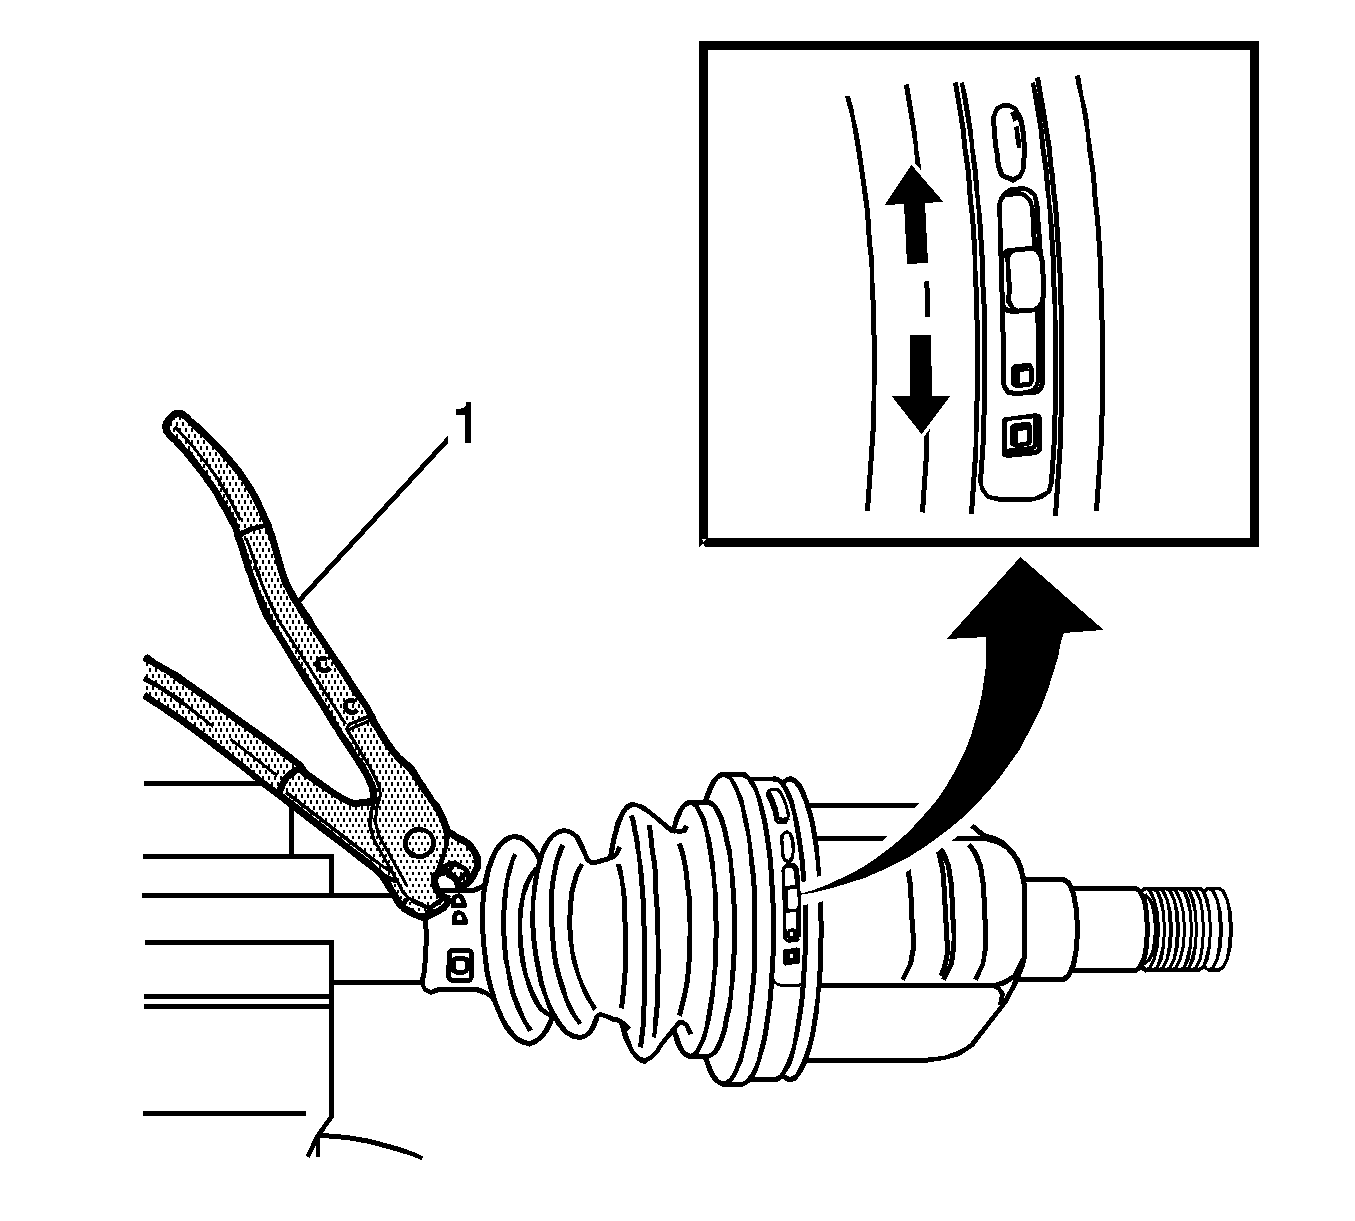
- Using J 35566 (1) remove the large seal retaining clamp. Discard the clamp.
- Using J 35566 (1) remove the small seal retaining clamp. Discard the clamp.
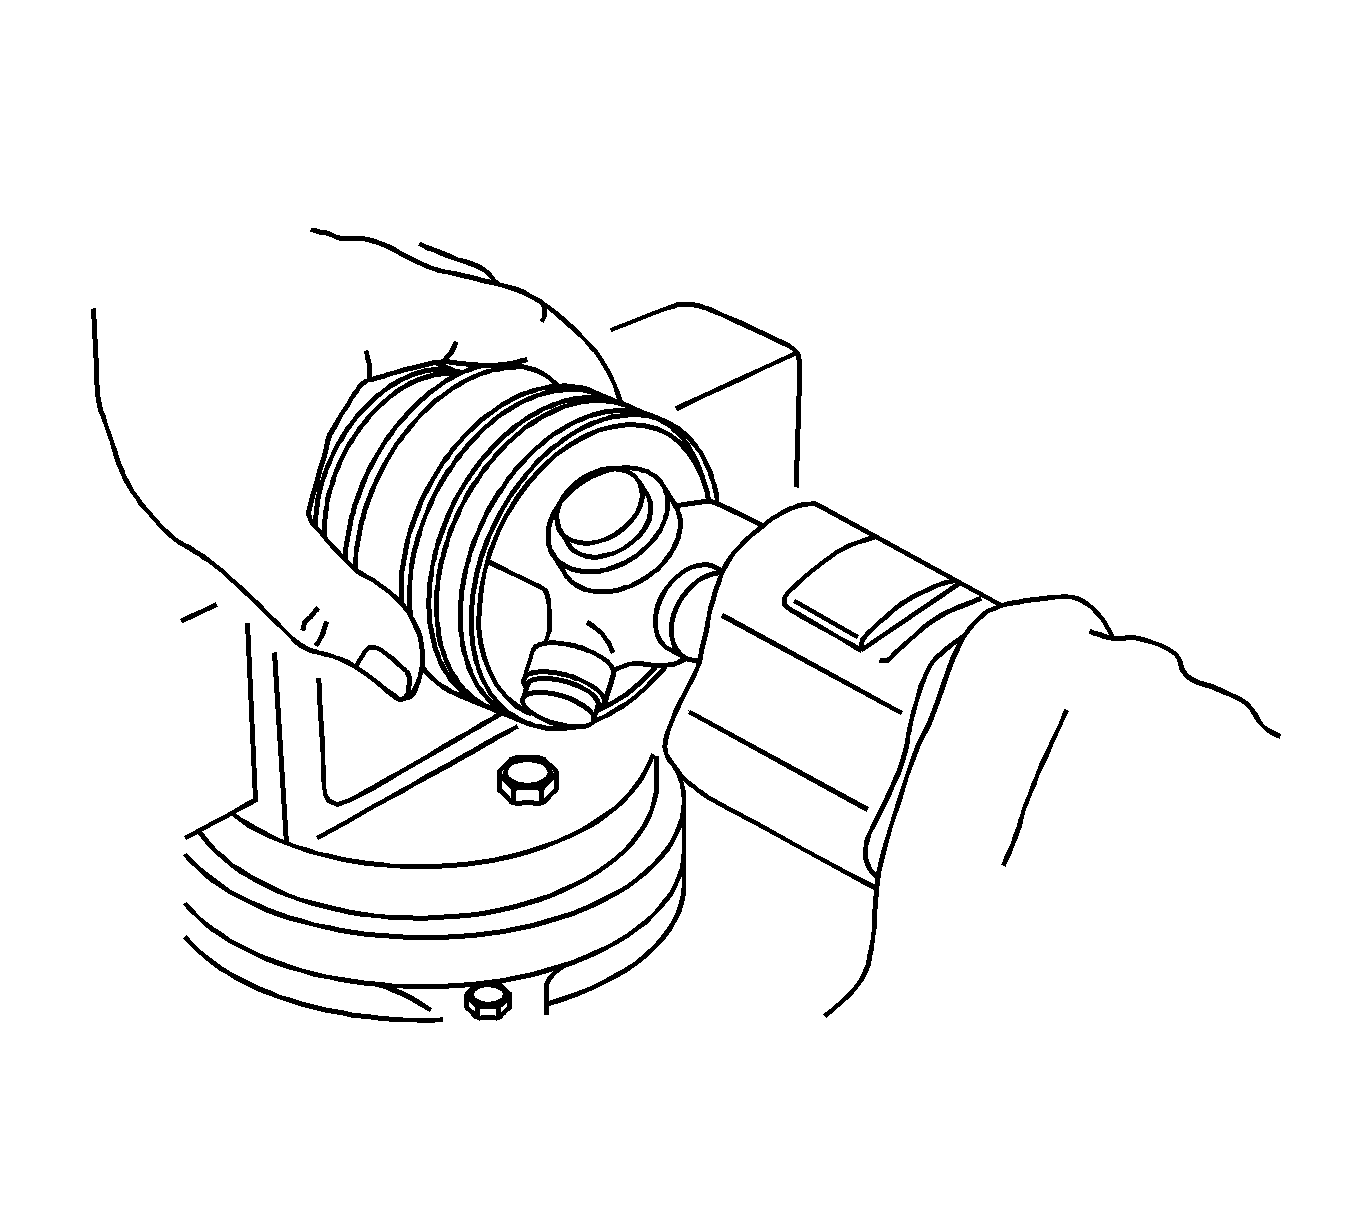
- Separate the joint housing from the boot.
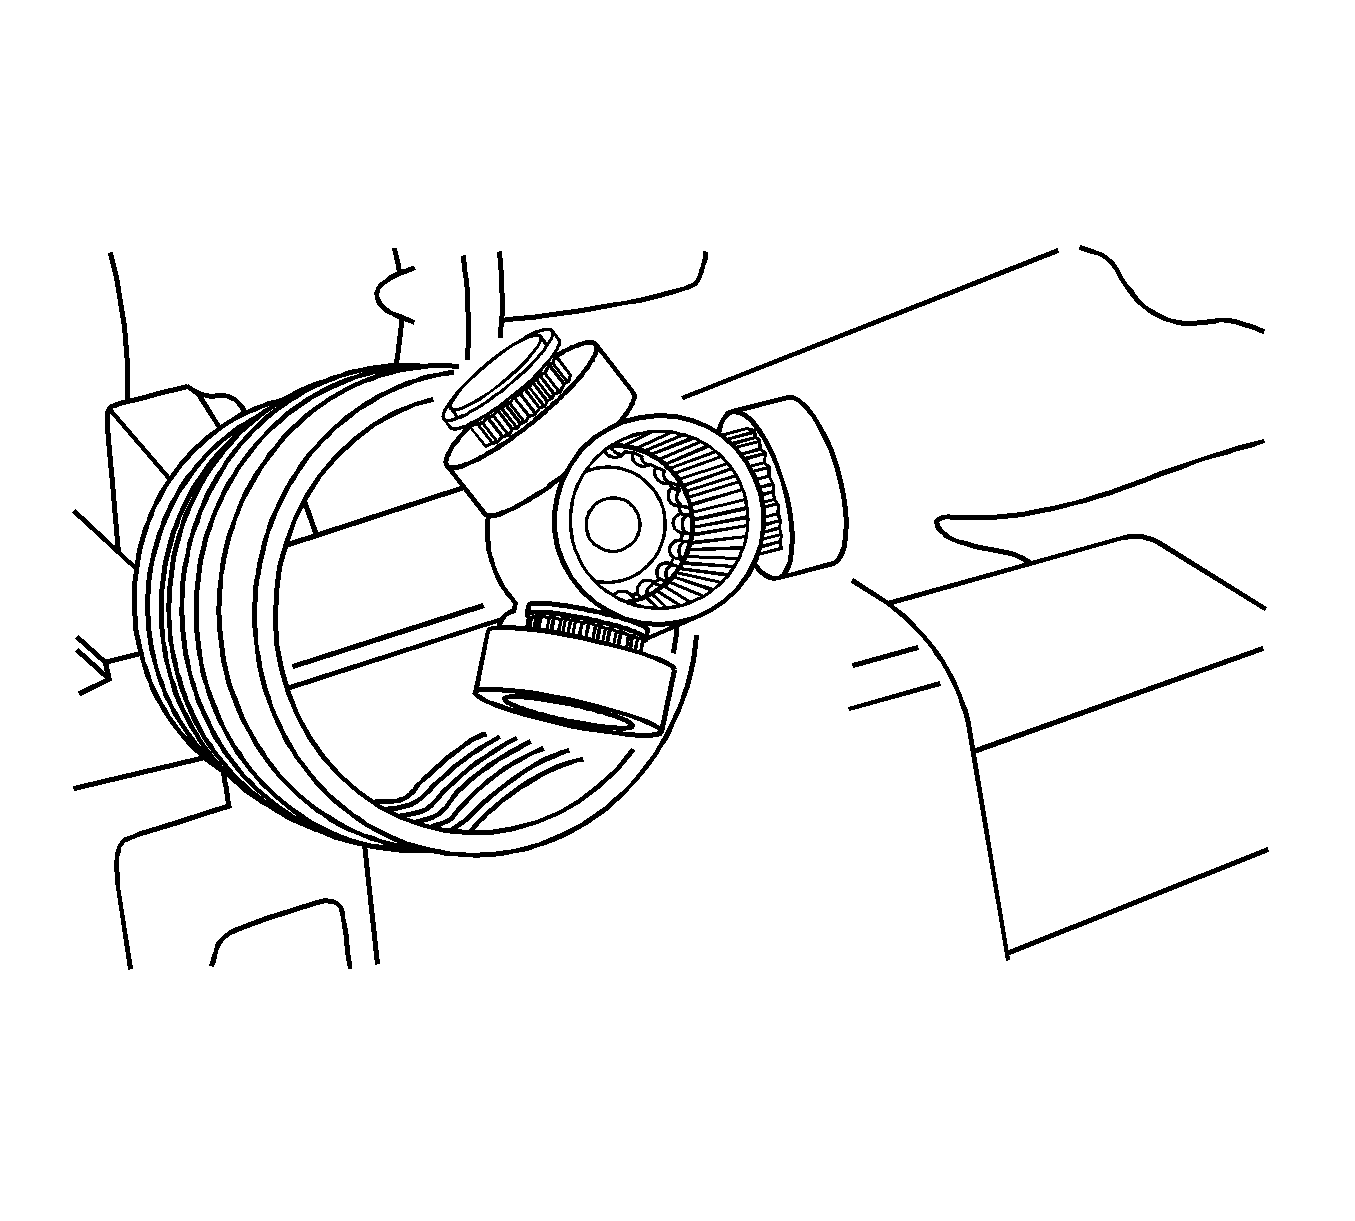
- Clean and degrease the tripot assembly.
- Remove the shaft retaining ring using J 8059 .
- Remove the tripot and the tripot joint retaining ring from the axle shaft.
- Remove the tripot joint seal from the axle shaft.
Installation Procedure
- Install a new small seal retaining clamp onto the seal.
- Install the seal onto the axle shaft.
- Install the shaft retaining ring onto the axle shaft using J 8059 (1).
- Fill the tripot housing with 195-215 g (6.9-7.6 ounces) of the recommended grease. Repack the tripot with 195-215 g (6.9-7.6 ounces) of the recommended grease.
- Install the boot to the joint housing.
- Install a new large seal retaining clamp. Crimp the large seal retaining clamp using J 35566 (1).
- Crimp the new small seal retaining clamp using J 35566 (1).
- Install the drive axle shaft to the vehicle. Refer to Front Drive Axle Inner Shaft and Inner Shaft Housing Replacement.


Wheel Drive Shaft Inner Joint and Boot Replacement Manual
Special Tools
| • | J 8059 Snap Ring Pliers |
| • | J 35566 Seal Clamp Pliers |
Removal Procedure
- Remove the large seal retaining clamp. Discard the clamp.
- Remove the small seal retaining clamp. Discard the clamp.
- Clean and degrease the joint.
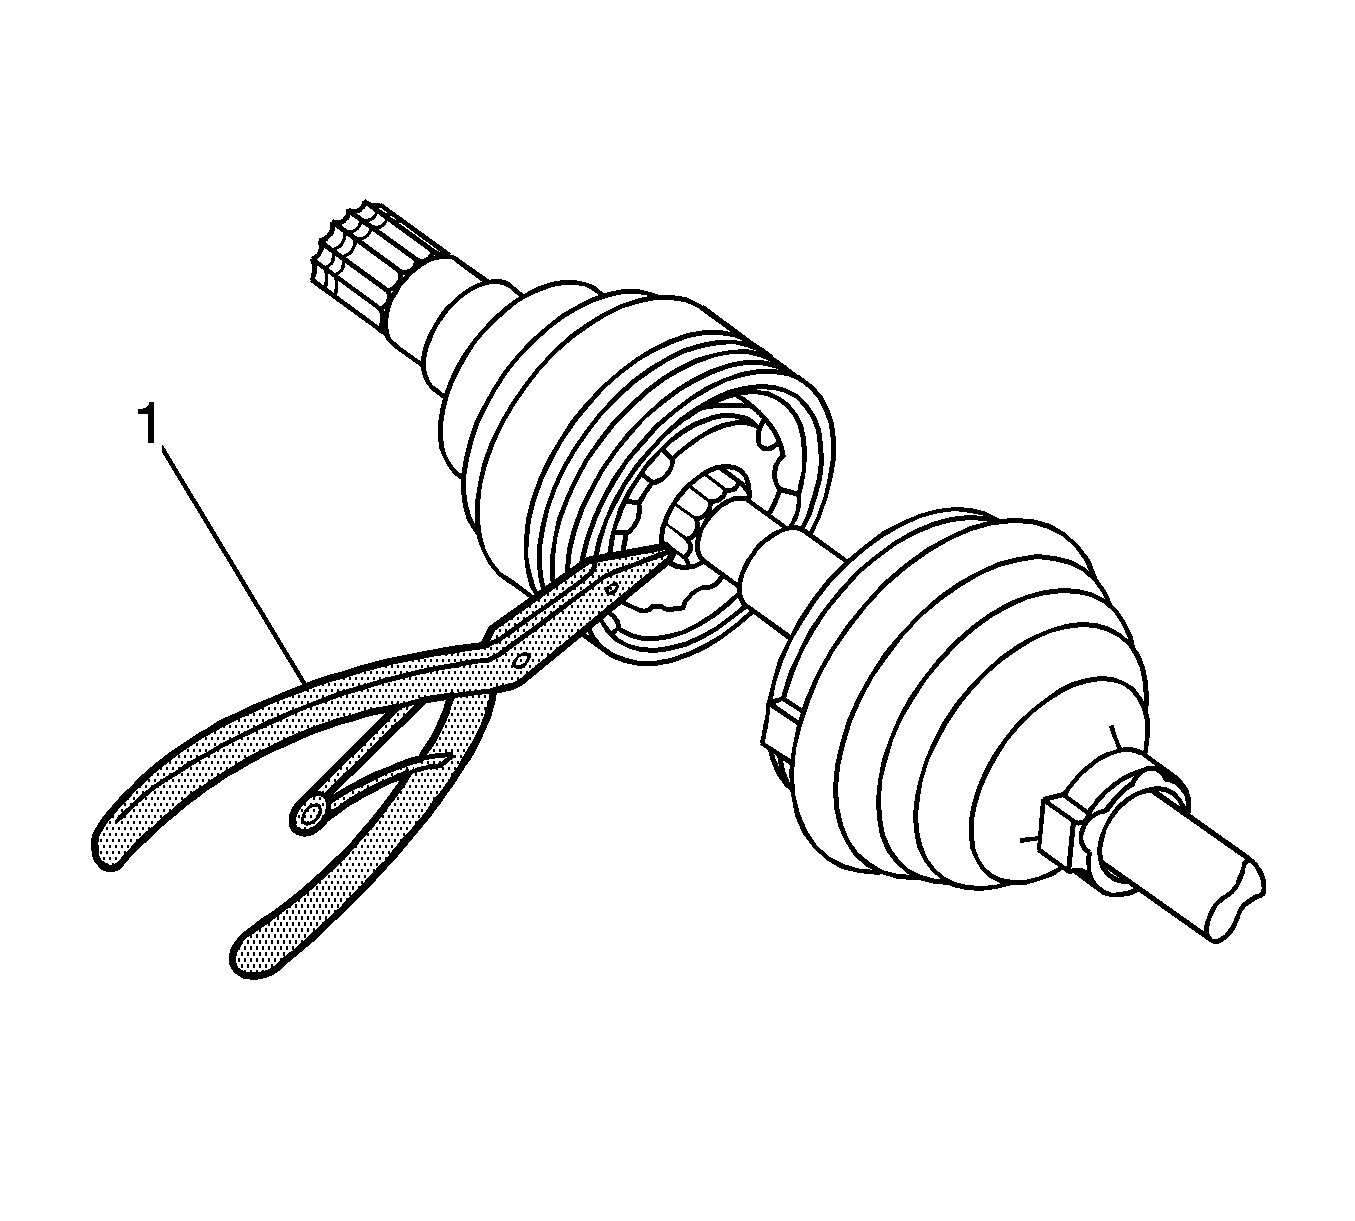
- Remove the shaft retaining ring using J 8059 (1).
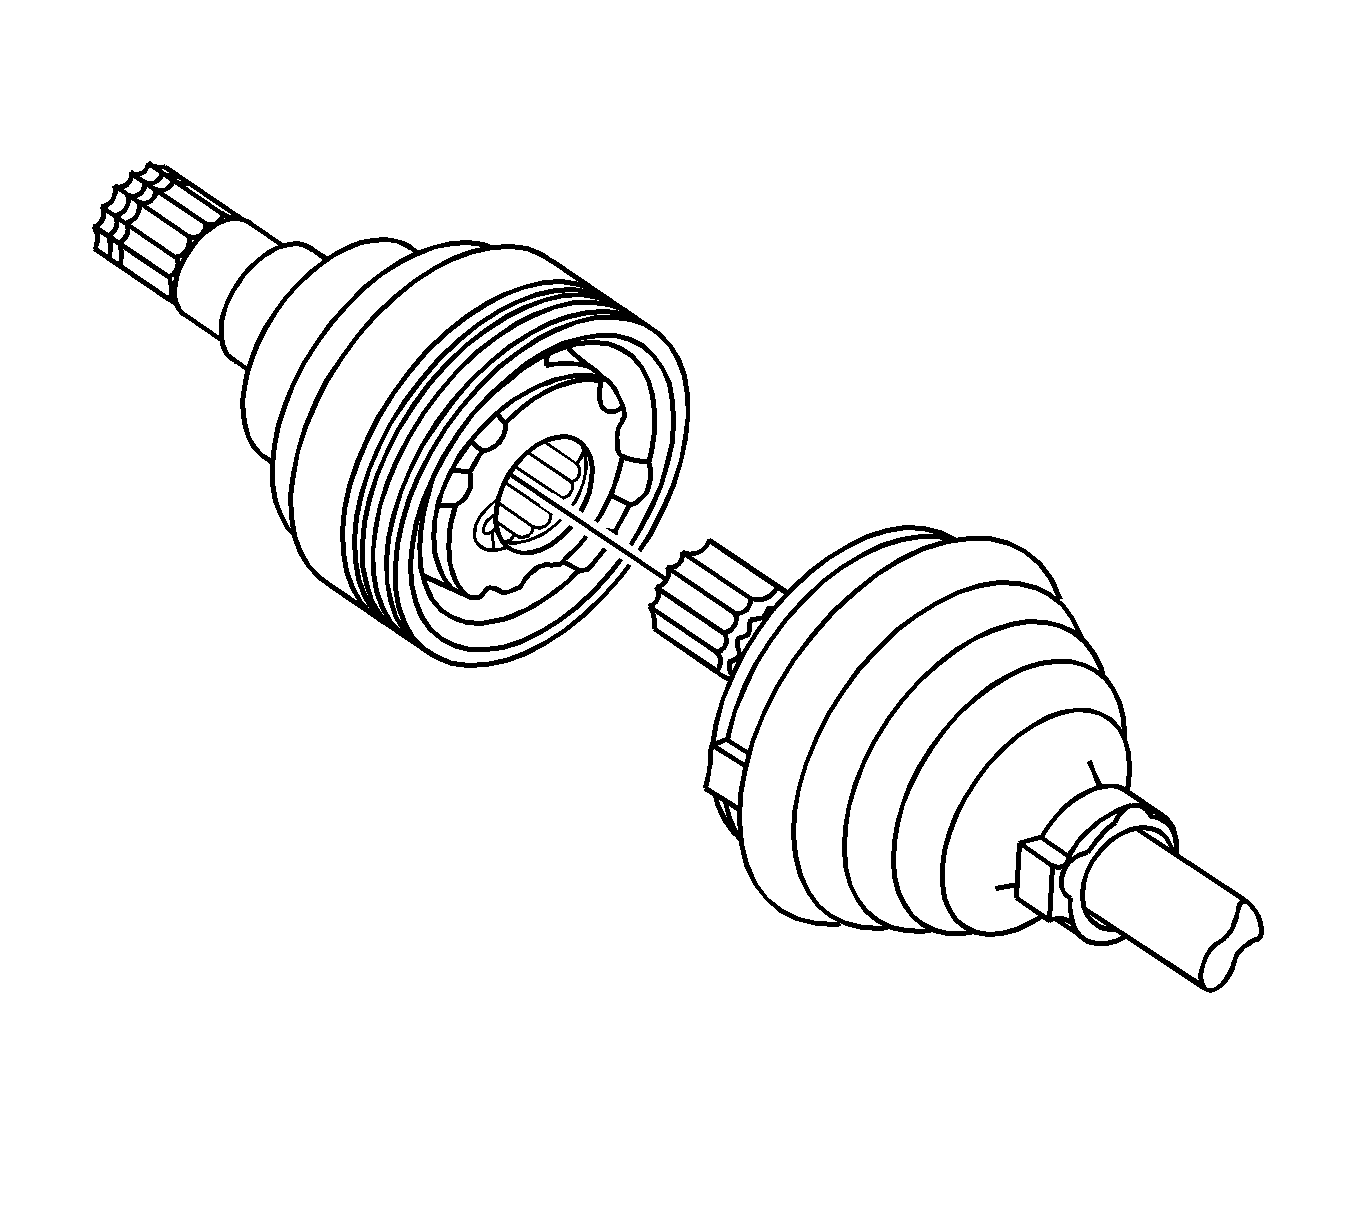
- Remove the axle shaft from the joint assembly.
- Remove the seal from the joint assembly.
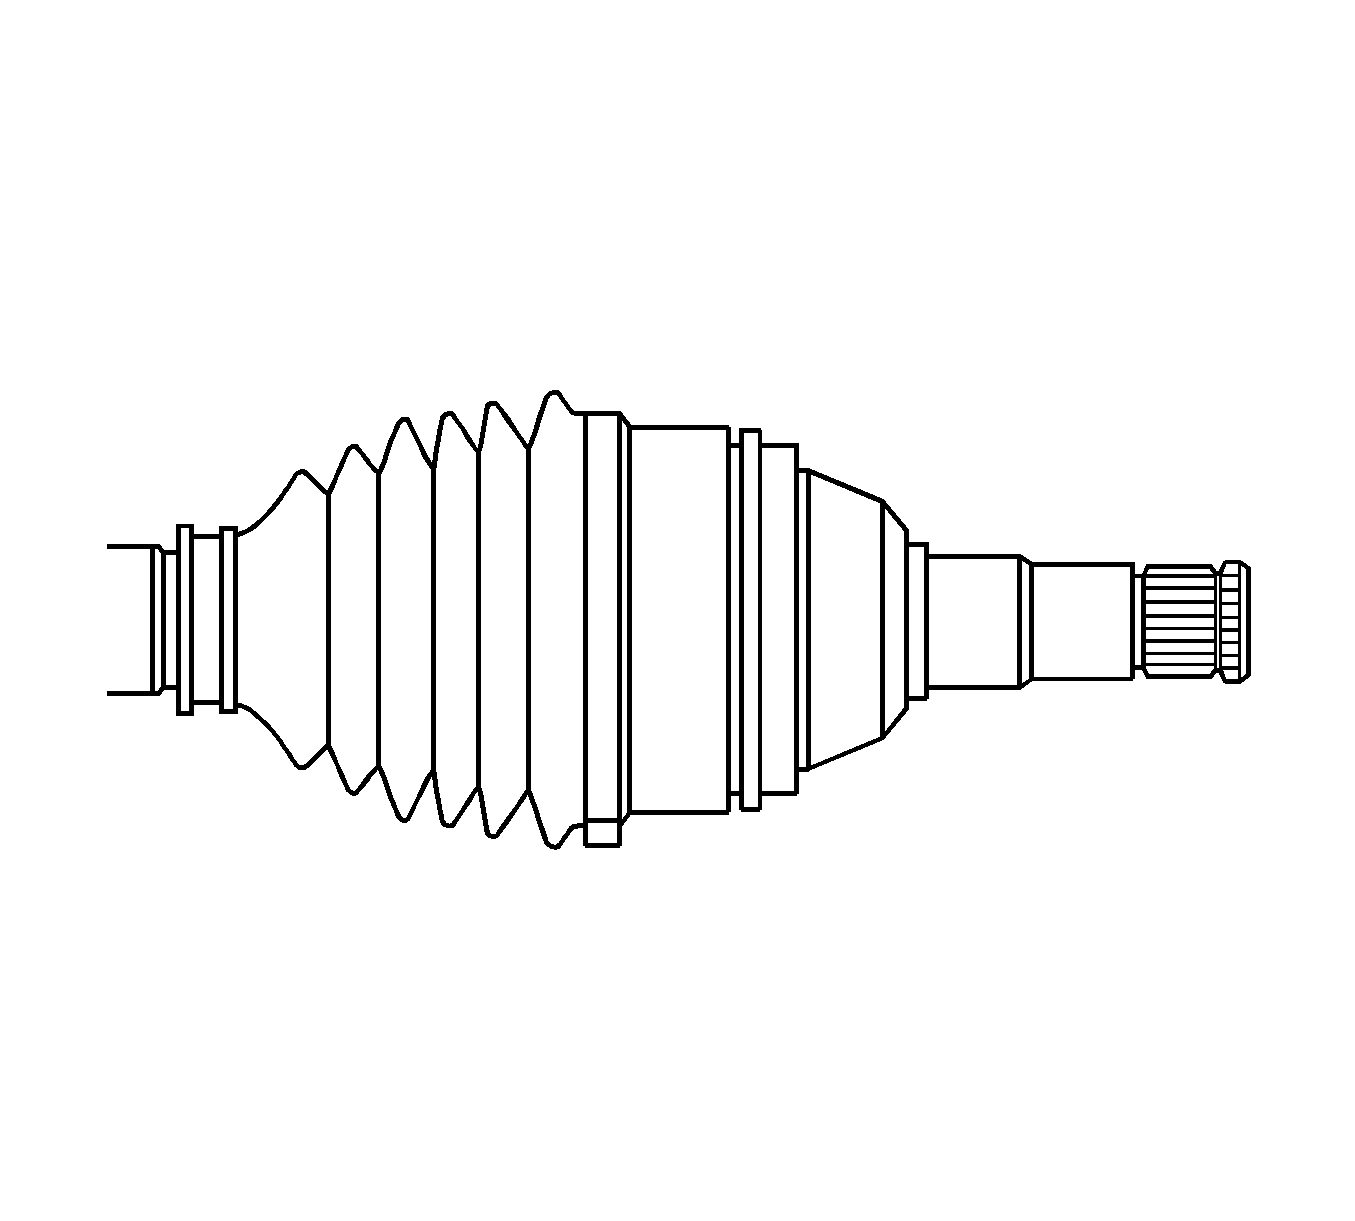
Warning: The ball retainer is stacked in position and is not serviceable. Attempting to service the ball retainer could result in reduced vehicle performance and possible personal injury.
Installation Procedure
- Install a new small seal retaining clamp onto the seal. Do not crimp.
- Install the seal onto the axle shaft.
- Install the joint assembly onto the axle shaft.
- Install the shaft retaining ring using the J 8059 (1).
- Fill the joint assembly with 120-140 grams (4.2-4.9 ounces) of the recommended grease. Repack the tripot with 120-140 grams (4.2-4.9 ounces) of the recommended grease.
- Install the new large seal retaining clamp.
- Crimp the new large seal retaining clamp using J 35566 (1).
- Crimp the new small retaining clamp using J 35566 (1).


