For 1990-2009 cars only
Radiator Replacement 1.2L DOHC
Removal Procedure
- Disconnect the battery negative cable. Refer to Battery Negative Cable Disconnection and Connection.
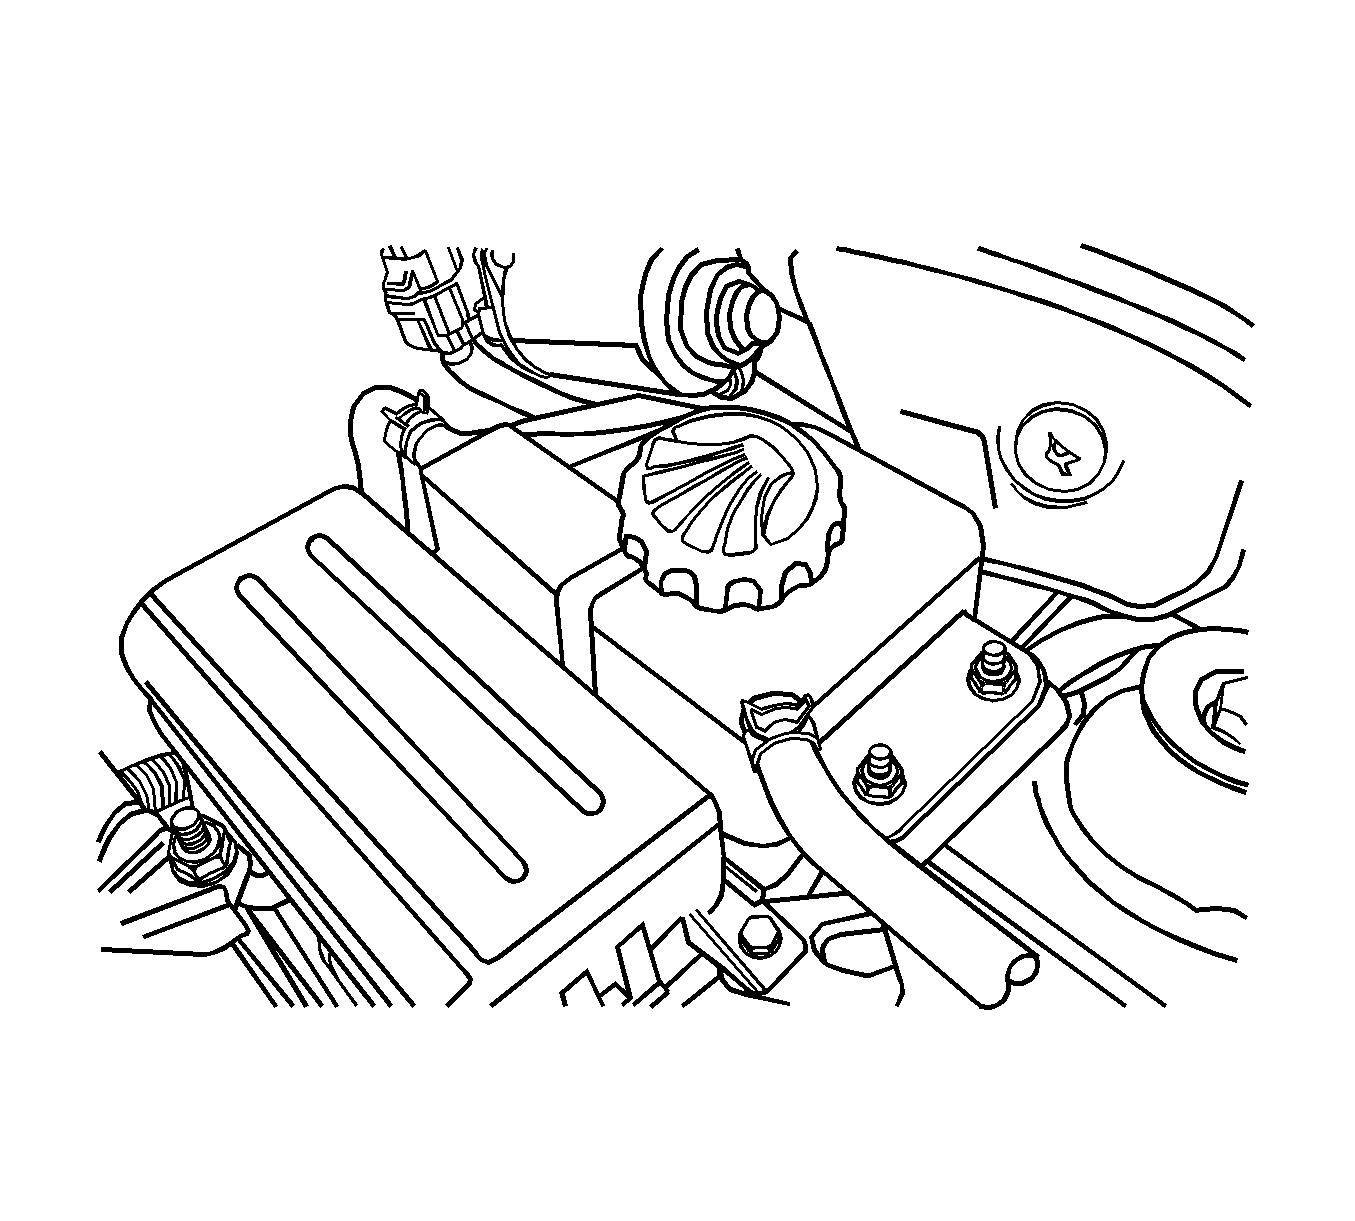
- Remove the power steering oil tank. Refer to Power Steering Fluid Reservoir Replacement.
- Drain the coolant. Refer to Cooling System Draining and Filling.
- Remove the electric cooling fans. Refer to Engine Coolant Fan Replacement.
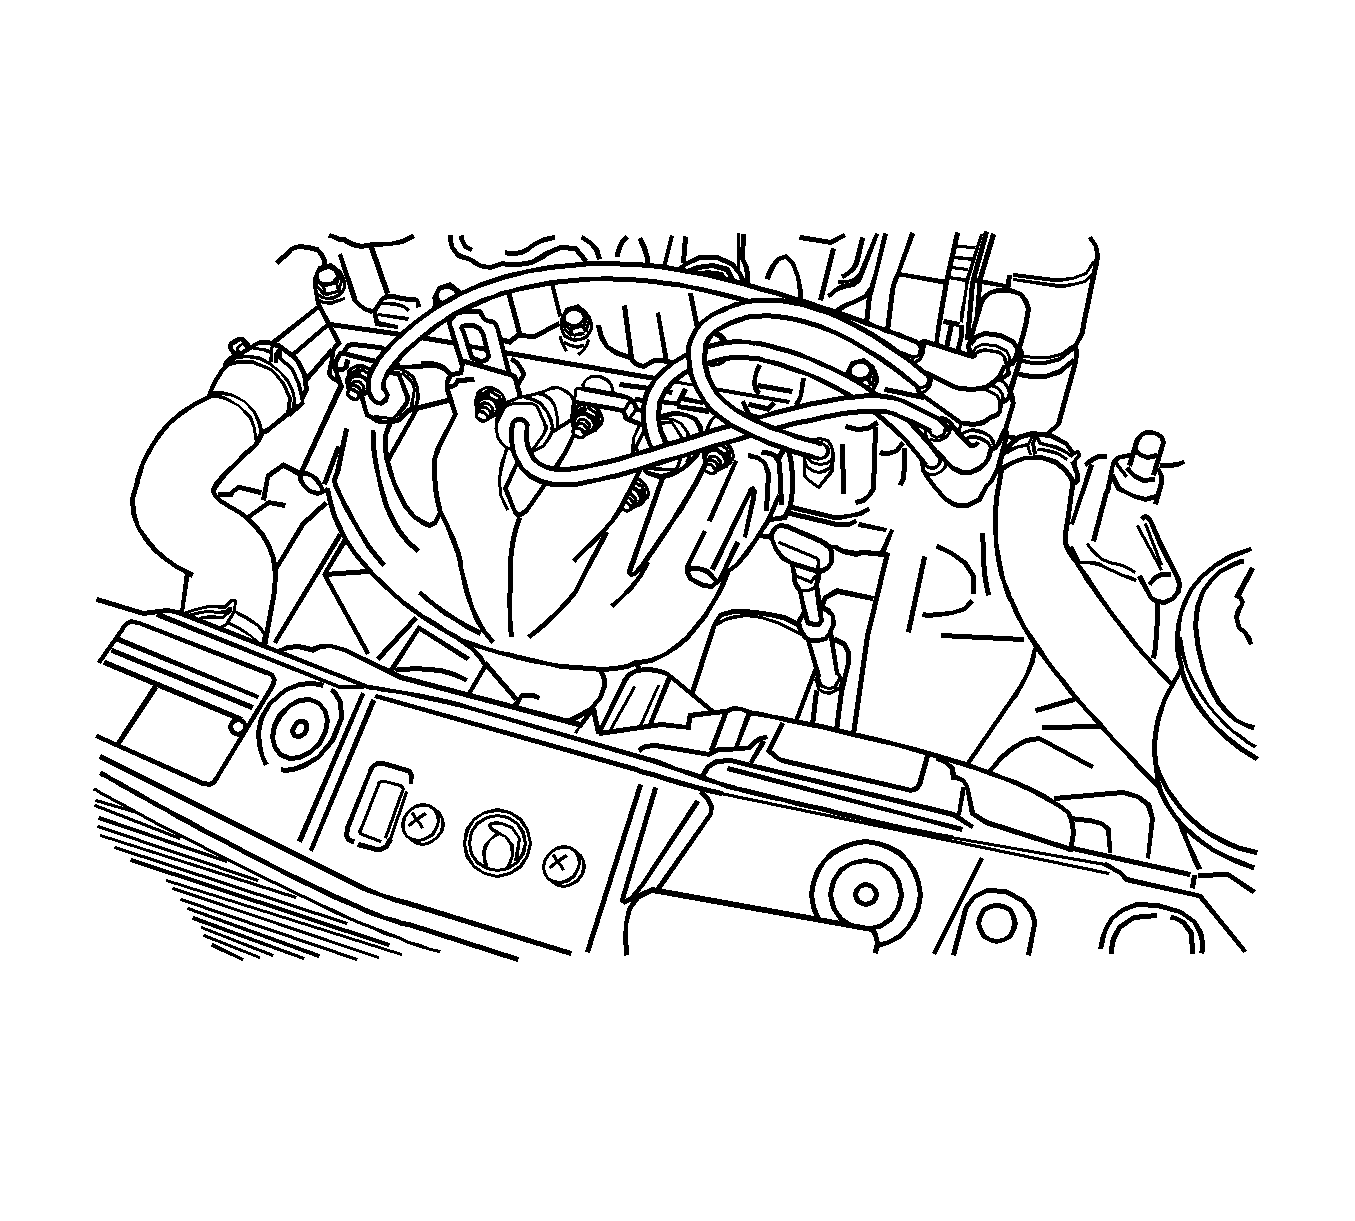
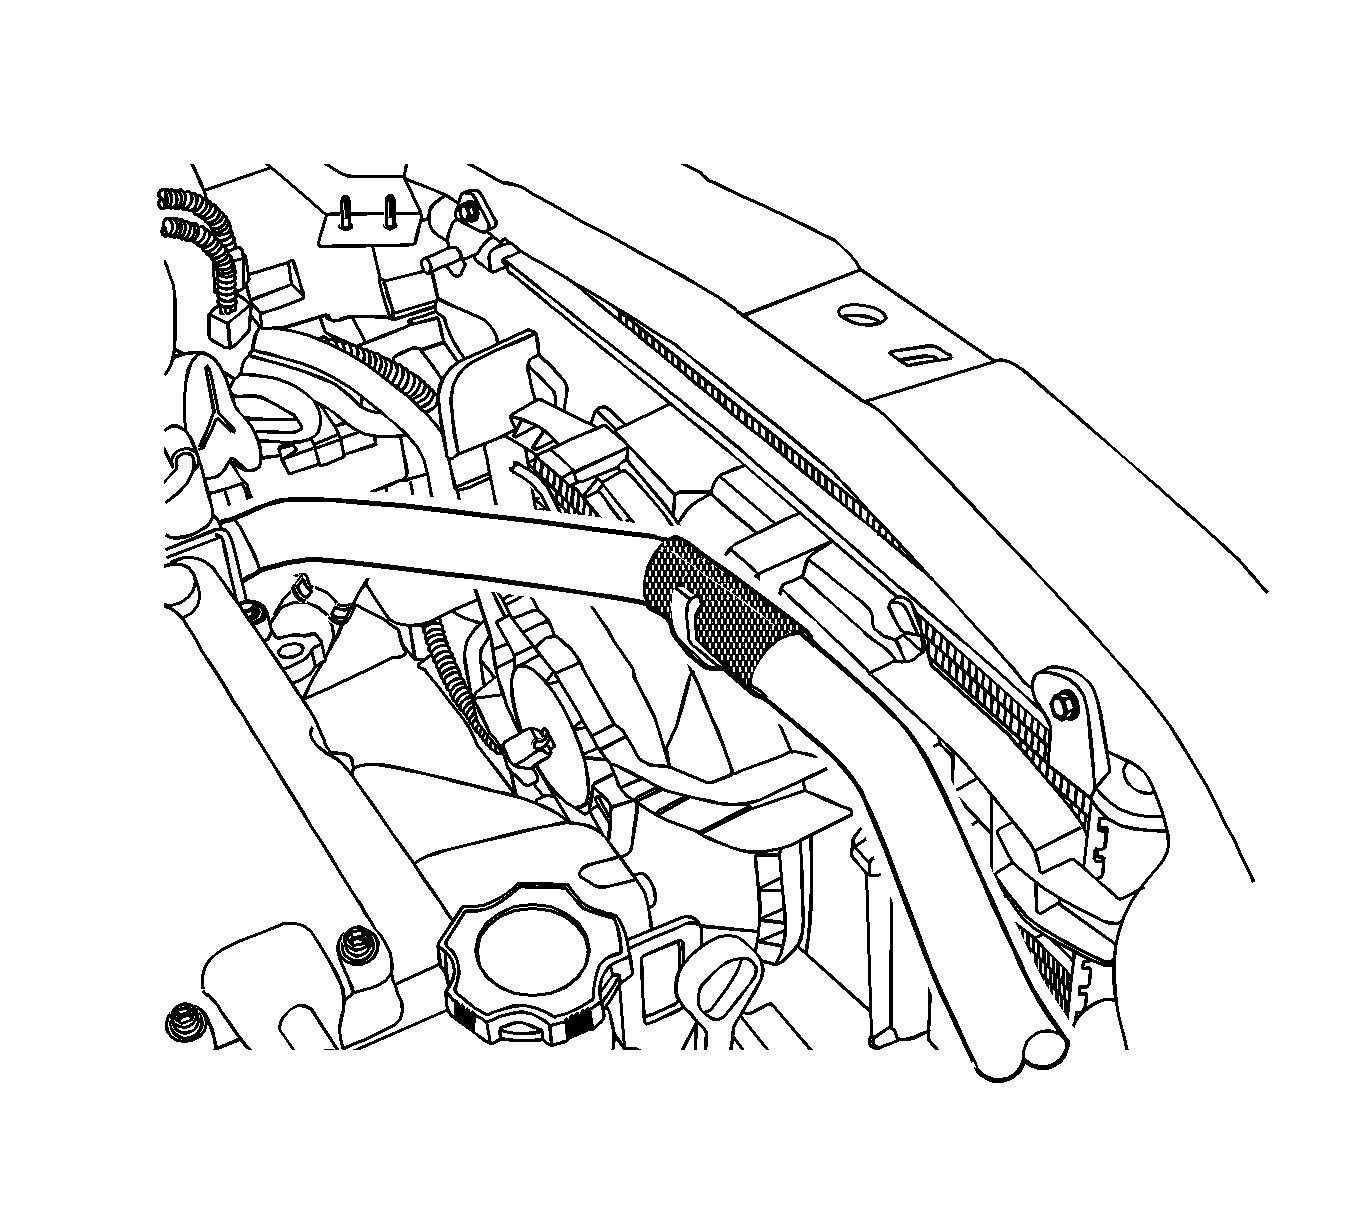
- Disconnect the upper cooling fan hose from the radiator.
- Disconnect the lower radiator hose from the radiator.
- Remove the return hose from the surge tank at the radiator.
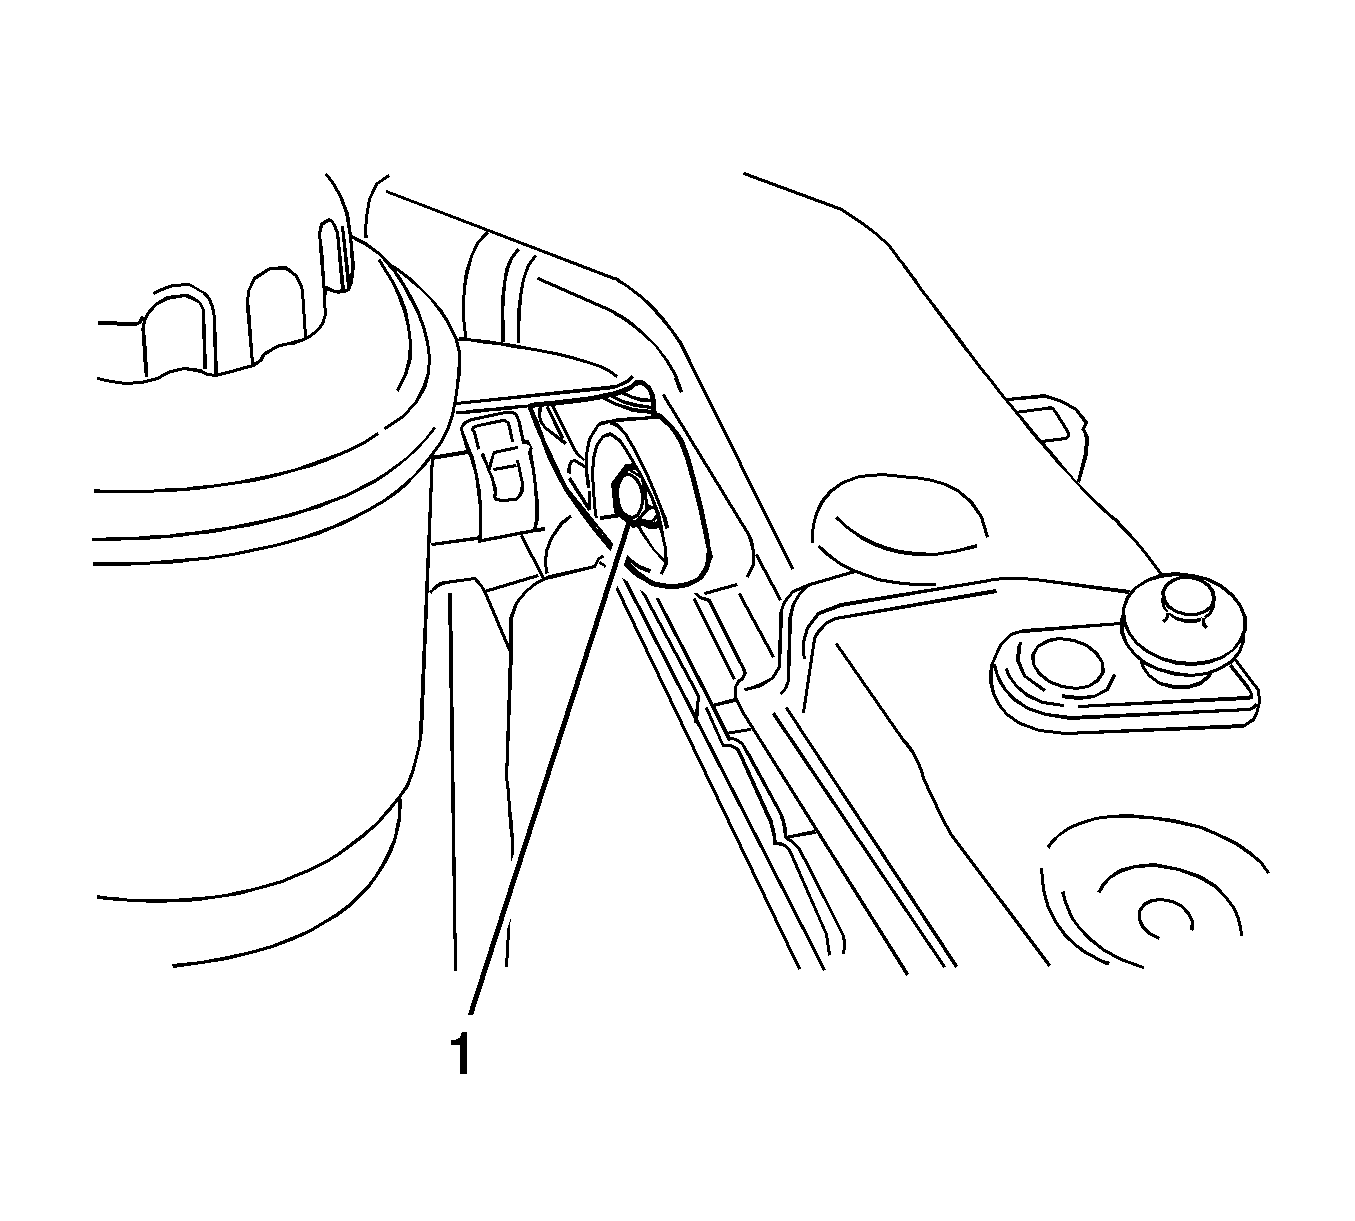
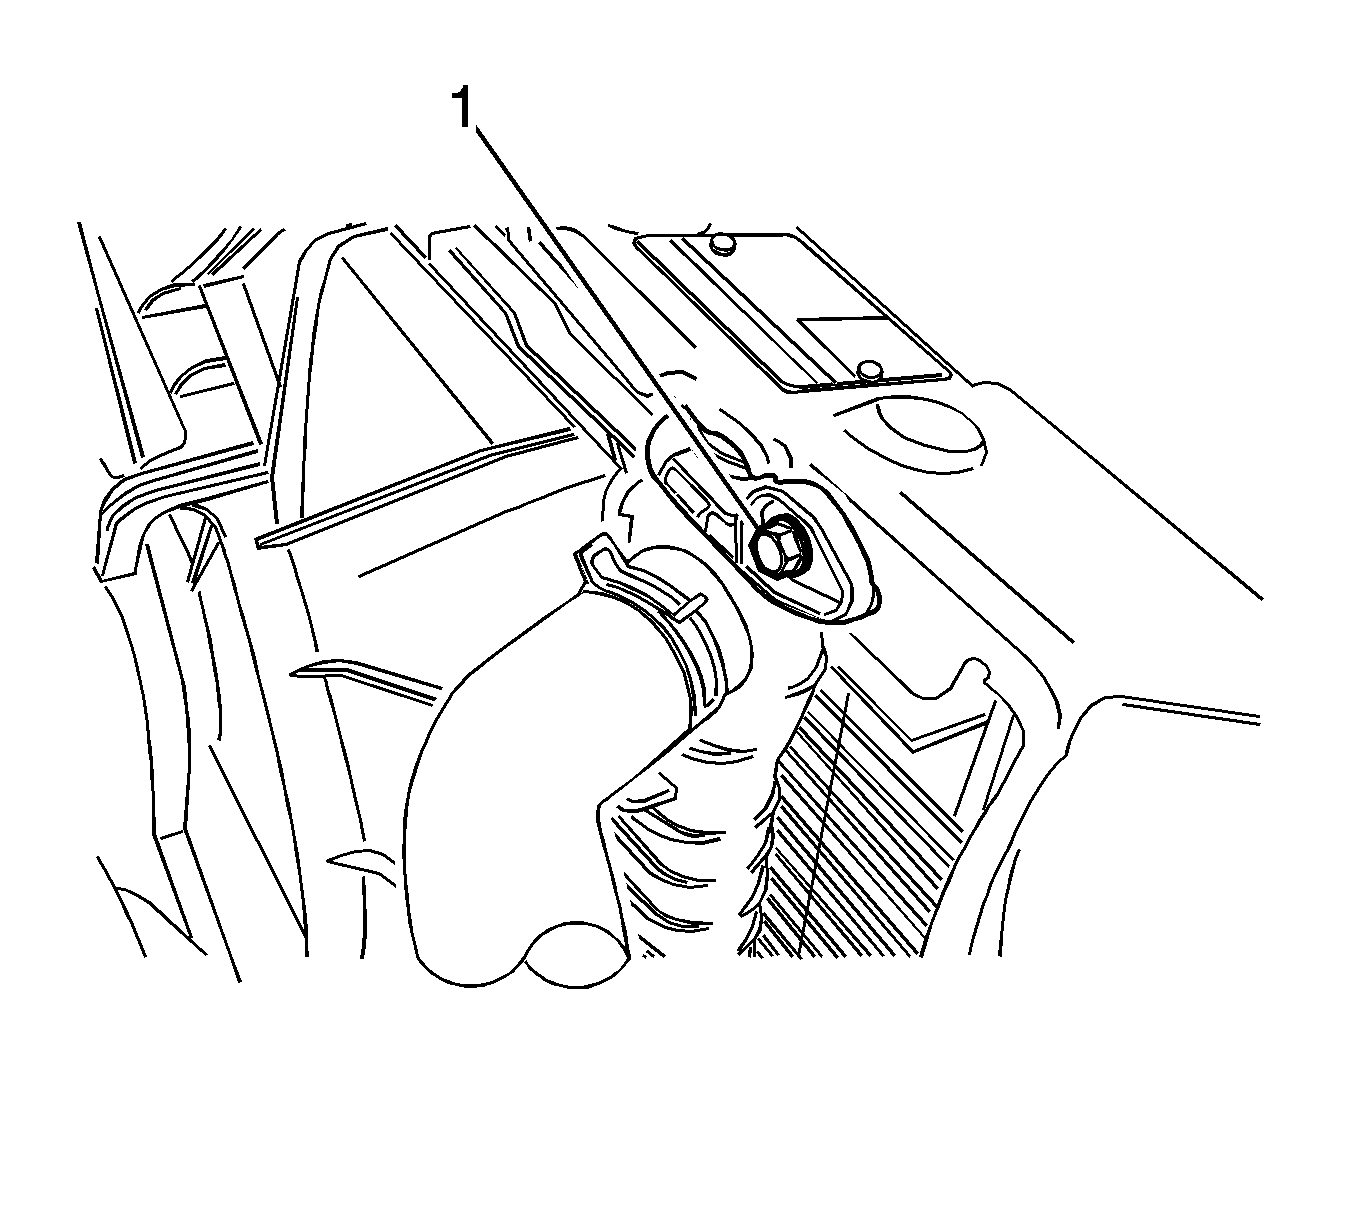
- Remove the left upper radiator retaining bracket (1).
- Remove the right upper radiator retaining bracket (1).
- Remove the A/C gas. Refer to Refrigerant Recovery and Recharging.
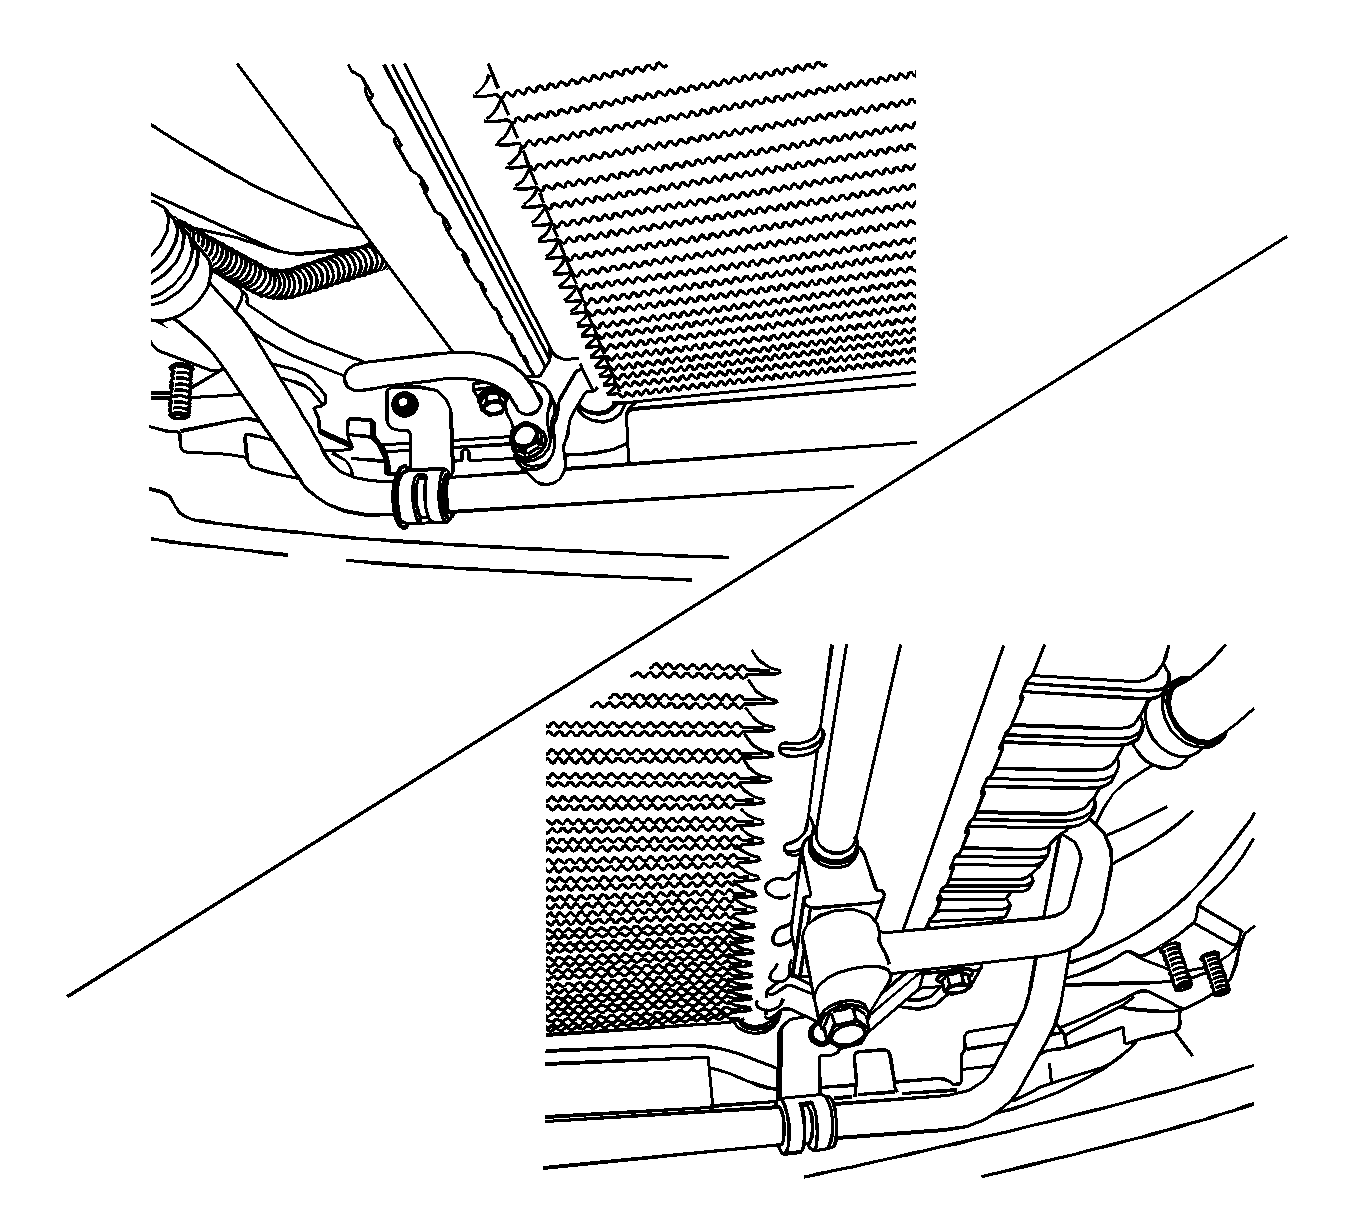
- Remove the high pressure pipe bolt from both sides of the A/C condenser. Refer to Refrigerant Recovery and Recharging.
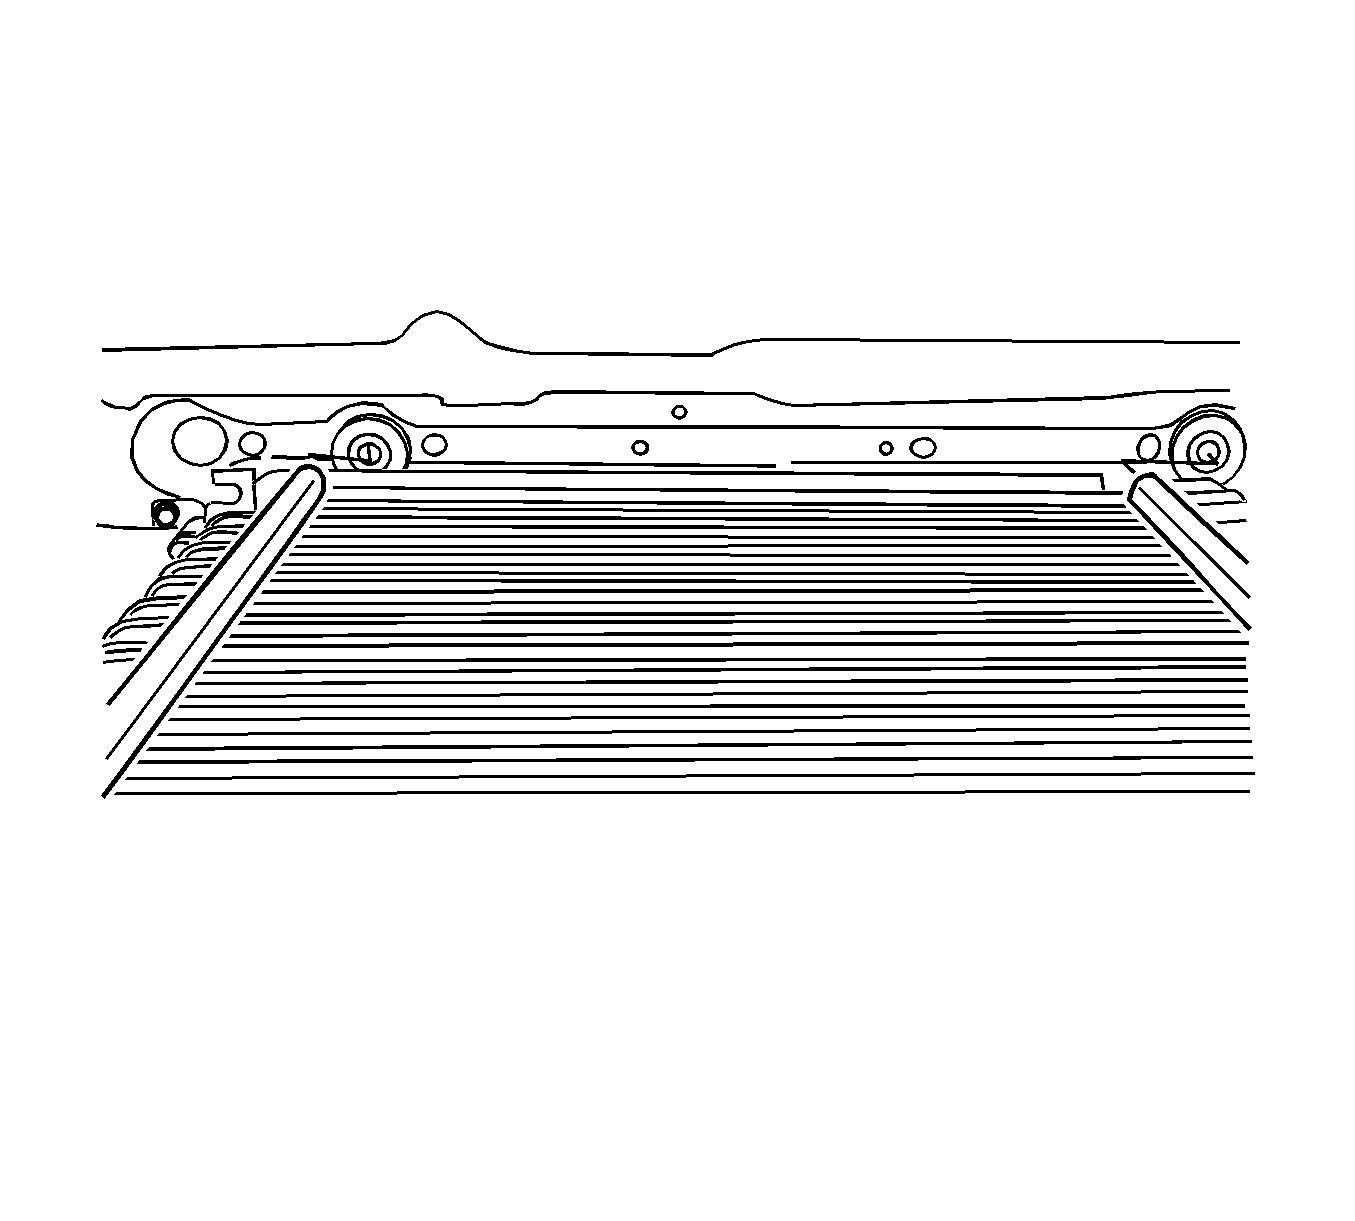
- Remove up the radiator from the vehicle with the A/C condenser.
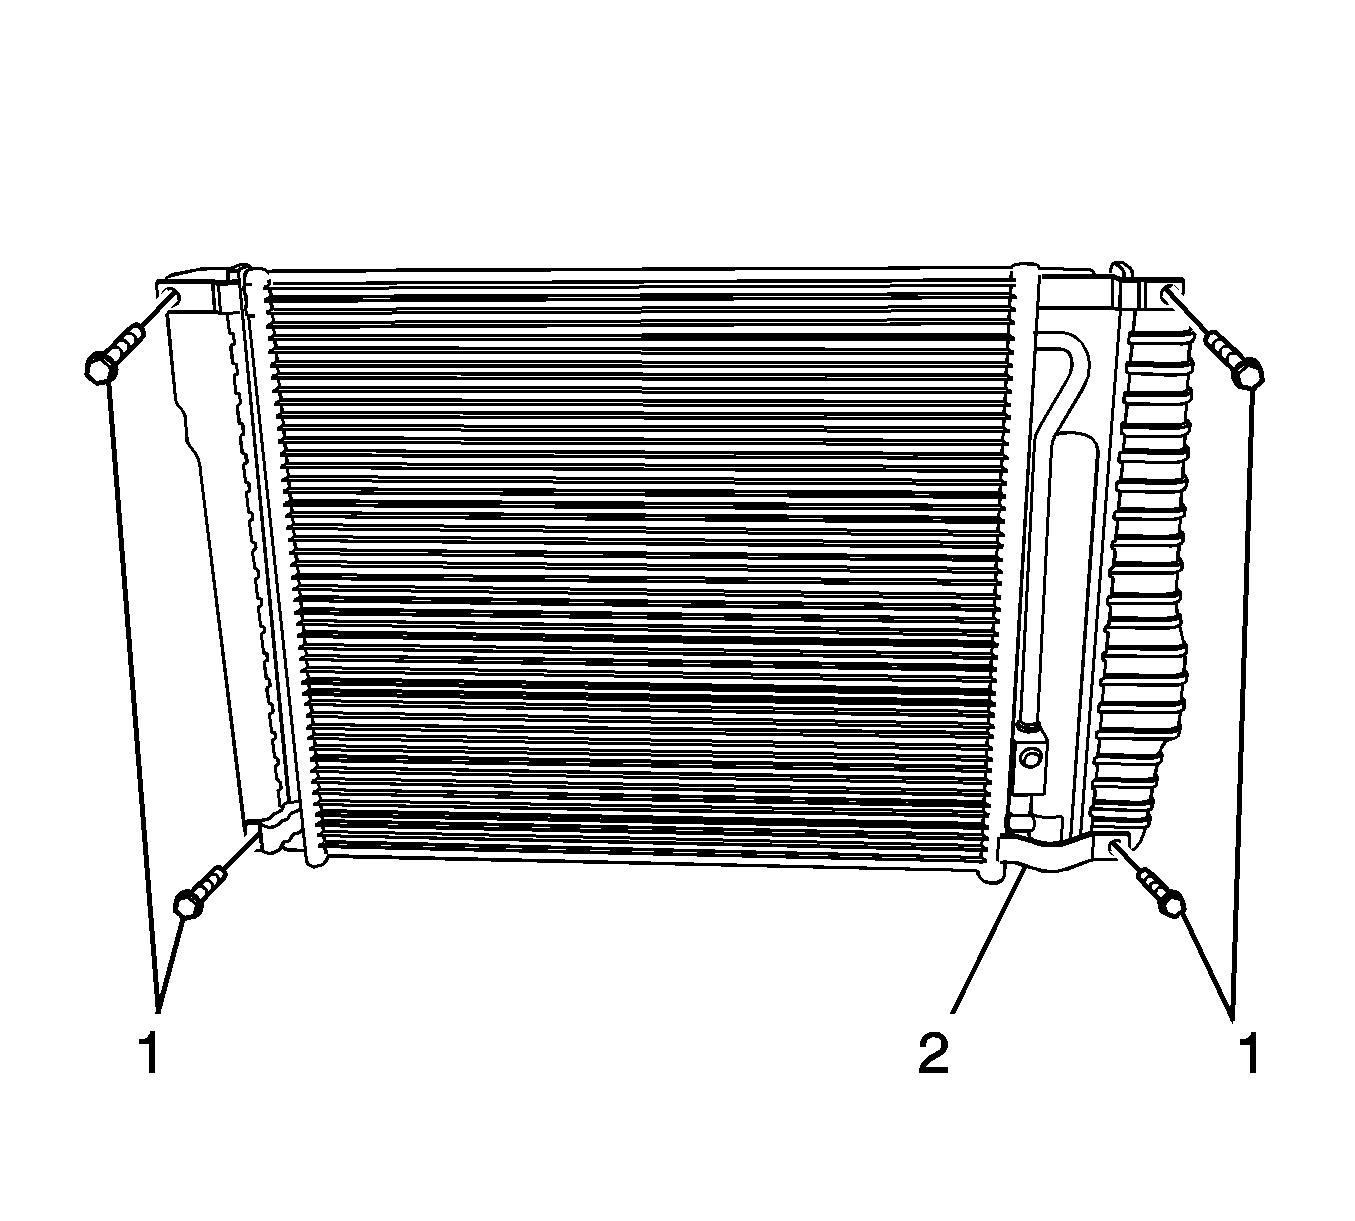
- Remove the A/C condenser retaining bolts (1) and clips (2) from the radiator.
Warning: Refer to Radiator Cap Removal Warning in the Preface section.
Installation Procedure
- Install the A/C condenser to the radiator. Secure with clips (2) and bolts (1)..
- Install the radiator with the A/C condenser.
- Install the high pressure pipe bolt from both sides of the A/C condenser.
- Refill the A/C gas. Refer to Refrigerant Recovery and Recharging.
- Install the right upper radiator retaining bracket.
- Install the left upper radiator retaining bracket.
- Install the return hose from the surge tank at the radiator.
- Connect the lower radiator hose from the radiator.
- Connect the upper cooling fan hose from the radiator.
- Install the electric cooling fan. Refer to Engine Coolant Fan Replacement.
- Refill the engine cooling system. Refer to Cooling System Draining and Filling.
- Install the power steering oil tank. Refer to Power Steering Fluid Reservoir Replacement.
- Connect the negative battery cable. Refer to Battery Negative Cable Disconnection and Connection.


Caution: Refer to Fastener Caution in the Preface section.

Tighten
Tighten the upper right radiator retaining bracket bolt (1) to 10 N·m (89 lb in).

Tighten
Tighten the left radiator retaining bracket bolt (1) to 10 N·m (89 lb in).

Radiator Replacement 1.4L/1.5L/1.6L
Removal Procedure
- Disconnect the battery negative cable. Refer to Battery Negative Cable Disconnection and Connection.
- Drain the engine cooling system. Refer to Cooling System Draining and Filling.
- Remove the electric cooling fans. Refer to Engine Coolant Fan Replacement.
- Remove the upper radiator hose clamp.
- Disconnect the upper radiator hose from the radiator.
- Disconnect the lower radiator hose from the radiator.
- Remove the lower radiator hose clamp.
- Remove the hose clamp from the surge tank hose at the radiator.
- Disconnect the surge tank hose from the radiator.
- Remove the left upper radiator retaining bolt.
- Remove the left upper radiator retaining bracket.
- Remove the right upper radiator retaining bolt.
- Remove the right upper radiator retaining bracket.
- Remove the radiator from the vehicle.
Warning: Refer to Battery Disconnect Warning in the Preface section.
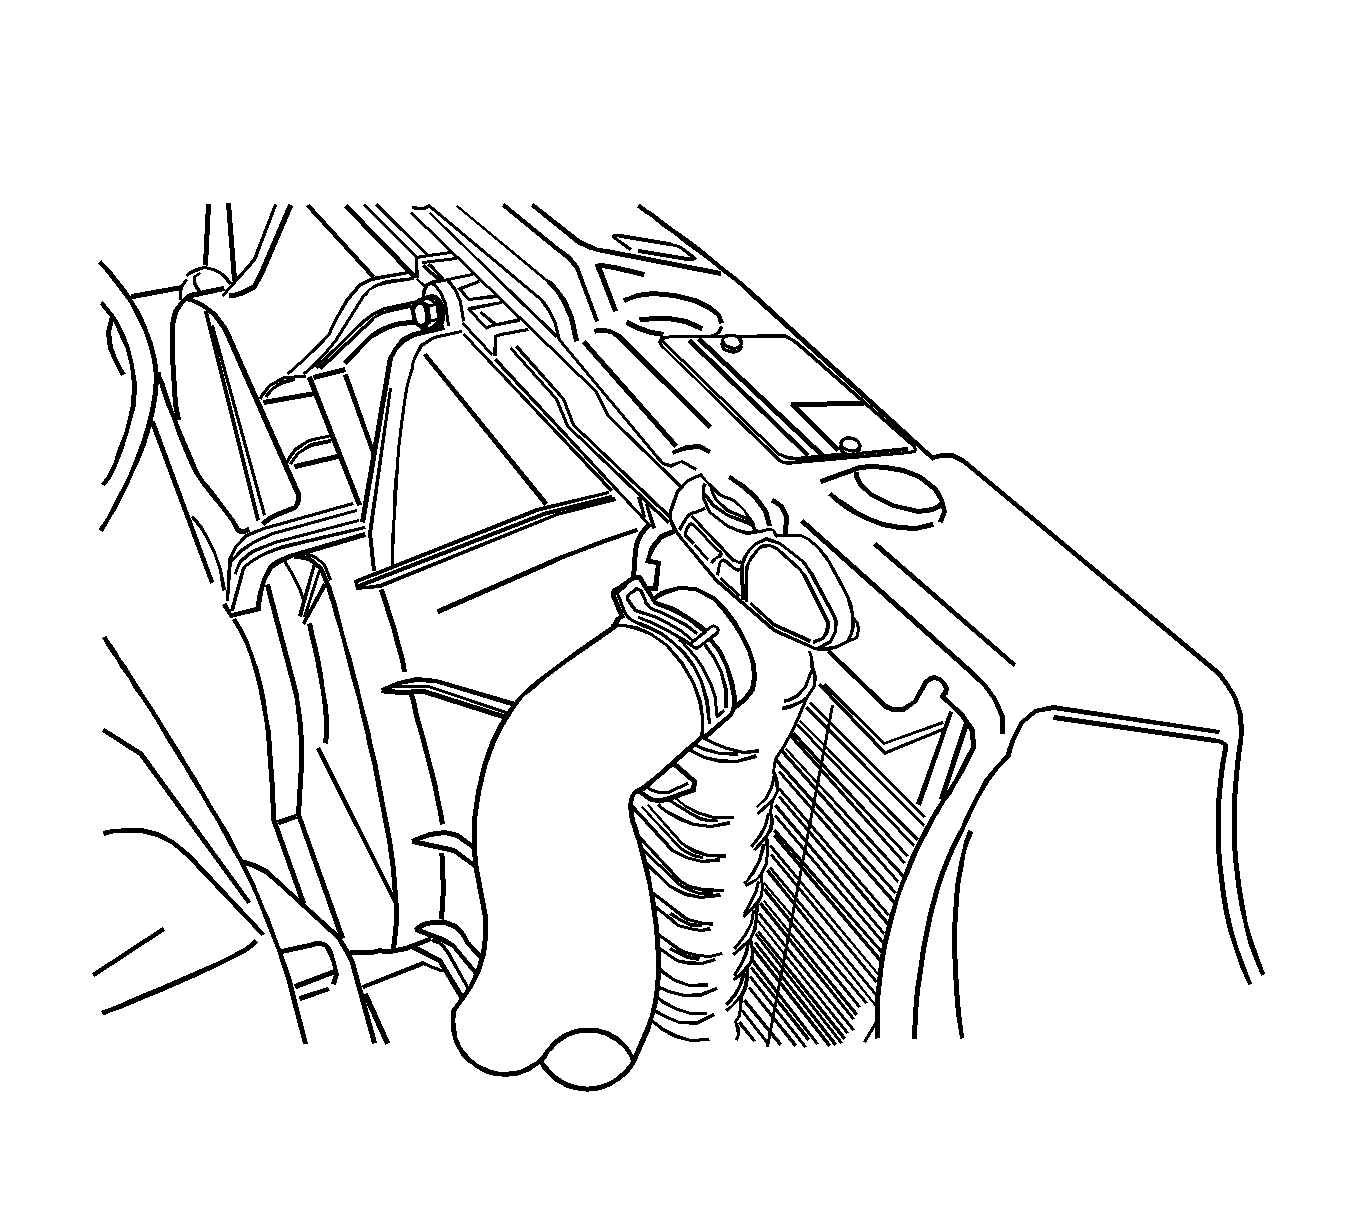
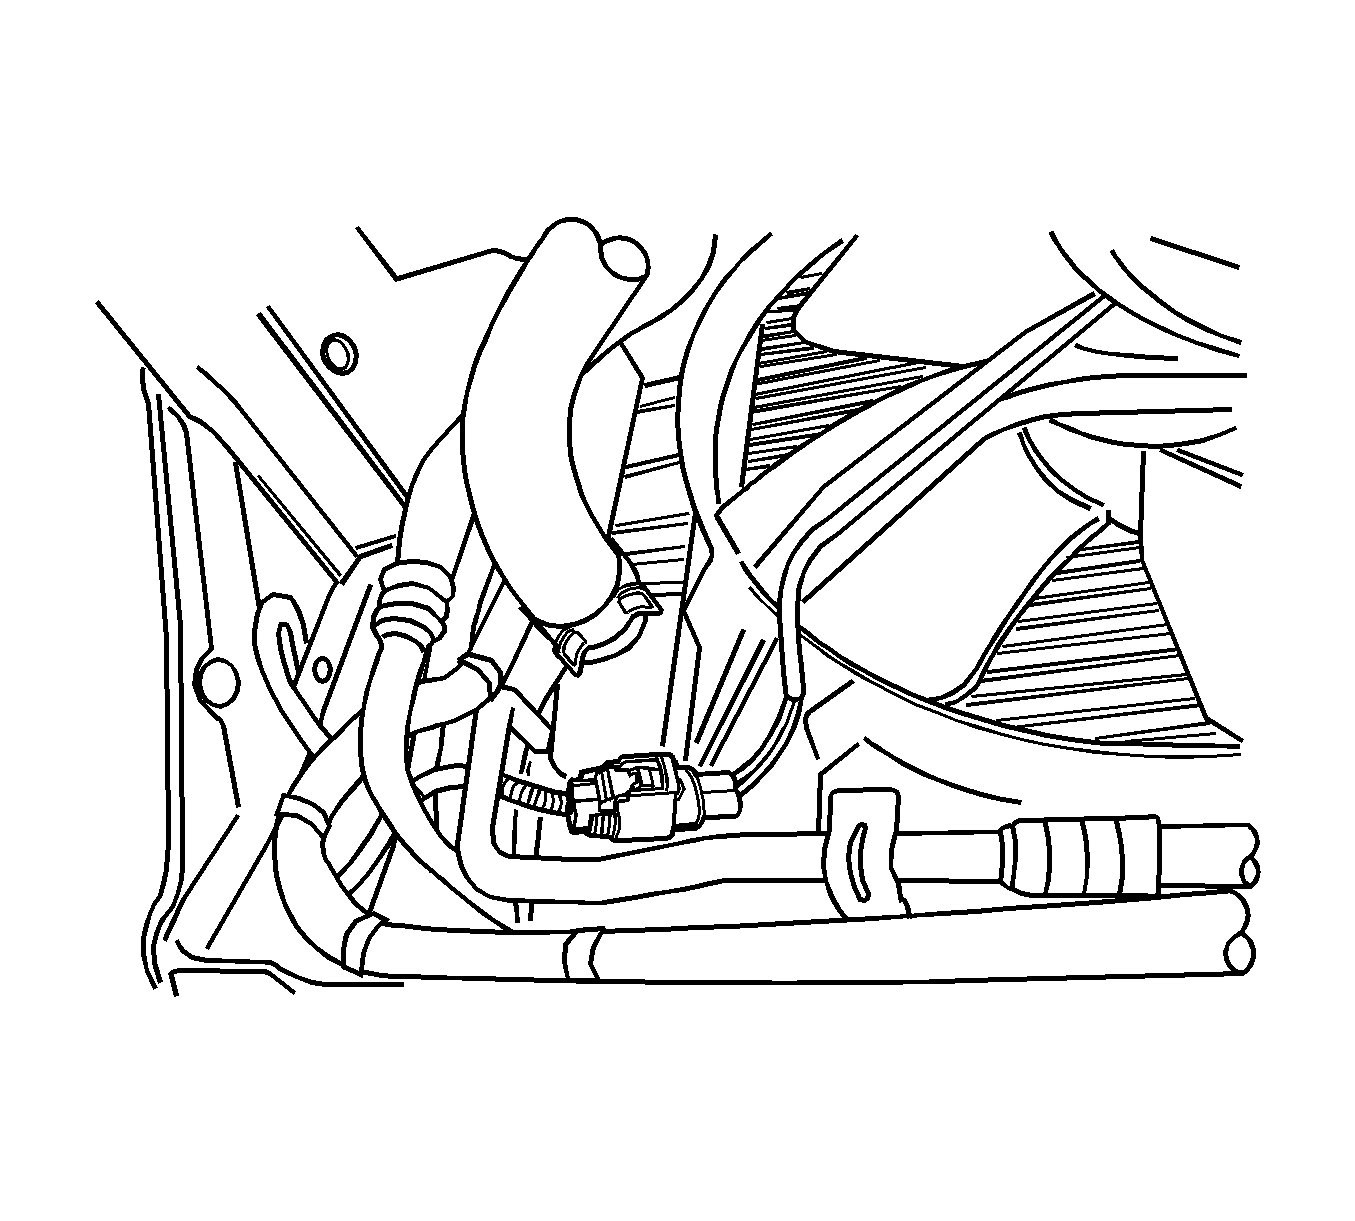
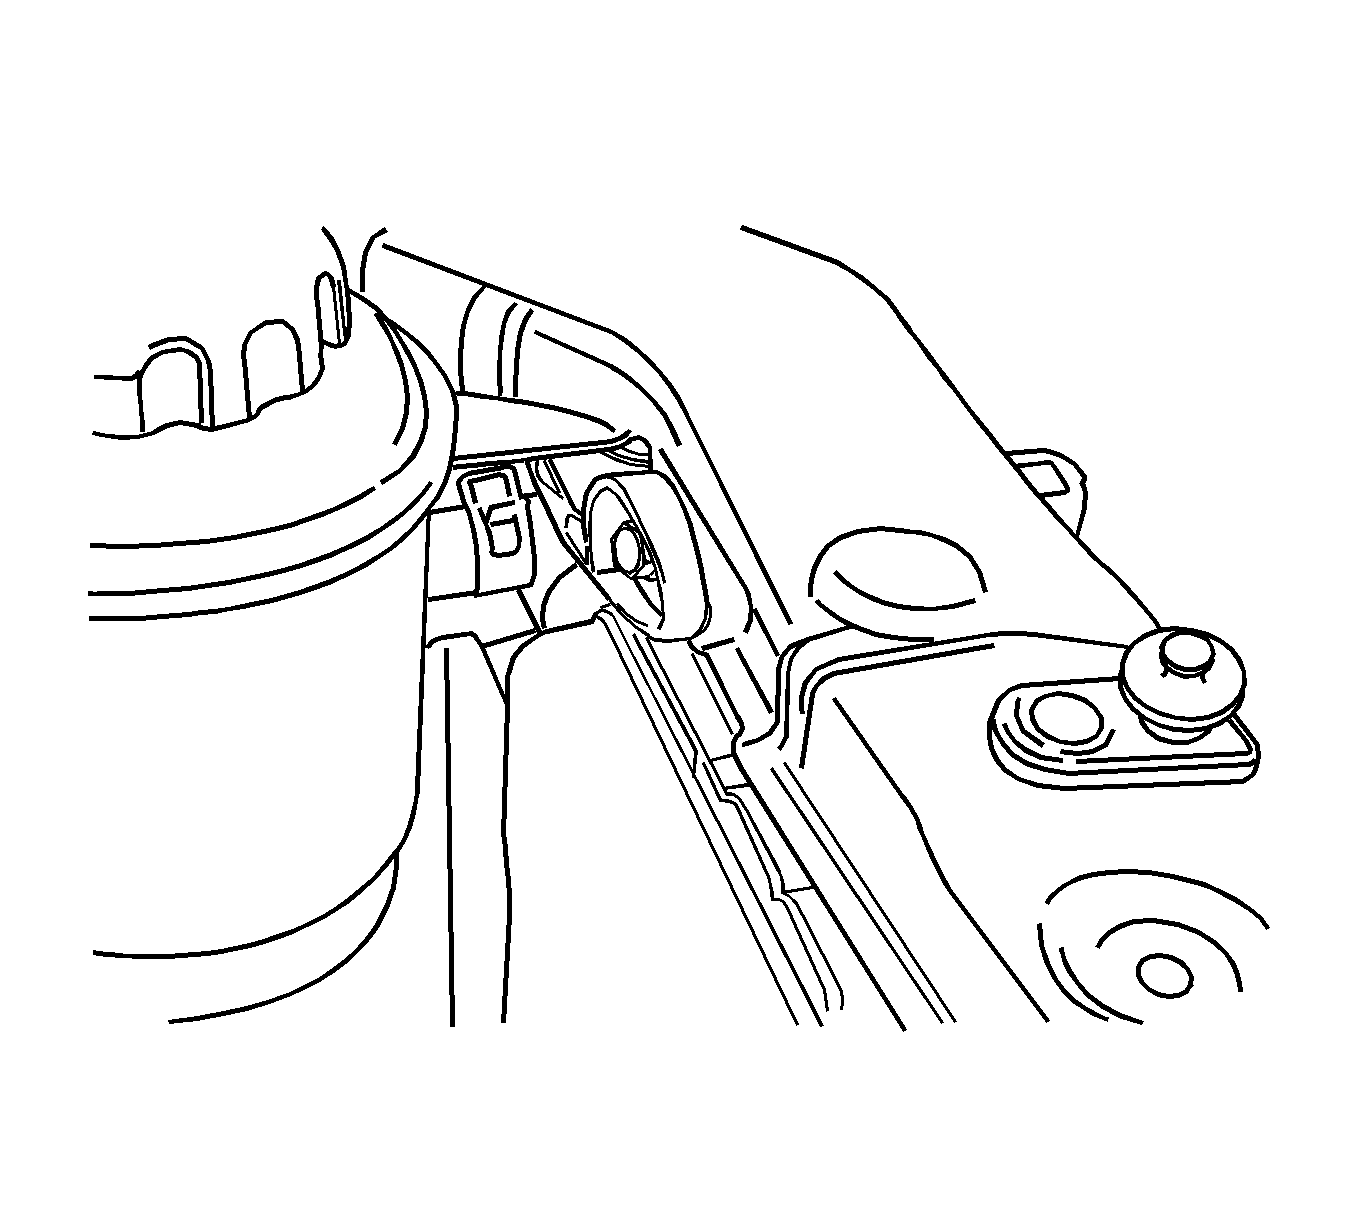
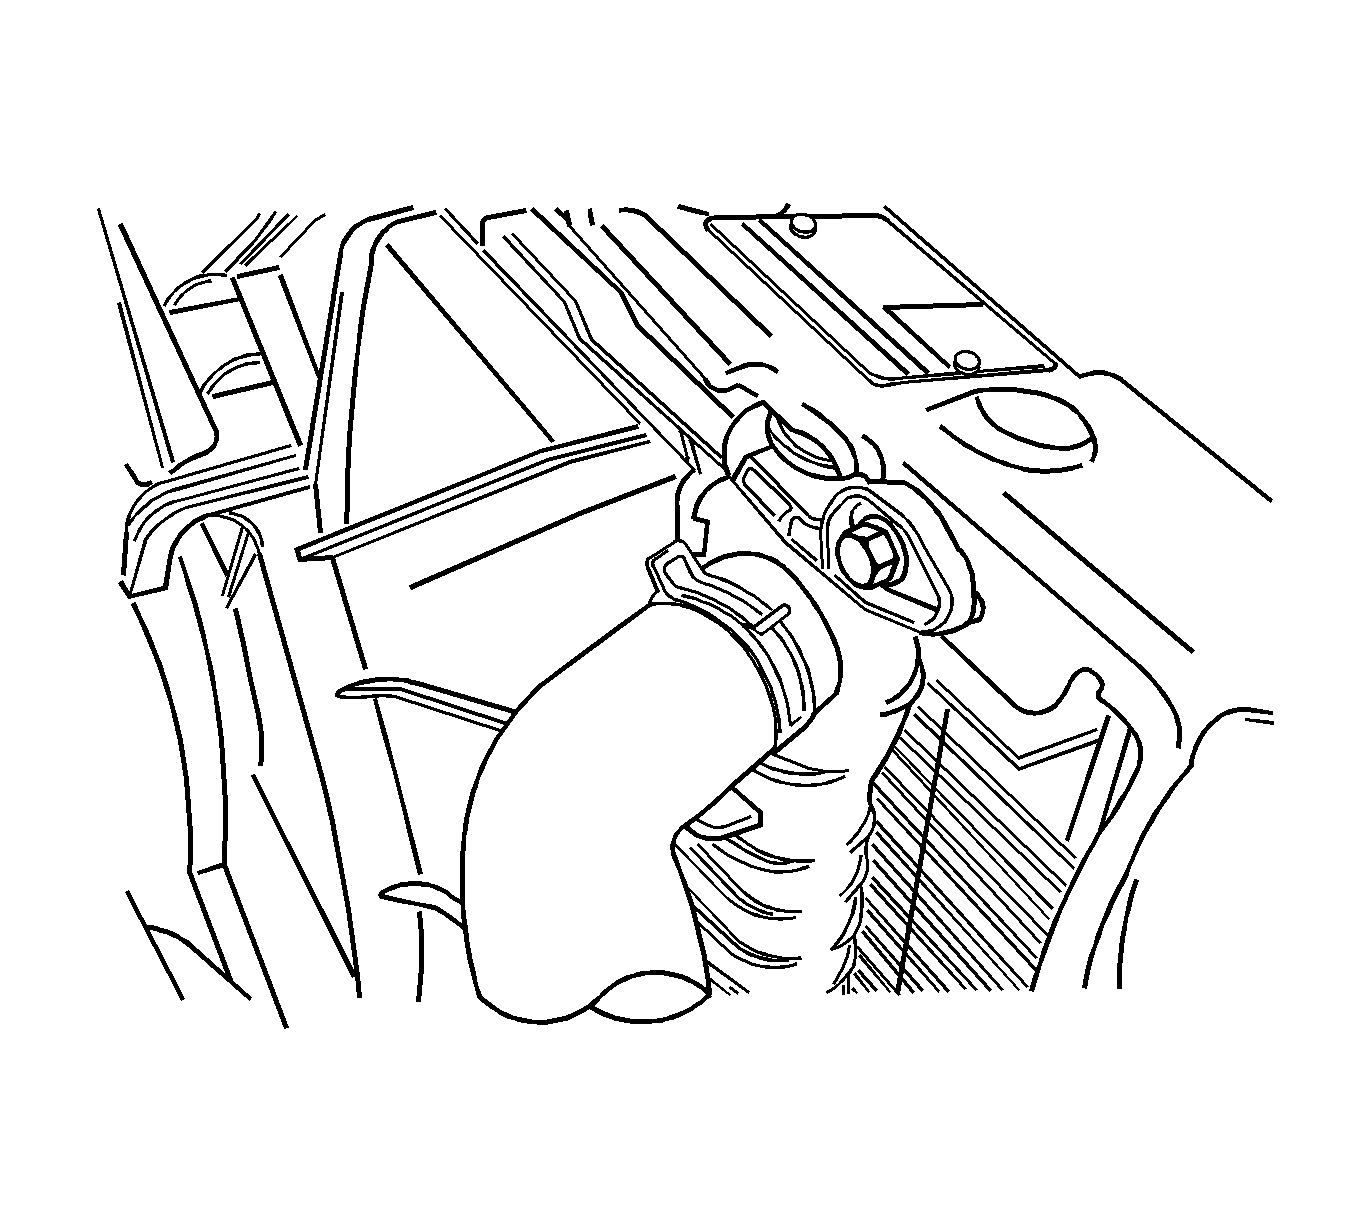
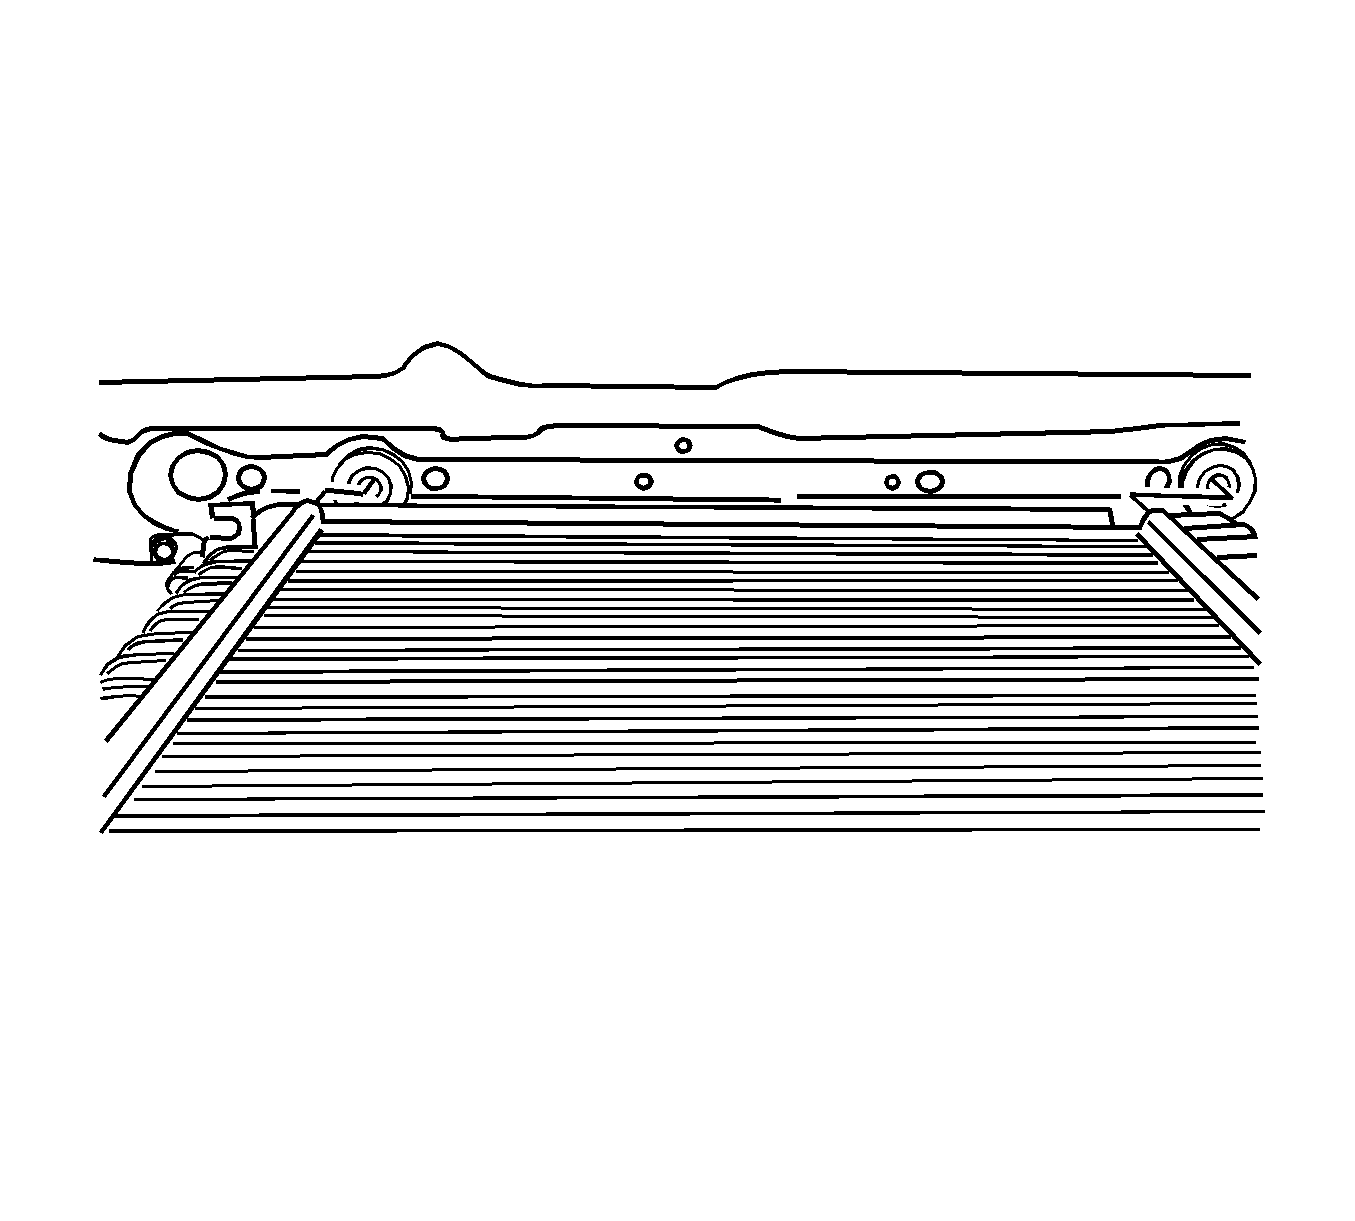
Note: The radiator still contains a substantial amount of coolant. Drain the remainder of the coolant from the radiator into a drain pan.
Installation Procedure
- Set the radiator into place in the vehicle with the radiator bottom posts in the rubber shock bumpers.
- Position the radiator retainers in place.
- Install the upper right radiator retaining bracket.
- Install the upper right radiator retaining bolt and tighten to 7 N·m (62 lb in).
- Install the upper left radiator retaining bracket.
- Install the upper left radiator retaining bolt and tighten to 7 N·m (62 lb in).
- Connect the surge tank hose to the radiator.
- Secure the surge tank hose with a hose clamp.
- Connect the upper radiator hose and the lower radiator hose to the radiator.
- Secure each hose with a hose clamp.
- Install the electric cooling fans. Refer to Engine Coolant Fan Replacement.
- Refill the engine cooling system. Refer to Cooling System Draining and Filling.
- Connect the battery negative cable. Refer to Battery Negative Cable Disconnection and Connection.


Caution: Refer to Fastener Caution in the Preface section.

