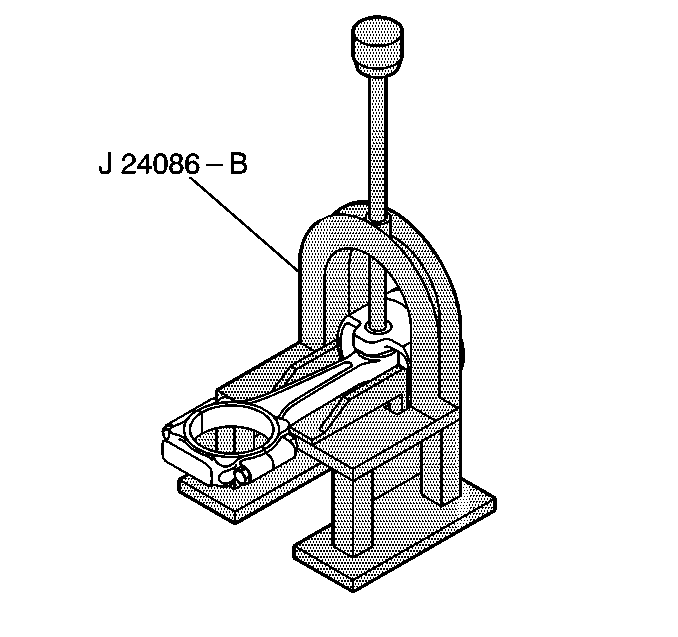
Tool Required
J 24086-C Piston
Pin Remover/Installer Set
- Remove the piston and the connecting rod assemblies. Refer to
Piston and Connecting Rod Removal.

- Remove the piston rings.
| • | Use a suitable tool in order to expand the piston rings. |
| • | Do not reuse the piston rings. |
- Remove the piston from the connecting rod.
| 3.1. | Place the piston/connecting rod assembly inJ 24086-C
. |
| 3.2. | Press out the piston pin. |
- Remove the connecting rod bolts from the connecting rod.
Caution: Worn piston rings are sharp. These rings may cause injury during disassembly
of the pistons.
Caution: Do not inhale the fumes from the carburetor cleaning fluid. Do not expose
any body part to the carburetor cleaning fluid.
- Clean the piston.
| • | Do not scrape the piston skirt. |
| • | Clean the piston ring grooves down to the bare metal. |
- Clean the piston pin. In order to clean the piston pin, soak the
piston pin in a carburetor cleaning solution. This will remove any varnish
from the piston pin.
- Clean the connecting rod.
- Inspect the piston and the connecting rod assemblies for bending
and twisting.
| 8.1. | Install the connecting rod cap. Tighten the connecting rod cap
to 35 N·m (26 lb ft). |
| 8.2. | Place the connecting rod assembly on a checking fixture. This
will check the connecting rod for bending or twisting. |
| 8.3. | Replace the connecting rod if the connecting rod is bent or twisted. |
| 8.4. | Check new connecting rod for bending or twisting. |
- Inspect the outside of the connecting rod bearing. Inspect the
I.D. of the connecting rod lower end. Any sign of wear indicates high spots
in the connecting rod lower end.
- Inspect the piston pin for the following conditions:
| • | Galling (caused by improper installation) |
| • | Correct fit in the connecting rod and piston. |
- Inspect the piston for the following conditions:
Important: Mount the piston on the connecting rod correctly. Make sure that the
mark on the piston that points toward the front of the engine is aligned with
the side of the connecting rod that faces the front of the engine.

- Place the piston and the connecting rod inJ 24086-C
.
- Adjust the plunger of the fixture.
- Coat the piston pin with clean engine oil.
- Press the piston pin into place.
- Inspect the piston. Make sure that the piston moves freely.
- Install the oil control ring assembly.
| 17.1. | Install the expander. |
| 17.2. | Install the lower oil control ring. |
| 17.3. | Install the upper oil control ring. |
Notice: Use a piston ring expander in order to install the piston rings. Do
not expand the piston rings any more than necessary.
- Install the lower compression ring. The mark of the manufacturer must
face up.
Important: Stagger the piston ring gaps when you install the piston rings. This
provides an effective ring compression seal.
- Install the upper compression ring. The mark of the manufacturer must
face up.
- Install the oil control ring assembly.
| 20.1. | Install the expander. |
| 20.2. | Install the lower oil control ring. |
| 20.3. | Install the upper oil control ring. |
Notice: Use a piston ring expander in order to install the piston rings. Do
not expand the piston rings any more than necessary.
- Install the lower compression ring. The mark of the manufacturer must
face up.


