For 1990-2009 cars only
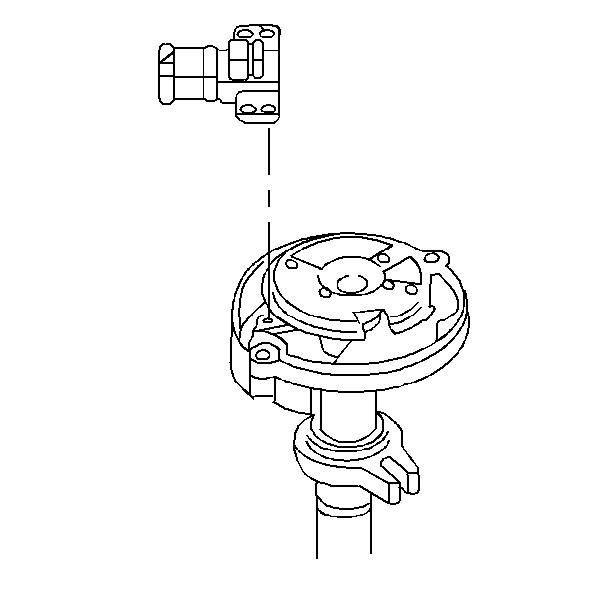
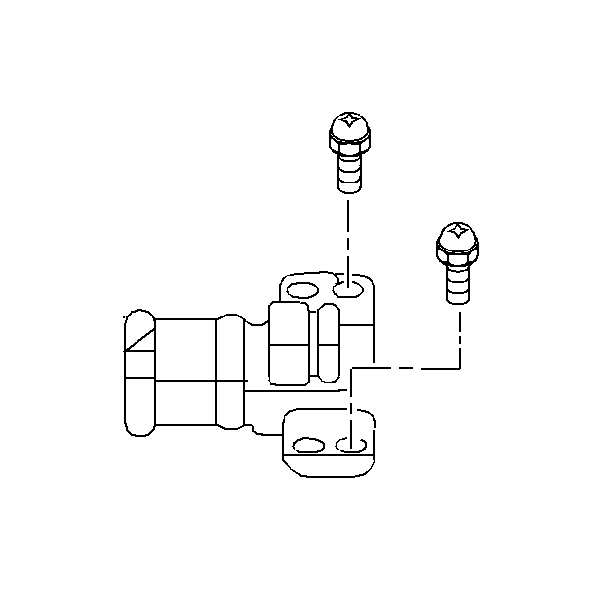
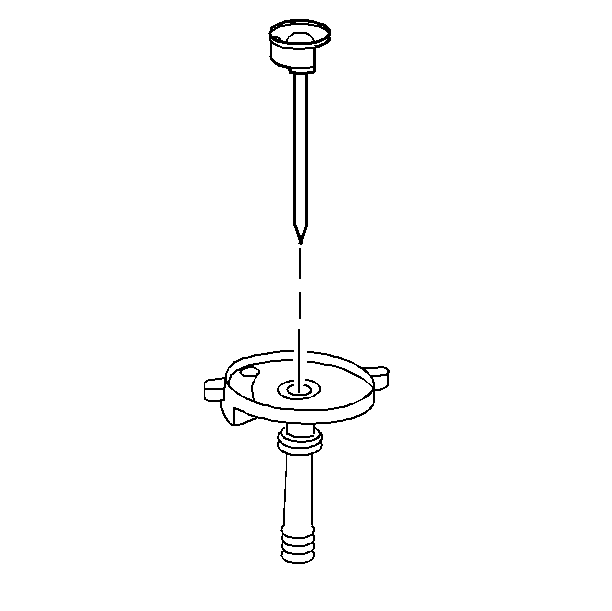
- Install the Hall Effect switch.
- Install the two screws holding the hall effect switch. Do not overtighten, as the plastic base may strip.
- Lubricate the lower distributor housing bushing with a few drops of clean engine oil.
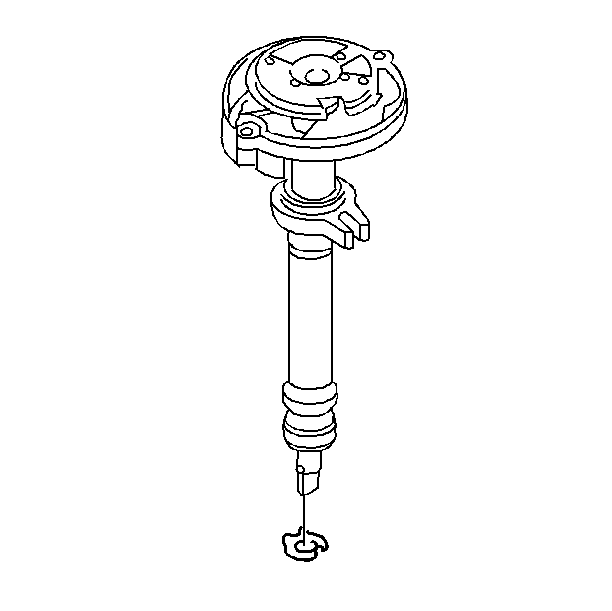
- Install the distributor shaft into the distributor housing.
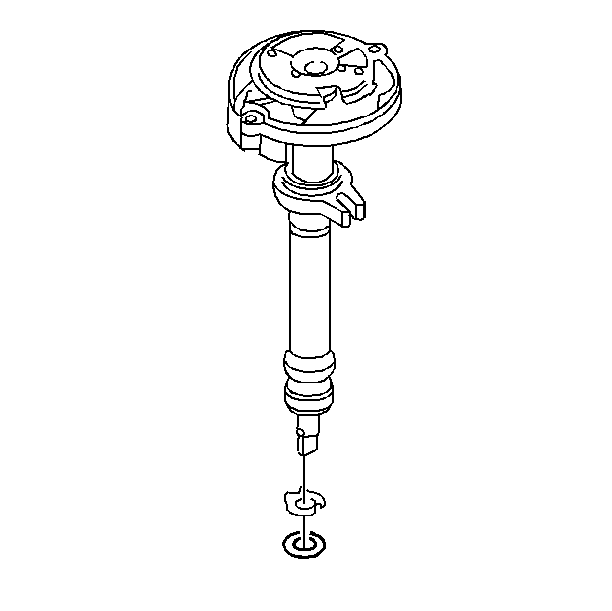
- Install the tang washer over the bottom of the distributor shaft.
- Install the round washer.
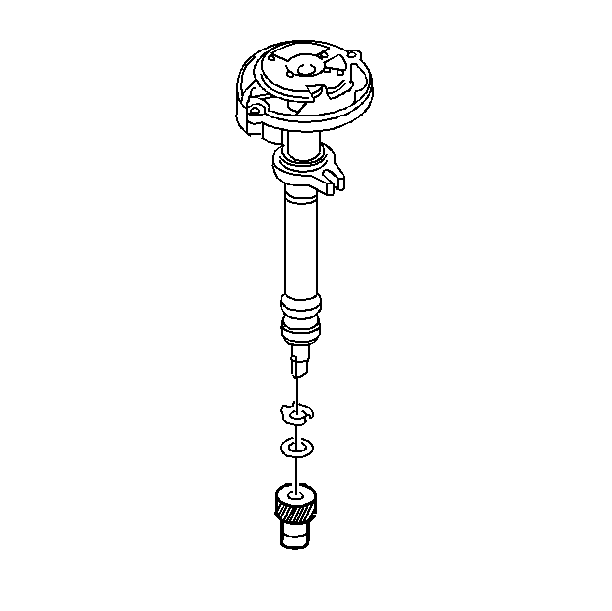
- Install the driven gear according to the index marks.
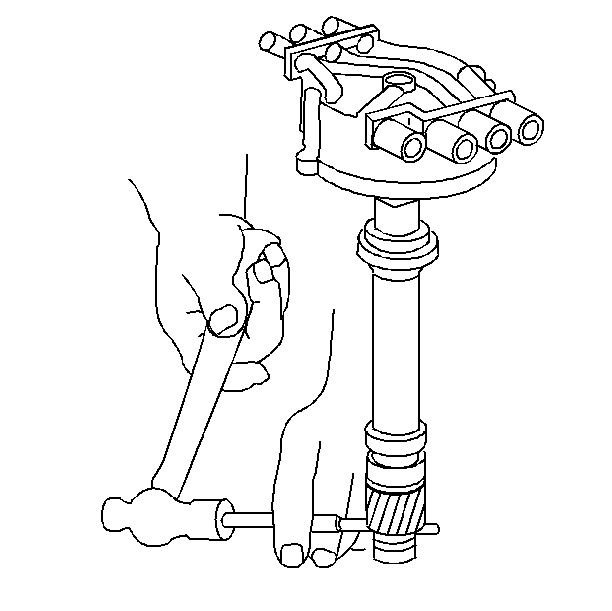
- Align the driven gear roll pin, the pre-drilled indent hole, and the arrow cast into the distributor housing.
- Install the roll pin to hold the driven gear in the correct position. Wear safety goggles.
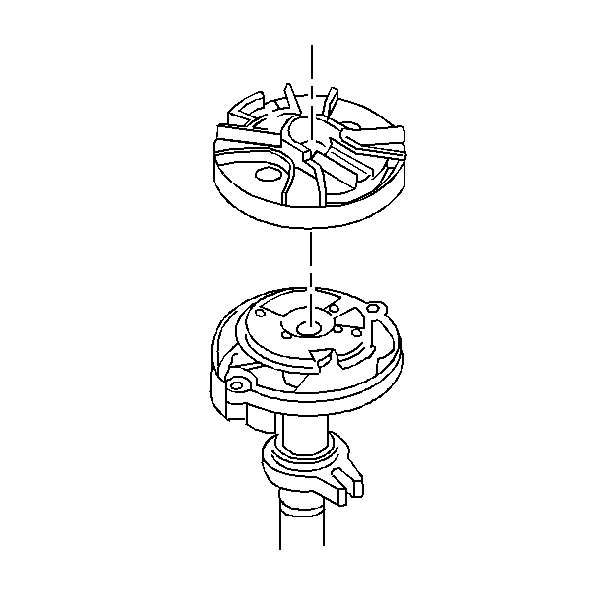
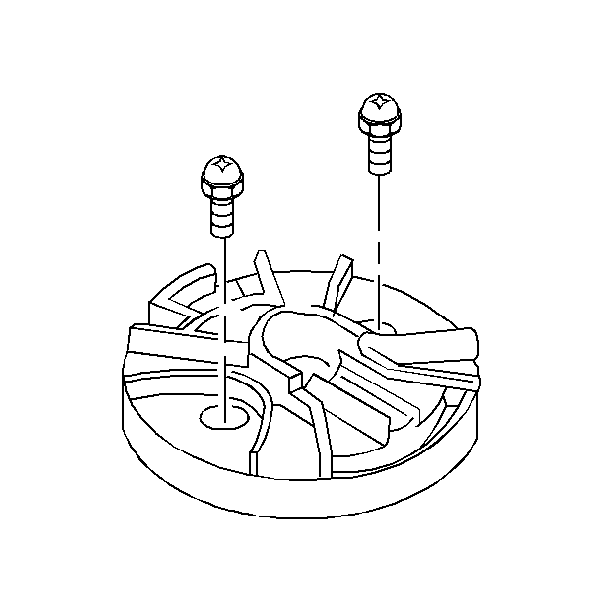
- Install the rotor according to the index marks.
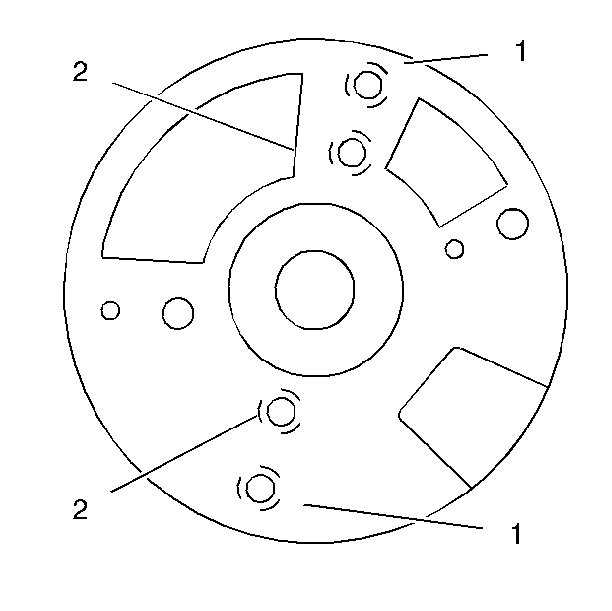
- As shown, the number 2 is the rotor mounting holes and the number 1 is the locating holes.
- Install the two rotor hold down screws.
- Install the distributor in the engine, with the cap off, refer to Distributor Installation .
- Install the bolt in the hold down lug.
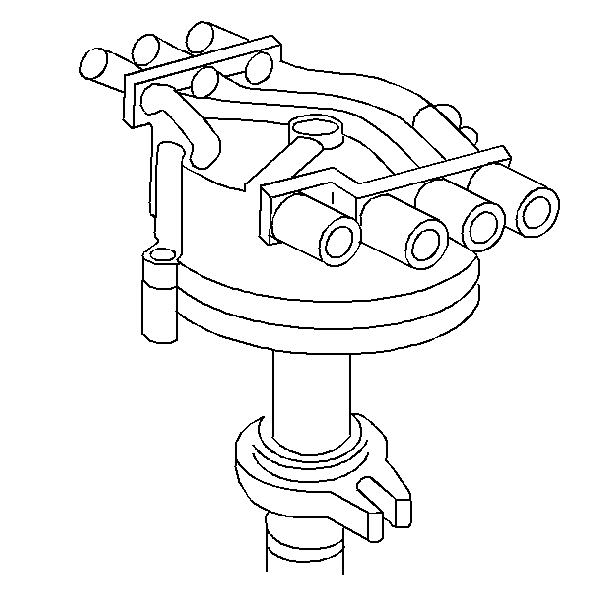
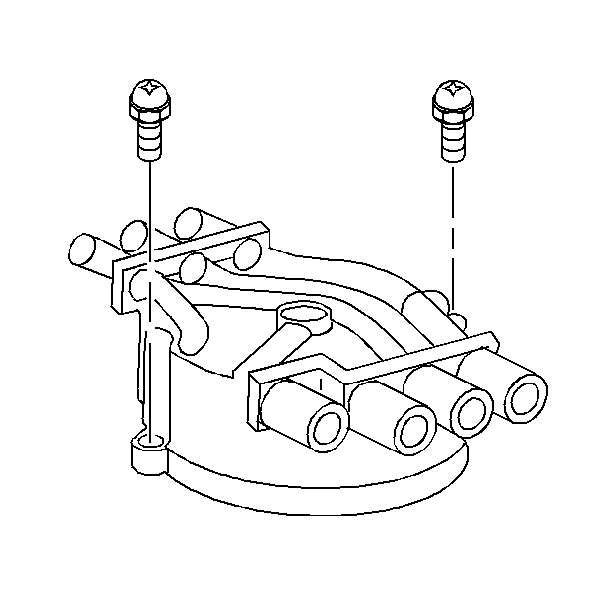
- Install the distributor cap.
- Connect the cap to the housing with the two screws.
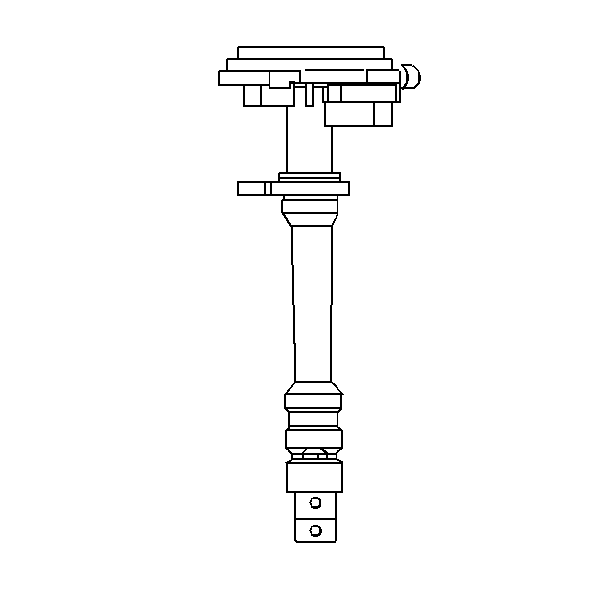
| • | The alignment will not be exact. |
| • | If the driven gear is installed incorrectly, the dimple will be approximately 180 degrees opposite the rotor segment when it is installed in the distributor. |
| • | Installing the driven gear 180 degrees off, or locating the rotor in the wrong holes, may cause a no start condition. |
| • | Also premature wear and damage may result. |
Tighten
Tighten the screws to 2.5 N·m (25 lb in).
Notice: Use the correct fastener in the correct location. Replacement fasteners must be the correct part number for that application. Fasteners requiring replacement or fasteners requiring the use of thread locking compound or sealant are identified in the service procedure. Do not use paints, lubricants, or corrosion inhibitors on fasteners or fastener joint surfaces unless specified. These coatings affect fastener torque and joint clamping force and may damage the fastener. Use the correct tightening sequence and specifications when installing fasteners in order to avoid damage to parts and systems.
Tighten
Tighten the bolt to 27 N·m (20 lb ft).
