For 1990-2009 cars only
- Remove the crankshaft rear oil seal. Refer to Crankshaft Rear Oil Seal Removal.
- Remove the engine oil pan. Refer to Oil Pan Removal.
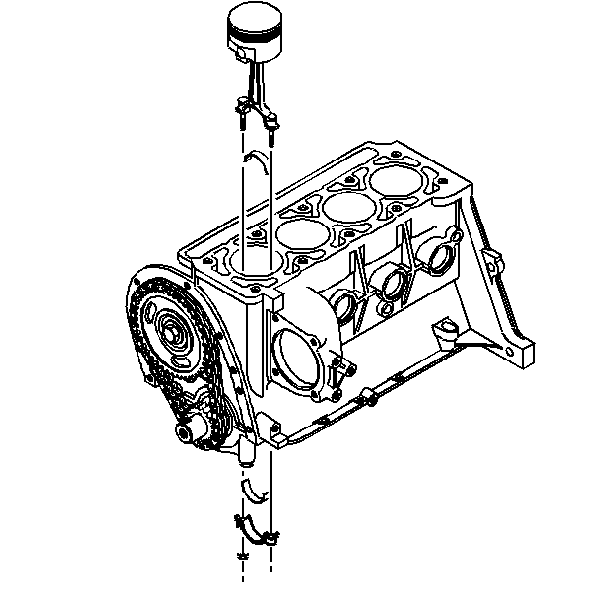
- Mark the connecting rod caps in order to correctly reassemble the connecting rods.
- Turn the crankshaft to bottom dead center.
- Remove the connecting rod nuts and caps.
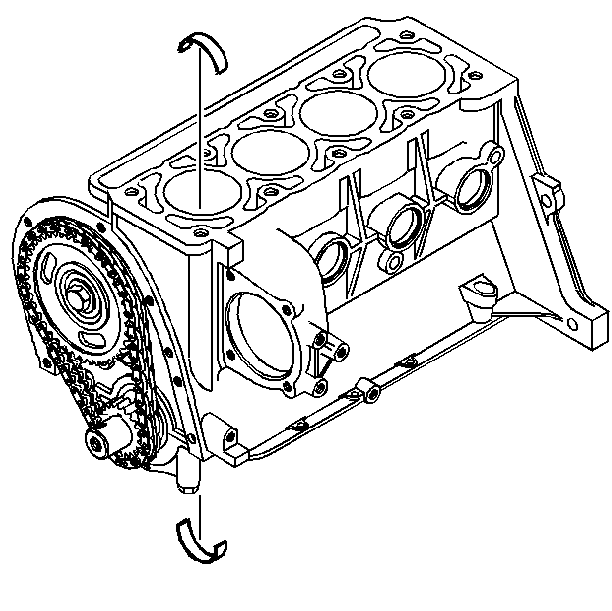
- Remove the connecting rod bearings.
- Install a 3/8" piece of fuel or vacuum hose over the connecting rod bolts in order to avoid damage to the crankshaft journals.
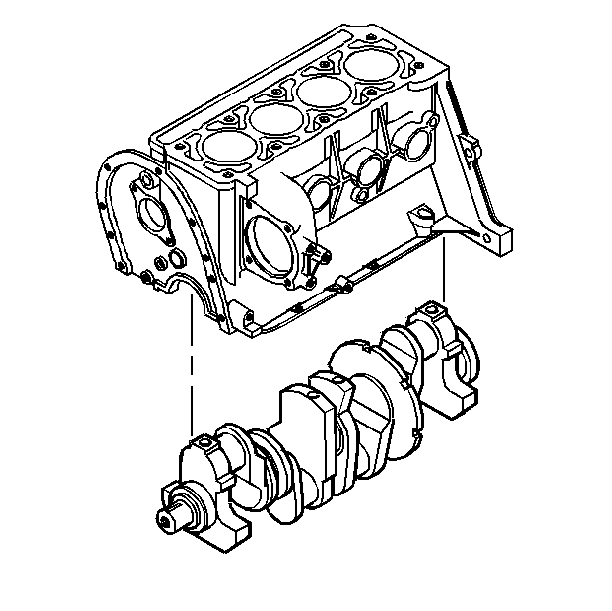
- Remove the main bearing caps and remove the main bearings. Mark the main bearing caps in order to insure that they are installed in the same place from which they were removed.
- Remove the crankshaft.
- Clean the crankshaft.
- Inspect the keyway and the threads in the front of the crankshaft and the threads in the flywheel bolt holes.
- Inspect the bearing journals and inspect the thrust surfaces for the following items:
- Use a micrometer in order to measure the crankshaft taper. If the crankshaft taper is not within specifications, replace the crankshaft. Refer to Engine Mechanical Specifications.
- Measure the crankshaft runout. If the crankshaft runout is not within specifications, replace the crankshaft. Refer to Engine Mechanical Specifications.


Clean any obstructions from the oil passages on the crankshaft.
| • | Wear |
| • | Cracks |
| • | Chips (Replace the crankshaft if the crankshaft is chipped) |
| • | Gouges (Replace the crankshaft if the crankshaft is gouged) |
| • | Roughness |
| • | Grooves |
| • | Discoloration due to overheating (Replace the crankshaft if the crankshaft is discolored) |
