Removal Procedure
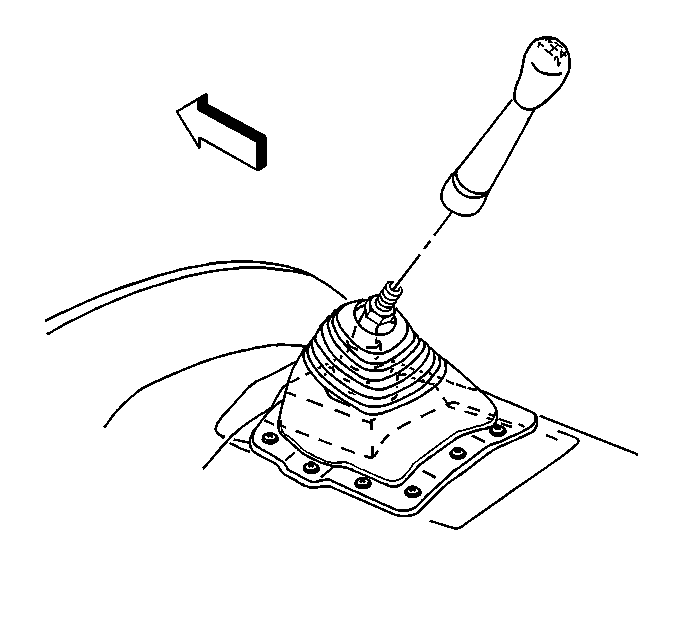
- Remove the shift lever. Refer to Shift Lever Replacement .
- Raise the vehicle. Refer to Lifting and Jacking the Vehicle in General Information.
- Place a suitable jack under the transmission.
- If equipped with a transfer case, remove the front propeller shaft. Refer to Front Propeller Shaft Replacement in Propeller Shaft.
- Remove the rear propeller shaft. Refer to One-Piece Propeller Shaft Replacement or to Two-Piece Propeller Shaft Replacement in Propeller Shaft.
- If equipped, remove the transfer case shields.
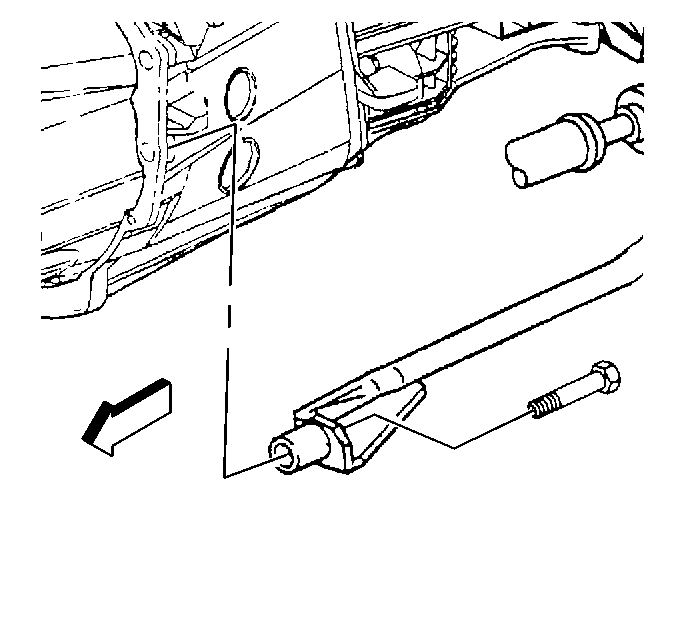
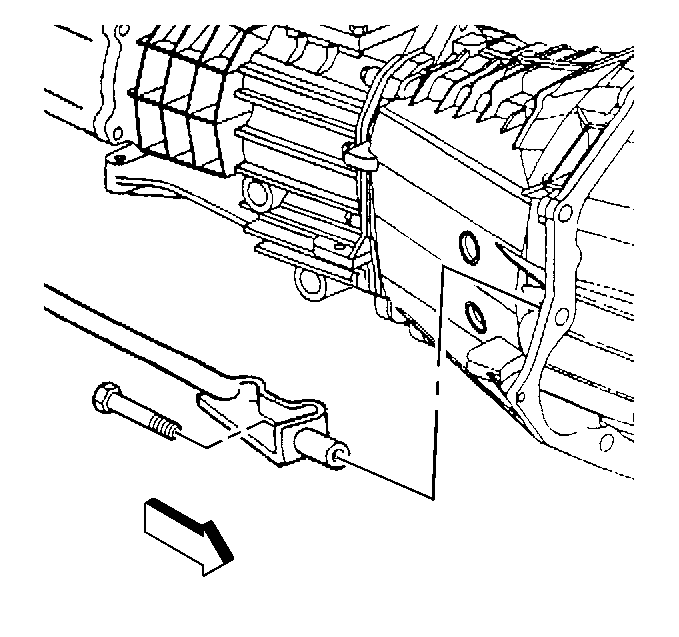
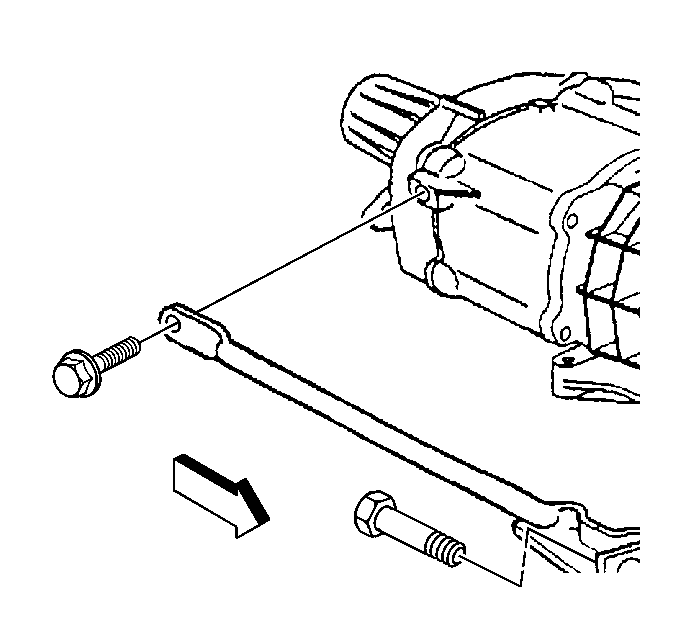
- If equipped, remove the bolt securing the left side brace to the transmission.
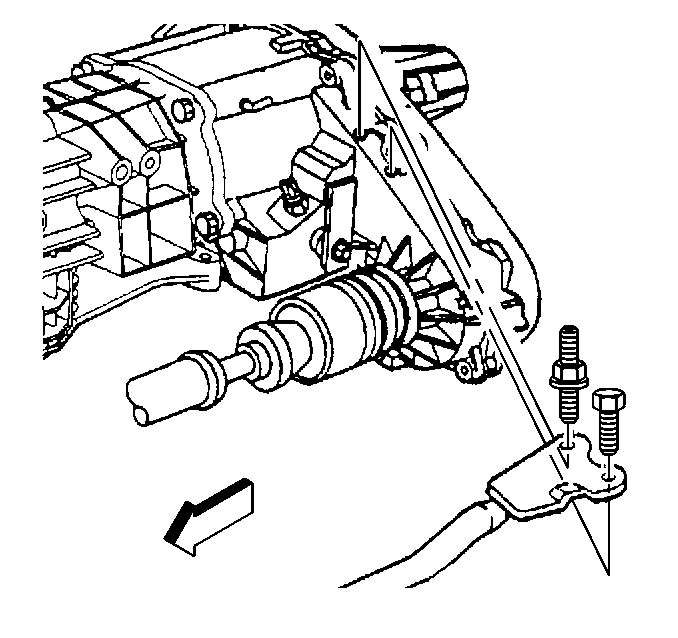
- If equipped, remove the bolt and stud securing the left side brace to the transfer case.
- If equipped, remove the bolt securing the right side brace to the transmission.
- If equipped, remove the bolt securing the right side brace to the transfer case.
- Remove the 2 rear transmission mount nuts.
- Remove the 4 crossmember bolts and nuts.
- Remove the transfer case, if equipped. Refer to Transfer Case Replacement in Transfer Case Replacement.
- Lower the transmission enough to gain access to the top of the transmission.
- Push the insulator up towards the panel from the transmission case to gain access to the shift tower bolts.
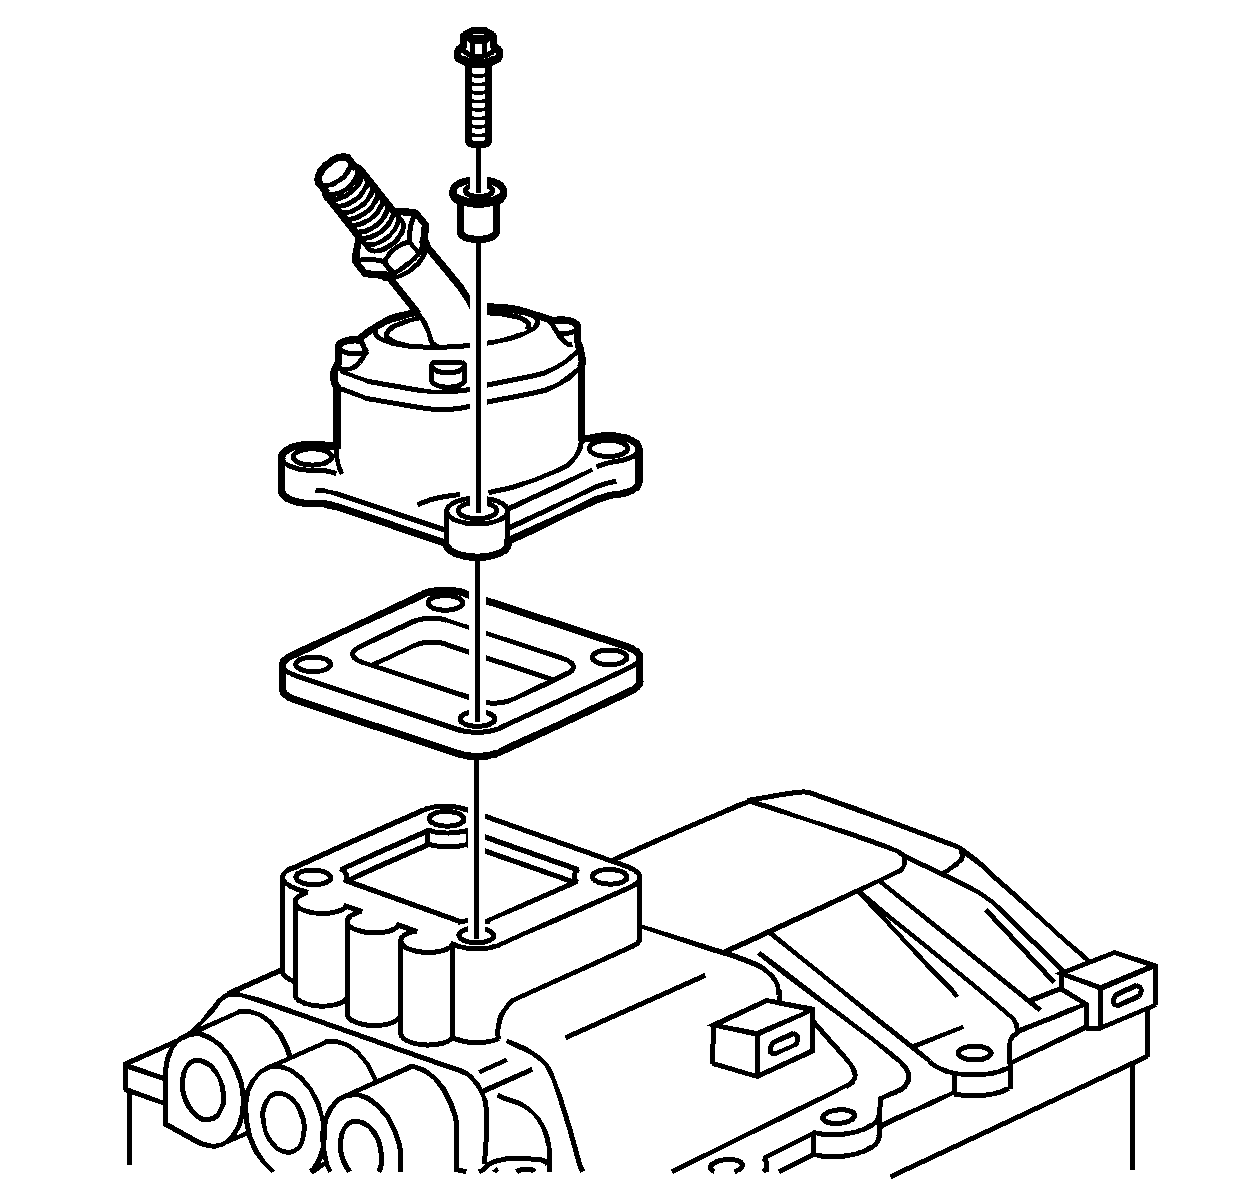
- Remove the four bolts securing the shift housing to the transmission.
- Remove the shift housing.
Important:
• Ensure that the shift lever is positioned into the mechanical third or
fourth gear prior to removal of the shift housing from the transmission. The transmission
must remain in this state when the shift housing is removed. • Do not disassemble the transmission shift housing. Internal parts for
this shift housing are not available. Opening the shift housing voids the warranty. • When removing the shift housing from the transmission, use the exposed
bolts on the base of the housing. • Remove the 3 console nuts and console (If equipped).
Installation Procedure
- Install the shift housing to the transmission case.
- Install the four bolts securing the shift housing to the transmission.
- Place the insulator back on top of the shift tower.
- Slightly raise the transmission.
- If equipped, install the transfer case. Refer to Transfer Case Replacement in Transfer Case Replacement.
- Install the rear transmission mount bolts.
- Install the crossmember.
- Install the 4 crossmember bolts and nuts.
- If equipped, install the right side support brace to the transfer case and the bolt.
- If equipped, install the left side brace support brace to the transmission and bolt.
- Install the front propeller shaft. Refer to Front Propeller Shaft Replacement in Propeller Shaft.
- Install the rear propeller shaft. Refer to One-Piece Propeller Shaft Replacement or to Two-Piece Propeller Shaft Replacement in Propeller Shaft.
- If equipped, install the transfer case shields.
- Remove the transmission jack.
- Lower the vehicle.
- Install the shift lever. Refer to Shift Lever Replacement .
Notice: Refer to Fastener Notice in the Preface section.

Tighten
Tighten the shift housing bolts to 12 N·m
(106 lb in).

Tighten
Tighten the bolts to 50 N·m (37 lb ft).
Tighten
Tighten the bolts and nuts to 50 N·m
(37 lb ft).
Tighten
Tighten the bolt to 50 N·m (37 lb ft).

Tighten
Tighten the bolt to 50 N·m (37 lb ft).

