Notice: Refer to Fastener Notice in the Preface section.
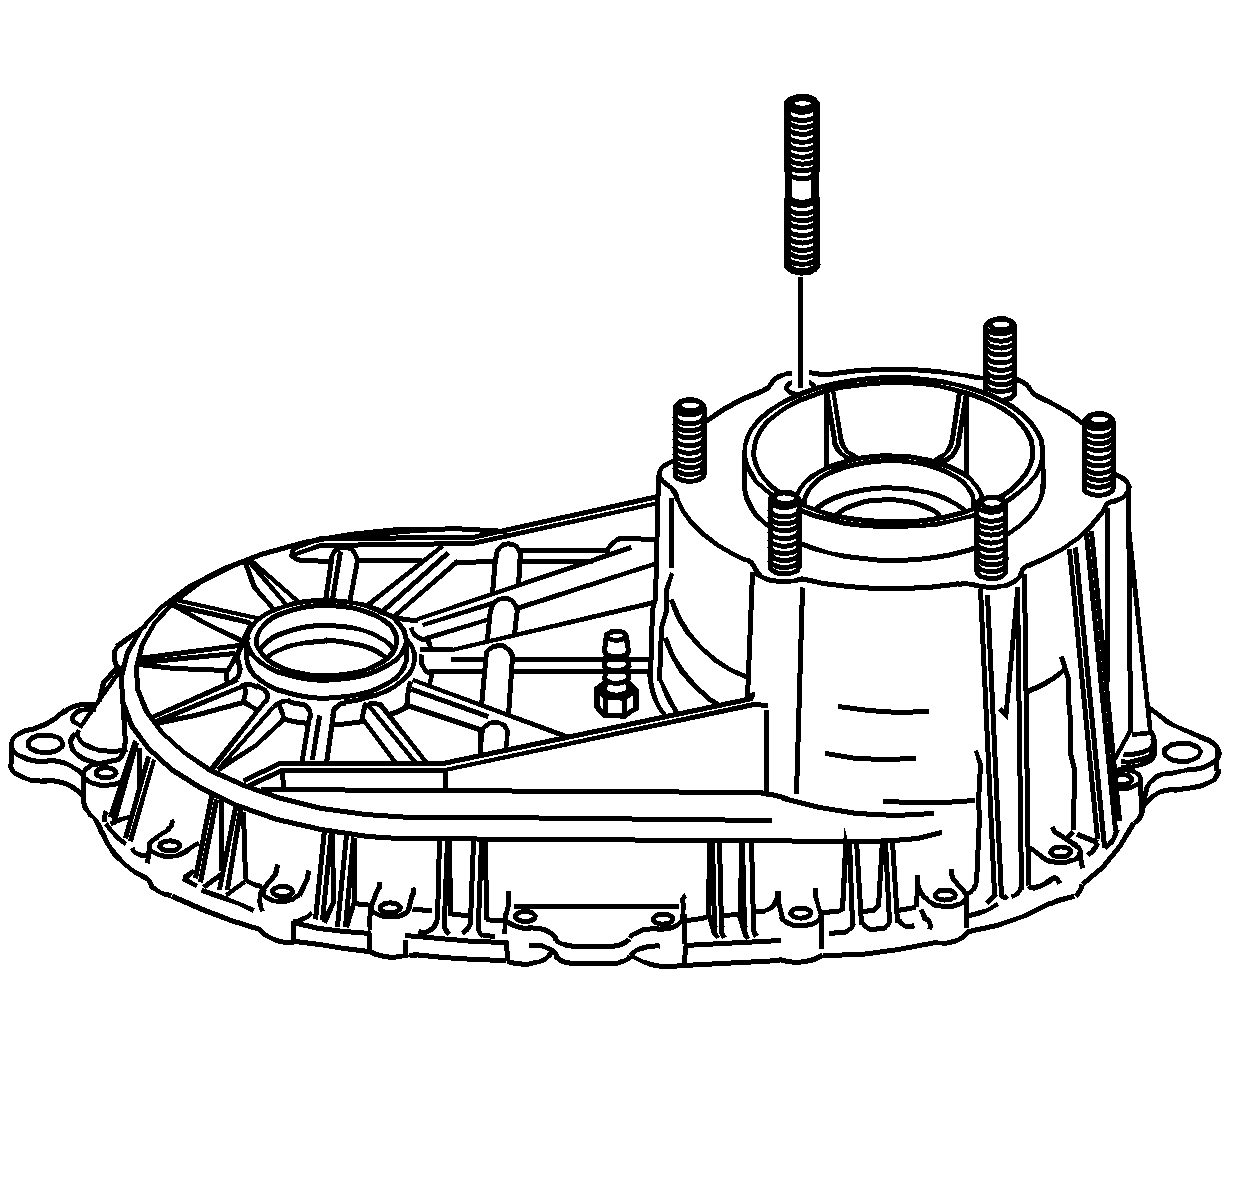
- If removed, install the transfer case mounting studs.
Tighten
Tighten the mounting studs to 31 N·m (23 lb ft).
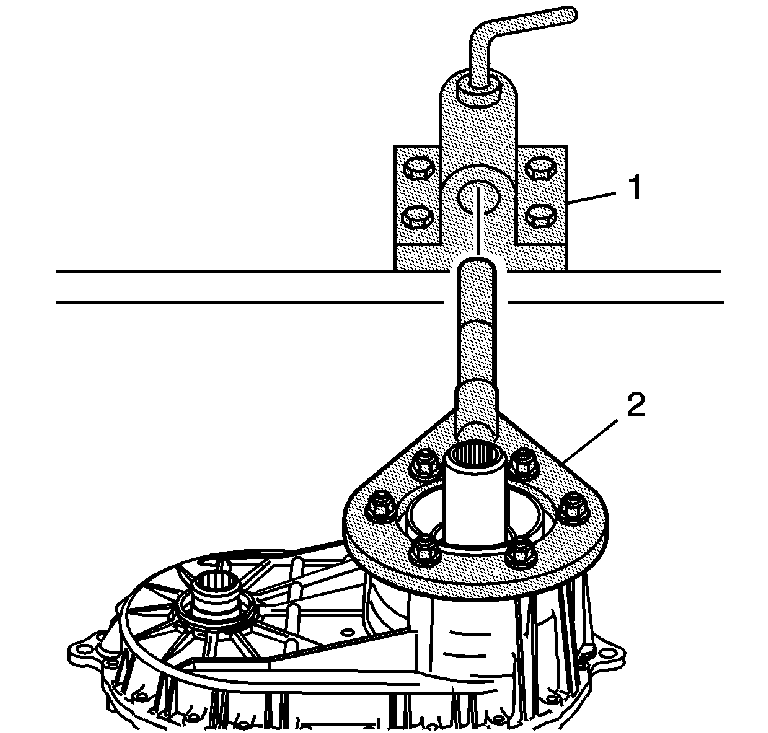
- Attach the J 45759
(2) to the front case half using
the adapter studs. All of the assembly procedures can be performed with
the case mounted to the J 45759
(2).
- Install the J 45759
(2) into the J 3289-20
(1) and secure with pivot pin.
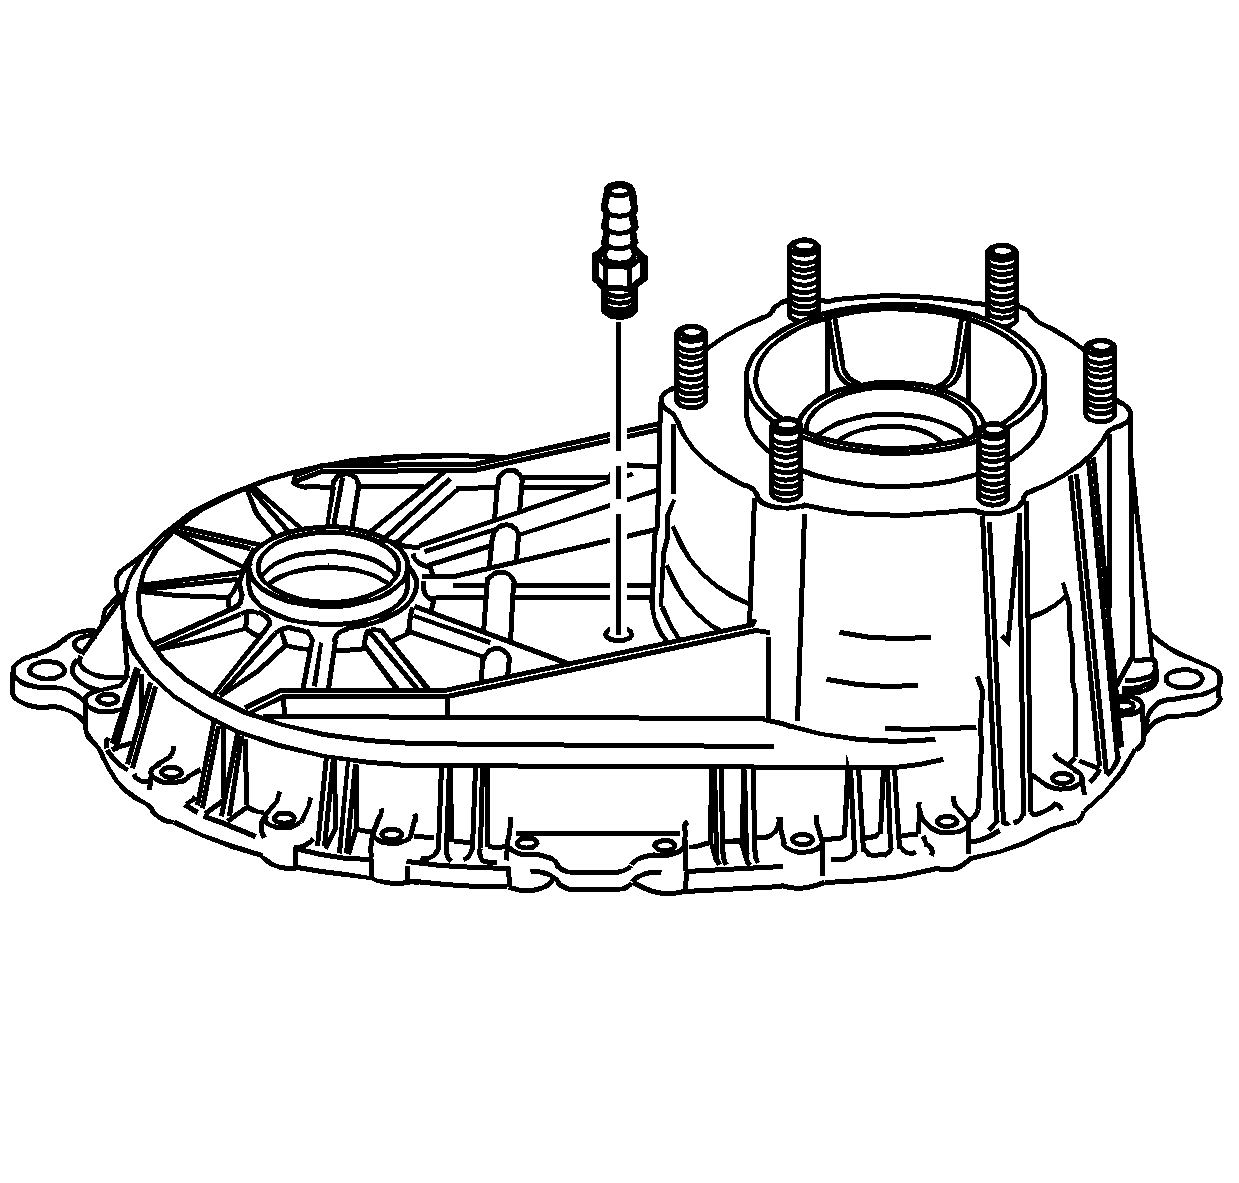
- If removed, apply pipe
sealant GM P/N 12346004 (Canadian P/N 10953480)
to the threads on the vent.
- Install the vent.
Tighten
Tighten the vent to 6 N·m (53 lb in).
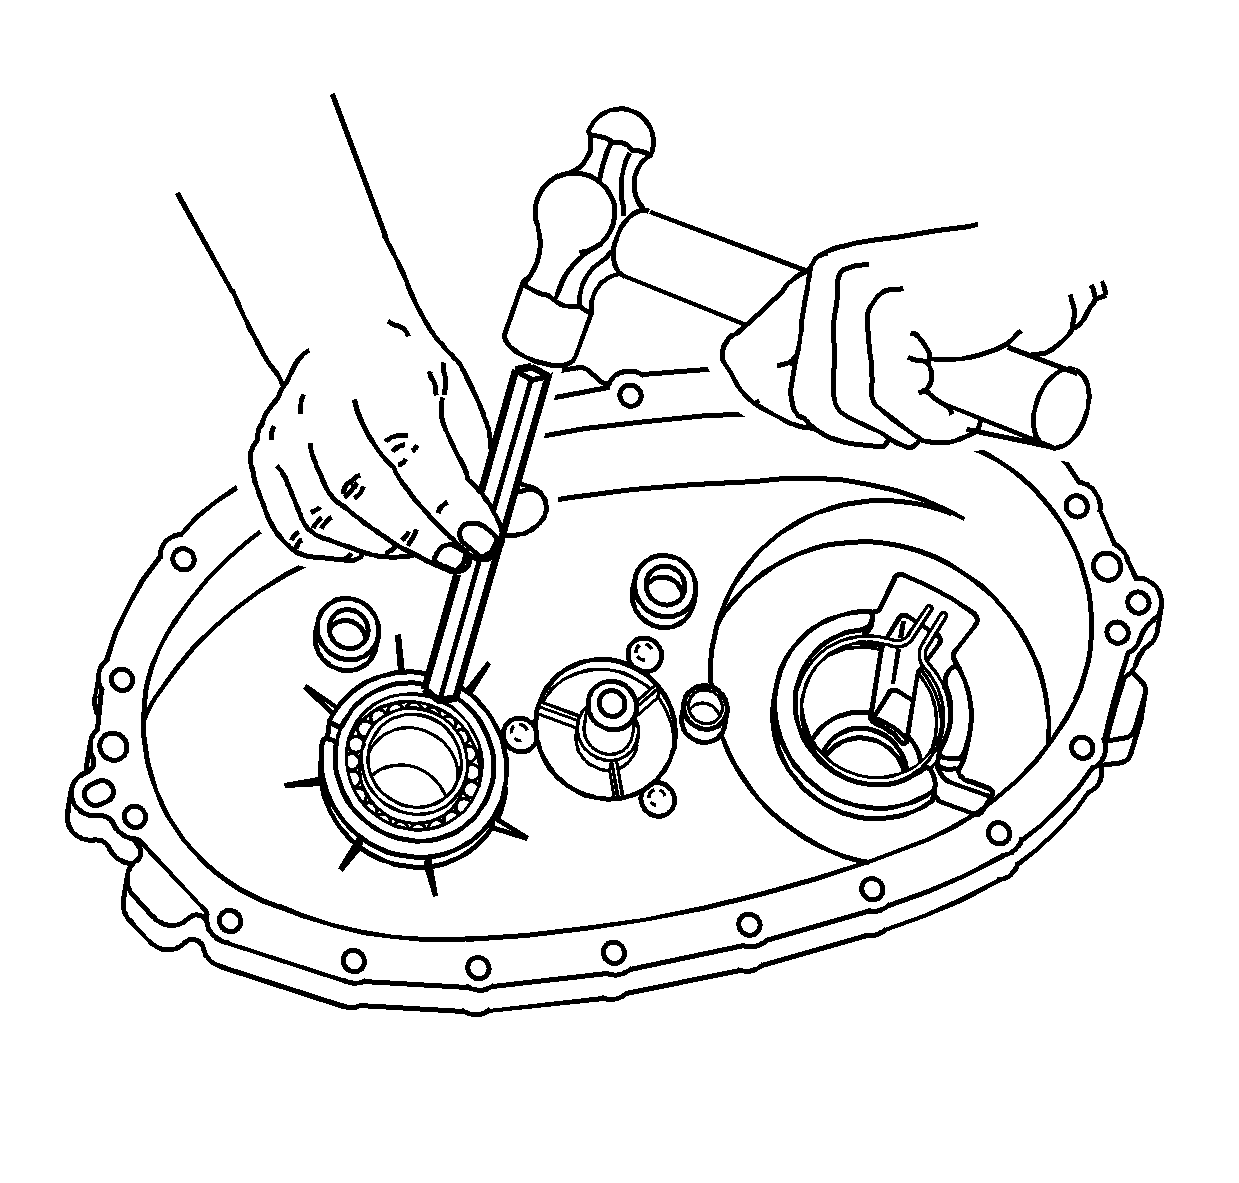
- Install the front output
shaft rear bearing in the rear case half.
| • | Use a hammer and a brass drift only on the outer bearing race. |
| • | Ensure the bearing is kept square to the bore while installing. |
Important: Lubricate all bearings and bearing journals with transfer case fluid
during installation.
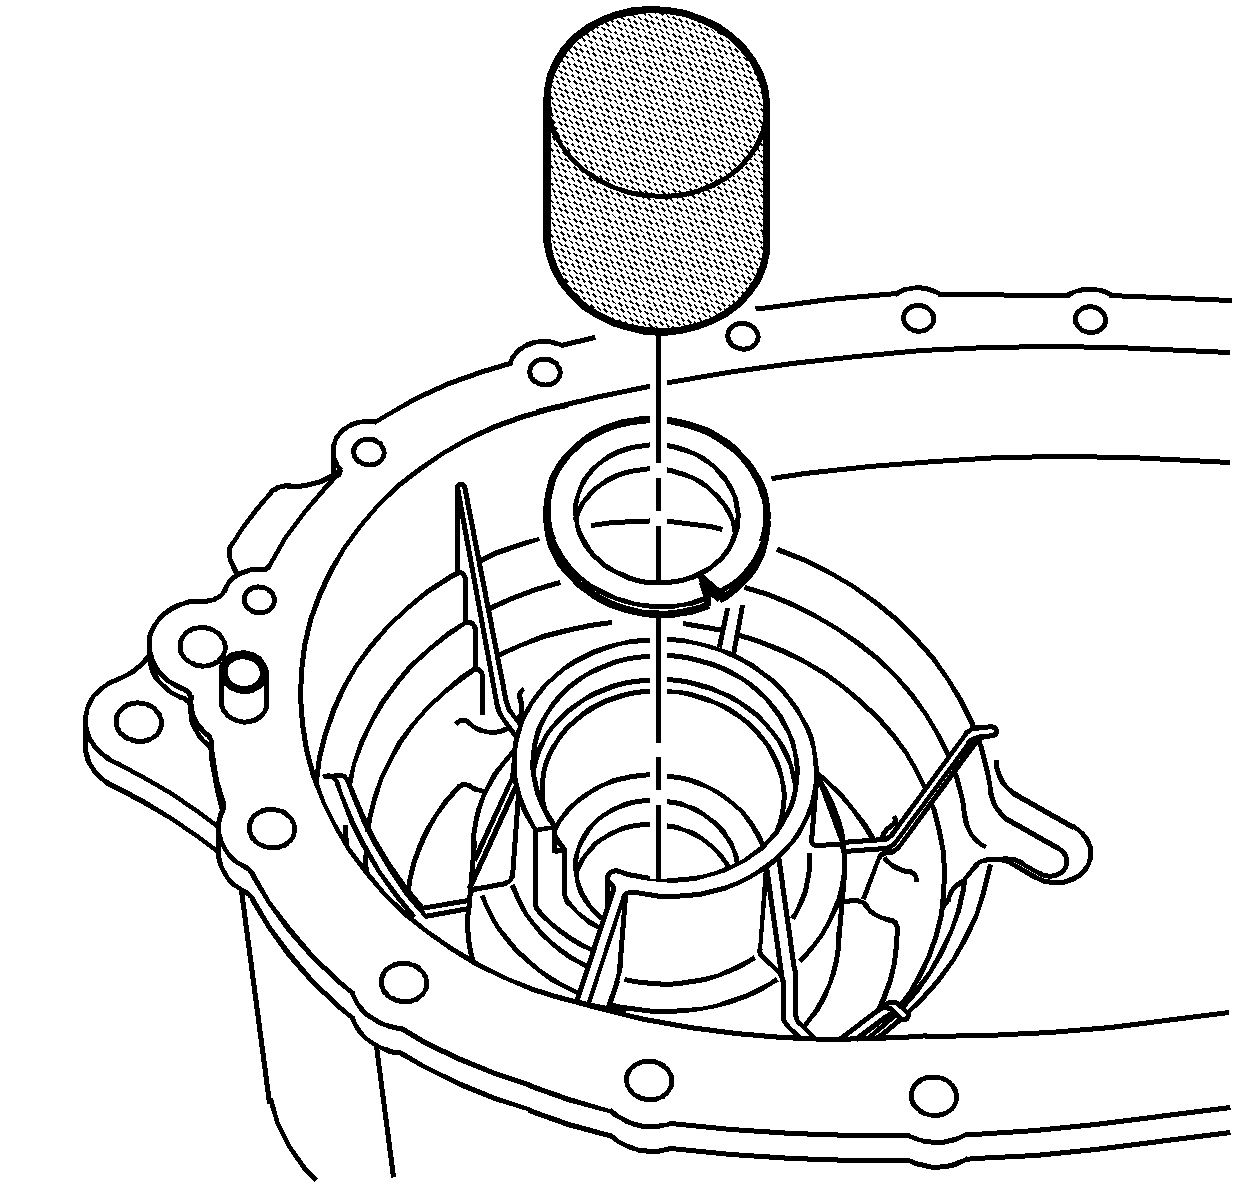
- Install the input shaft bushing in the front case half using the J 36373
and a hammer.
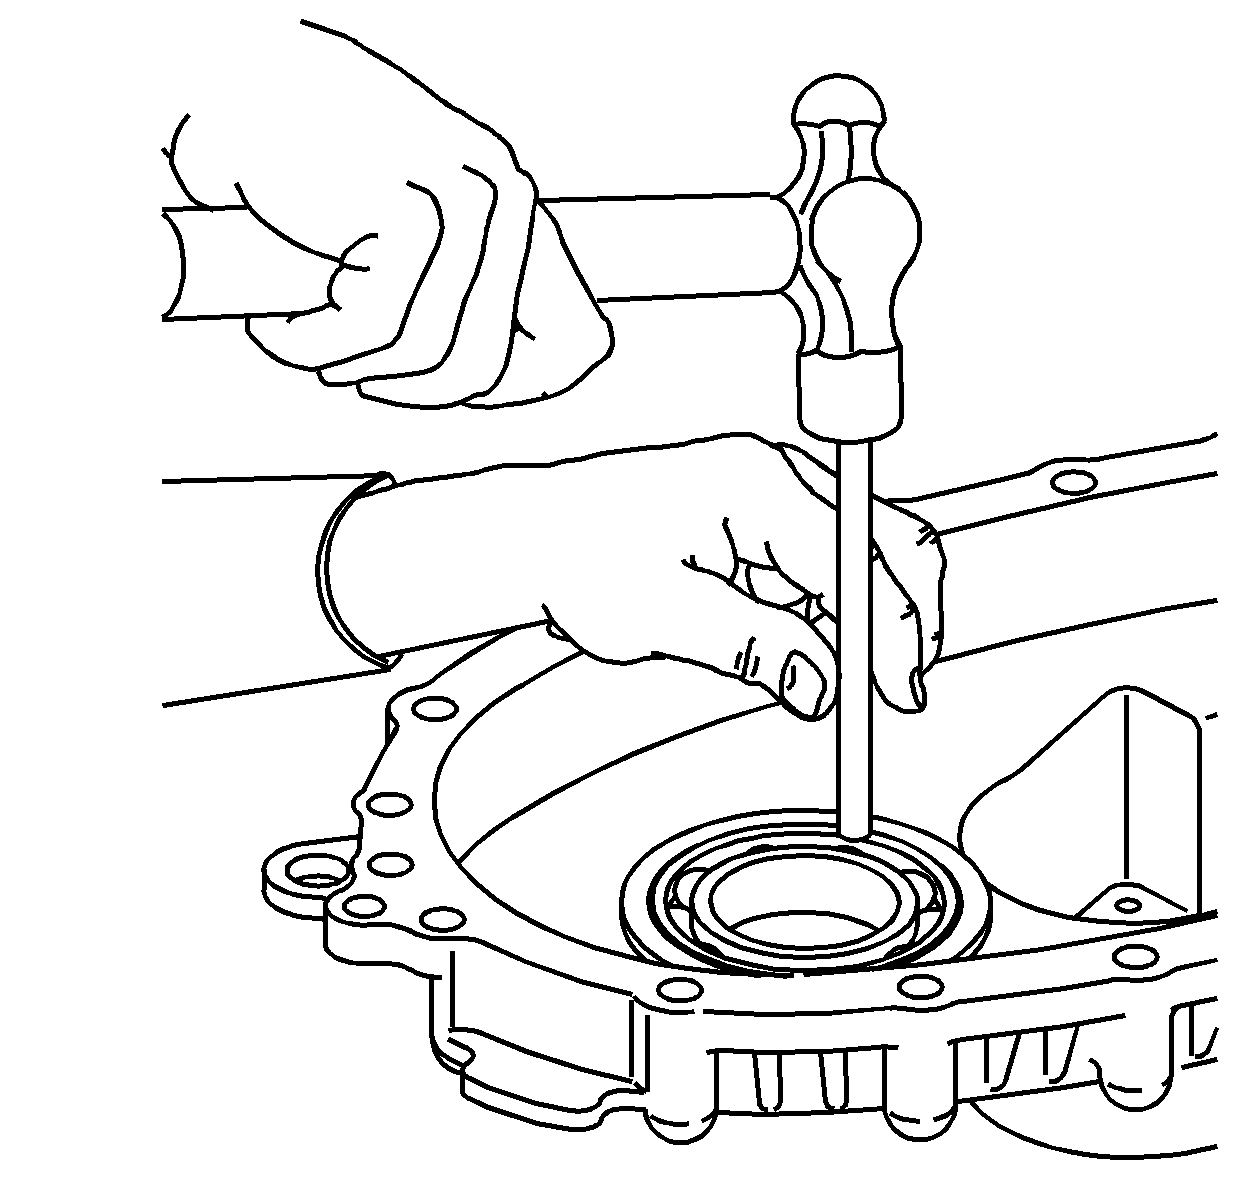
- Install the front bearing
for the front output shaft in the front case half.
| • | Use a hammer and a brass drift only on the outer bearing race. |
| • | Ensure the bearing is kept square to the bore while installing. |
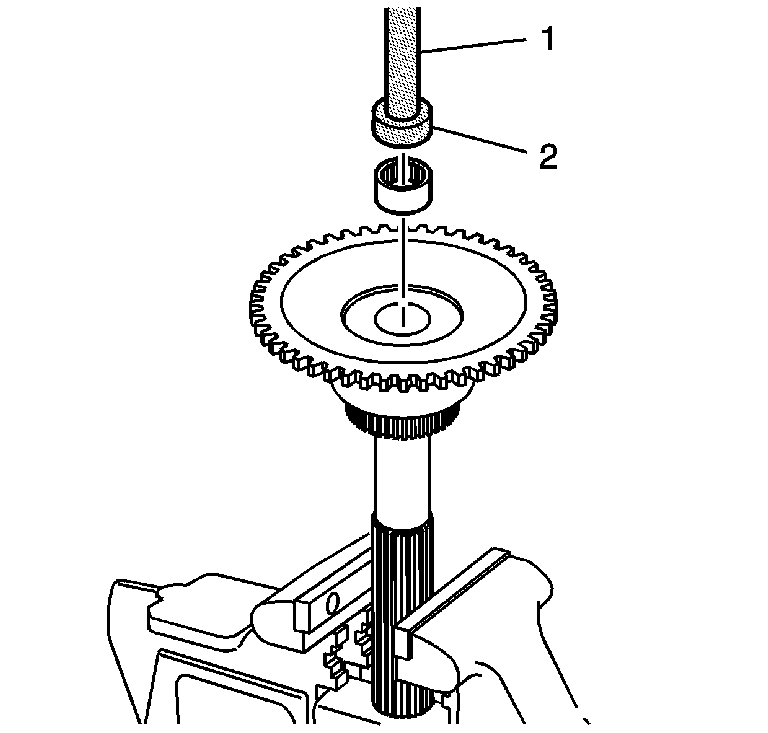
- If removed, install the
input shaft rear support bearing in the rear output shaft using J 42176
(1) and J 45848
(2).
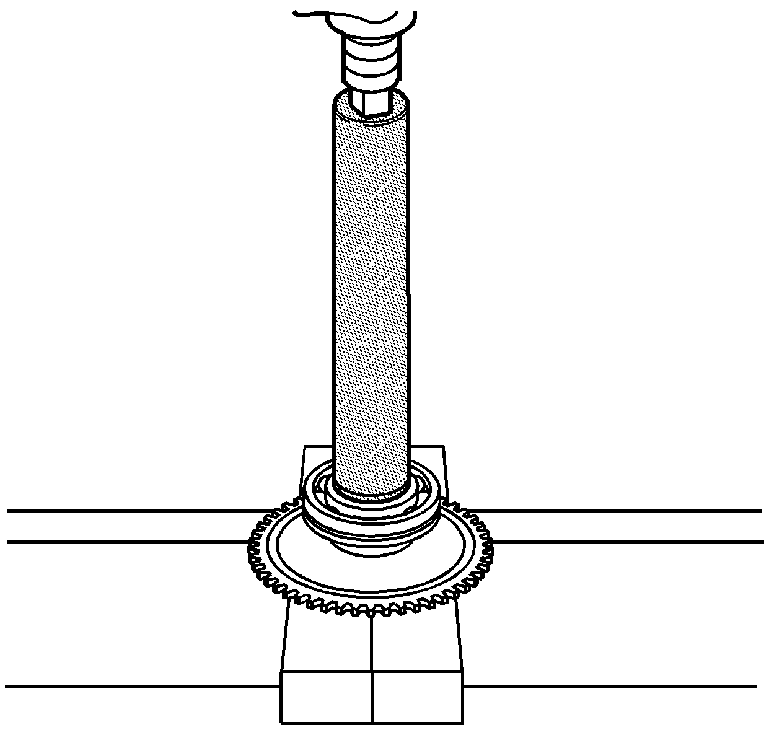
- Using the J 22828
and a hydraulic press, install the rear
output shaft bearing with the retaining ring groove towards the gear.
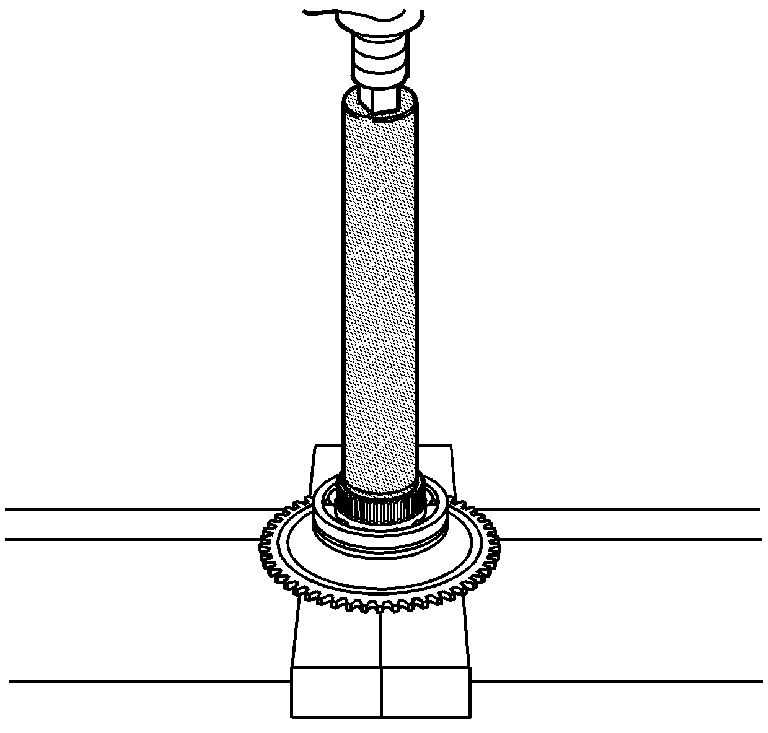
- Using the J 22828
and a hydraulic press, install a NEW
speed reluctor wheel.
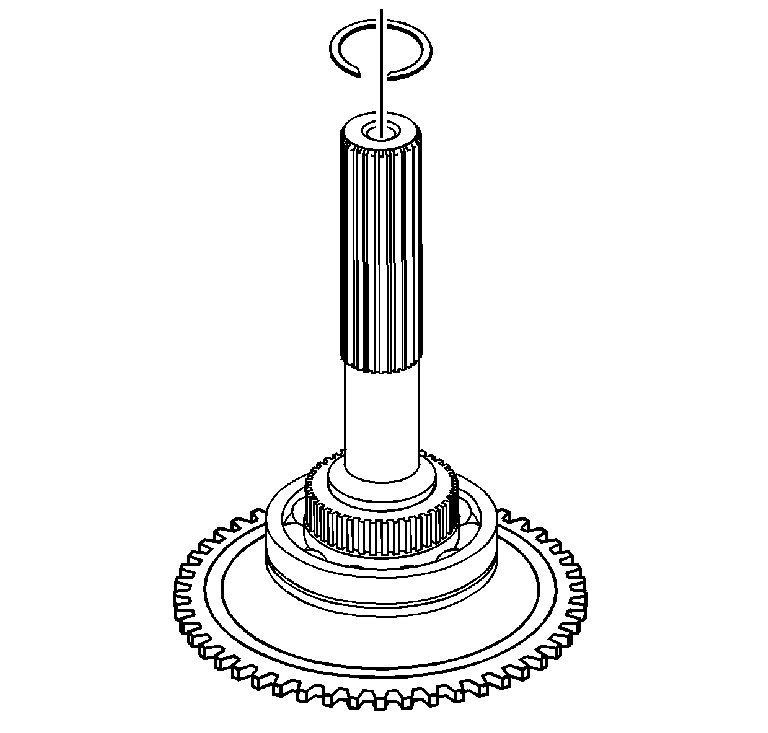
- Install a NEW retaining
ring for the rear output shaft bearing.
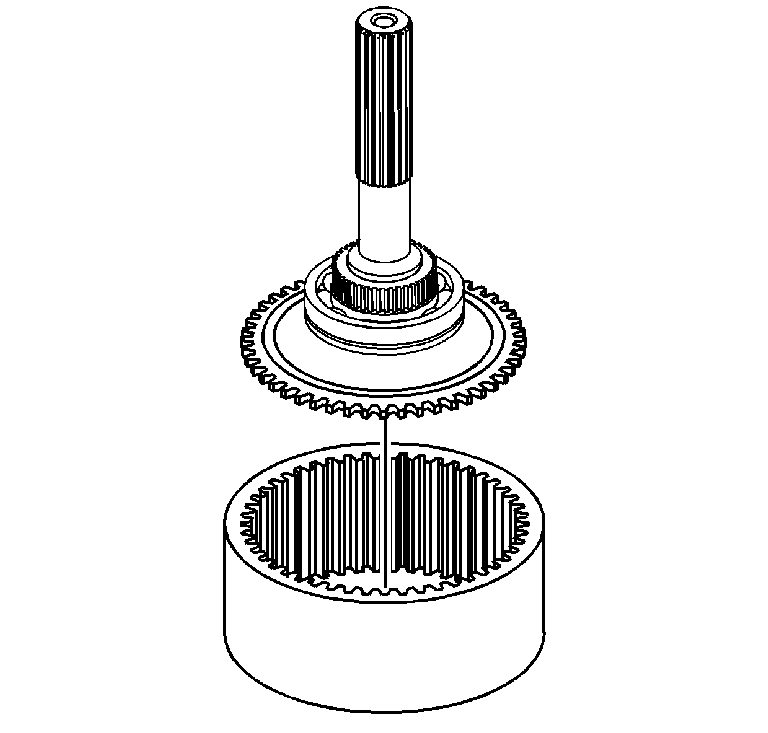
- Install the rear output
shaft in the annulus gear.
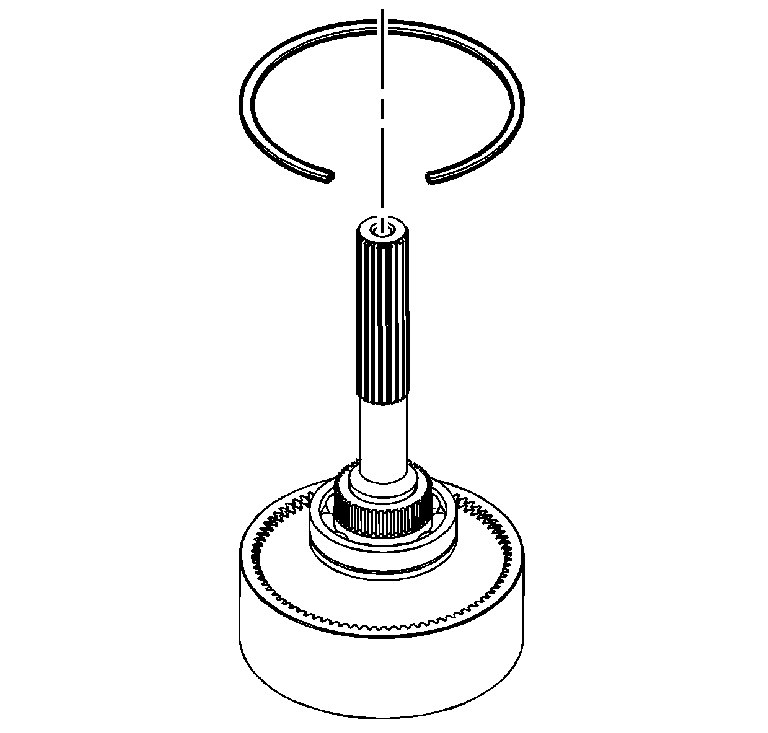
Caution: The vehicle could roll while in park if the annulus gear becomes disengaged
from the rear output shaft. Always install a new rear output shaft to annulus
gear retaining ring. Ensure the rear output shaft retaining ring is fully
seated in the annulus gear.
Notice: Damage may occur to the viscous coupling if the retaining ring for the
rear output shaft to the annulus gear fails or becomes dislodged during vehicle
operation. Always install a new rear output shaft to annulus gear retaining
ring. Ensure the rear output shaft retaining ring is fully seated in the
annulus gear.
- Install a NEW annulus gear retaining ring.
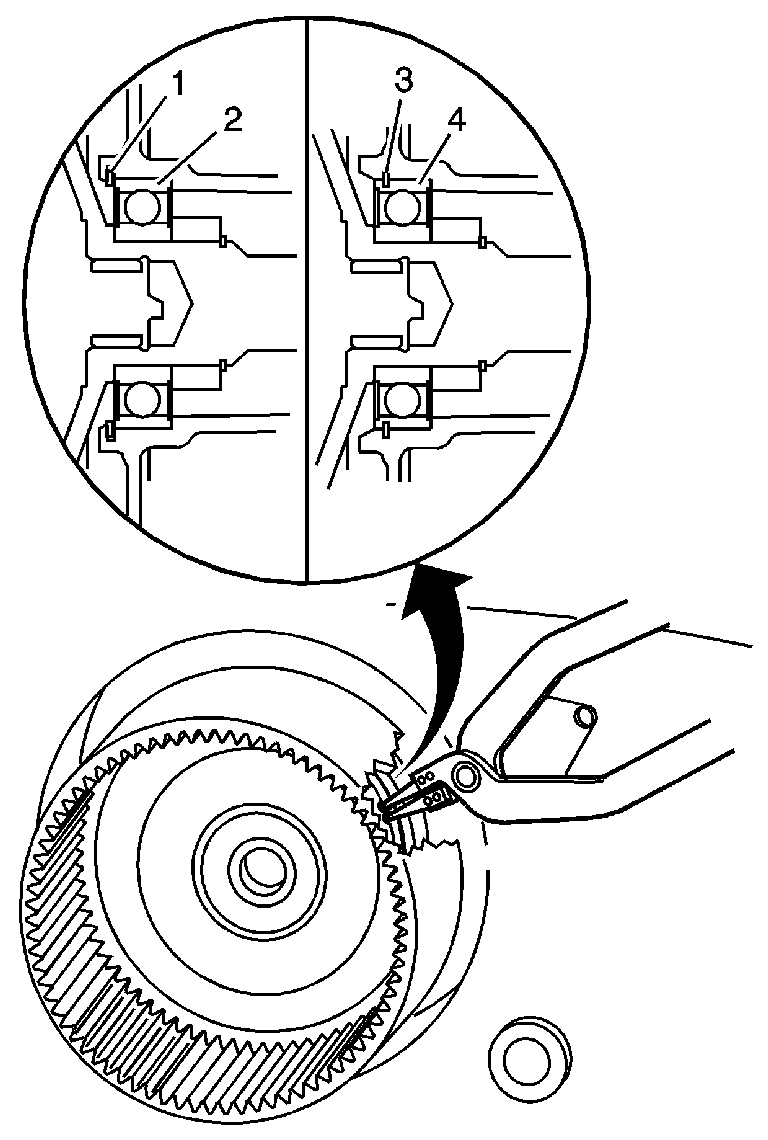
Important: Depending on the build date of the transfer case, it may have a rear
output shaft bearing with or without a retaining ring groove. In early build
transfer cases, the retaining ring (1) for the rear output shaft bearing
was in front of the bearing (2). In later build transfer cases, the
retaining ring (3) was moved rearward 5 mm (0.197 in)
in the case. The bearings (4) have a groove and the retaining ring
is installed in the groove. The service bearings will all have the retaining
ring groove, work in both the early build and later build transfer cases.
When servicing an early build transfer case with the groove bearing, ensure
the retaining ring is installed in front of the bearing and not in the groove.
- Install the rear output shaft in the rear case.
| • | Spread the rear output shaft rear bearing outer retaining ring. |
| • | Using a soft-face hammer, tap on the rear output shaft. |
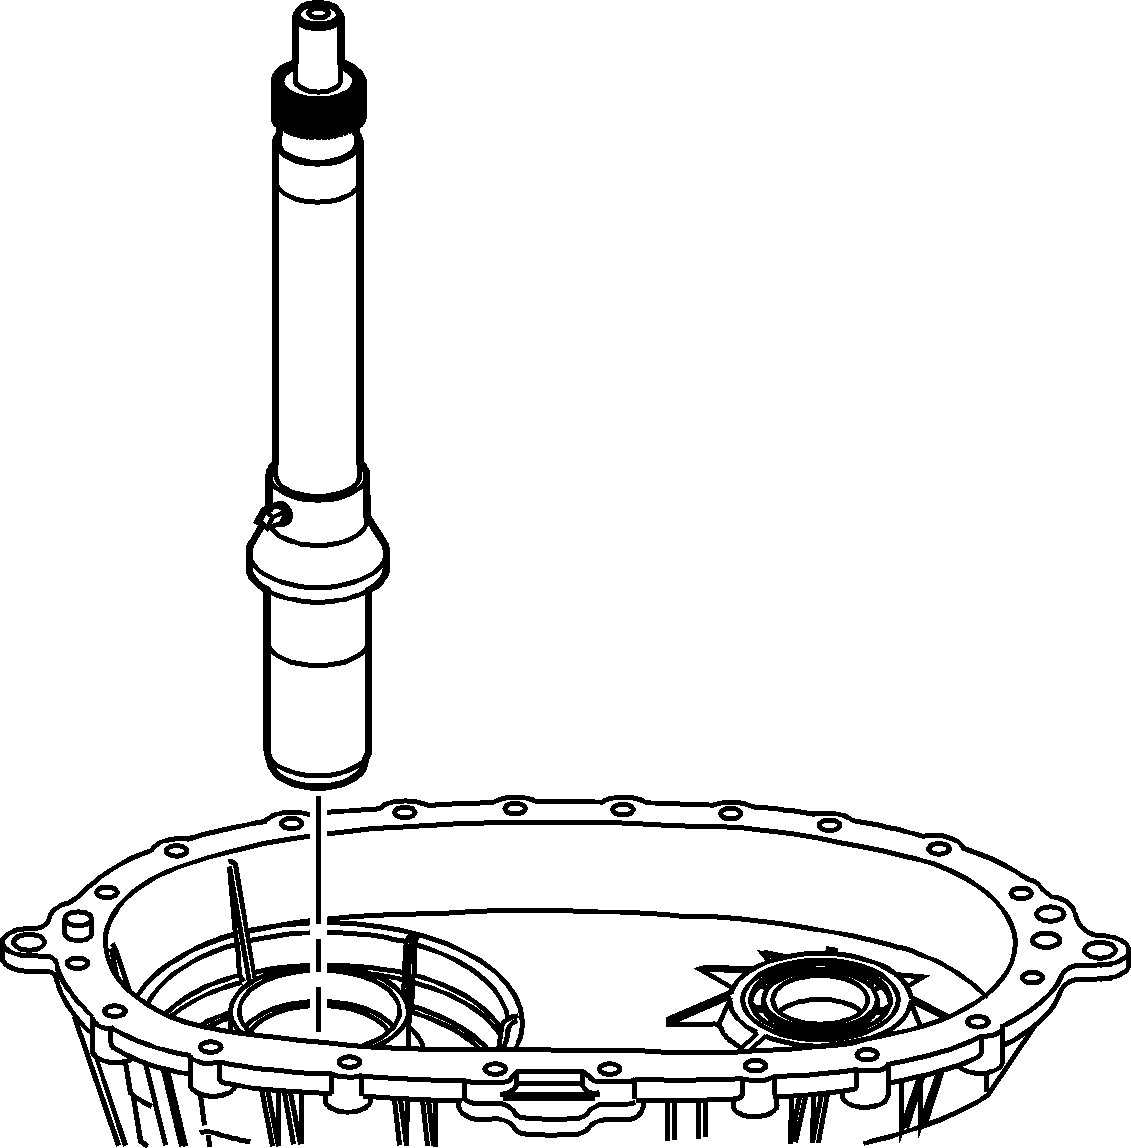
- Install the input shaft
in the front case.
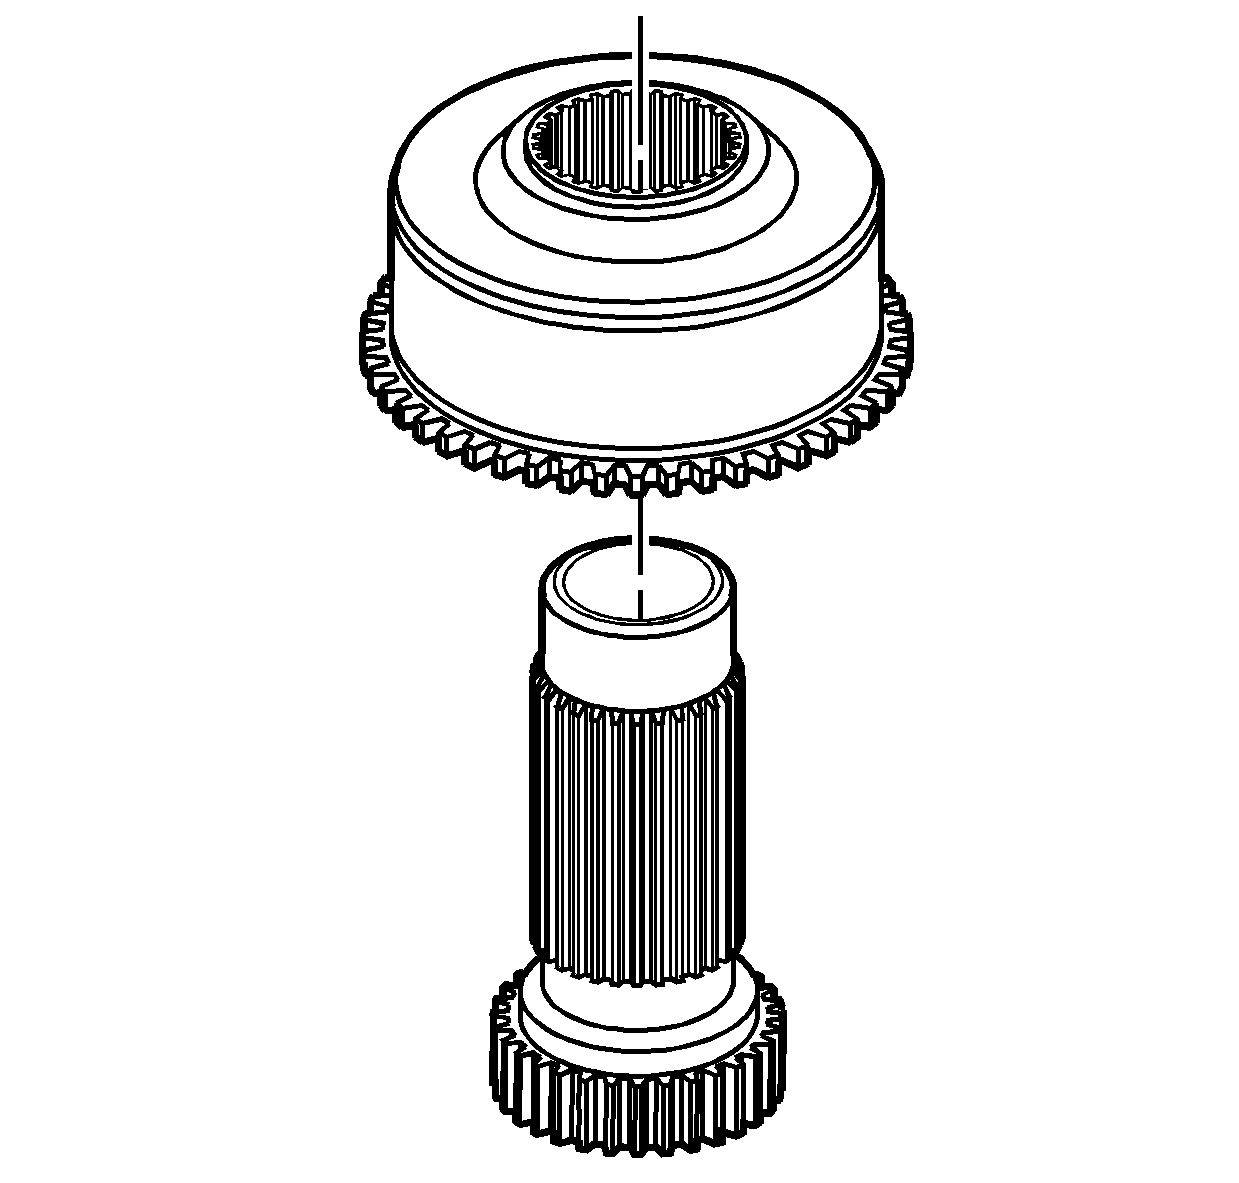
- Install the viscous coupling
on the sun gear.
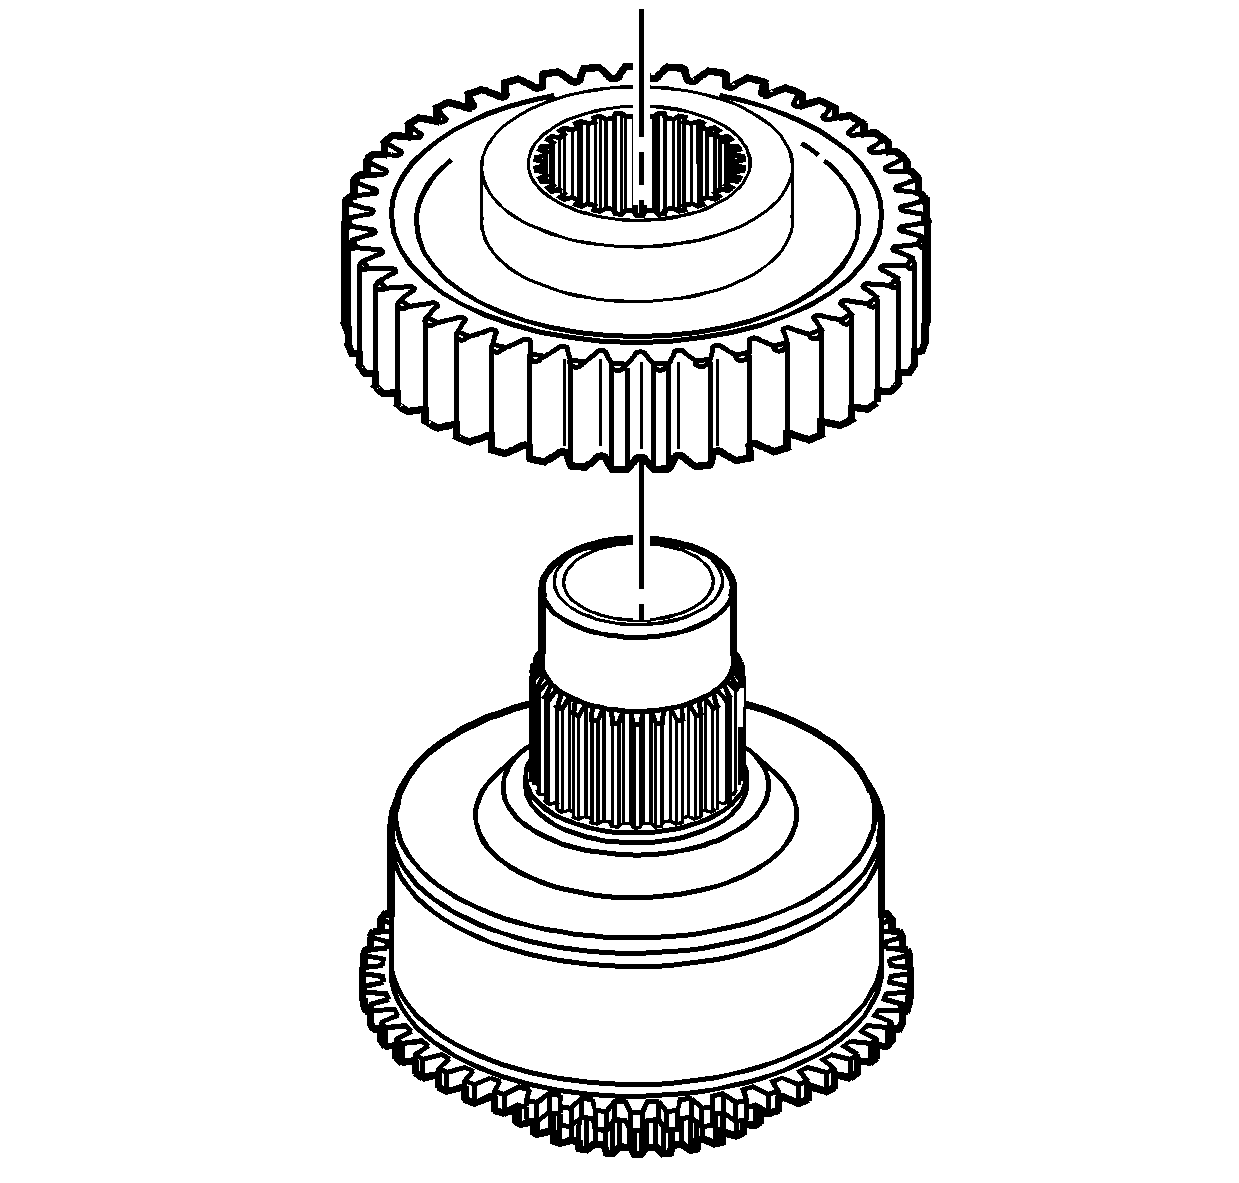
- Install the drive gear
on the sun gear.
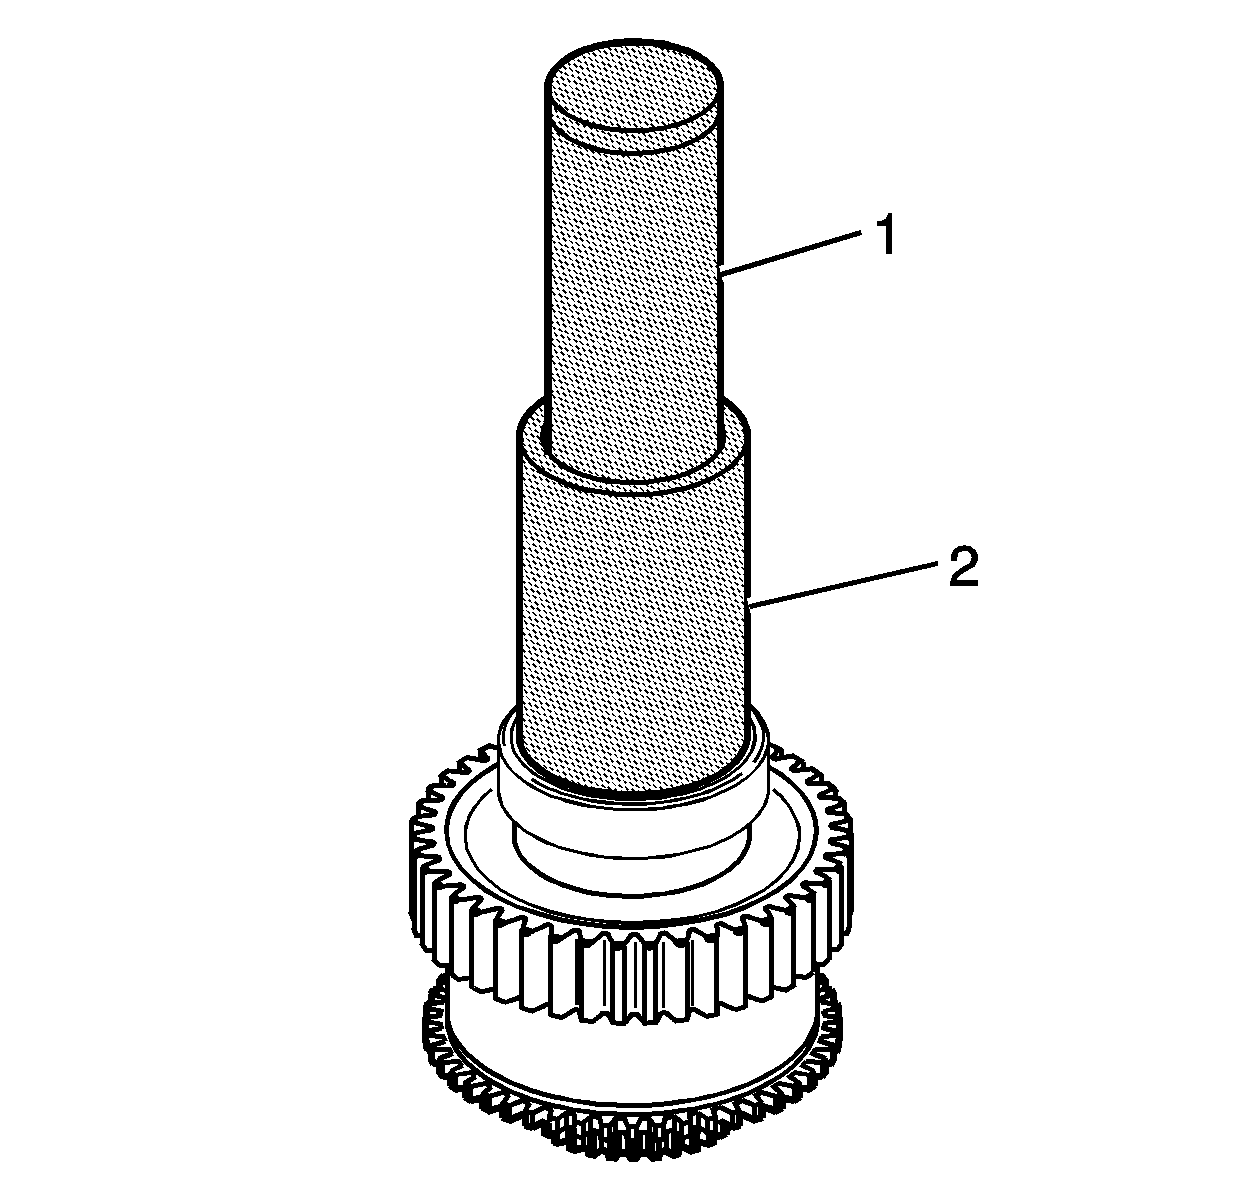
- Using a hammer with the J 45540
(2) and the J 5590
(1), install the
bearing on the sun gear. Ensure the bearing is fully seated against the
drive gear.
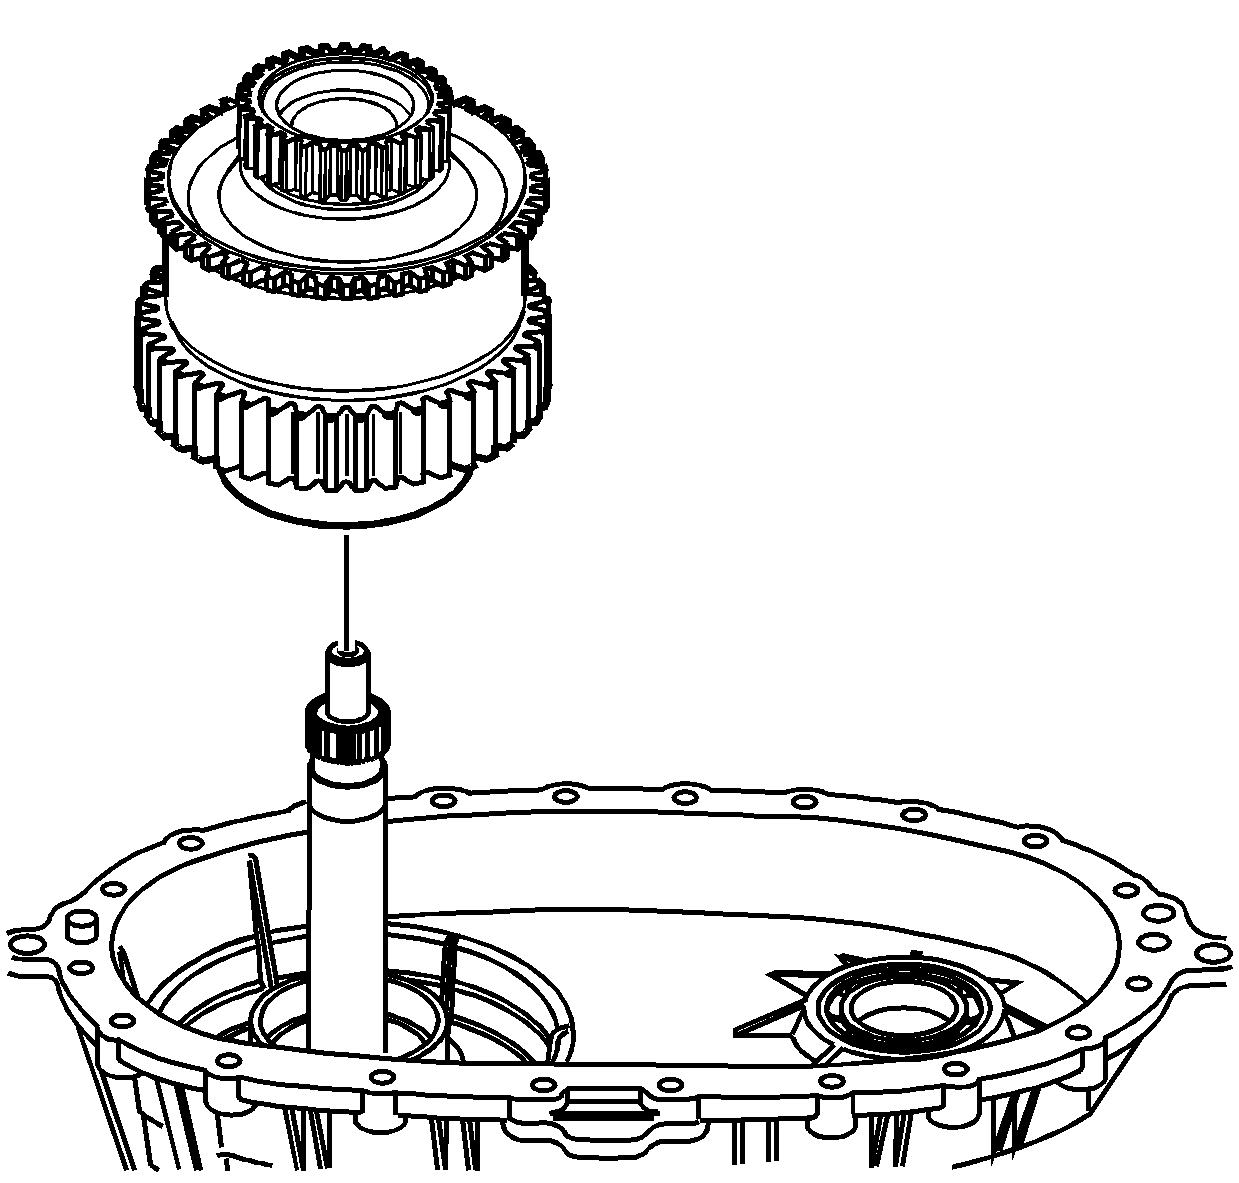
- Install the sun gear,
with the drive gear and the viscous coupling, on the input gear.
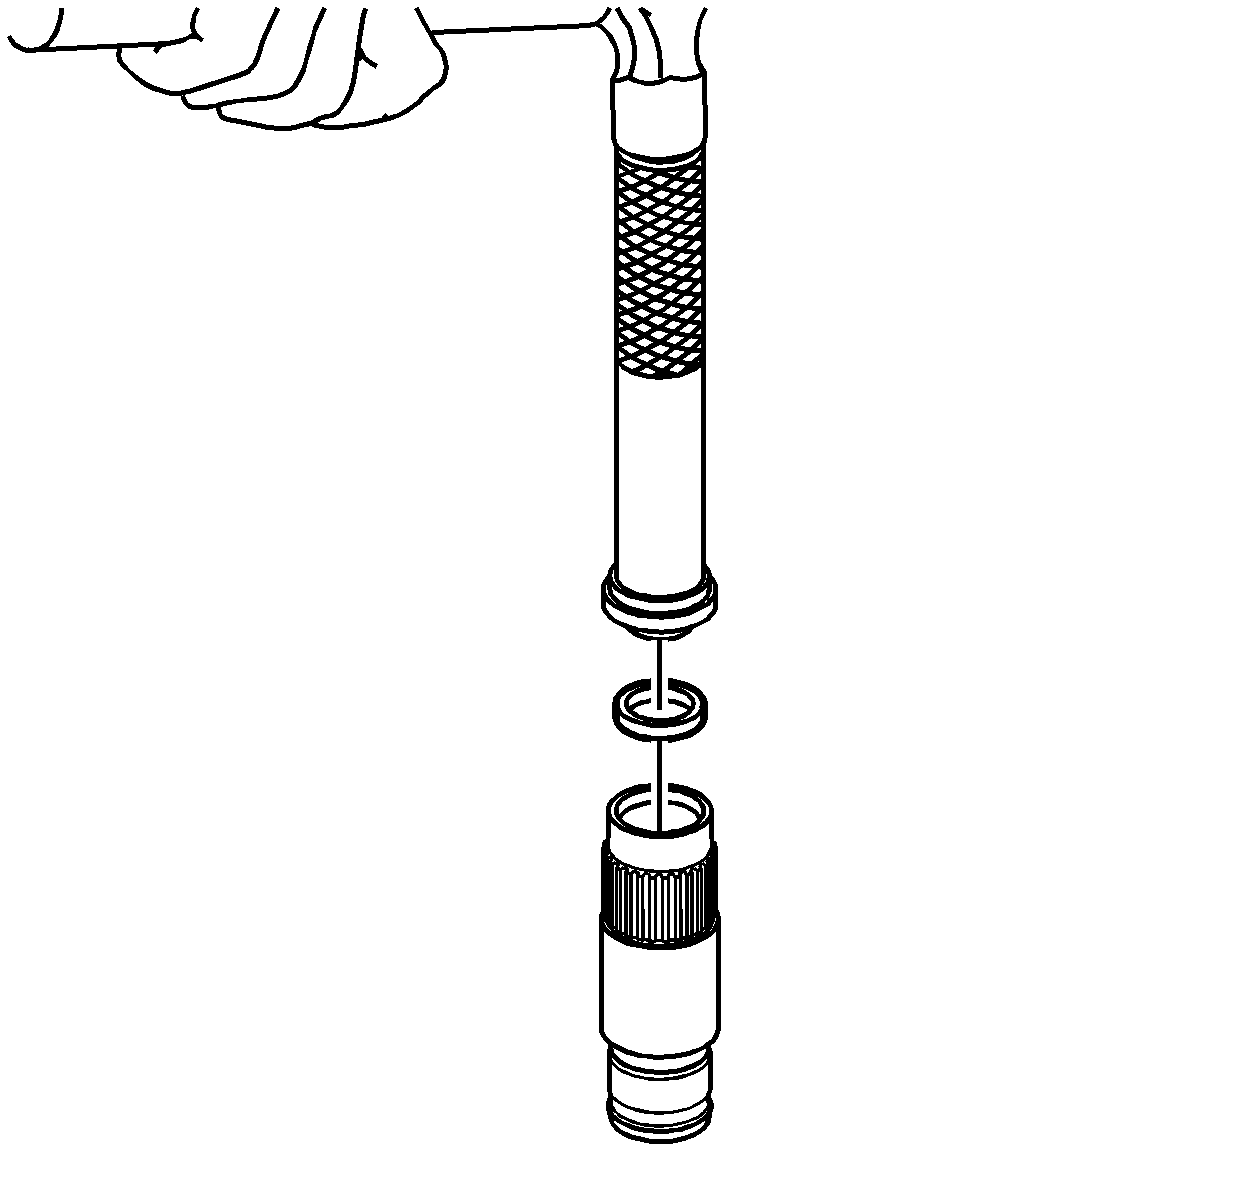
- If it is a new shaft,
or if the cup plug was removed, install the cup plug in the front output
shaft using a suitable driver. Install the cup plug 1 mm (0.039 in)
from flush with the end of the shaft.

Important: Ensure to align the marks of the drive chain and sprockets, if using
the chain and sprockets again.
- Install the drive chain on the drive sprocket.
| • | The blue link on the chain faces up. |
| • | Align the chain, if using it again, with the alignment marks made
during disassembly. |
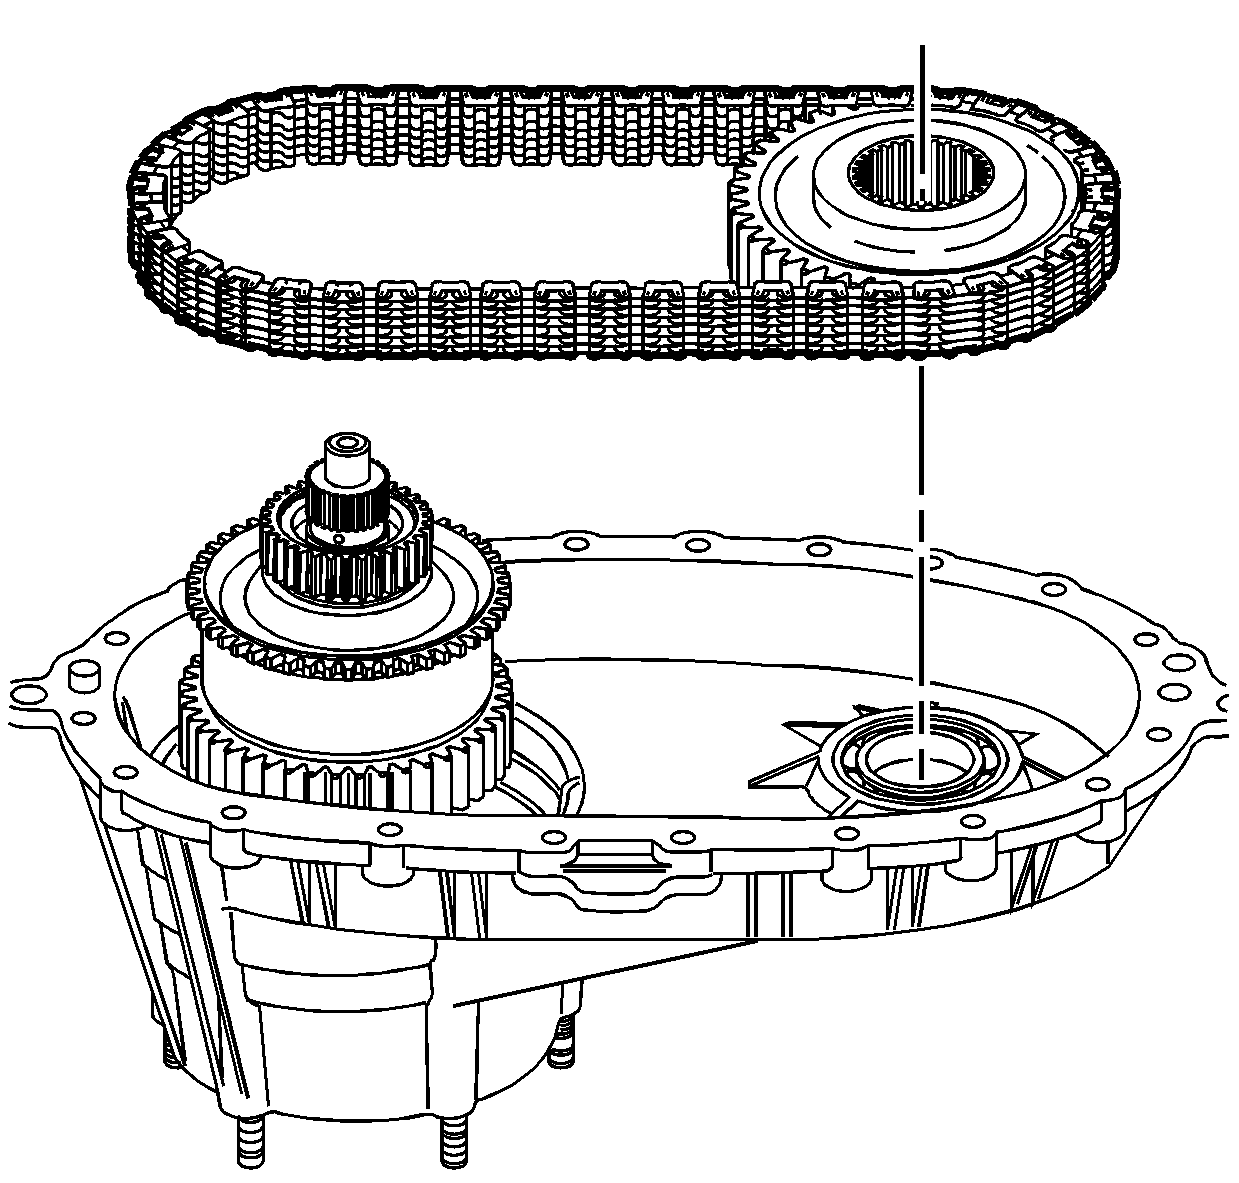
- Install the
driven sprocket and the chain.
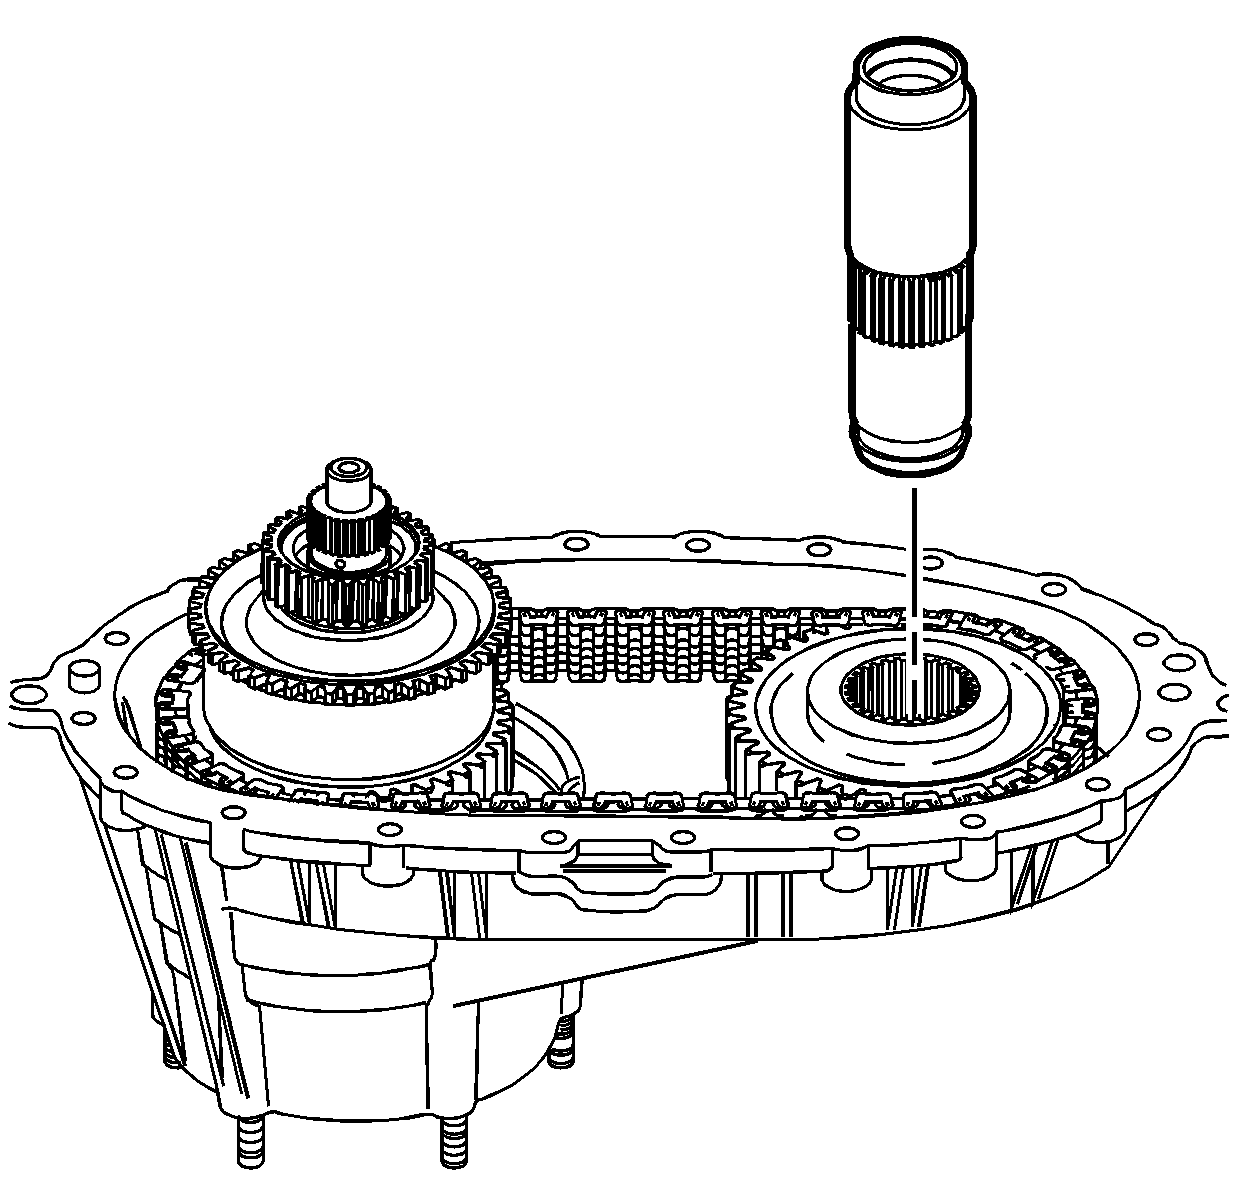
- Install the front output
shaft in the driven sprocket and the bearing.
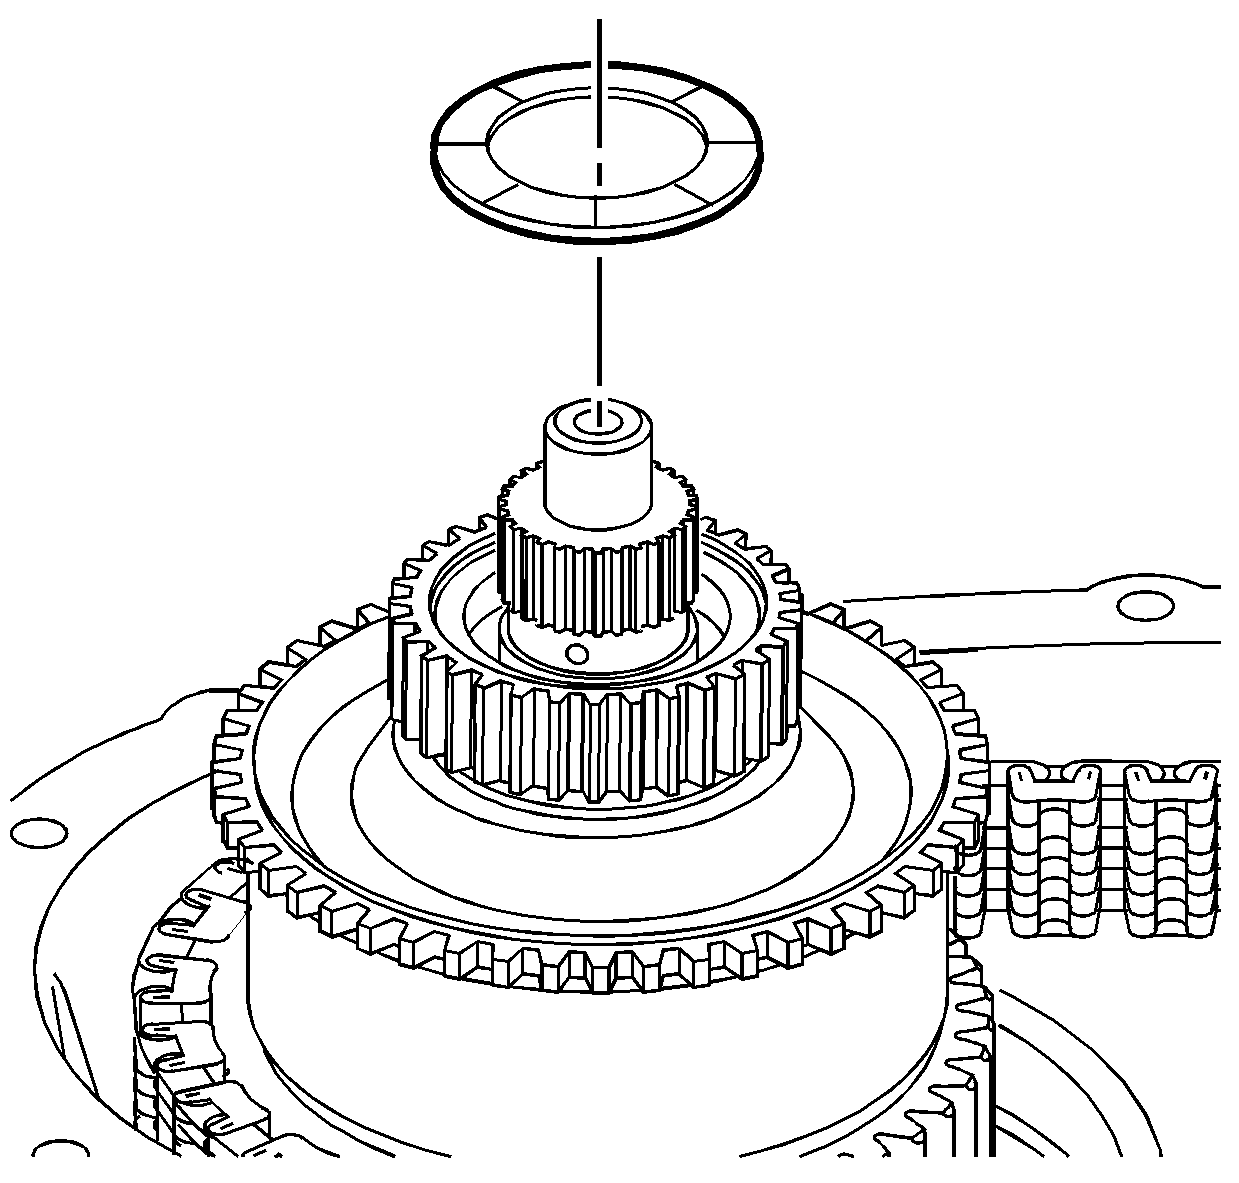
- Lubricate the sun gear
thrust washer with J 36850
or equivalent.
- Install the sun gear thrust washer.
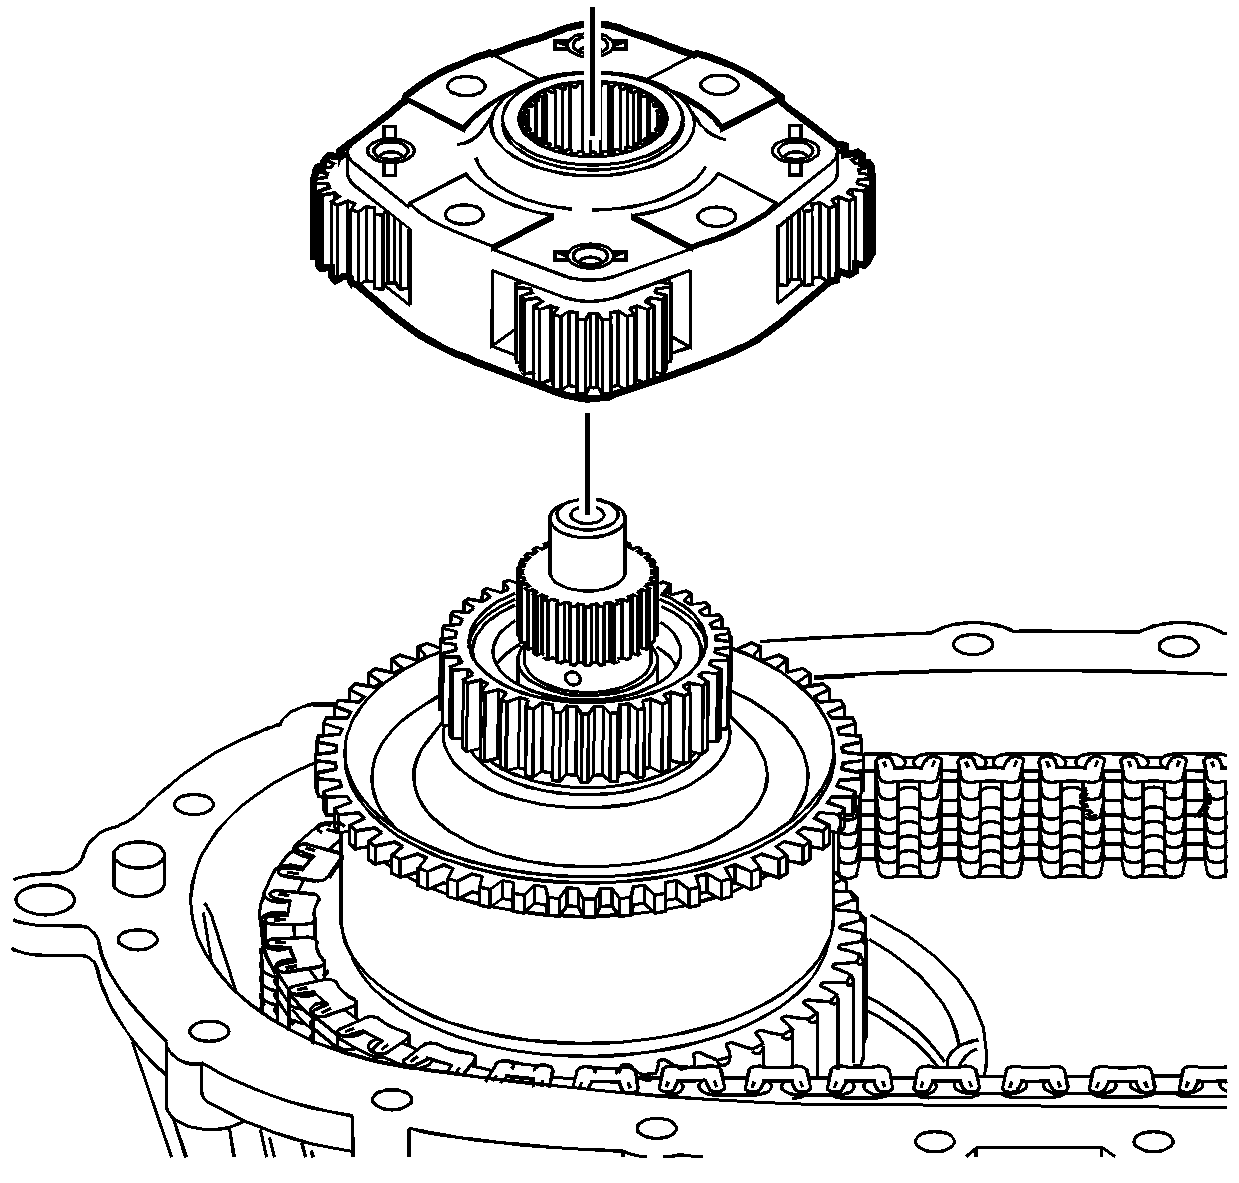
- Install the planetary
carrier assembly.
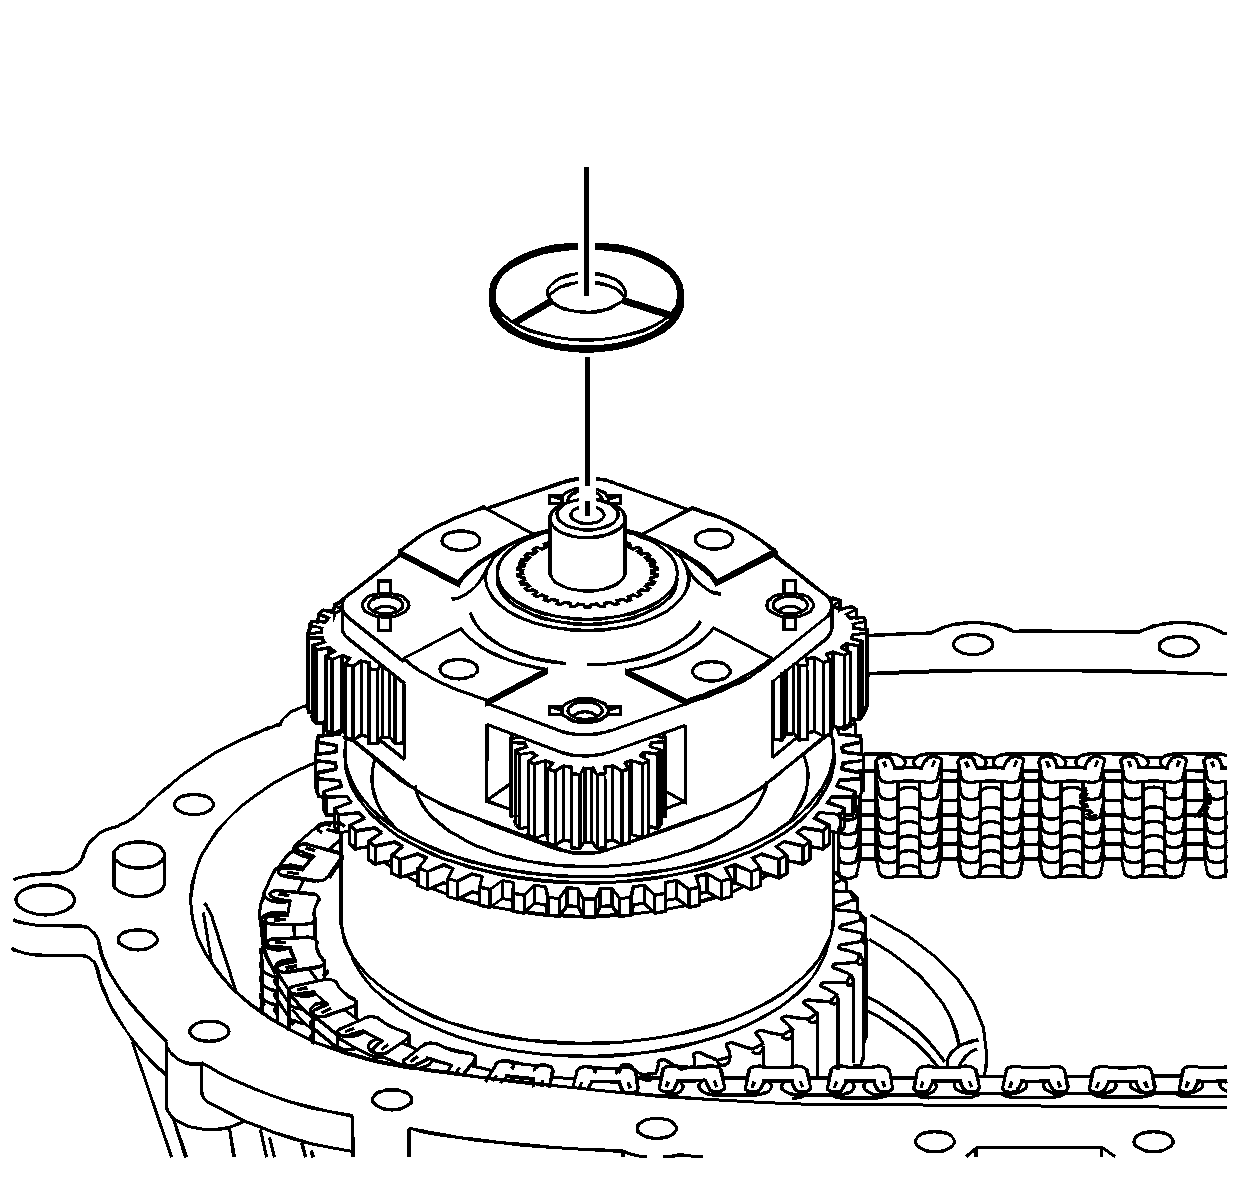
- Lubricate the sun gear
thrust washer with J 36850
or equivalent.
- Install the planetary carrier thrust washer.
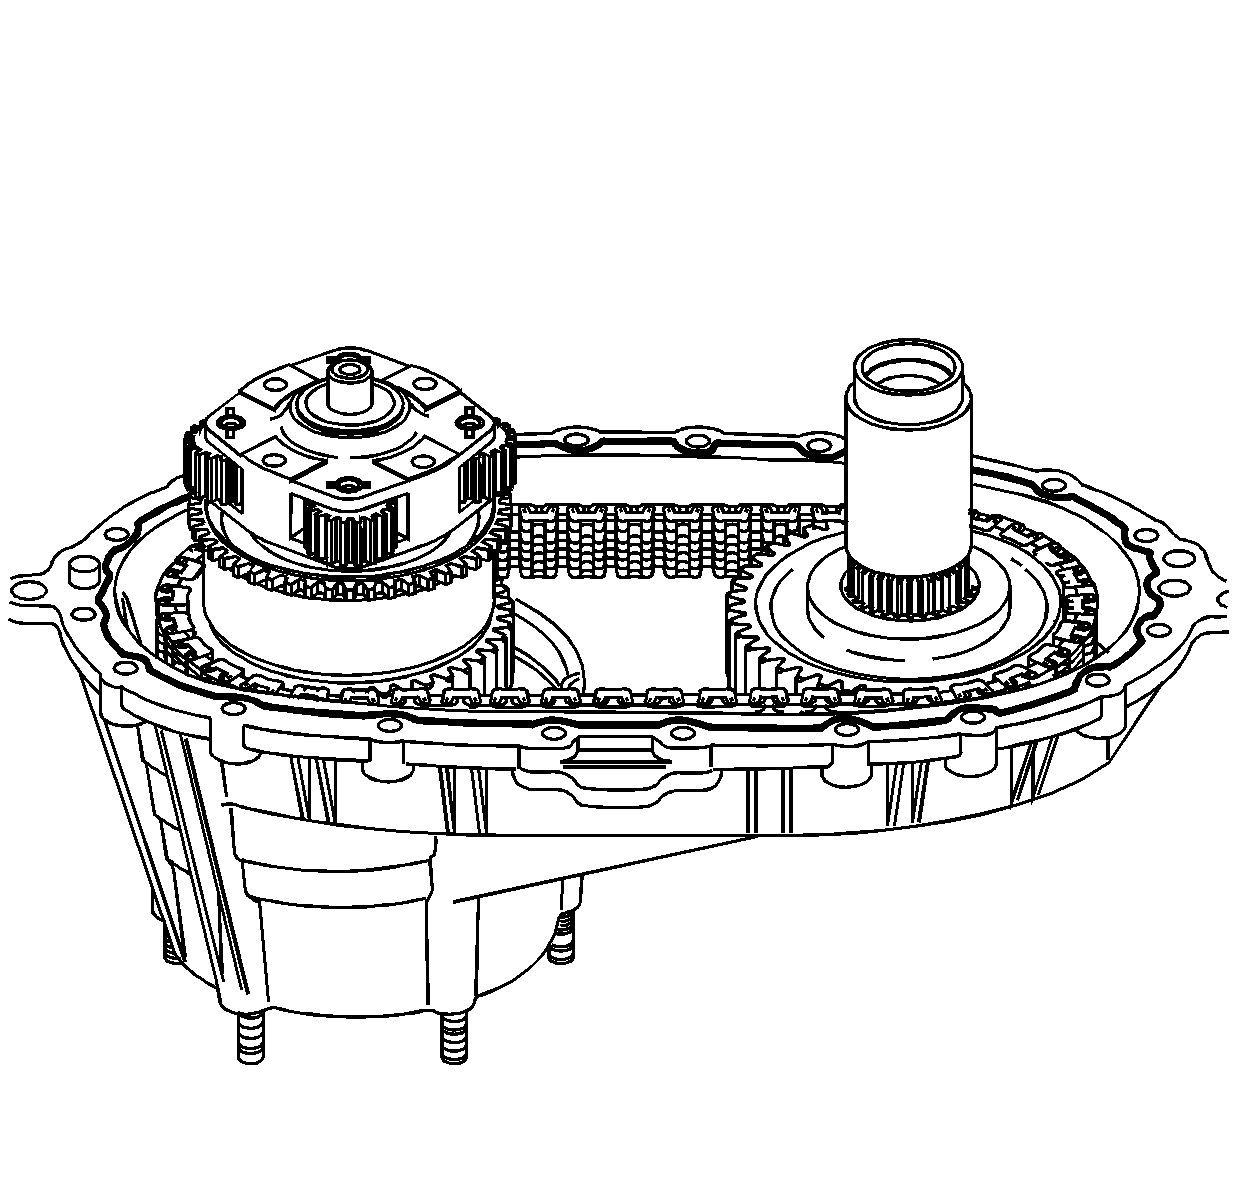
Important:
| • | Ensure that both the sealing surfaces on the front and rear case halves
are free of dirt, oil, and cleaning solvent. |
| • | Ensure the locating pins are installed in the front case half. |
- Install the locating pins in the front case, if necessary.
- Apply a 3.175 mm (1/8 in) bead of RTV Sealant GM P/N 12345739
(Canadian P/N 10953541) or equivalent to the mating surfaces
of the front case half.
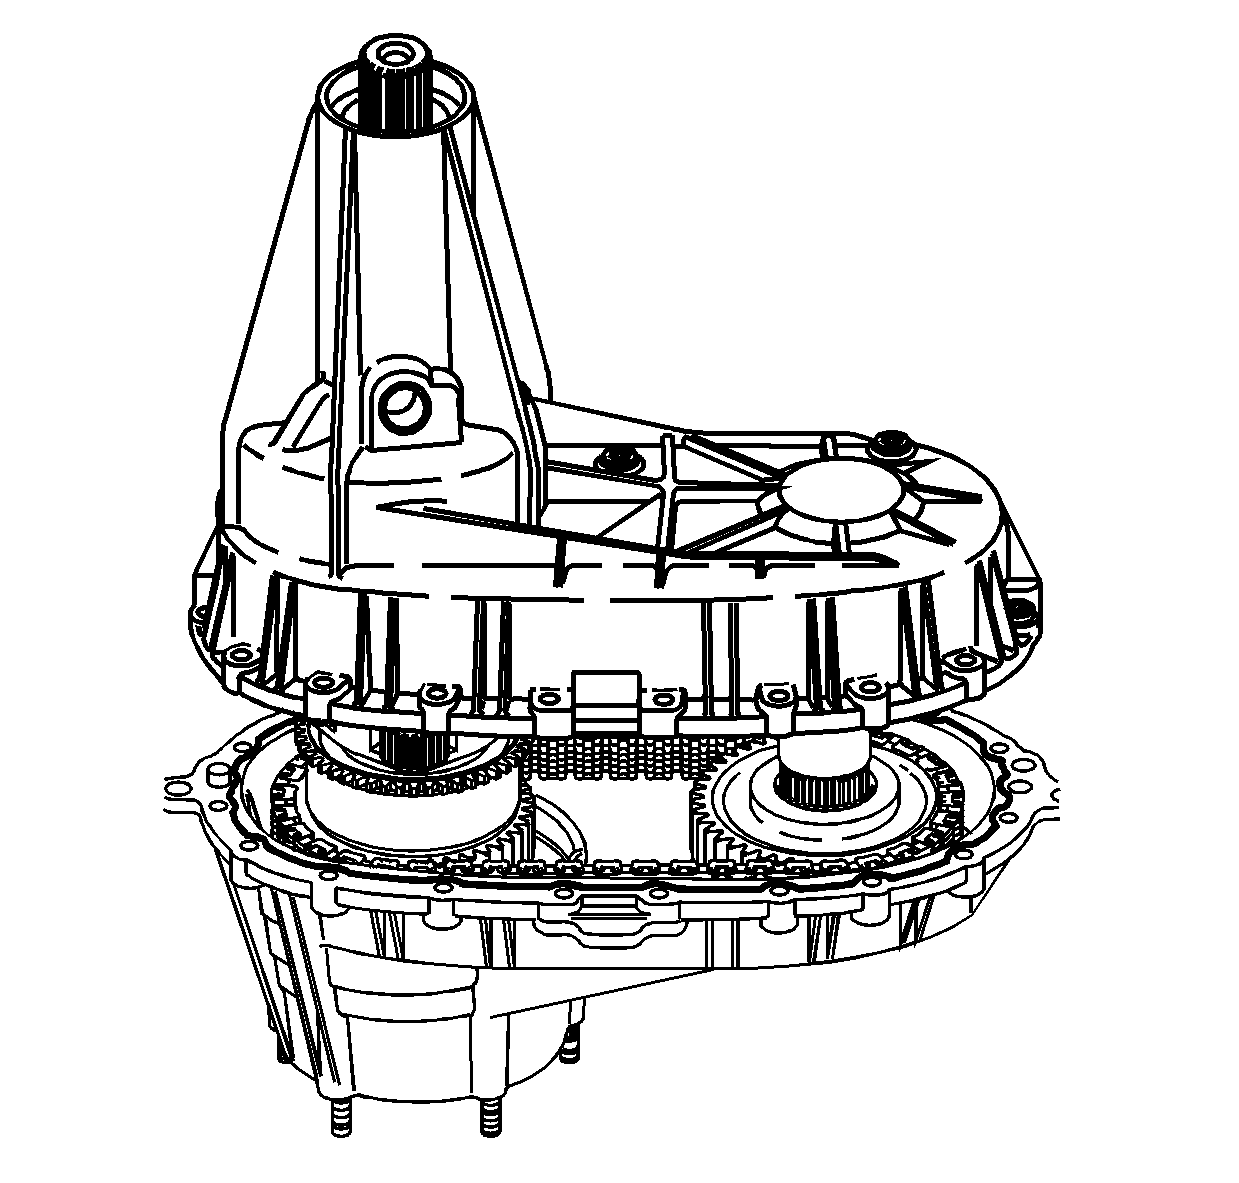
- Lower the rear case half
into place.
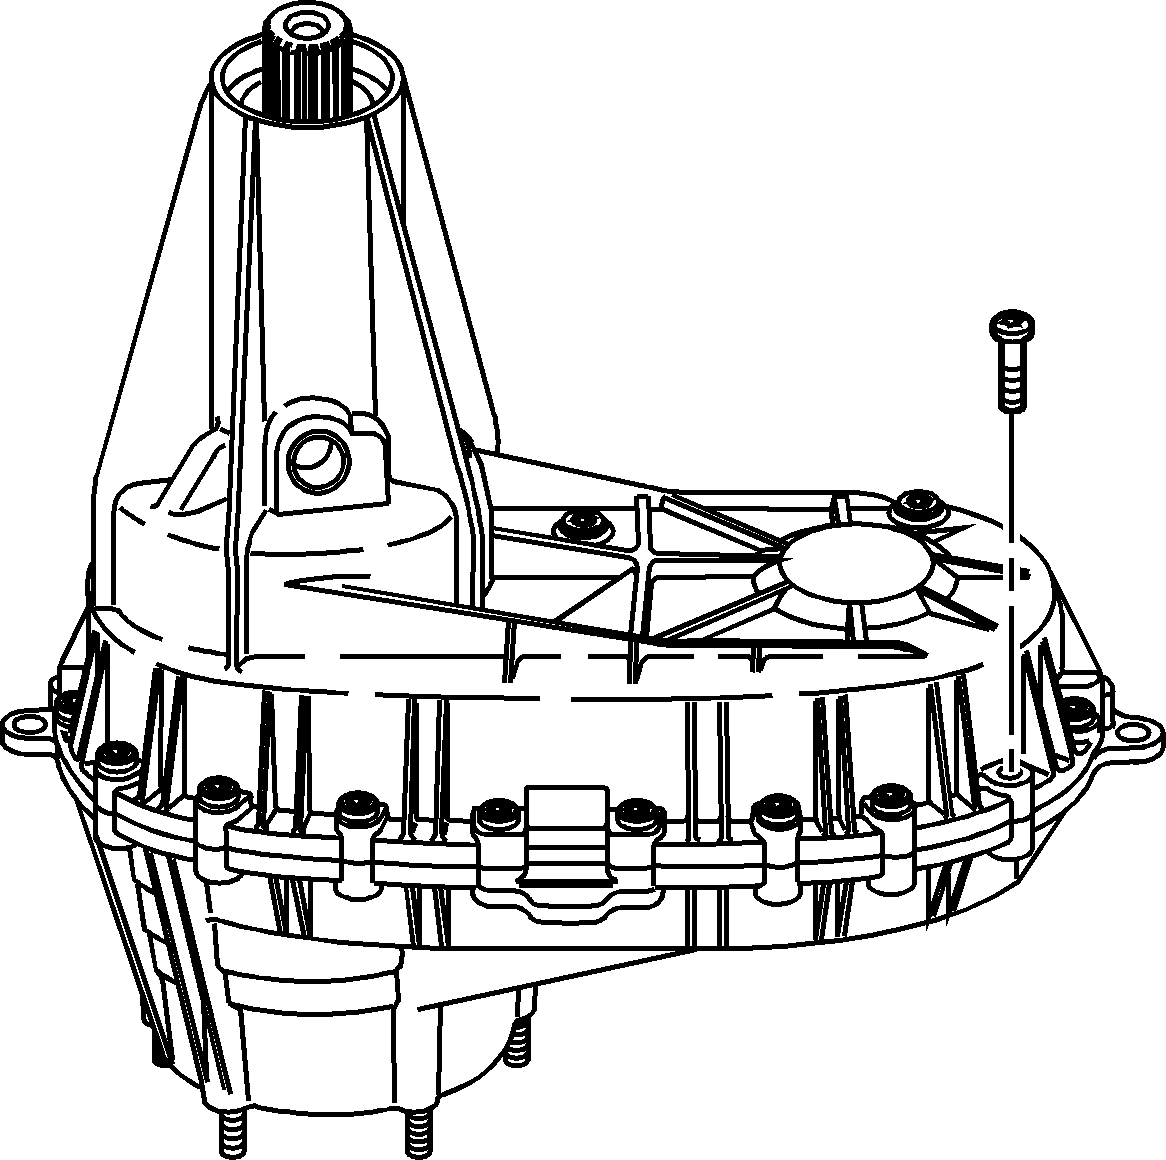
- Install the case bolts,
the washers, and the brackets.
Tighten
Tighten the case bolts to 21 N·m (15 lb ft).
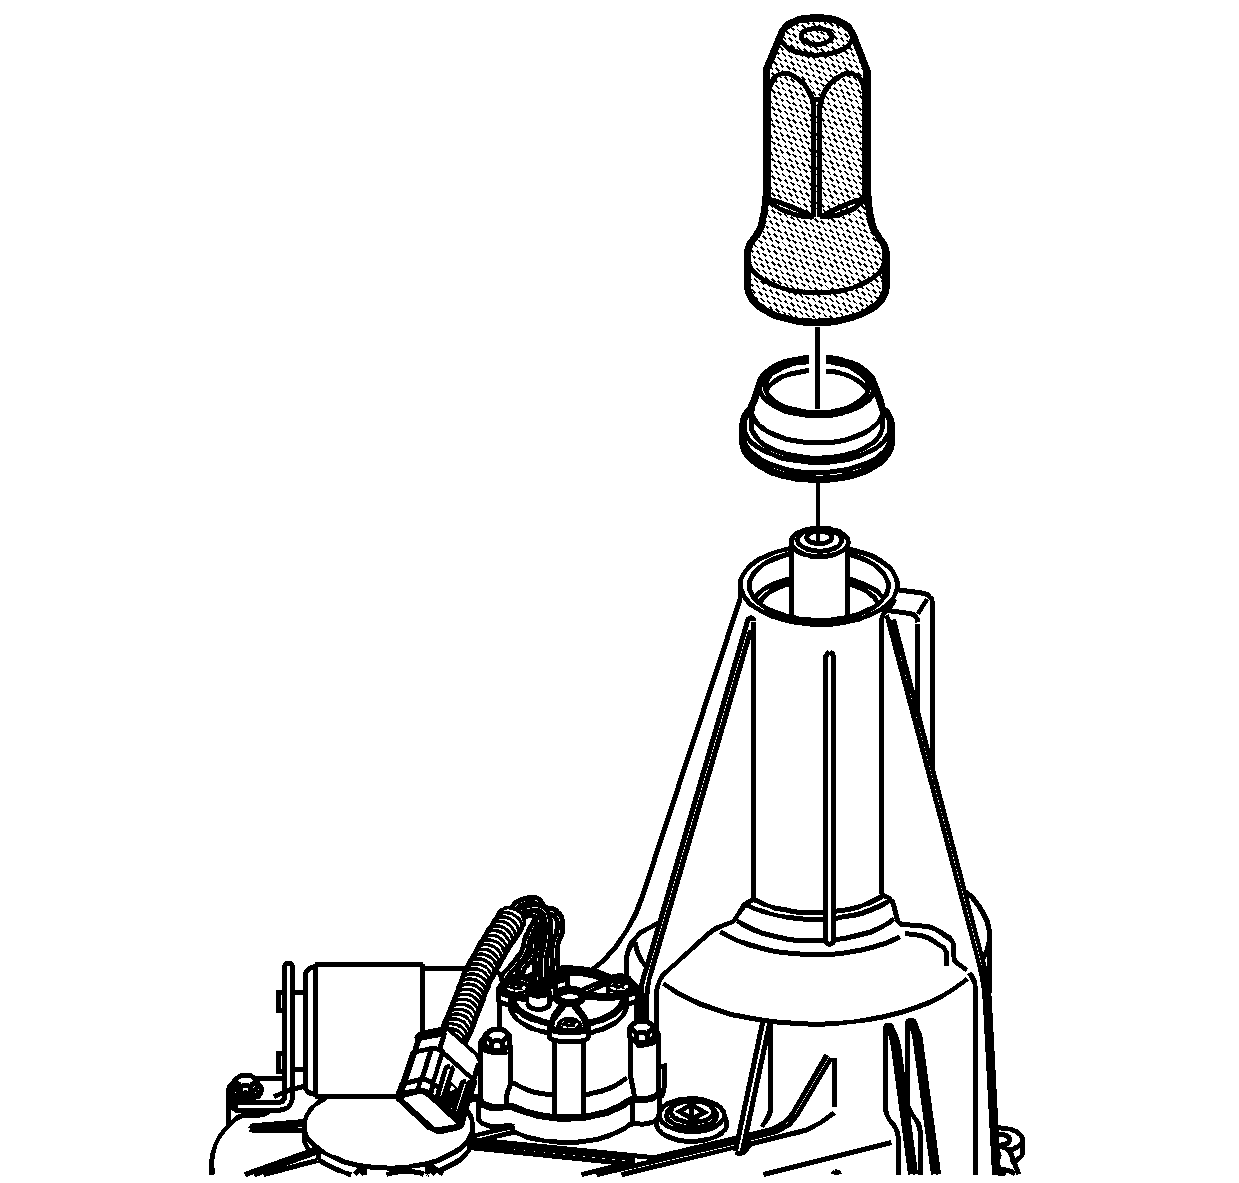
- Using the J 45756
, install the rear output shaft seal.
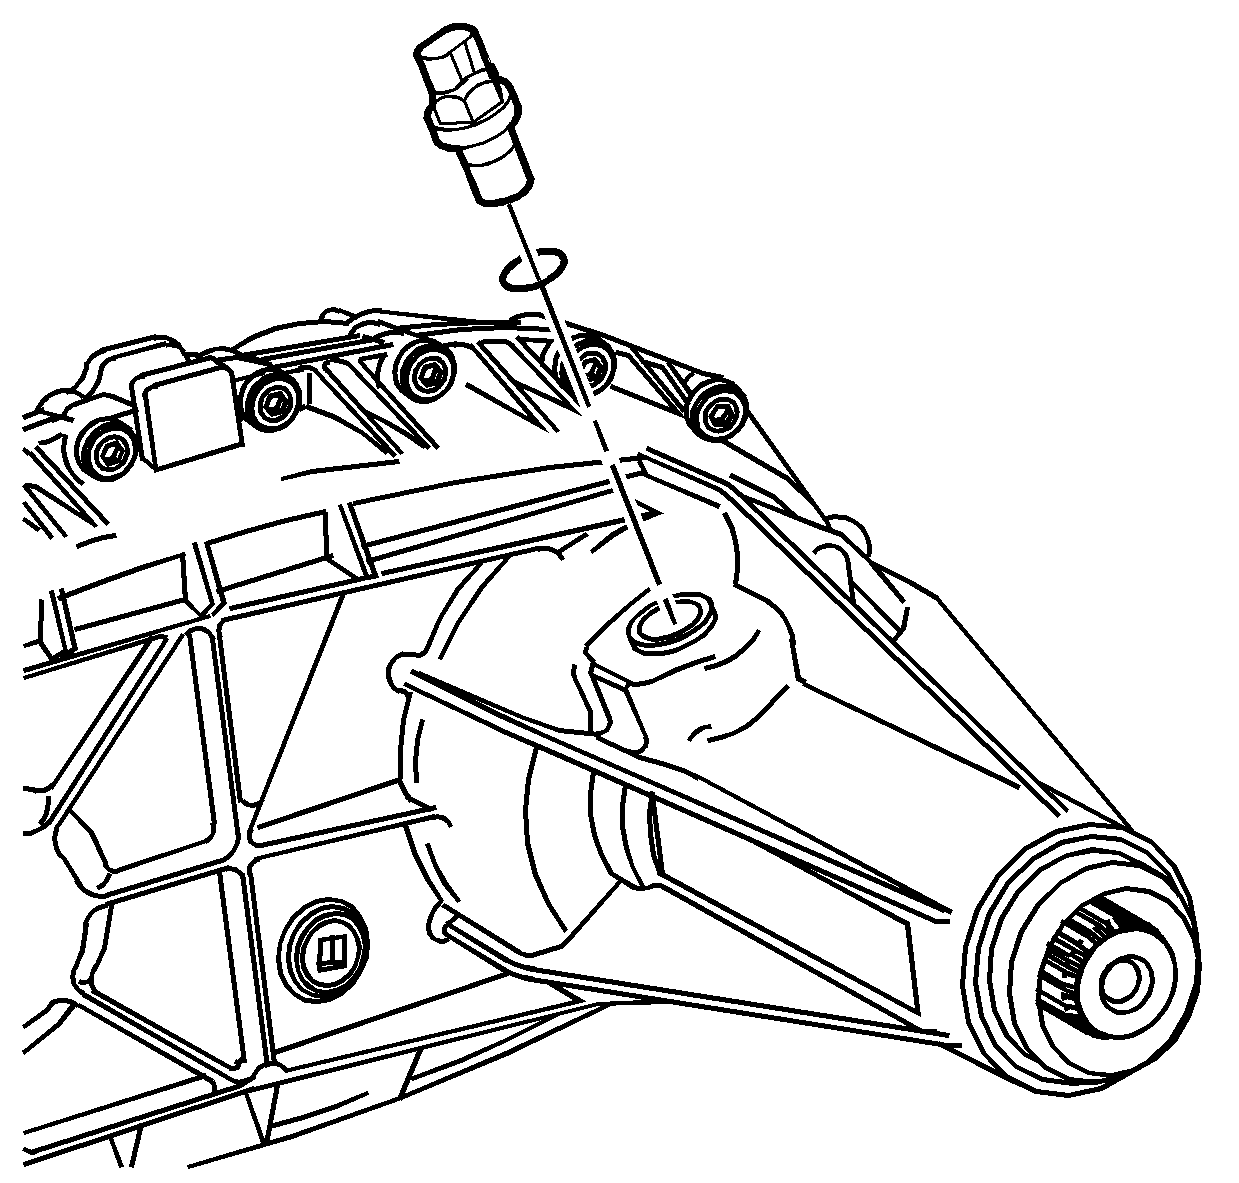
- Install the vehicle speed
sensor with a NEW O-ring seal.
Tighten
Tighten the speed sensor to 17 N·m (13 lb ft).
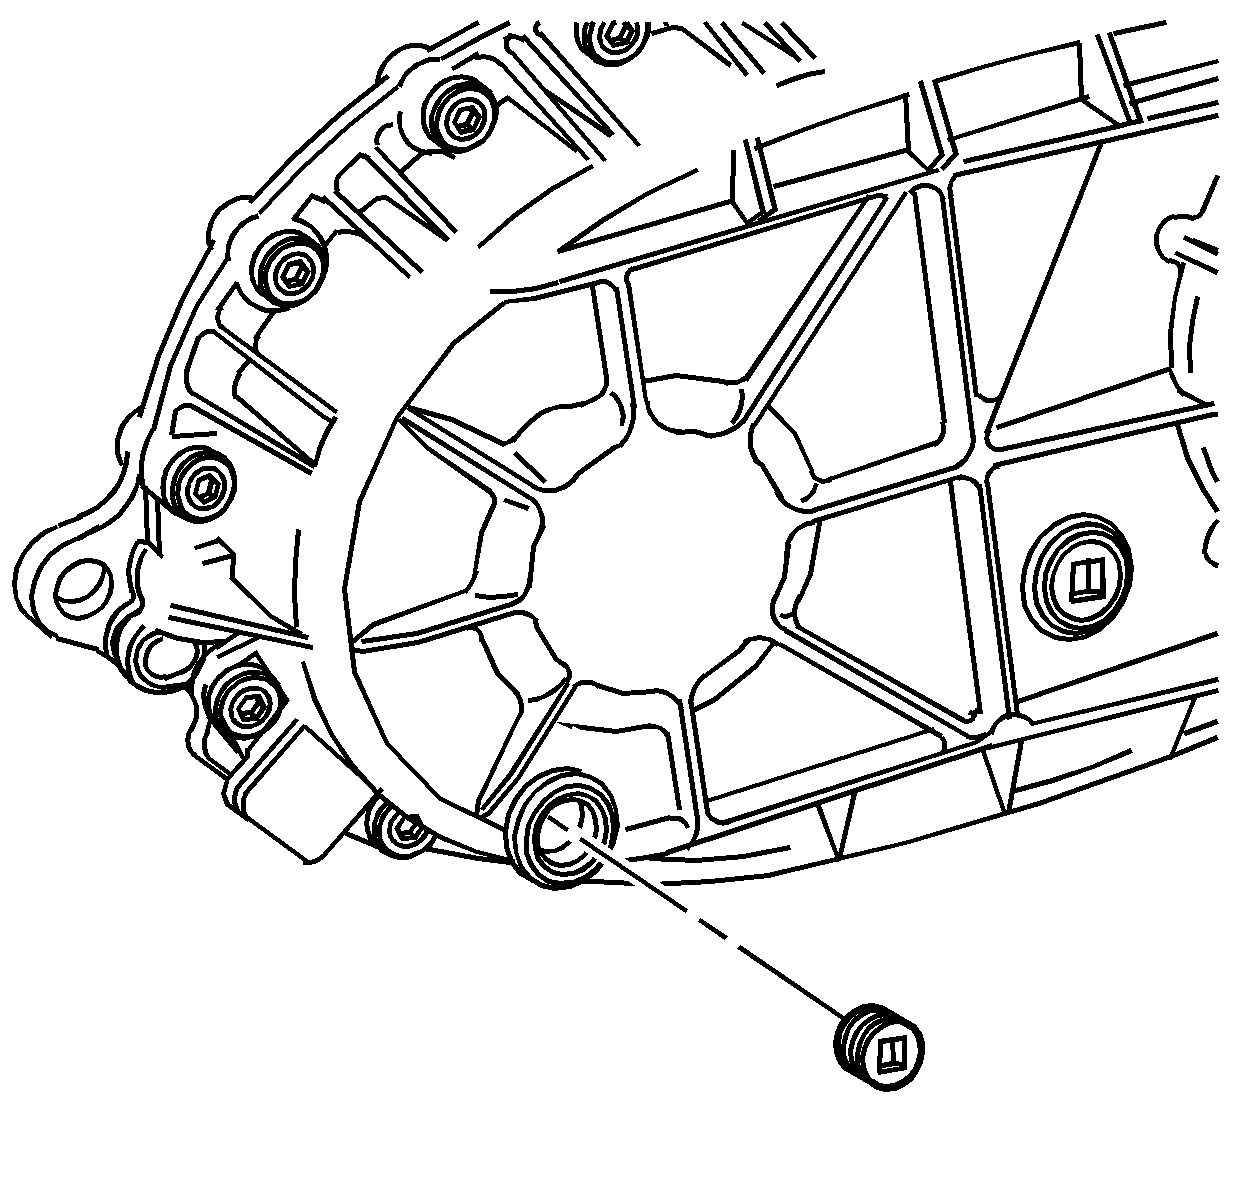
- Apply pipe sealant GM P/N 12346004
(Canadian P/N 10953480) to the threads on the drain plug
and fill plug.
- Install the drain plug and the fill plug.
Tighten
Tighten the drain plug and fill plug to 25 N·m (18 lb ft).
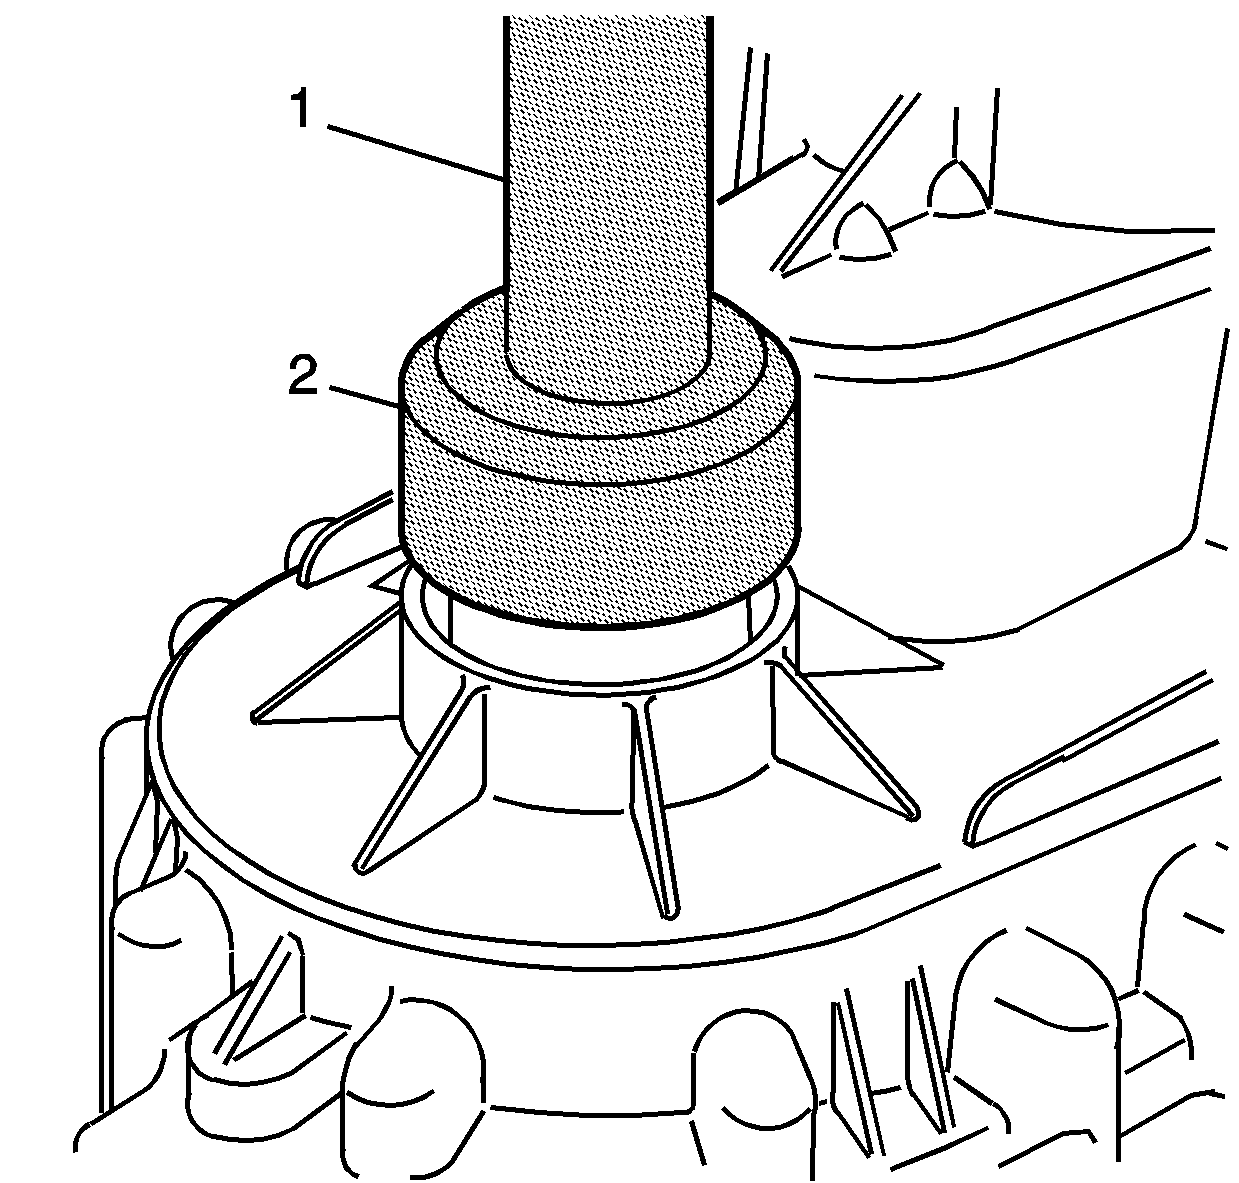
- Using the J 43484
(2) and the J 8092
(1), install the front output
shaft seal.
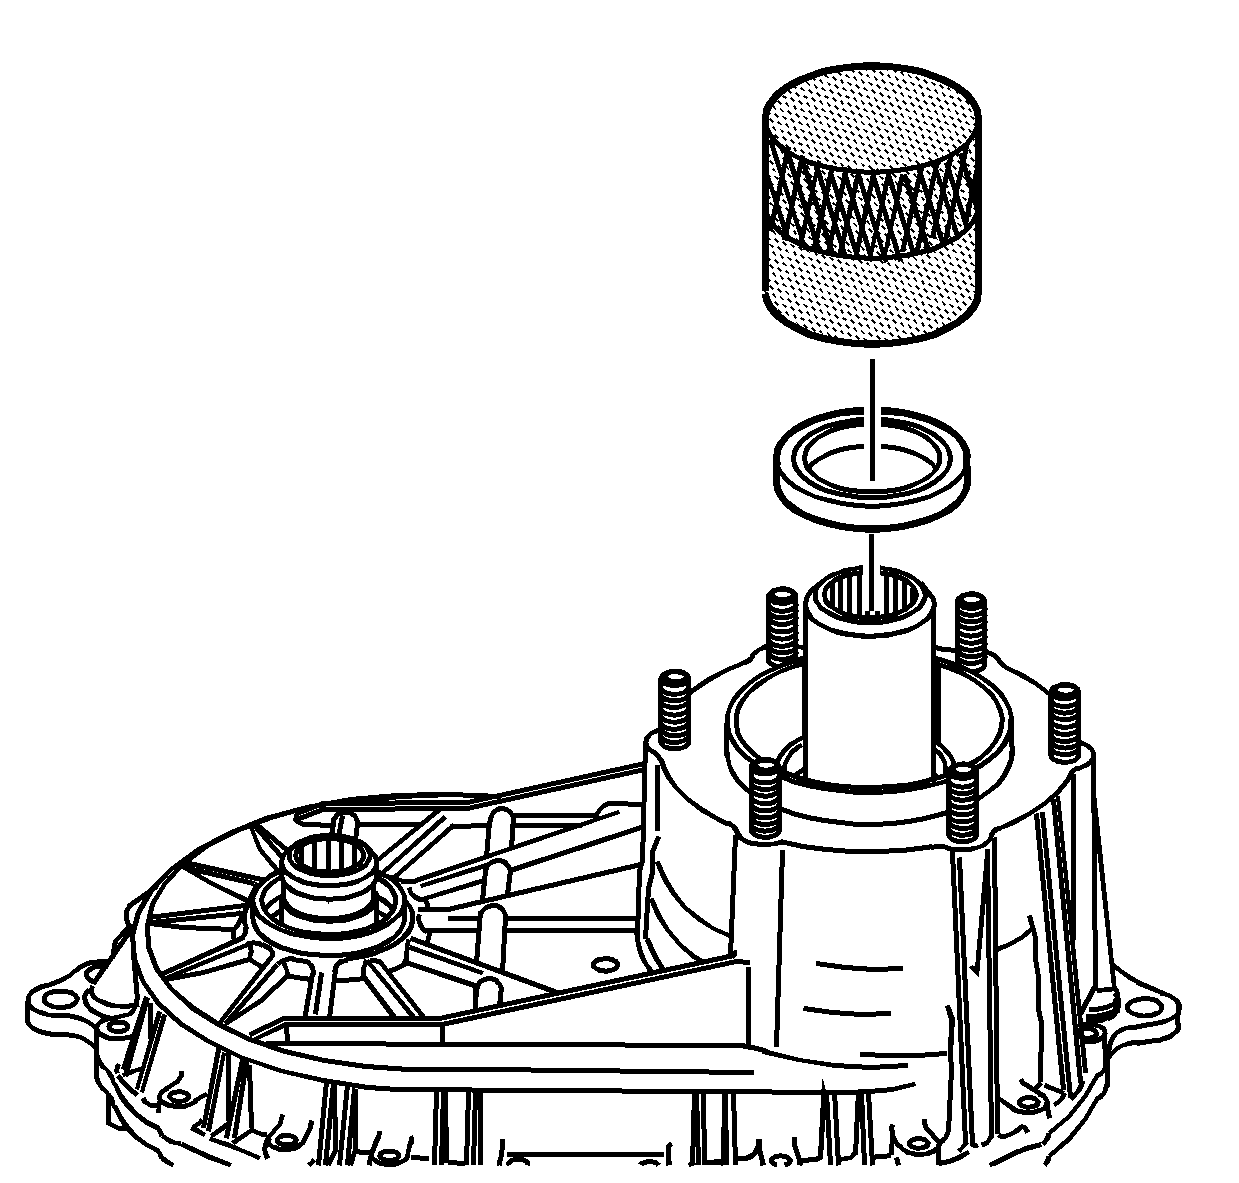
- Using the J 45758
, install the front input shaft seal.
- Remove the transfer case from the J 45759
.


